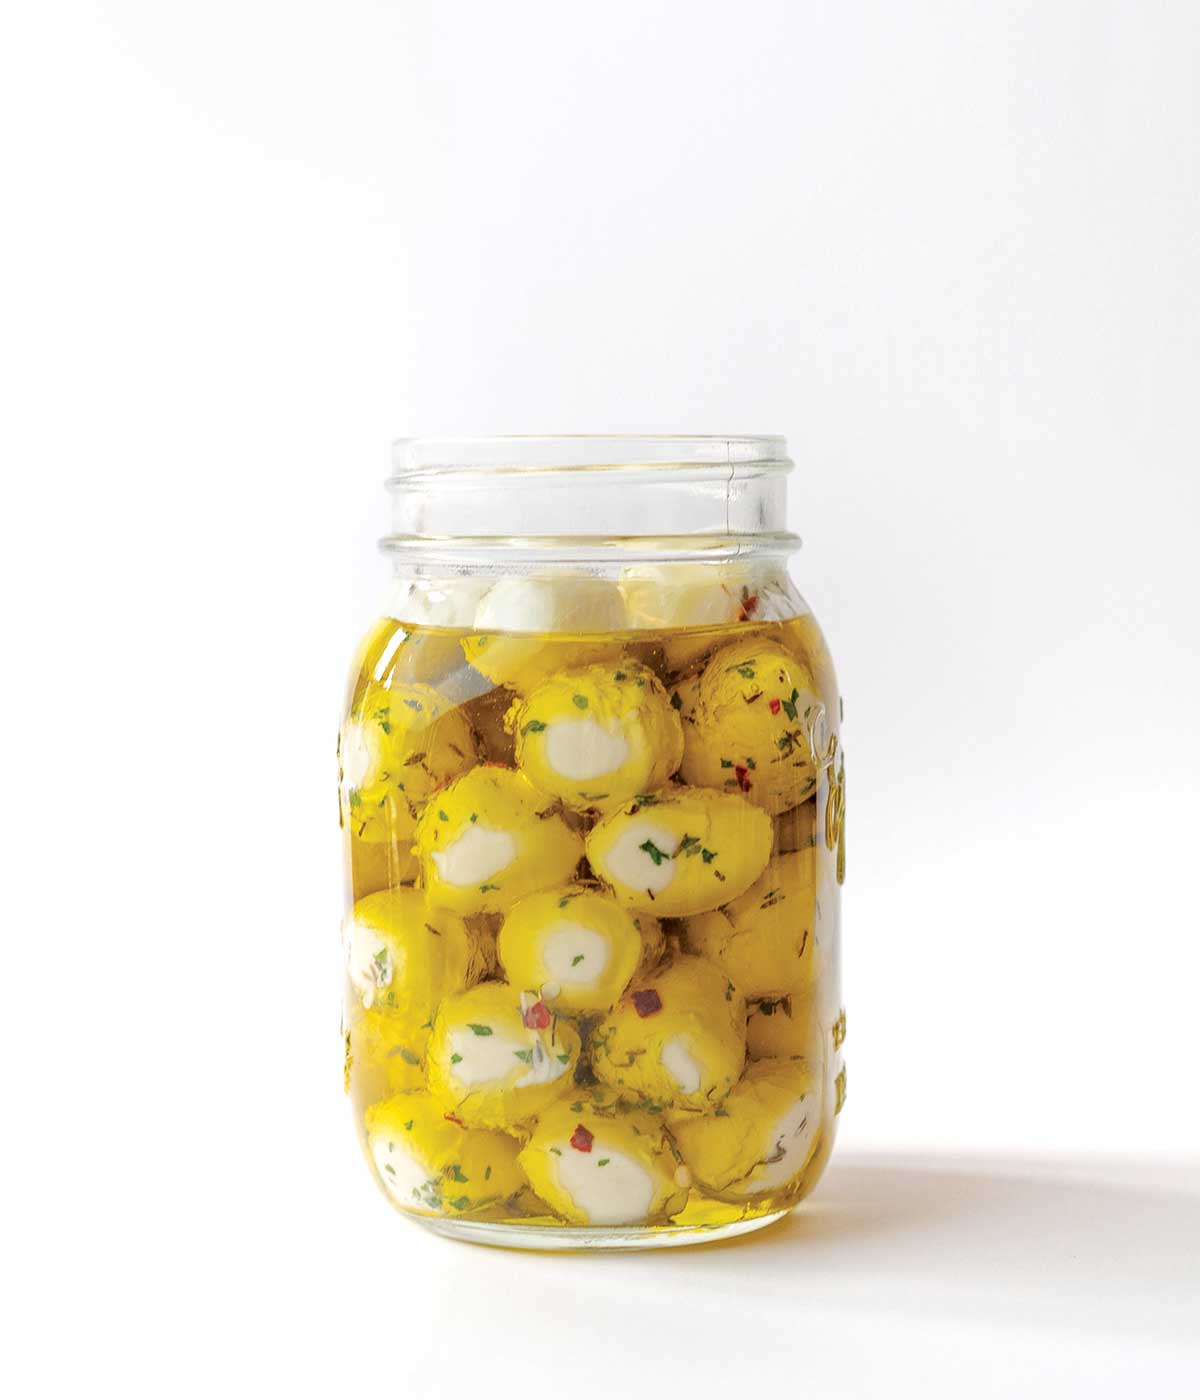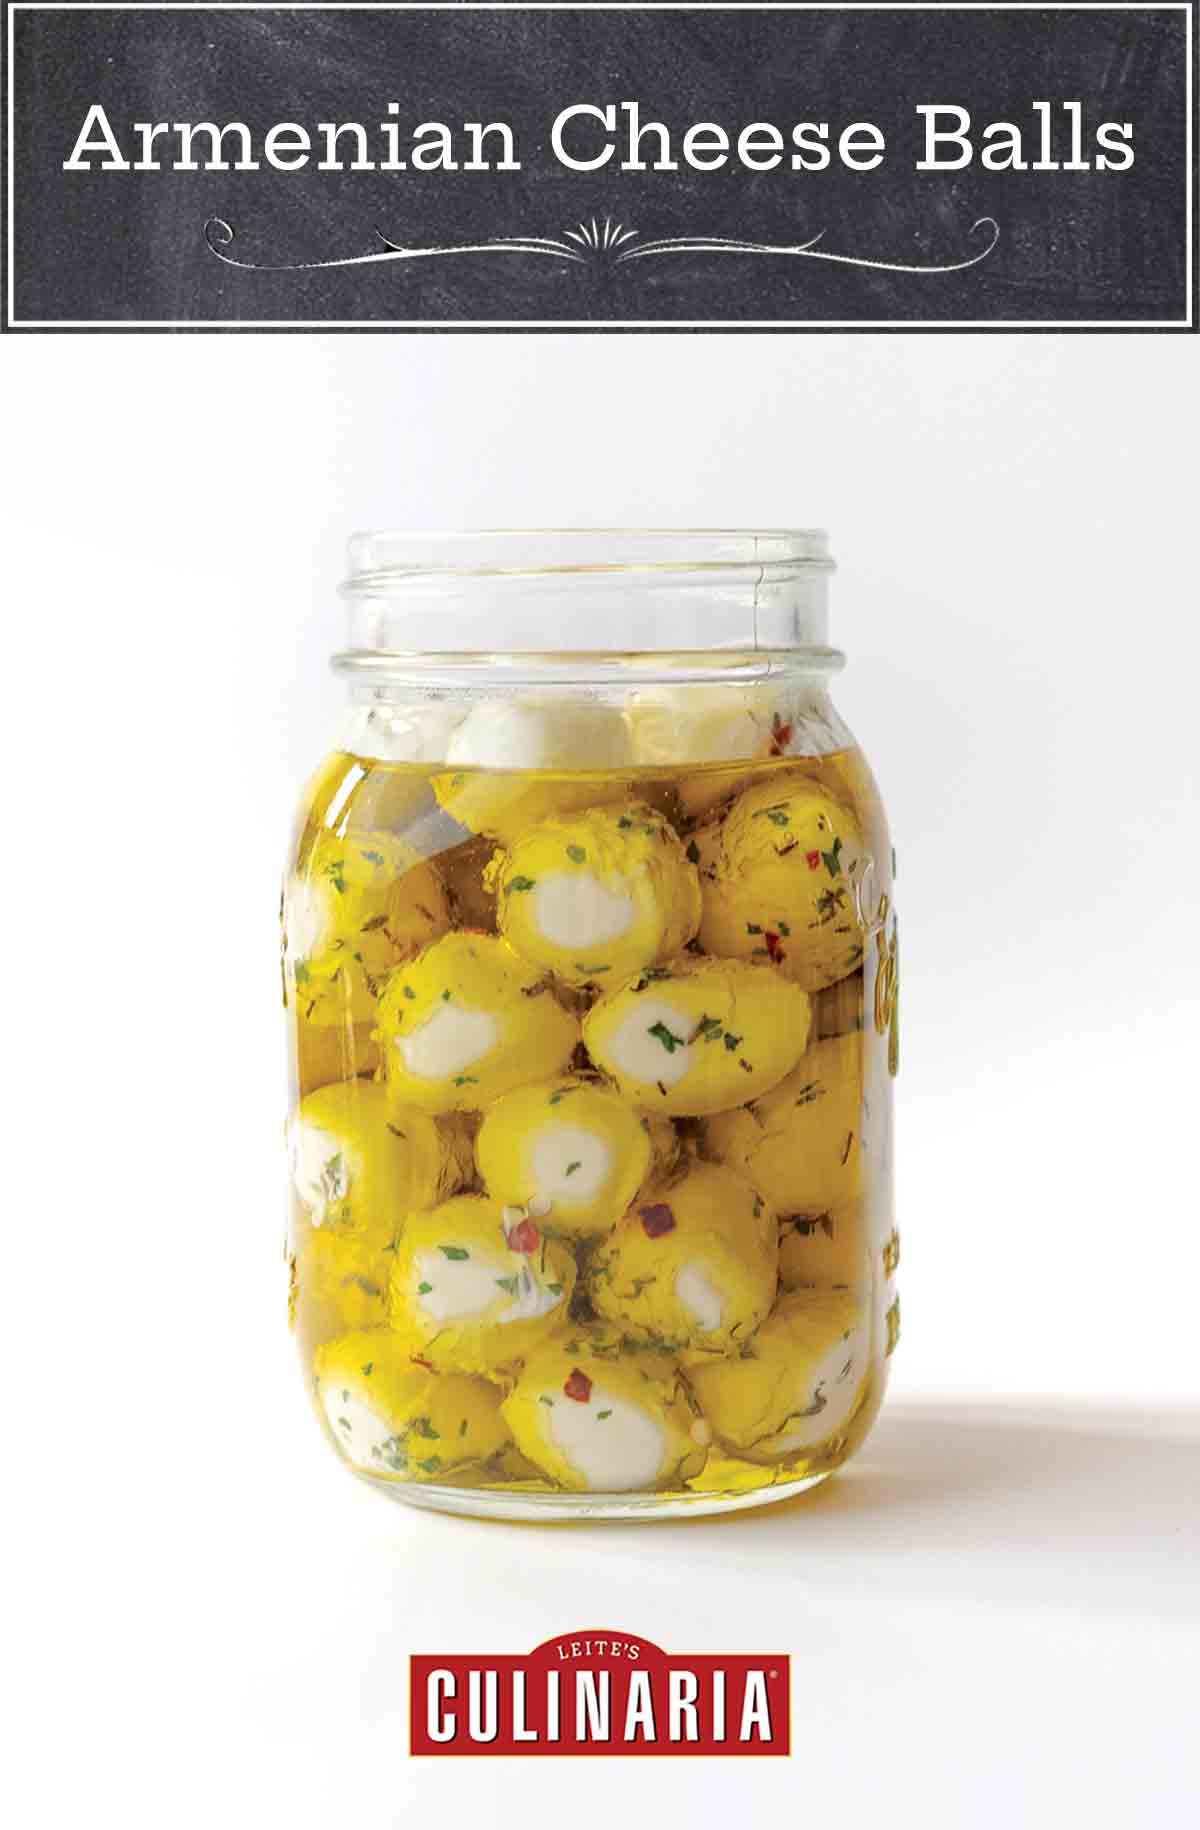
I’ve returned to my delicious culinary heritage with savory and passionate recipes. I grew up with the flavors, scents, and seasonings of Armenian cooking–a cuisine that combines Mediterranean flavors with Persian and Russian accents including lots of typical maza dishes, like these surquig.–Victoria Jenanyan Wise
WHAT ARE ARMENIAN CHEESE BALLS SIMILAR TO?
There are other Middle Eastern cheeses that are made in the same way, as well as a few that are more familiar to North American audiences. It’s a lot like cream cheese or even goat cheese. If you’ve ever had labneh (from the Levant) or shaklish (from Lebanon) then you’ve had another version of this gorgeous appetizer. Some are a little more crumbly, some are a little saltier, but that’s often up to the cook’s discretion.

Armenian Yogurt Cheese Balls
Ingredients
For the yogurt cheese
- 1 1/2 quarts yogurt
- 2 teaspoons kosher salt
For the marinated cheese balls
- 2 cups yogurt cheese, (above)
- 6 tablespoons extra-virgin olive oil
- 2 cloves garlic, pressed
- 2 teaspoons chopped dill leaves
- 1 teaspoon Aleppo pepper
- 1 tablespoon chopped chives
- crackers, for serving
Instructions
Make the yogurt cheese
- Drain the yogurt by lining a colander with a double layer of cheesecloth, making sure to have a generous drape over the sides. Set the colander in a bowl that holds its bottom well above the bottom of the bowl. Place the yogurt in the colander and set aside at room temperature to drain until reduced to 4 cups, 2 to 4 hours, depending on the consistency of the yogurt you begin with. Use right away, or store in the refrigerator for up to 1 week.
- Stir the salt into the drained yogurt in the colander. Cover and refrigerate to continue draining. Leave for 12 hours (overnight) to achieve a cream cheese texture. Leave for 24 hours to achieve a firmer, chevre-like texture. Be sure to pour off the whey accumulated in the bowl whenever it reaches up to the bottom of the colander.
Make the marinated cheese balls
- Divide the cheese into 13 portions and roll each into a walnut-size ball. Arrange the balls on a plate lined with paper towels so they're not touching. Cover loosely with paper towels and refrigerate for 4 to 6 hours, until firm.
- In a small bowl, mix together the olive oil, garlic, dill, and Aleppo pepper. Dump the balls into a jar with a lid. Pour the oil mixture over the balls, secure with lid, and refrigerate for 2 hours, or up to 1 week.
- To serve, arrange the yogurt balls with some oil in a deep dish, sprinkle the chives over the top, and accompany with crackers.

Explore More with AI
Nutrition
Nutrition information is automatically calculated, so should only be used as an approximation.
Recipe Testers’ Reviews
Despite the time it took to prepare the cheese balls, the results were amazing. I served these with other cheeses and Stilton crackers for a wine and cheese party and everyone loved them! They were surprised that I had made them. The cheese was still a little soft (firm enough to hold shape, but soft enough to spread on a cracker) but the marinated oil made it very tasty.
I love recipes that act as a launching pad for all sorts of variation ideas like this one did. The yogurt cheese was quite tasty on its own. It would be nice on a bagel in place of cream cheese. The flavors of the marinade made the cheese even tastier. It added a nice edge to the smoothness of the cheese.
This would be great to serve as an appetizer. The herbs and spices could be changed for endless taste variations. Blending the spices right into the cheese would also make a great topping for baked potatoes, bread or Parmesan crackers, or a dip for vegetables. This one is a keeper!
This is a great recipe to have in your arsenal for 3 reasons—the cheese balls are delicious, the marinade can be served on its own over roasted red peppers or other vegetables (whole roasted cauliflower maybe!), and the yogurt cheese is a great base that can be used with other marinades.
I recommend giving yourself some extra time for making the yogurt cheese. It took longer for the yogurt to drain than expected when I made this recipe. I’ll definitely make this again but I’ll allow extra time upfront.
The work that goes into this recipe is worth it and the cheese balls get better as they sit in the refrigerator and absorb the marinade. I’ll be hanging on to this recipe—having made it, I actually see it as two recipes with endless possibilities.
If you’ve never made any kind of cheese, this is a great introduction for beginners. No boiling milk or waiting for curds: just put yogurt in cheesecloth and wait. My cheese was somewhere between cream cheese and goat cheese in texture at 18 hours, and perfect for scooping with a 1.5 Tbsp cookie scoop. The dill and garlic oil was delicious, though I think I’d add a little salt to the oil to really bring that garlic and dill flavor forward.
I tried a scaled-back recipe while keeping the ratio with 1 quart of yogurt (so I’d have a recipe that uses the container size from the market) and 1.25 tsp kosher salt, and that worked perfectly, producing 14 balls (each a volume of 1.5 Tbsp). They were great on their own with crackers, spread on toast, or even used as a creamy spread in a sandwich. An absolute keeper!
One lesson learned from this recipe is we certainly need more of the dill + Aleppo pepper combo in our lives! These were served as one of several appetizers at an upscale reception, and were much loved, despite the fact that my version looked at least as rustic (homemade) as the ones depicted in the photo, or perhaps even more so! A long time has passed since that reception and when I look at the recipe now, I want to make these again, but serve them at breakfast or brunch, alongside bagels or toast, with the intent that they are smooshed atop the toast, thickly spread, and enjoyed while the bread of choice is still warm, so the cheese warms just a tiny bit.
There are a lot of steps here, with required waiting time in between, but none of the actual steps are time-consuming, though there is a need to plan ahead to allow sufficient time to properly and fully drain, drain, firm up, and refrigerate. I love the process and I am patient, so this is the perfect recipe for me—if you want a cheese recipe with fewer steps, try marinated Idiazabal cheese or if you need a quicker cheese recipe, try goat cheese with olives, lemon, and thyme.


For leftovers, are you storing in the fridge or on a countertop?
Jeanie, leftovers can be stored in the fridge for up to a week. If you make them, please let us know how they turn out.