Jump To
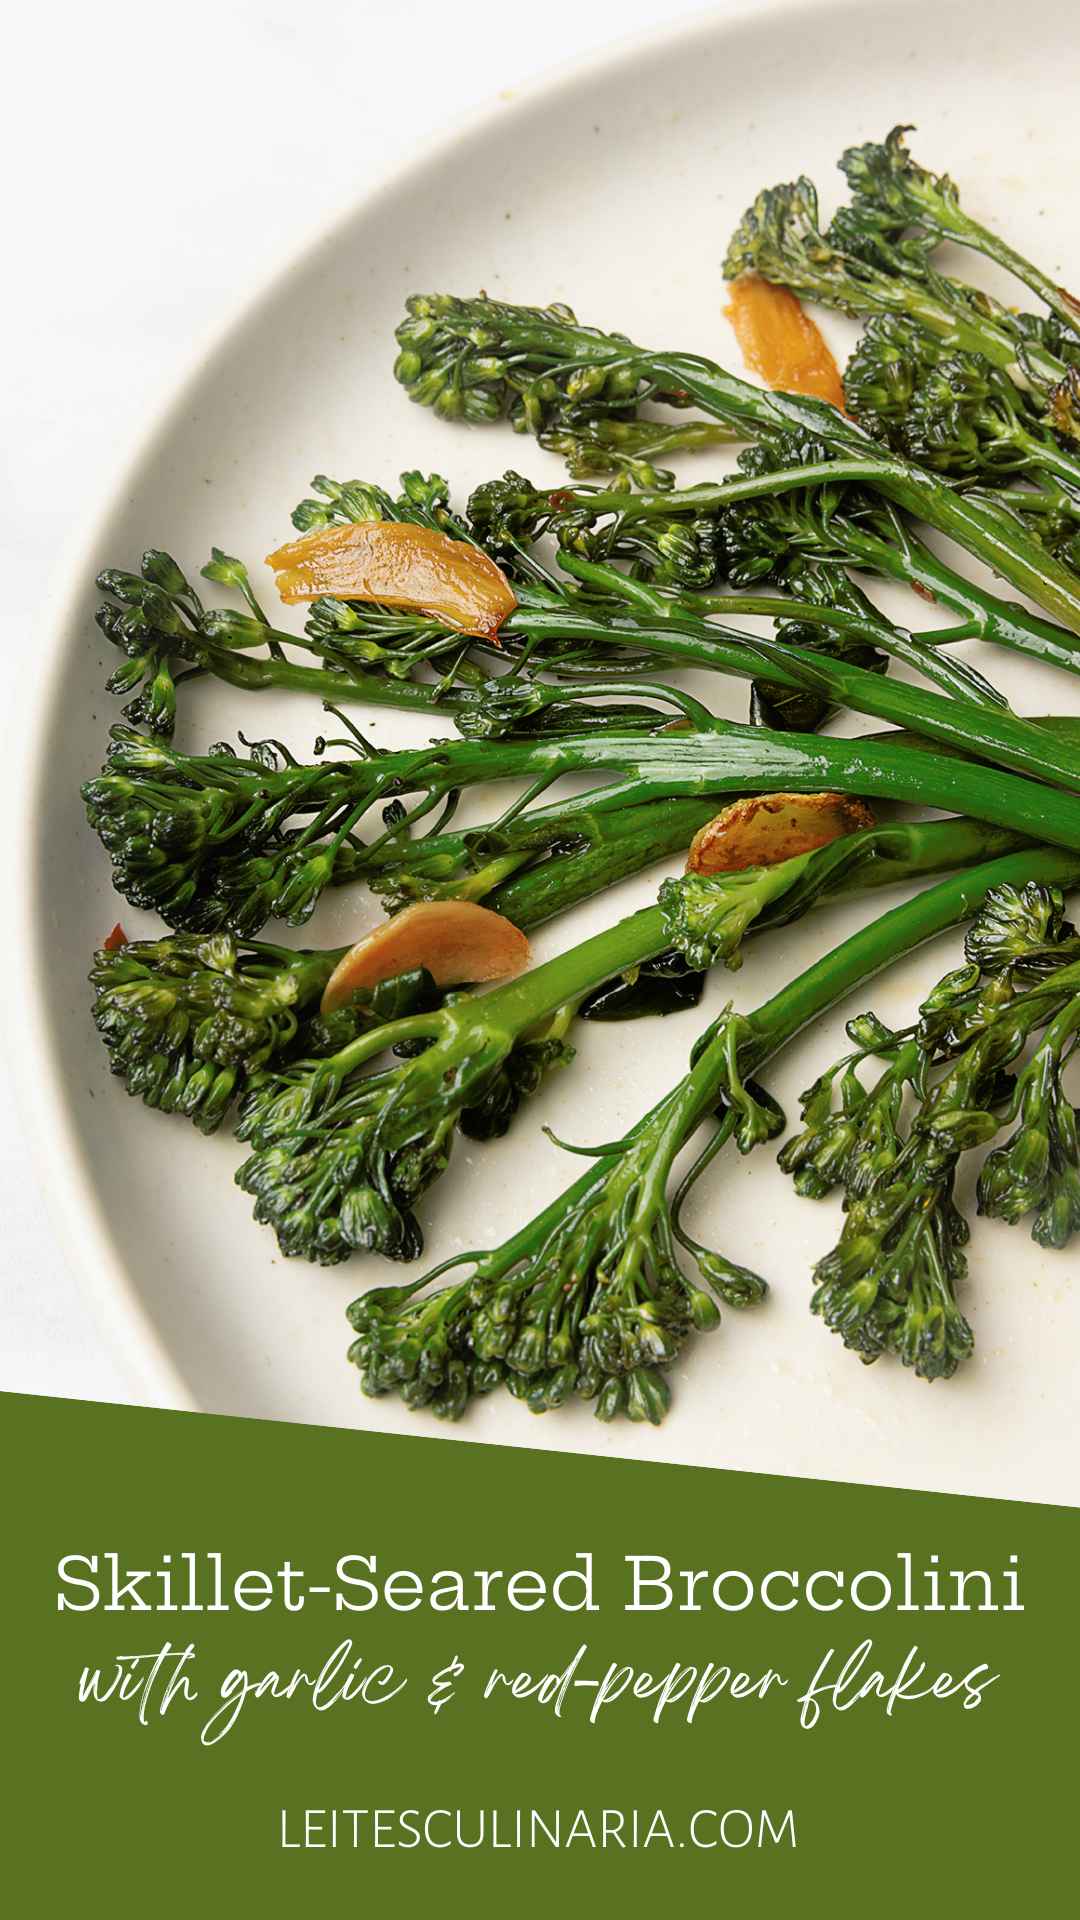
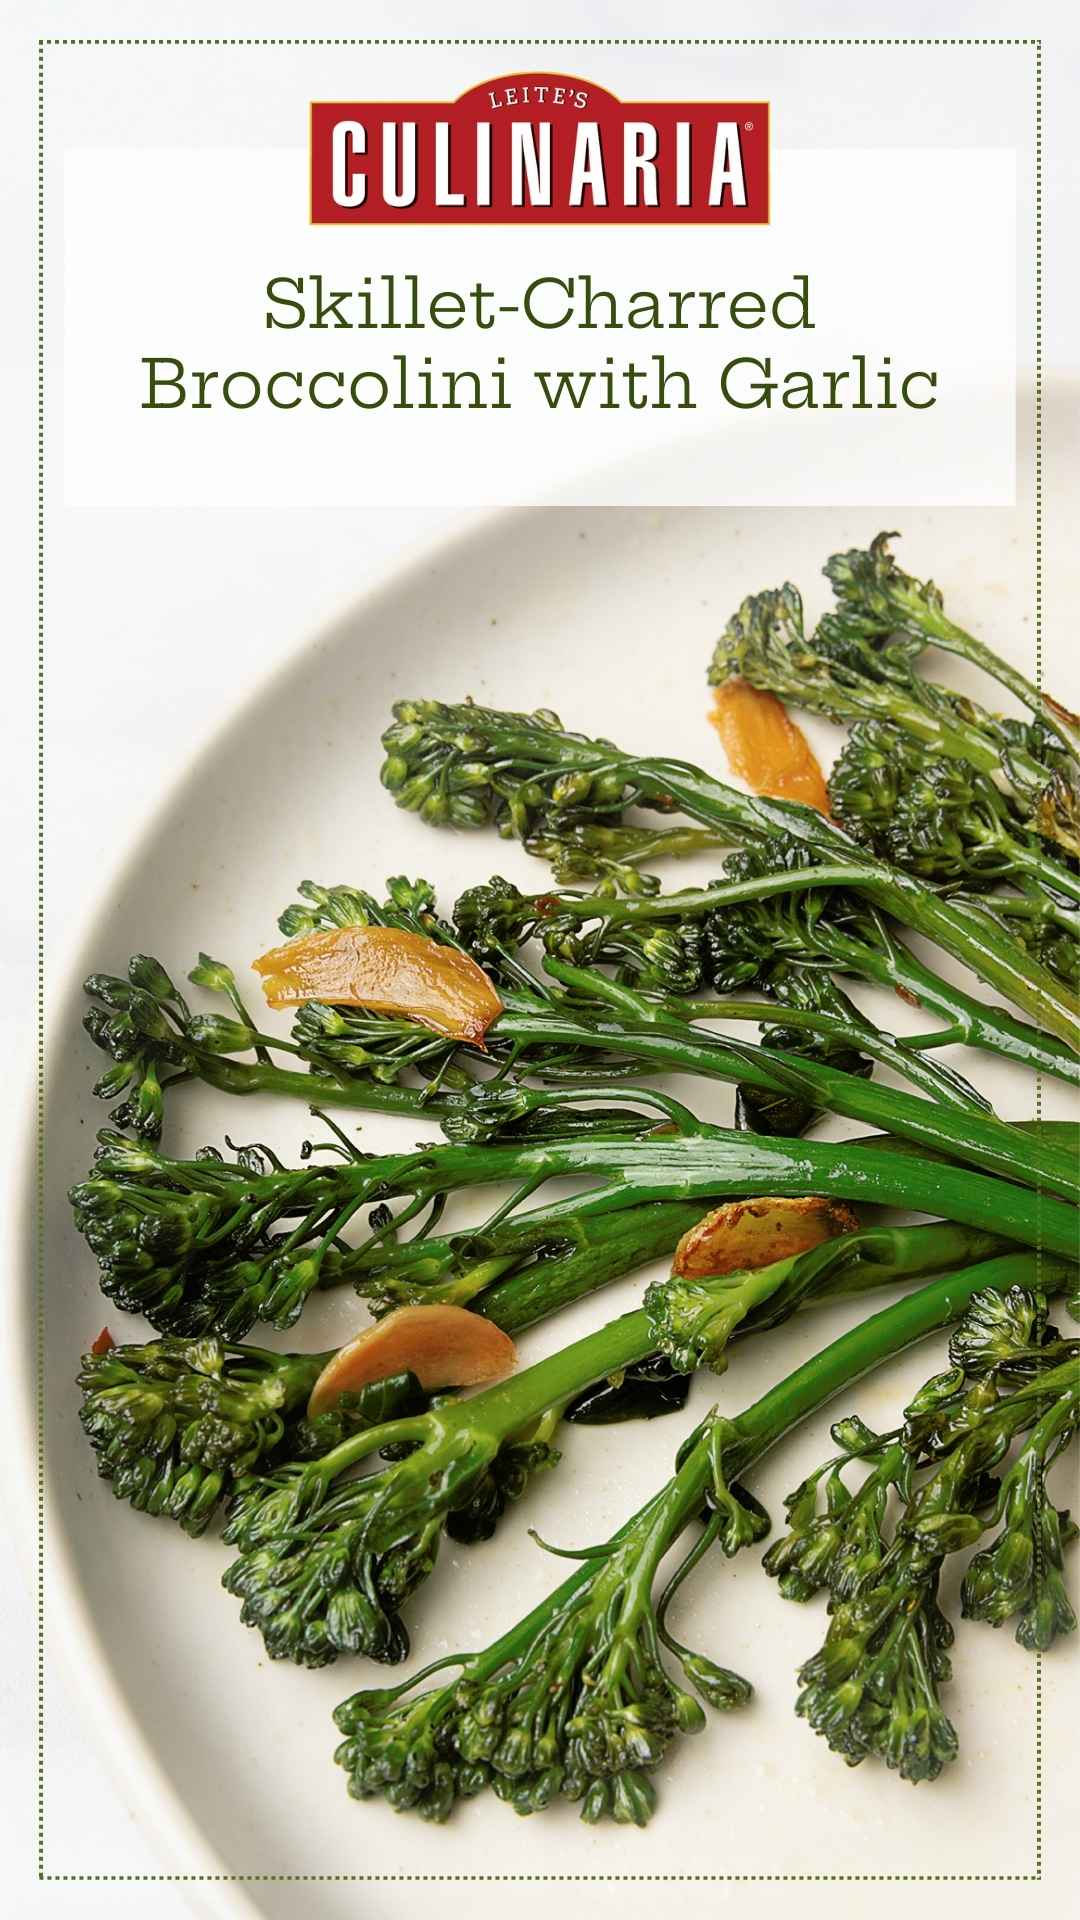
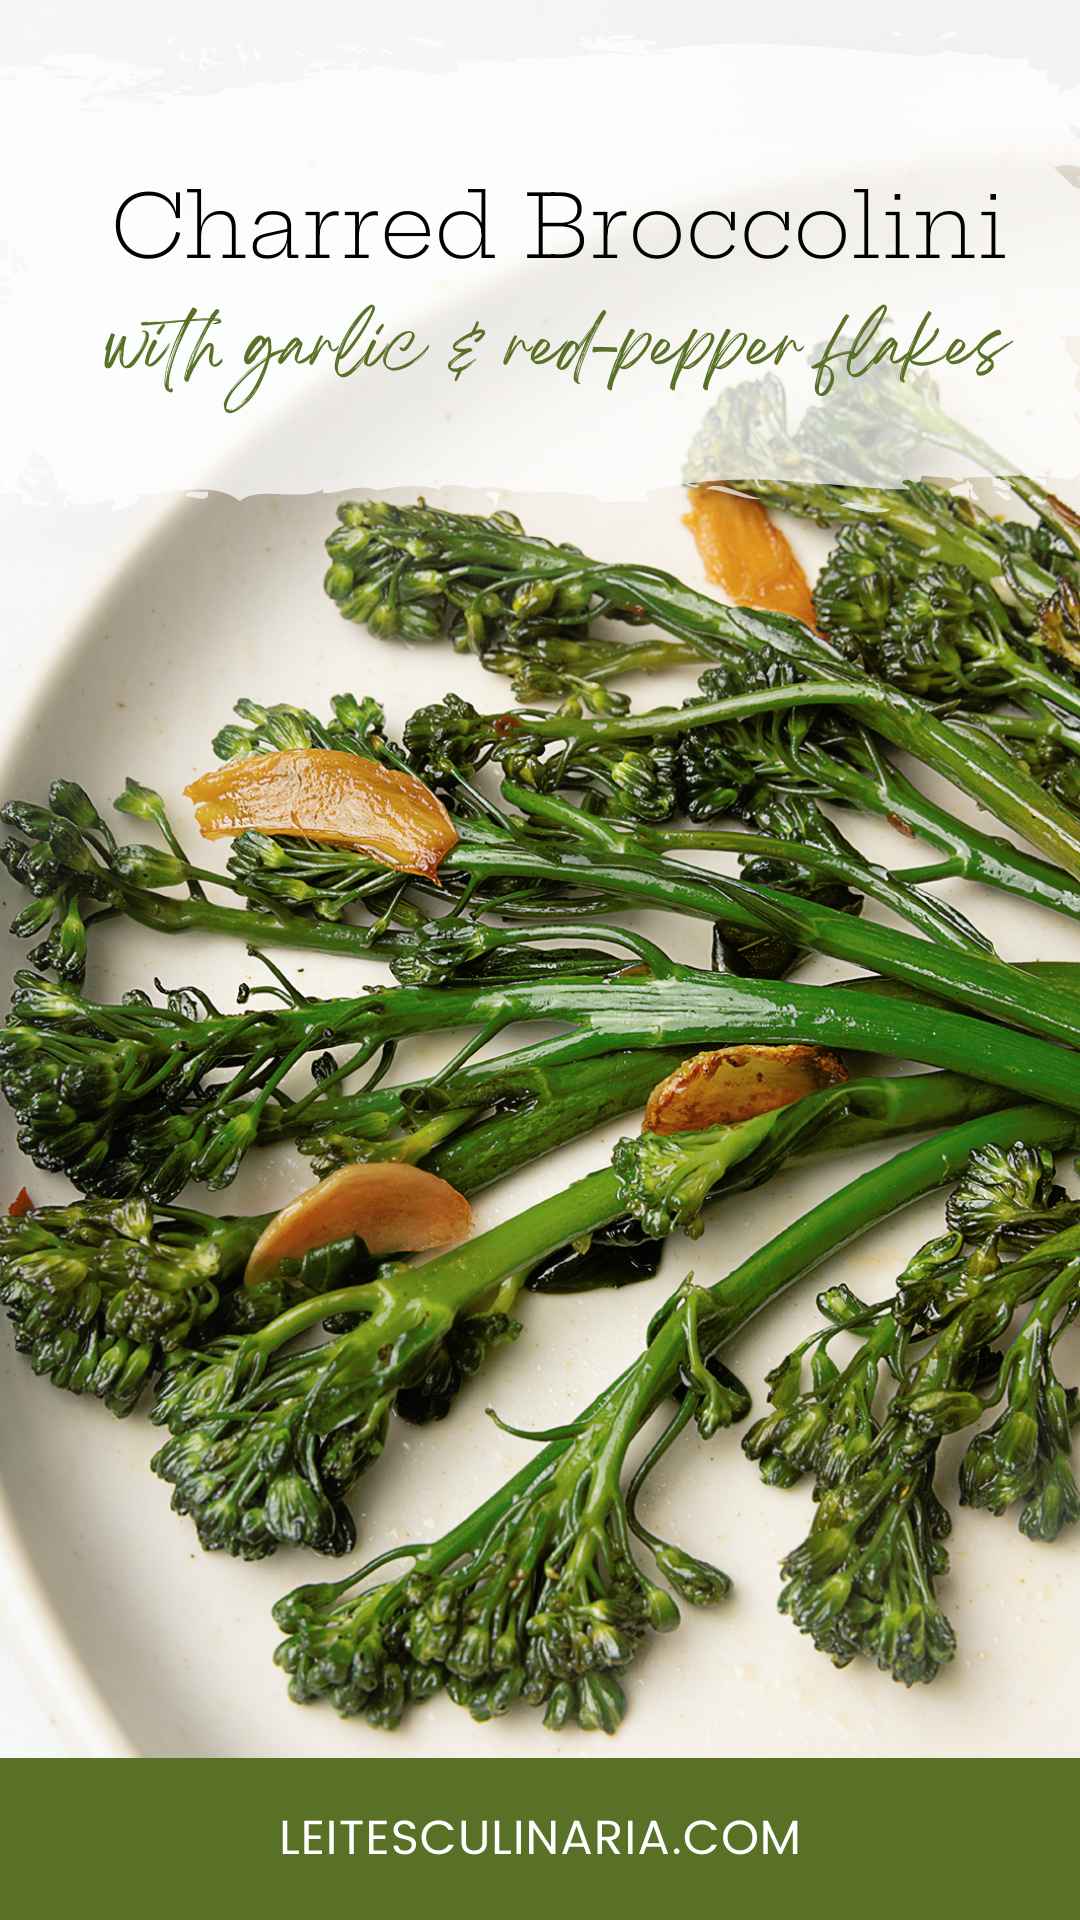
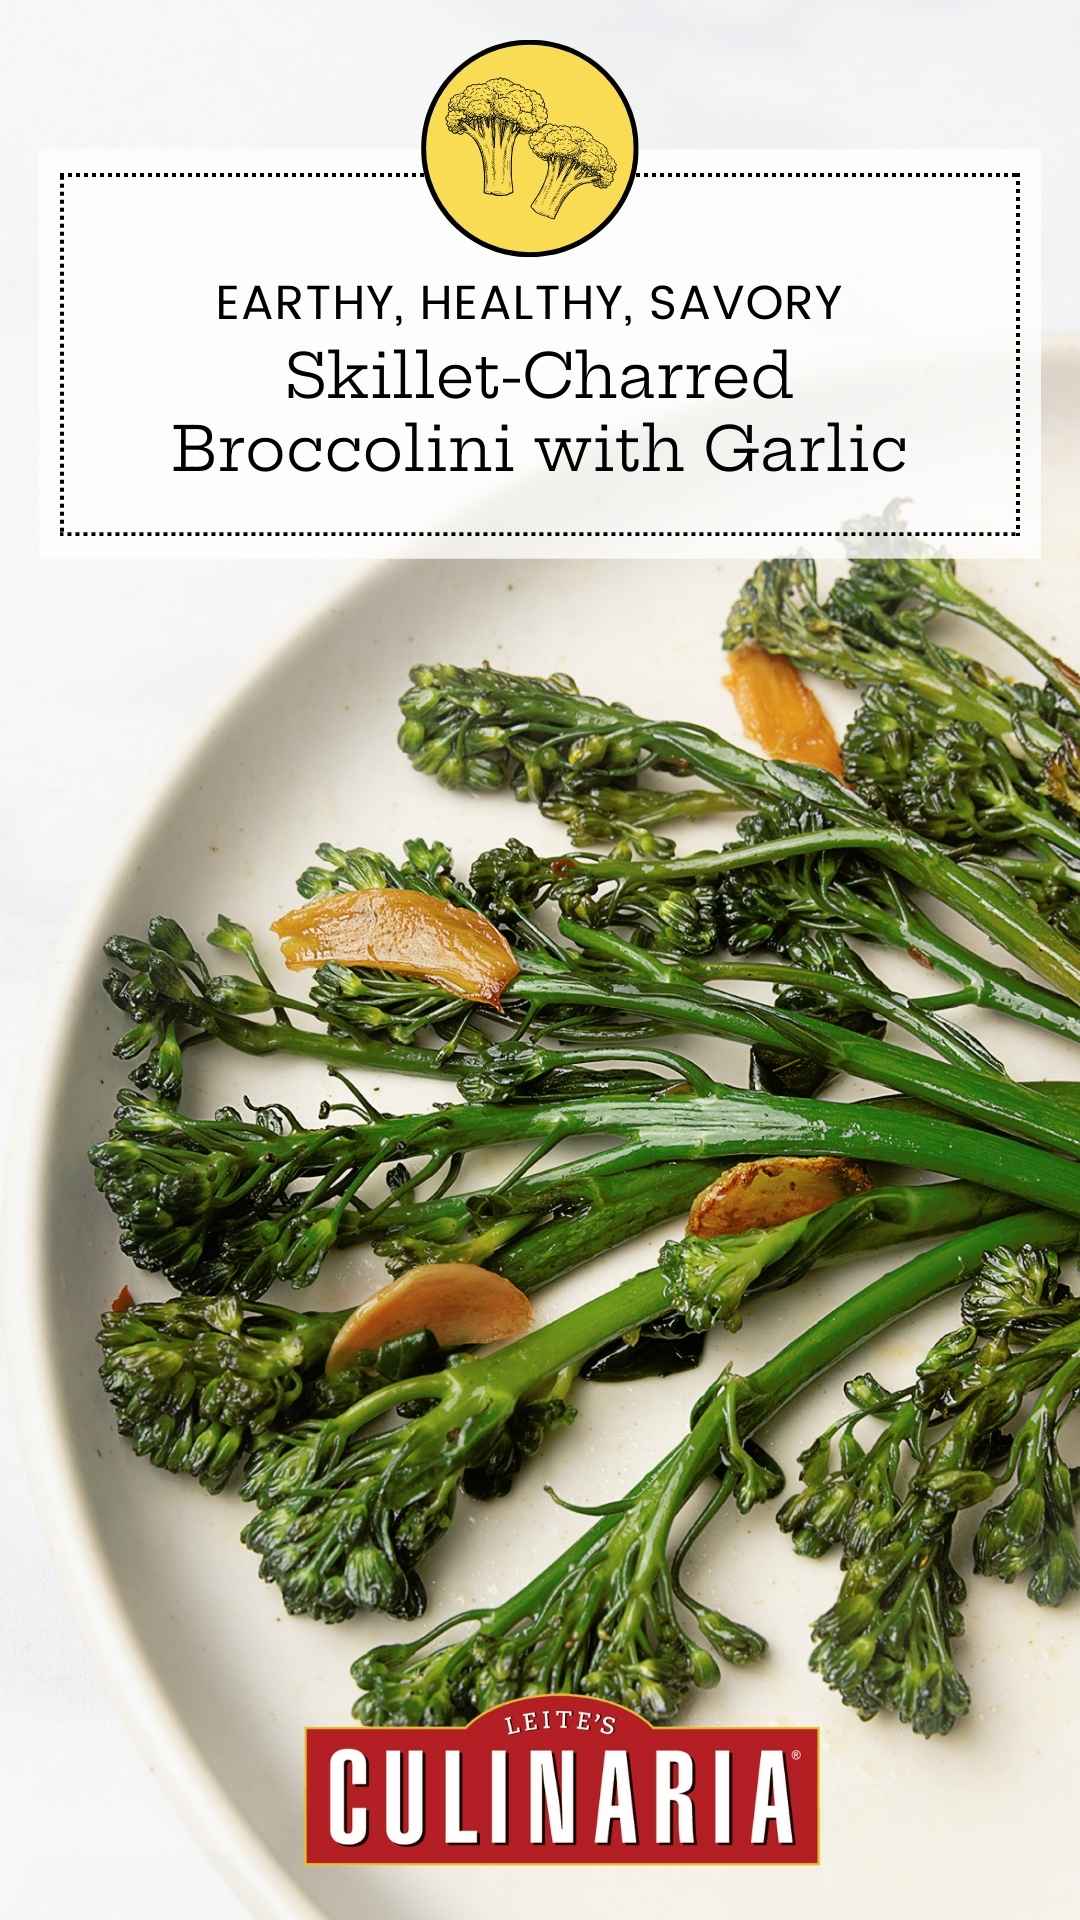
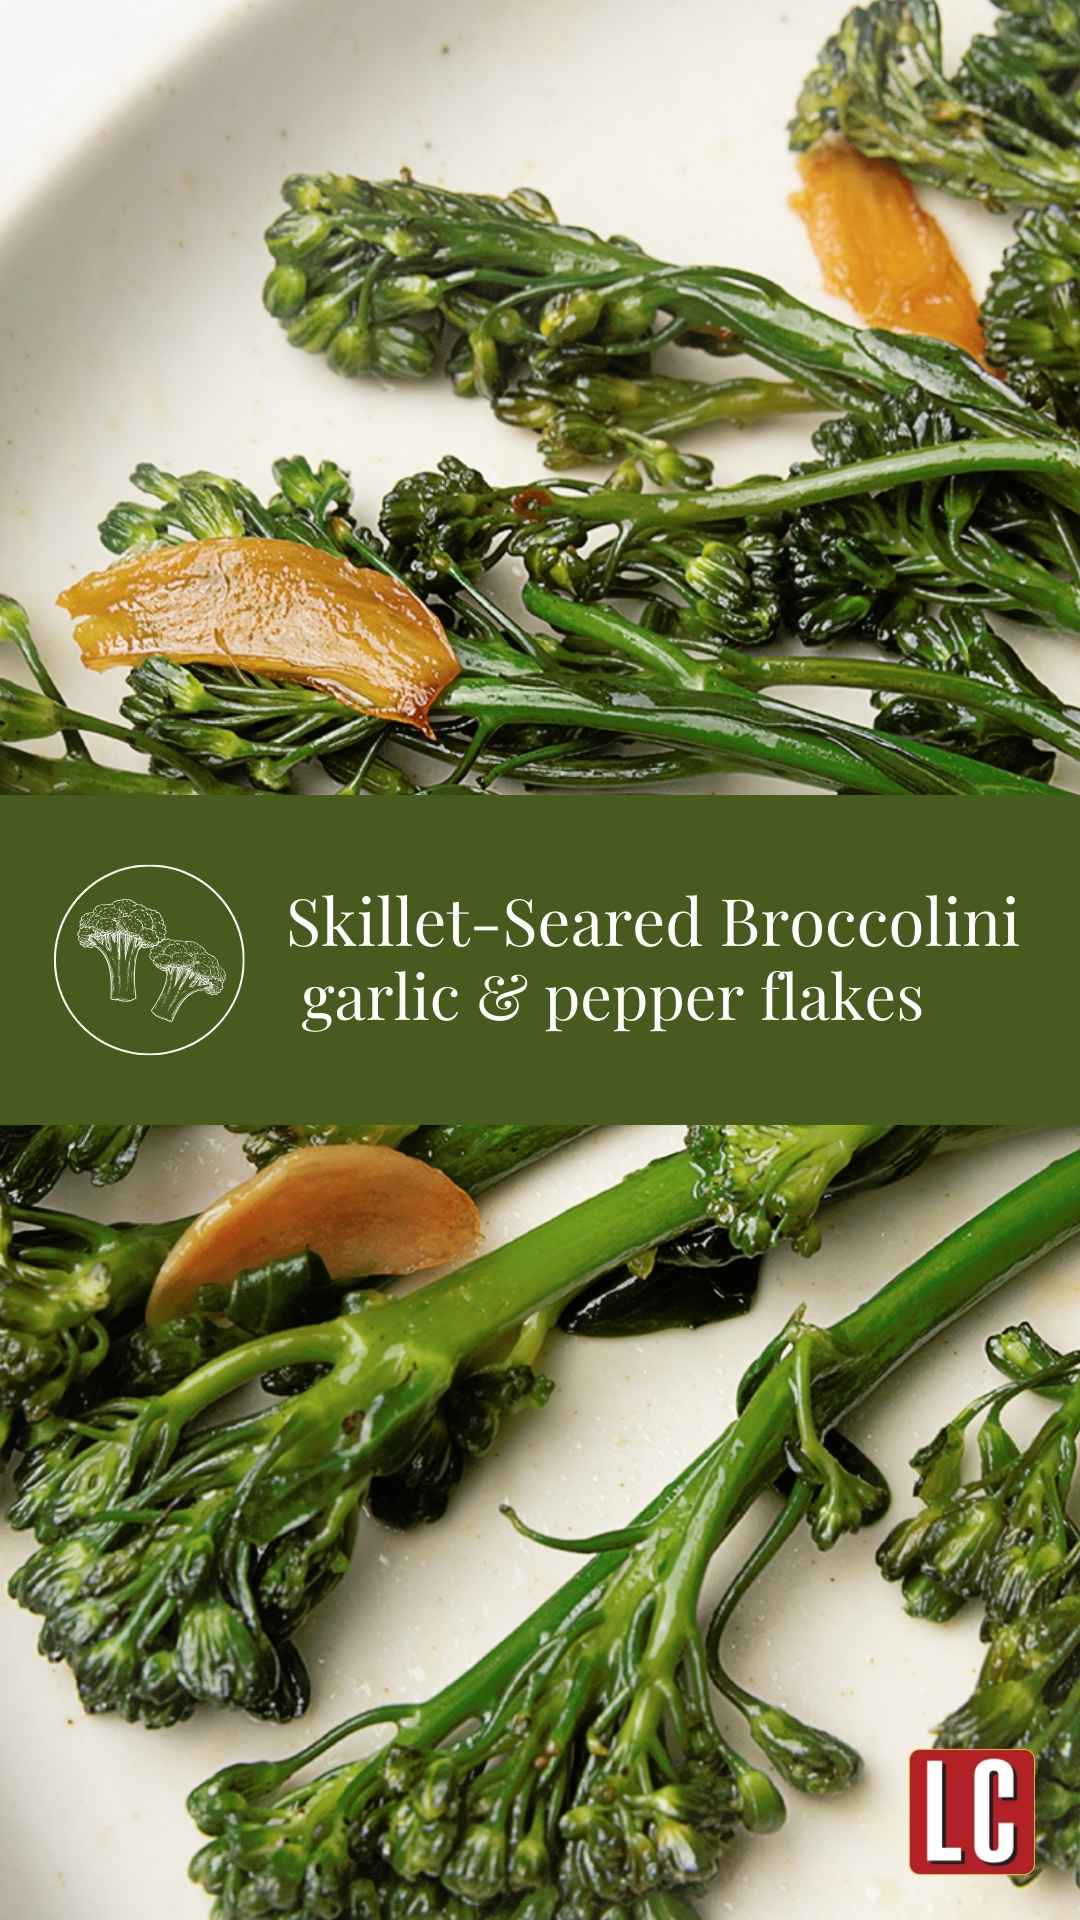
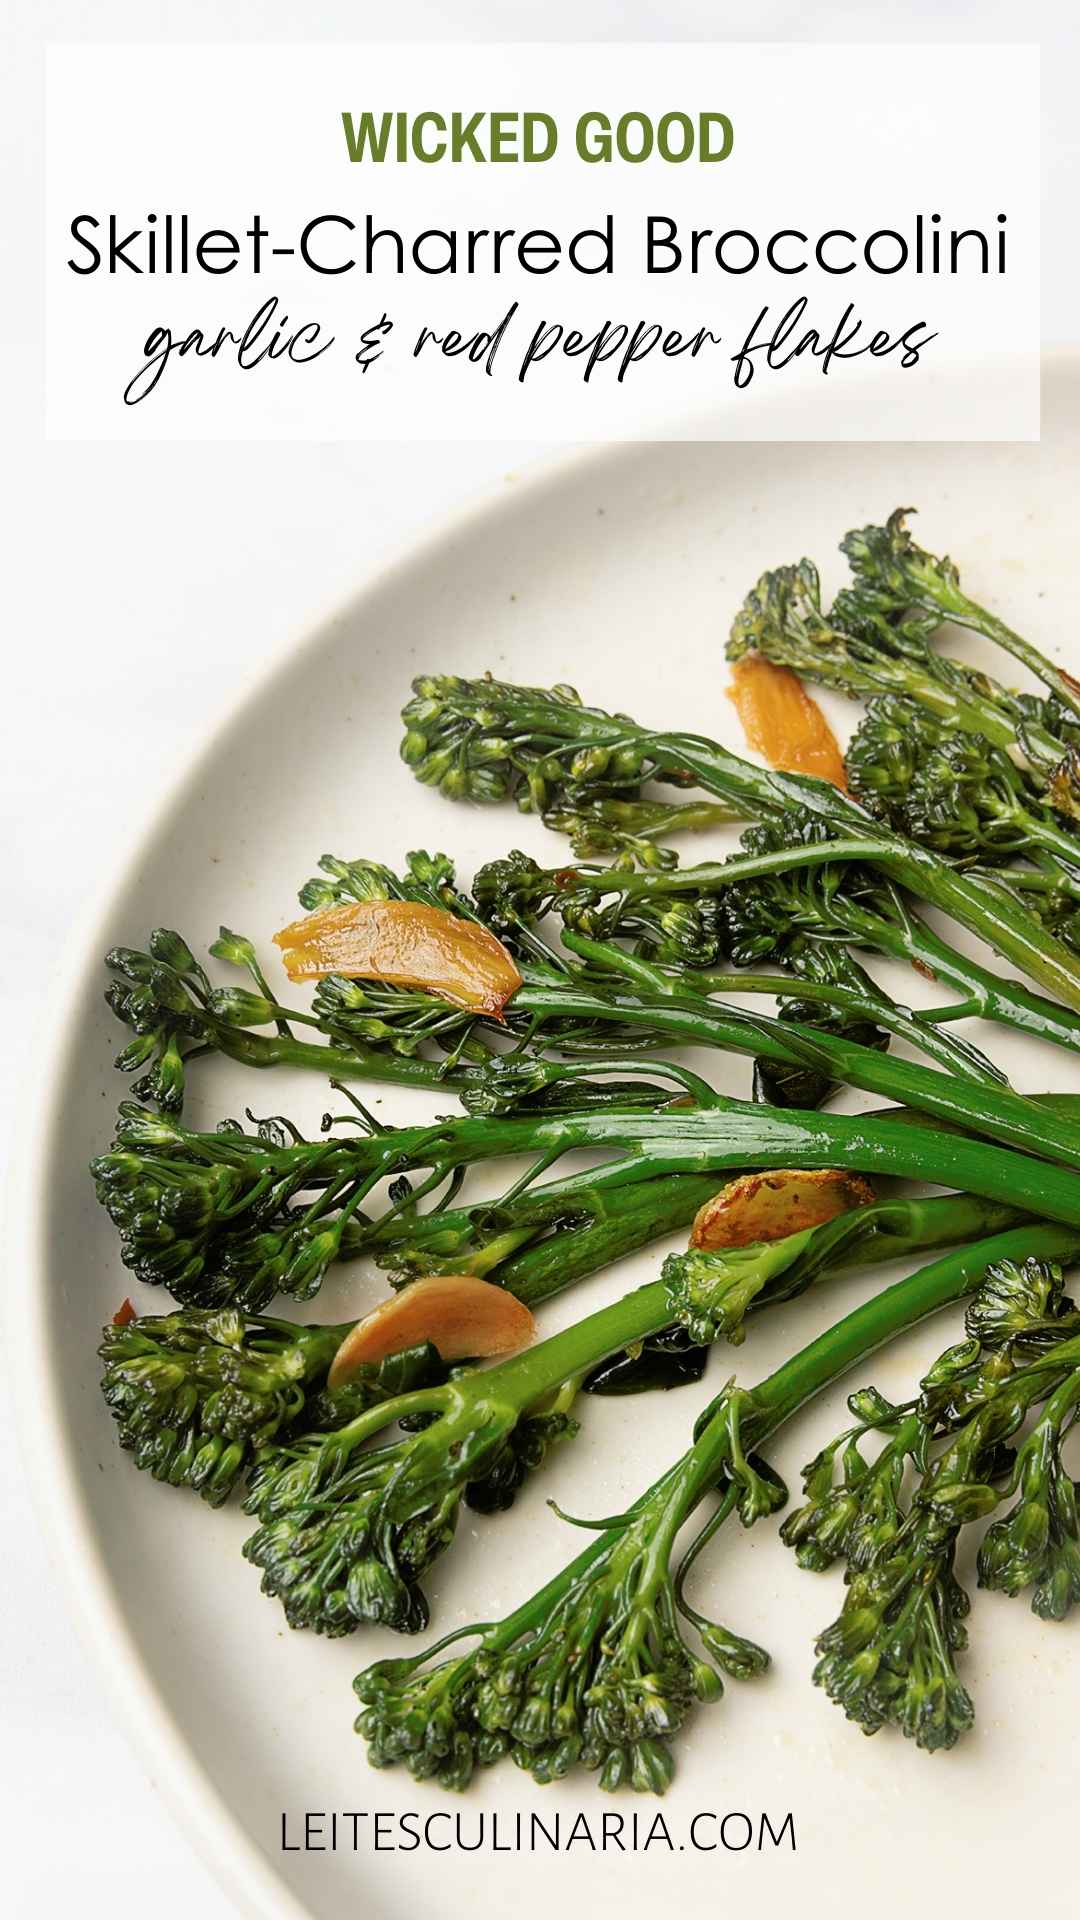
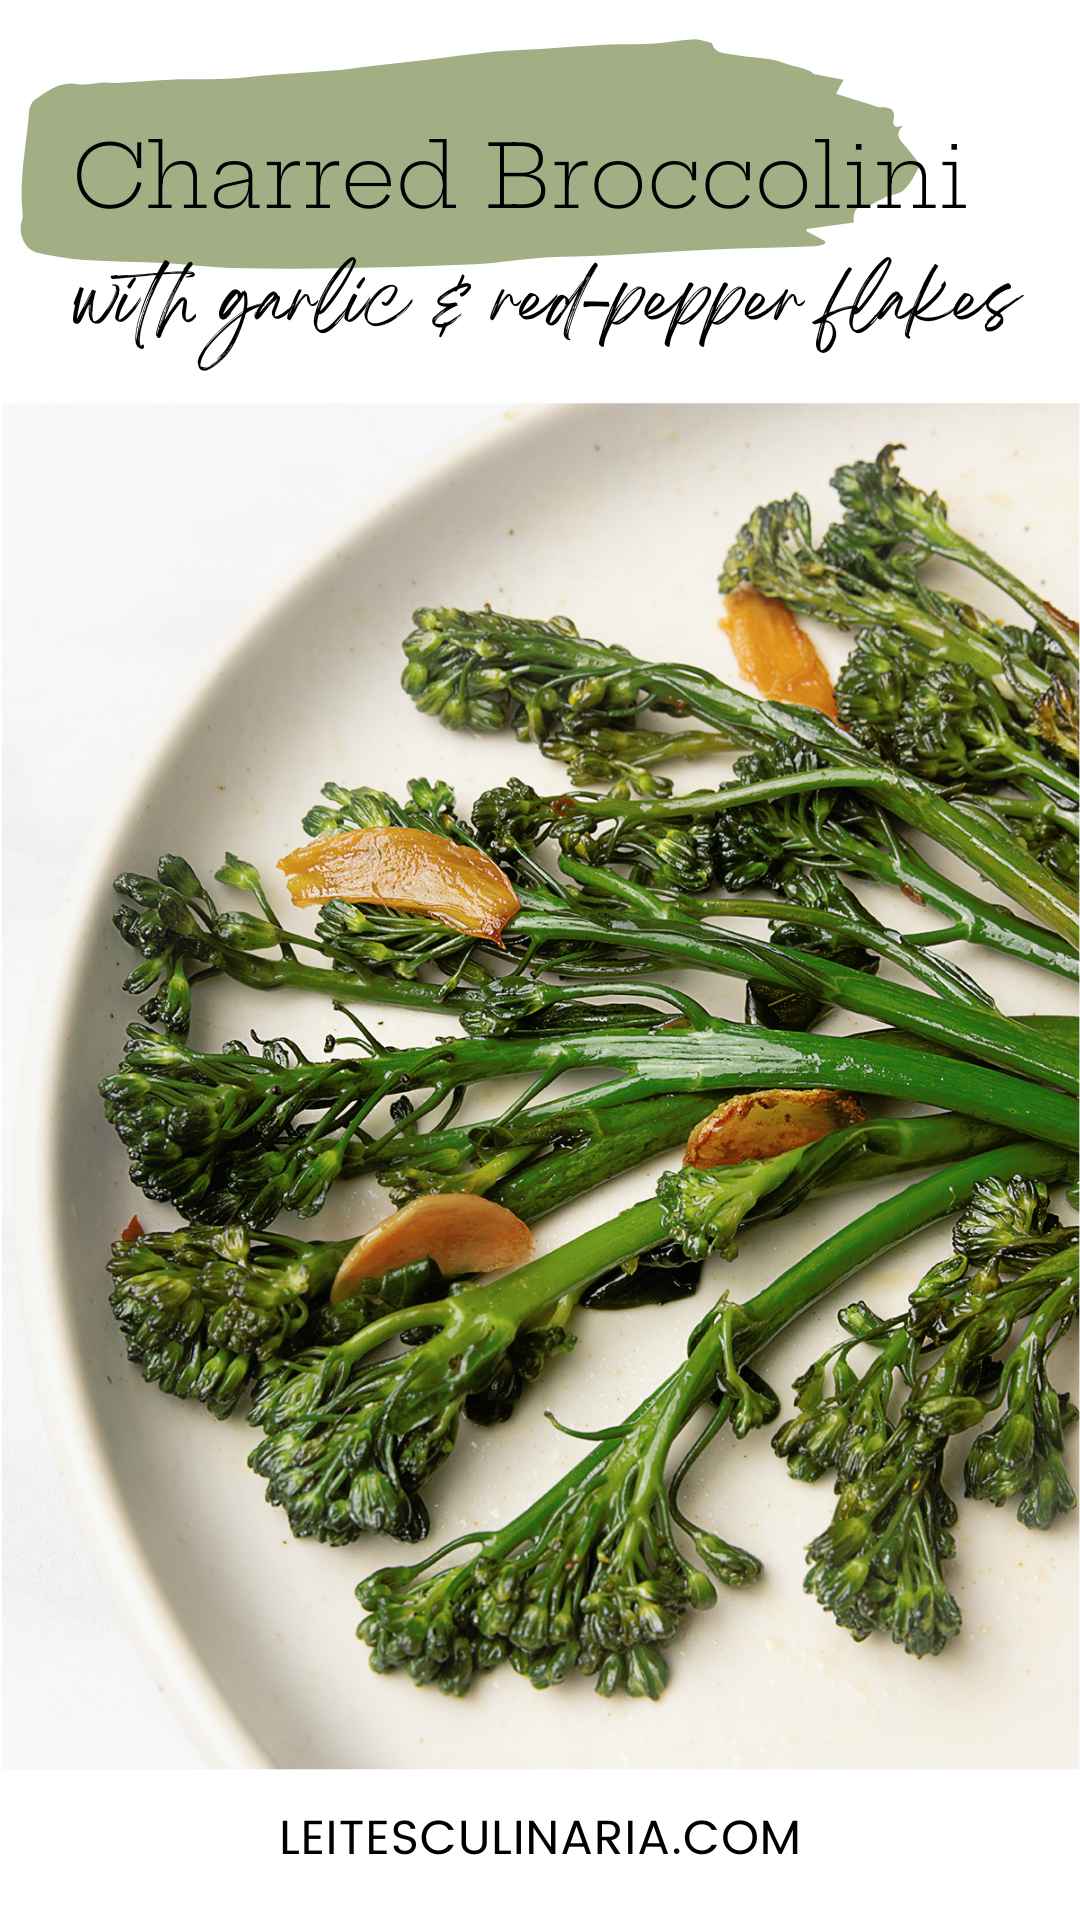
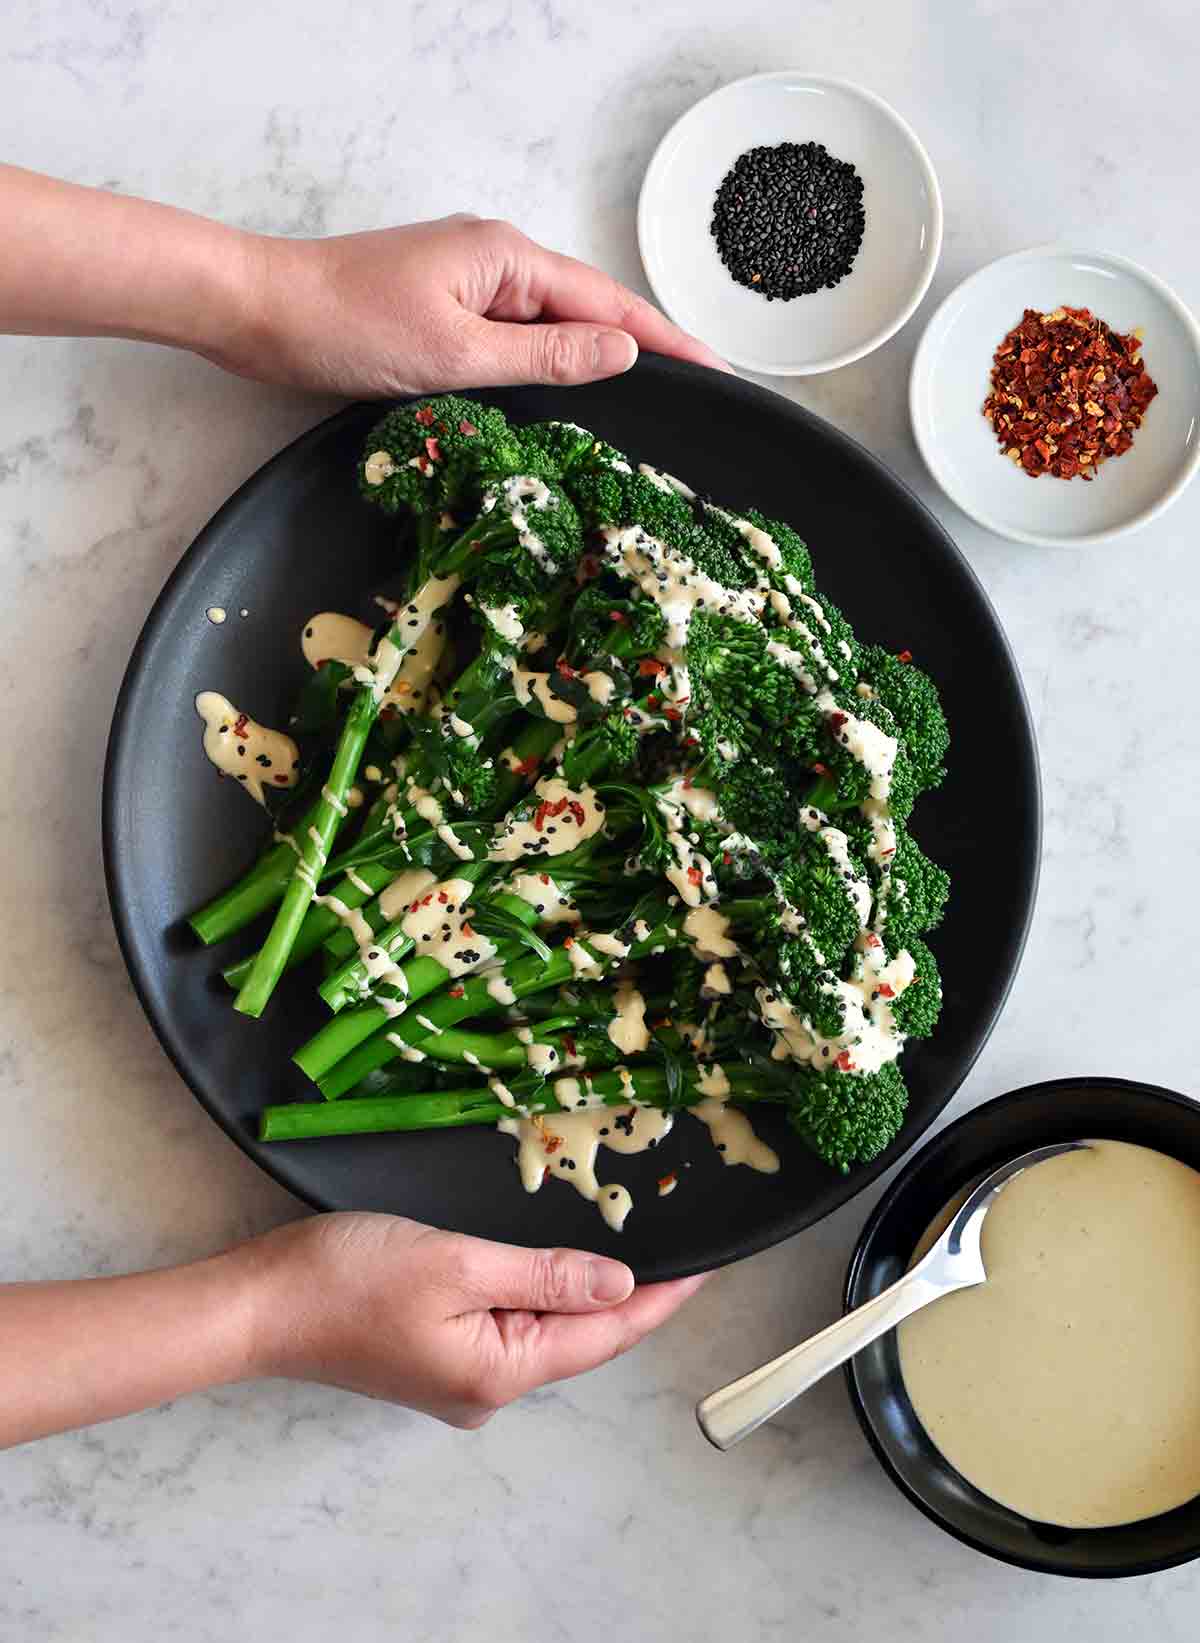
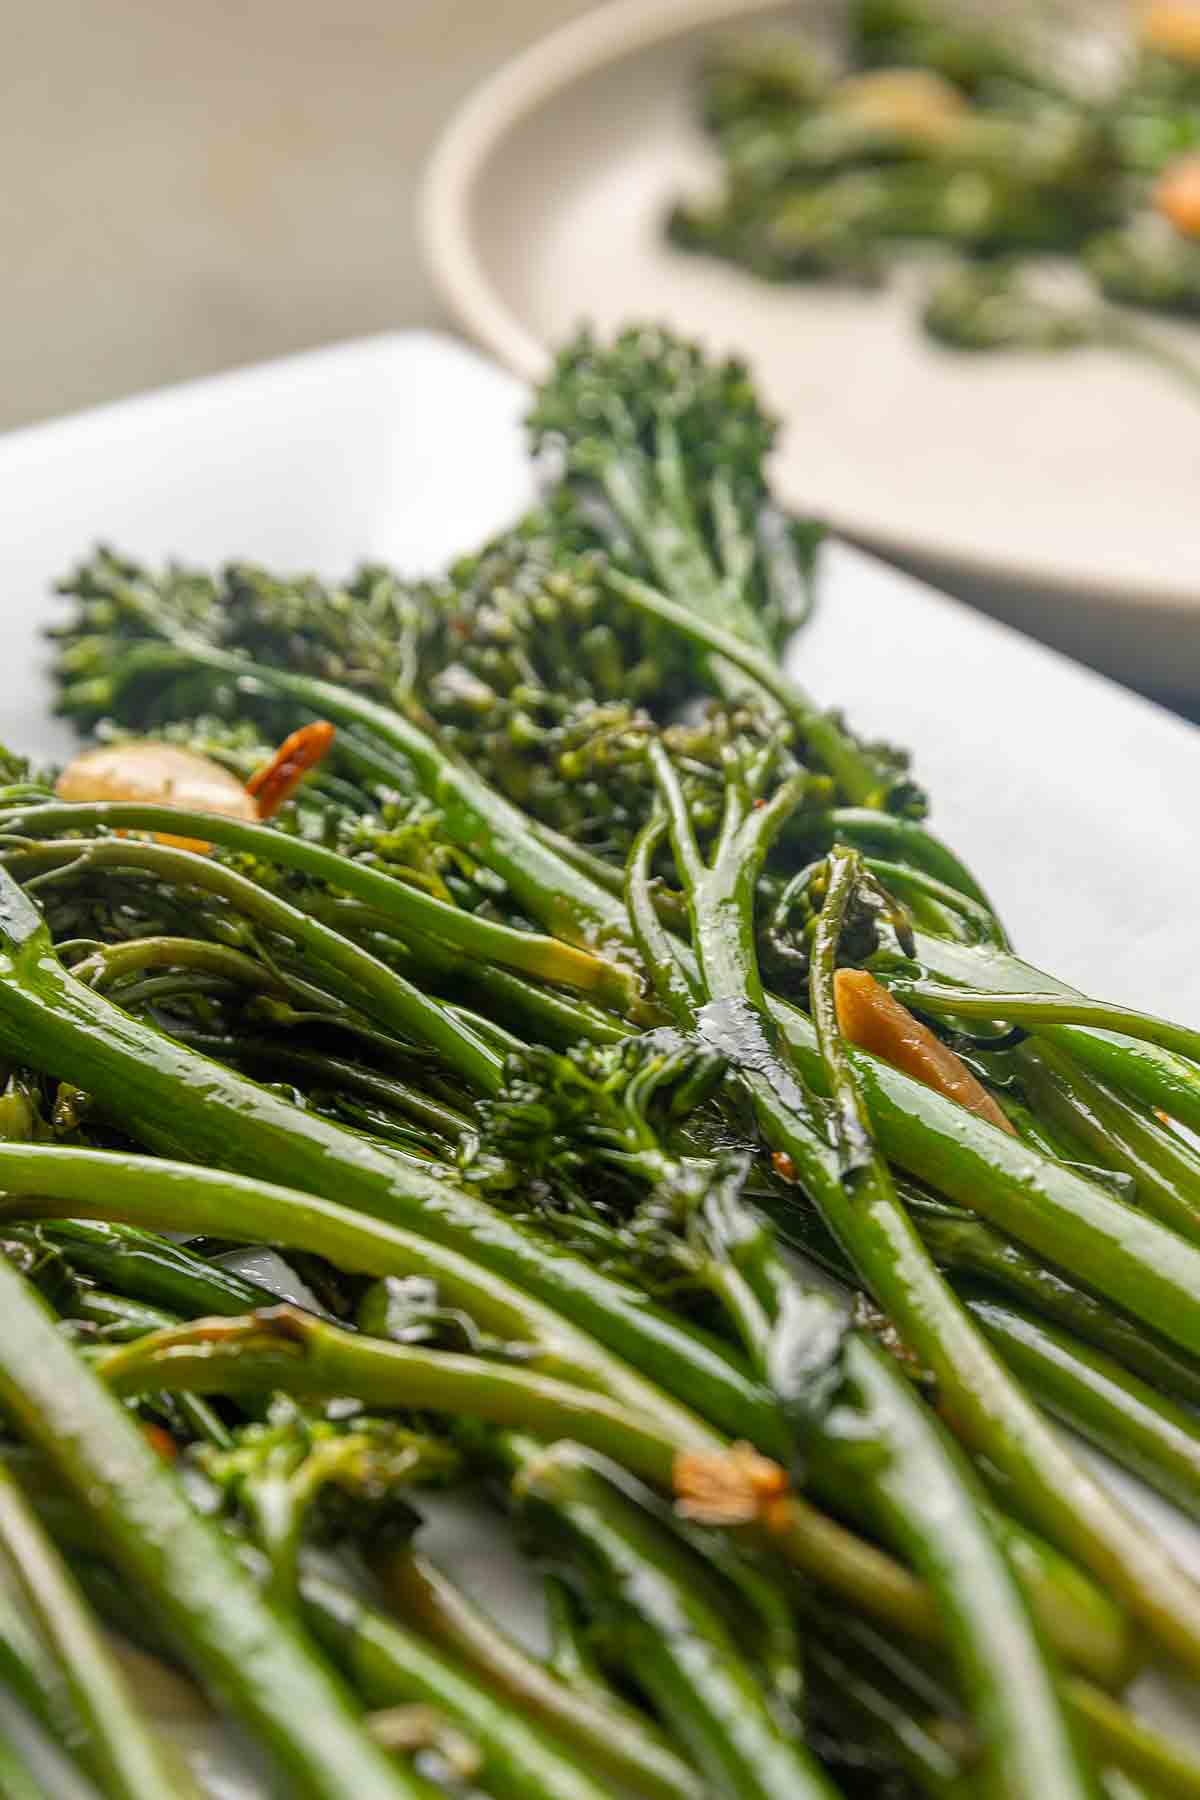
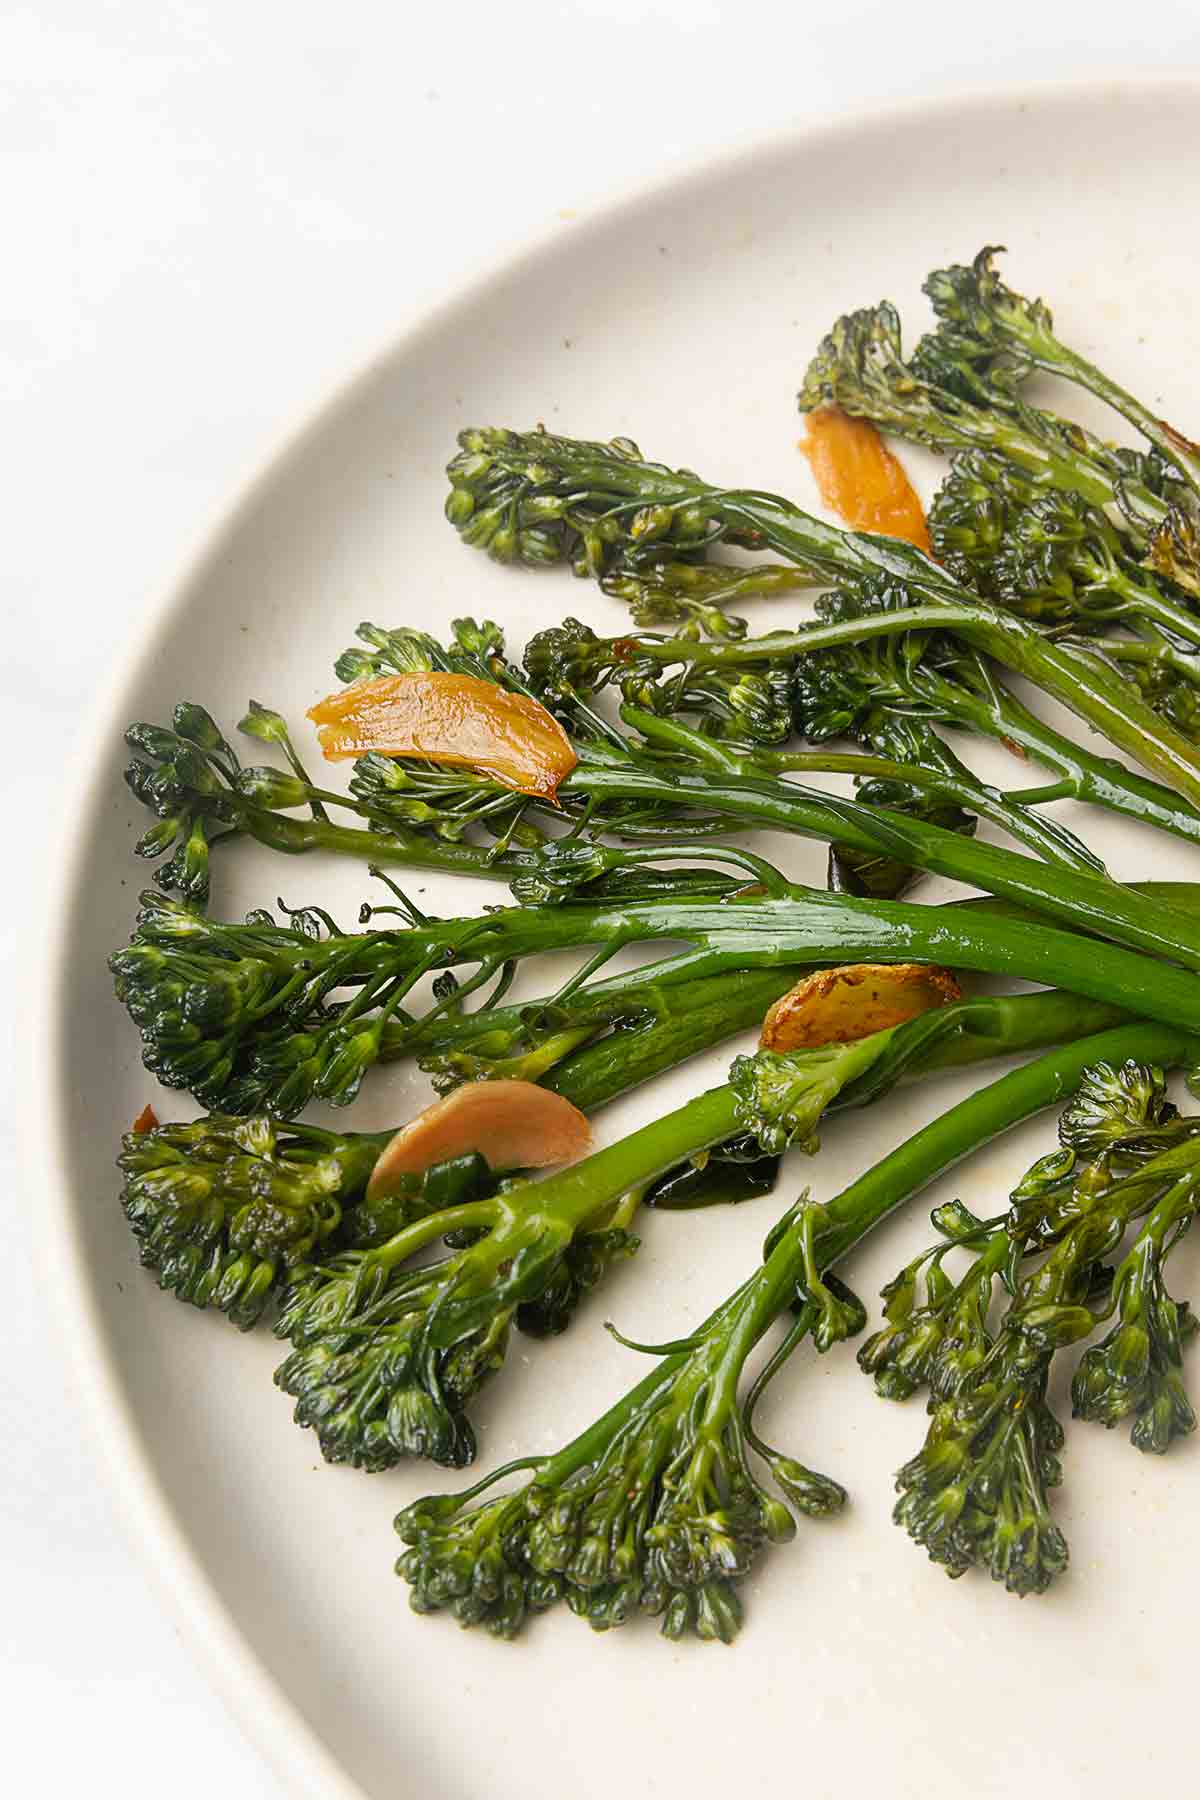
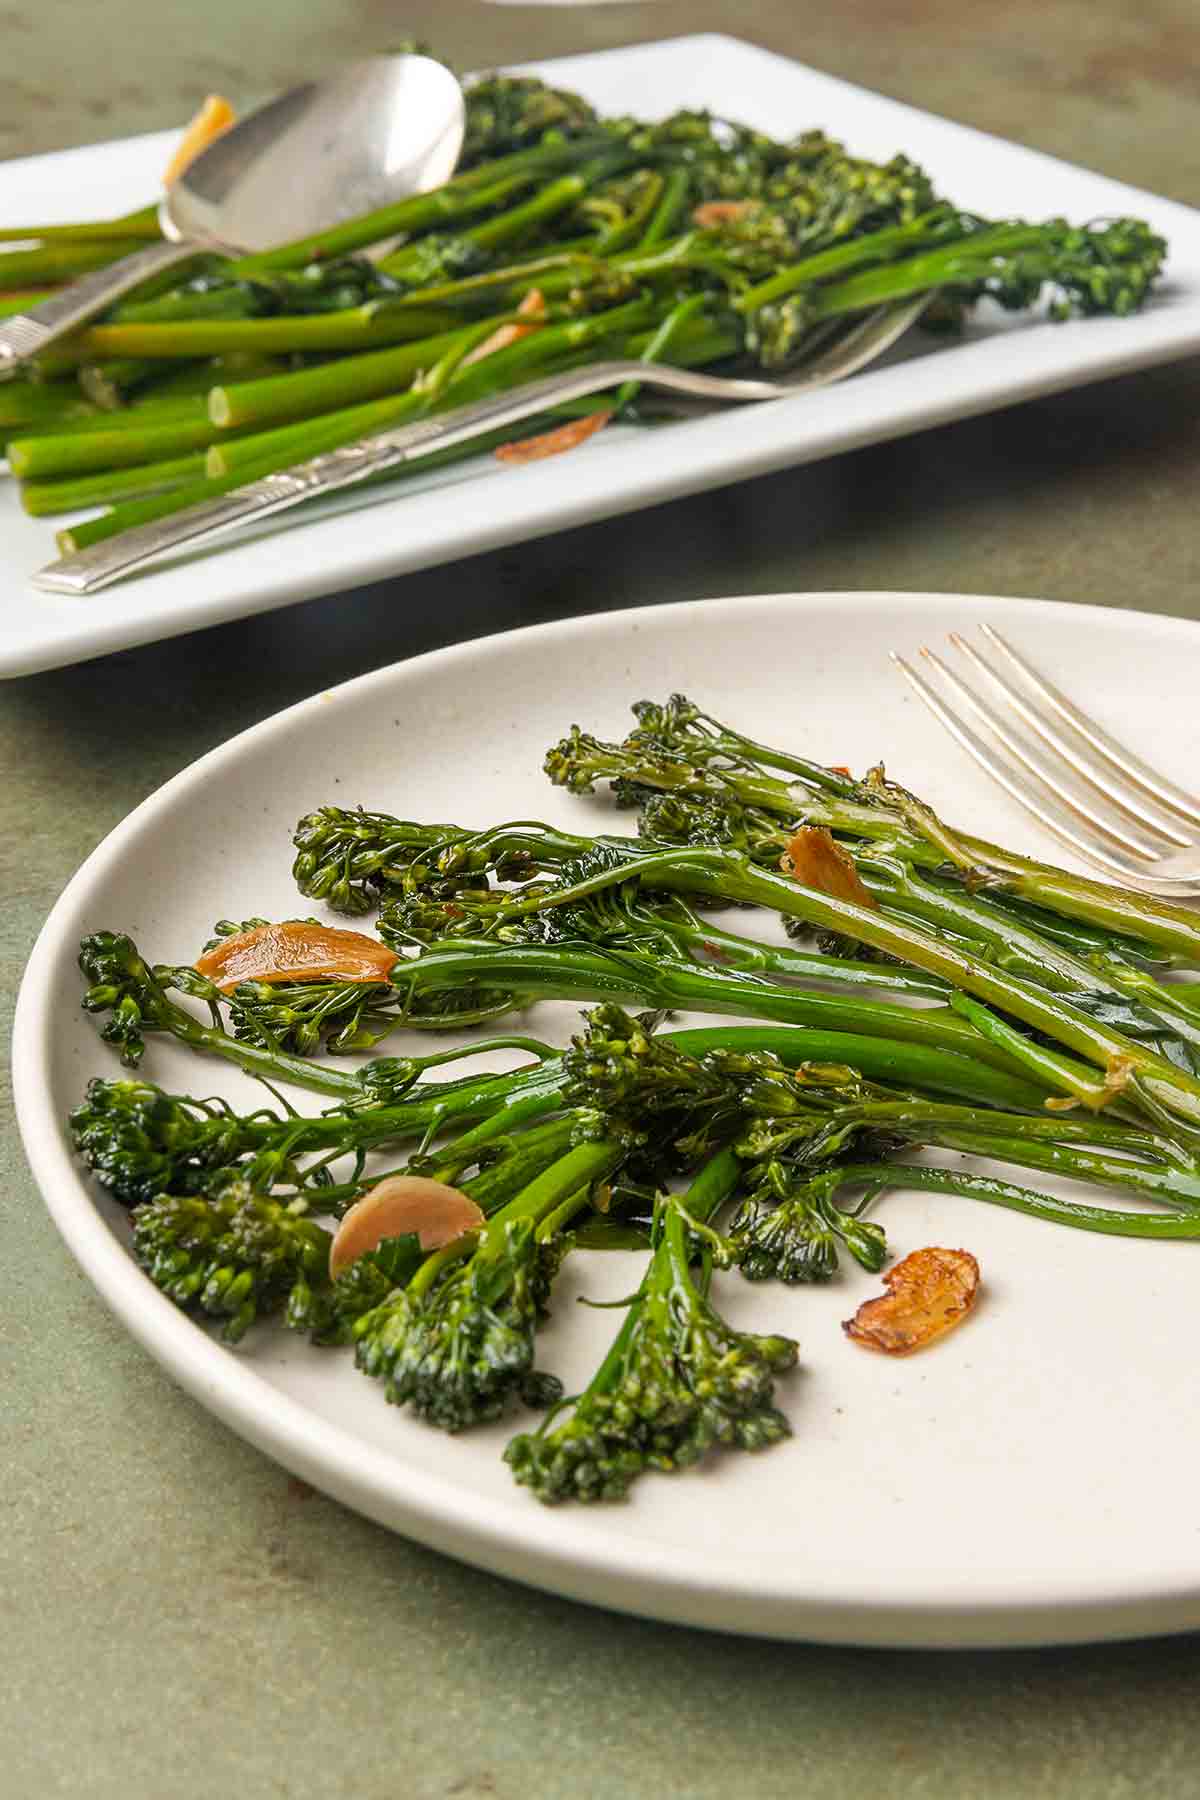
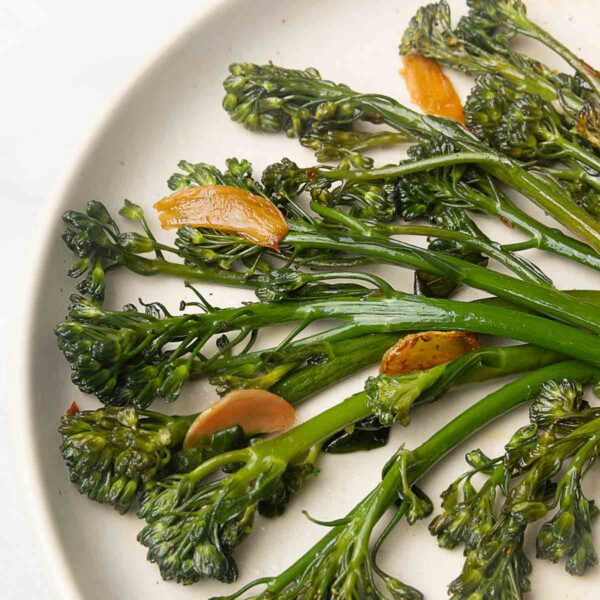
I’m not going to pretend that this skillet charred broccolini recipe is the sexiest thing you’ll make this week. Or that it’ll instantly turn your kids into vegetable aficionados.
However, I can promise that this simple side will come together quickly, only mess up a single pan, and earn you accolades from most (if maybe not all) of the folks at your table. This makes it a definite keeper in my books.

Why Our Testers Loved This
It’s no surprise that the testers are calling this the best broccolini recipe they’ve tried. They loved that it was simple to make, easy enough for beginner cooks, and made entirely in one pan.
Notes on ingredients
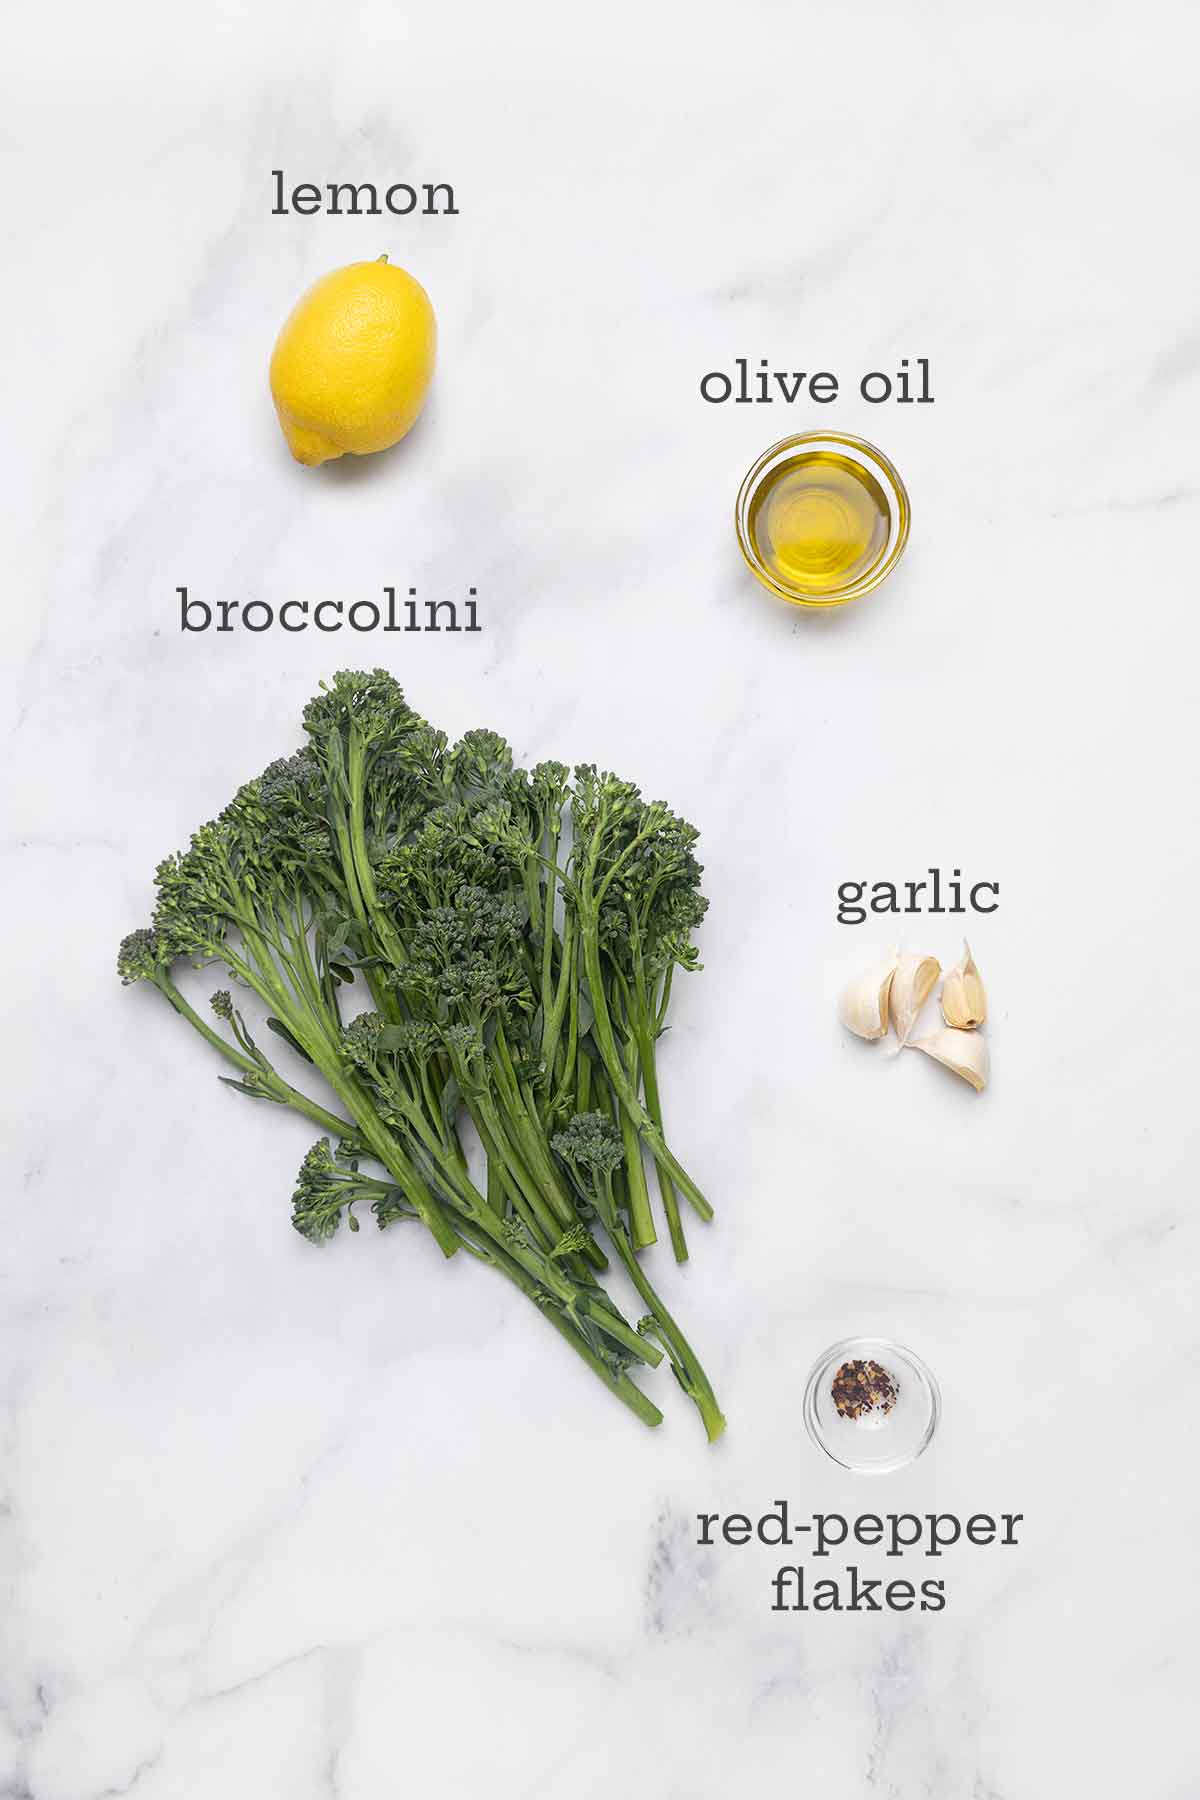
- Broccolini—To ensure you’re purchasing the freshest broccolini available, look for bunches that have firm stalks and tightly closed florets. You may see it labeled as baby broccoli or tenderstem broccoli.
- Garlic—Garlic adds a lot of flavor to this dish, so choose the freshest cloves you can find. Don’t use any that are shriveled or have started to sprout. And definitely do not use the bottled stuff. Blech!
- Red-pepper flakes—Red-pepper flakes (aka peperoncino flakes) lend the dish a bit of heat. Add more or less, depending on your tolerance for heat.
How to Make Charred Broccolini
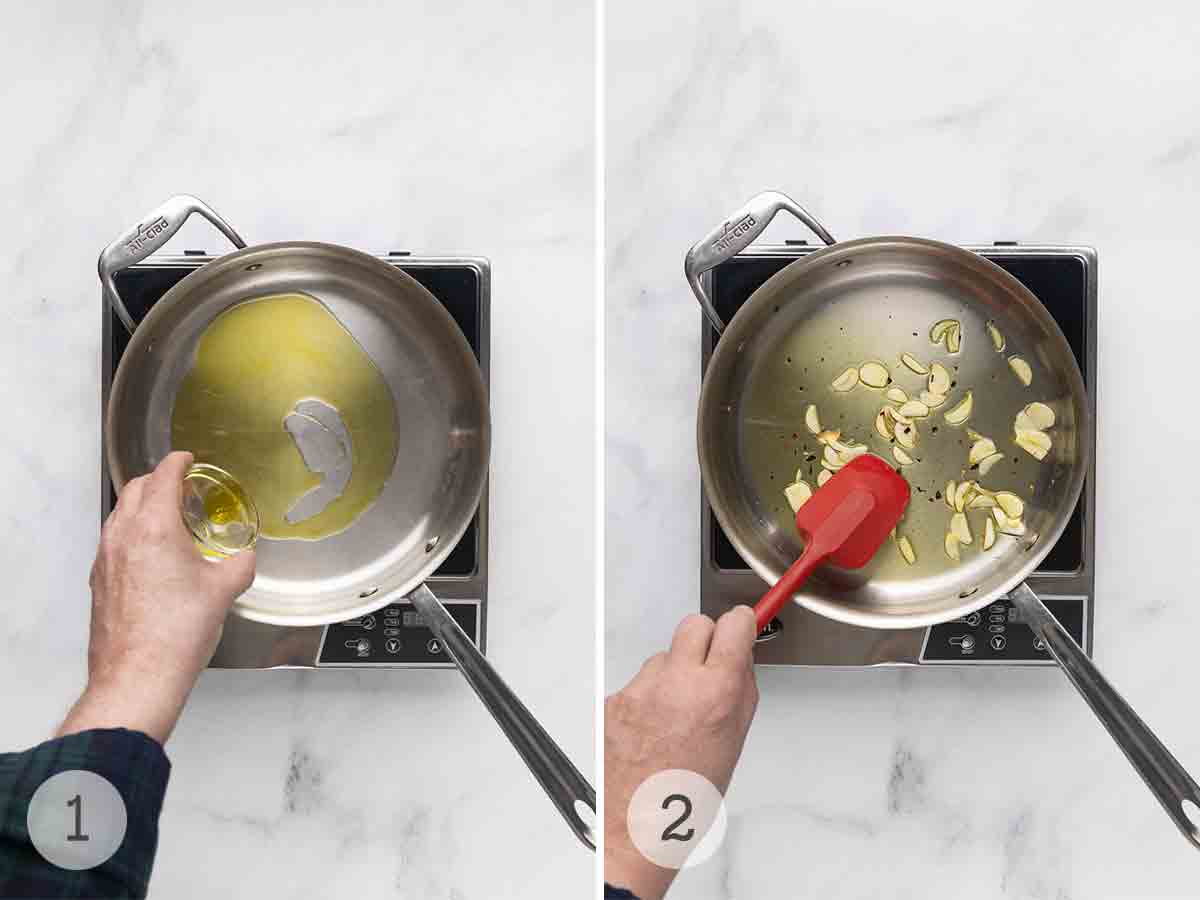
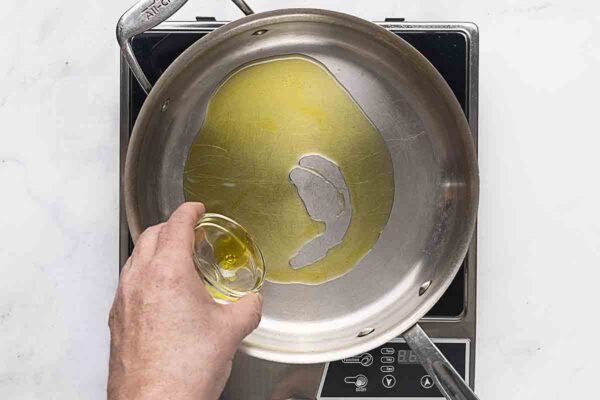
- Heat a generous-size skillet over medium heat. Drizzle in the olive oil.
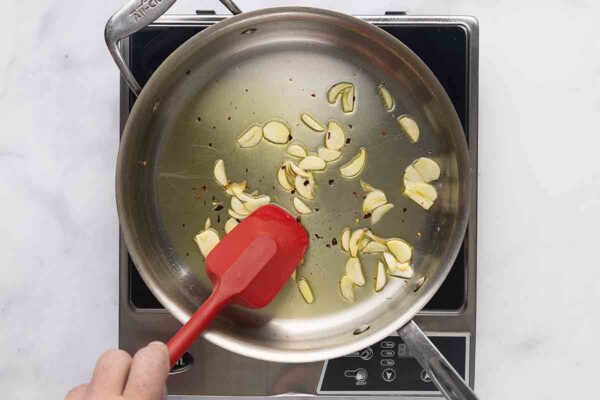
- Add the sliced garlic, pepper flakes, and a pinch of salt and cook until fragrant and golden.
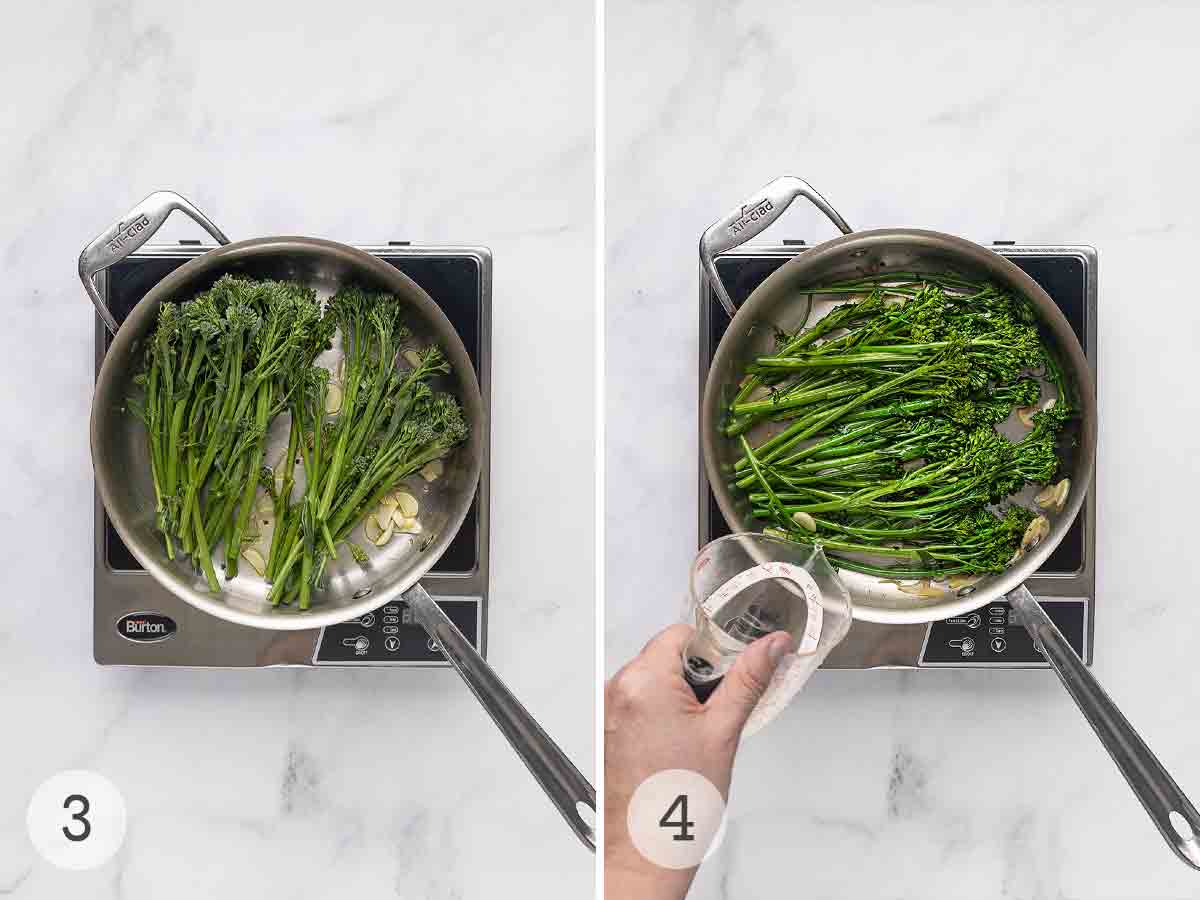
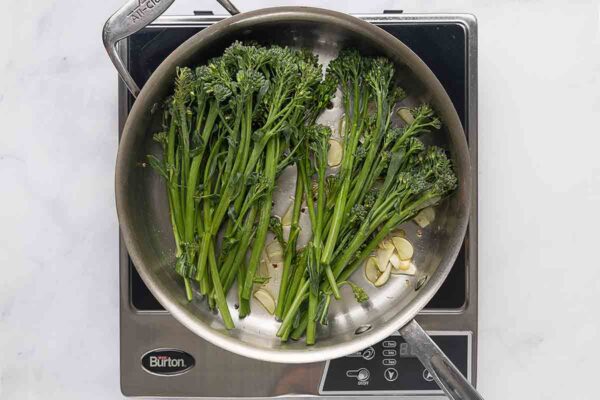
- Add the broccolini and cook, stirring occasionally, for a few minutes.
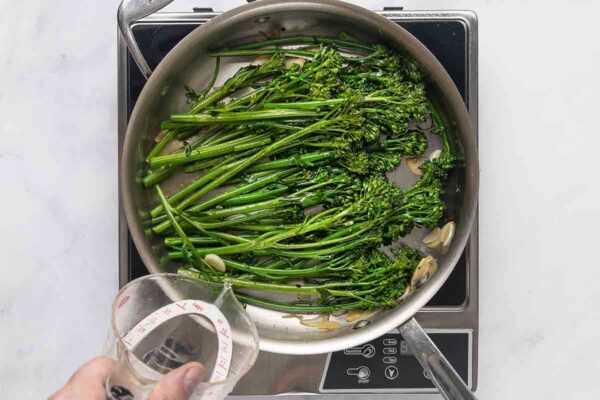
- Pour in the water, raise the heat to high, and cover.
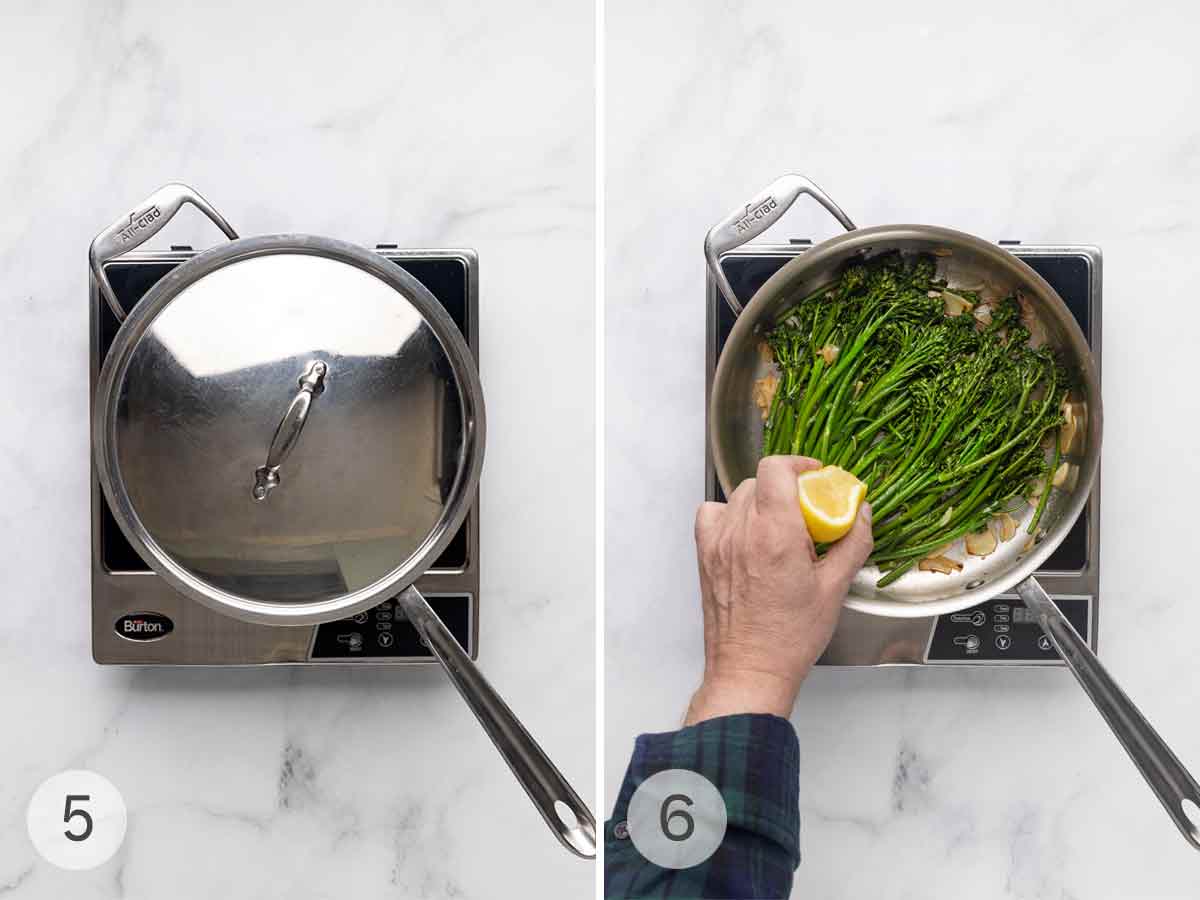
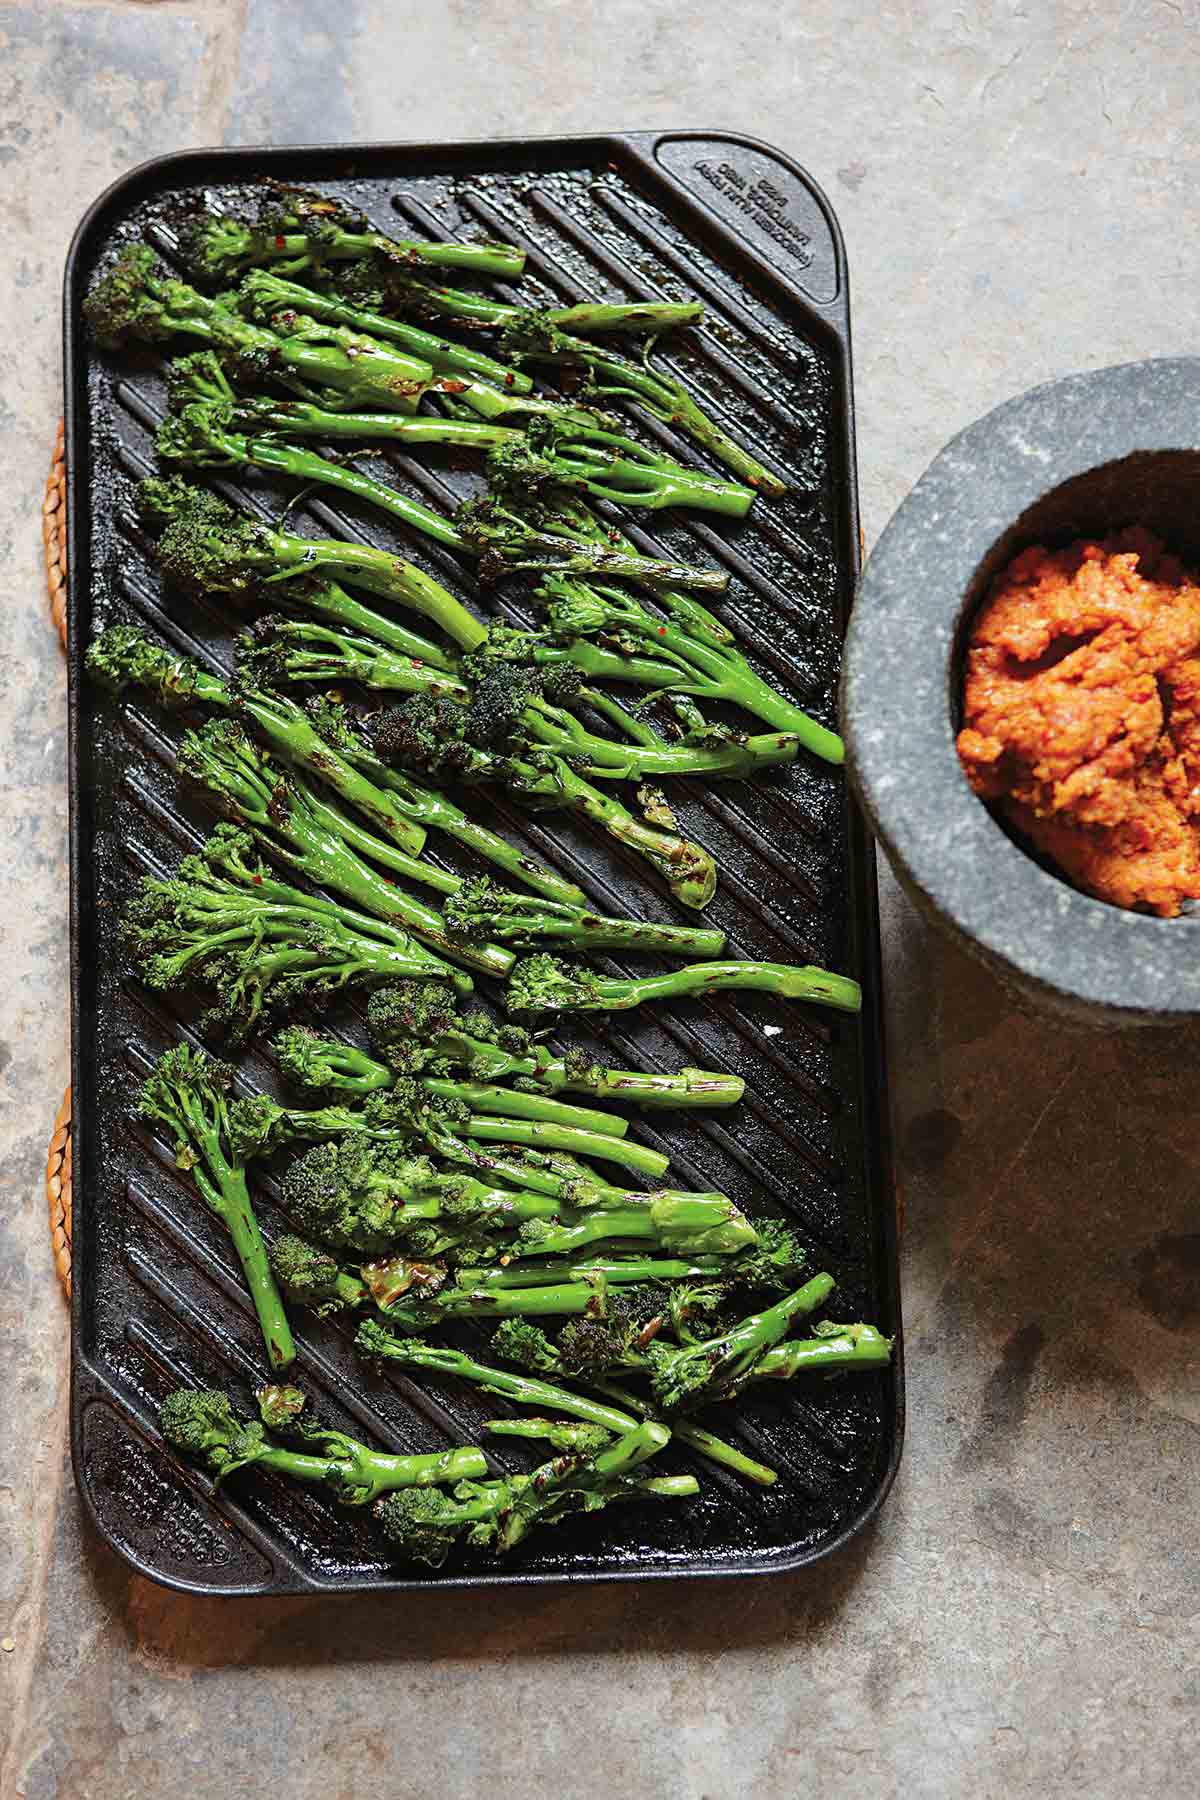
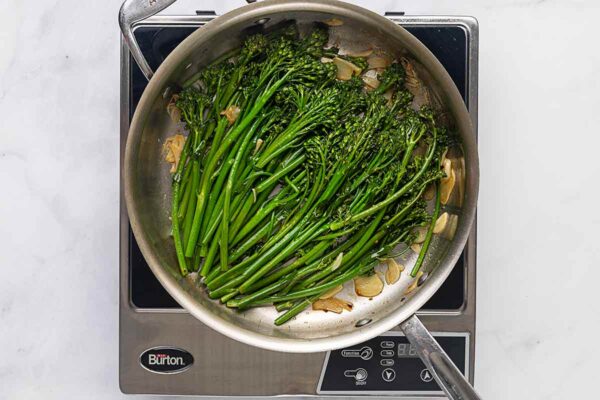
- Let the broccolini steam until the greens begin to soften. Uncover, season and cook until charred.
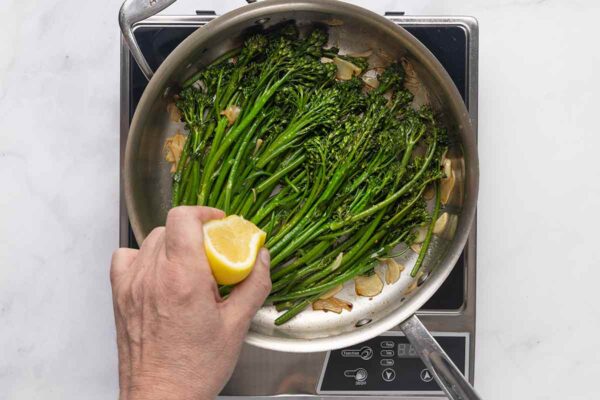
- Squeeze the lemon wedge over the broccolini and serve.
Common Questions
Want to save this?
Broccolini, a cross between broccoli and gai lan (Chinese broccoli), looks like a miniature version of regular broccoli but with long, slender stems and small bunches of florets. Its flavor is milder and sweeter than broccoli, and it’s best enjoyed when cooked just until crisp-tender.
It is perfectly safe to eat it after it flowers; however, the flavor is best before blossoming. Flowered broccolini can taste slightly bitter.
Pro tips & troubleshooting
- If your broccolini won’t fit comfortably in a single layer in the skillet, cook it in two batches.
- Garlic is notorious for burning, which turns it bitter. If your slices start getting too dark, scoop them out and add them back to the pan later.
- This recipe is suitable for gluten-free diets.
What to Serve with this Recipe
This quick and easy side dish is terrific with a simple protein, such as pan-seared chicken breast or sheet pan salmon. Add a bowl of steamed rice to complete your dinner.
Substitutions
- Broccoli rabe would work well in place of the broccolini.
- Chicken stock or vegetable stock can be used in place of the water. Hell, I’ve even splashed in a bit of apple cider and white wine.
Storage and Reheating
Store leftover broccolini in a sealed container in the fridge for up to 3 days. Reheat it in a warm skillet or an air fryer until crisped and heated through.
Write a Review
If you make this recipe, or any dish on LC, consider leaving a review, a star rating, and your best photo in the comments below. I love hearing from you.–David
Skillet Charred Broccolini
Ingredients
Instructions
- Heat the olive oil in a large skillet over medium heat.
- Drop in the garlic, pepper flakes, and a pinch of salt and stir frequently until the garlic turns golden and infuses the oil, about 2 to 4 minutes. Be careful not to let the garlic burn.
- Add the broccolini to the skillet and cook, turning occasionally, for 2 to 3 minutes.
- Pour in the water carefully–it will steam and may splatter–raise the heat to high, cover, and steam for 3 to 4 minutes.
- Uncover the skillet and season with salt, if needed. Continue searing the broccolini until it's charred to your liking, 2 to 5 minutes.
- Spritz some lemon juice over top and rush to the table.
Notes
- Work in batches–If your broccolini won’t fit comfortably in a single layer in the skillet, cook it in two batches.
- Don’t burn the garlic–Garlic is notorious for burning, which turns it bitter. If your slices start getting too dark, scoop them out and add them back to the pan later.
- Storage and reheating–Store leftover broccolini in a sealed container in the fridge for up to 3 days. Reheat it in a warm skillet or an air fryer until crisped and heated through.
- Dietary–This recipe is suitable for gluten-free diets.

An LC Original
View More Original RecipesExplore More with AI
Nutrition
Nutrition information is automatically calculated, so should only be used as an approximation.
Recipe Testers’ Reviews
Did you know only 68% of the recipes we test make it onto the site? This recipe survived our rigorous blind testing process by multiple home cooks. It earned the Leite’s Culinaria stamp of approval—and the testers’ reviews below prove it.
I think I’ve found my new favorite vegetable…and preparation method. This recipe is quick and easy, and the results are out of this world. There’s not much to say—the preparation and cooking couldn’t be more straightforward.
The key is to use a heavy-duty pan and get the pan really hot before dropping in the broccolini. Be careful because if you do it right, it packs a big sizzle.
The recipe is so straightforward. We had too much broccolini for one batch, so we did it in two, and that didn’t mess up the timing for the rest of our dinner.
This simple recipe comes together quickly but results in a side dish with loads of flavor that highlights the sweetness of the vegetable. I was especially pleased with the addition of the garlic.
I steamed the stalks until they were a lovely, bright green, then charred them before seasoning with sea salt. I sprinkled them with lemon juice once they were on the serving platter. I wasn’t able to purchase much broccolini, but I assume 100 grams per person would be a decent serving size.
This recipe takes advantage of broccolini’s more subtle and tender personality. It kicks it up with some pleasant bitterness from the charring and balances it all out with a nice splash of acidity from the fresh lemon.
I found this to be an extremely versatile side dish, and all of my kids enjoyed it, too. The fact that it all takes place in one pan makes it all the better! The broccolini played nicely with the rest of the meal: creamy polenta, grilled hanger steak, and basil lemonade.
It’s the simplest recipe and easy for the beginning cook. The lemon was a nice addition to the crispness of the flavor and paired well with my 14 Hands Sauvignon Blanc.
