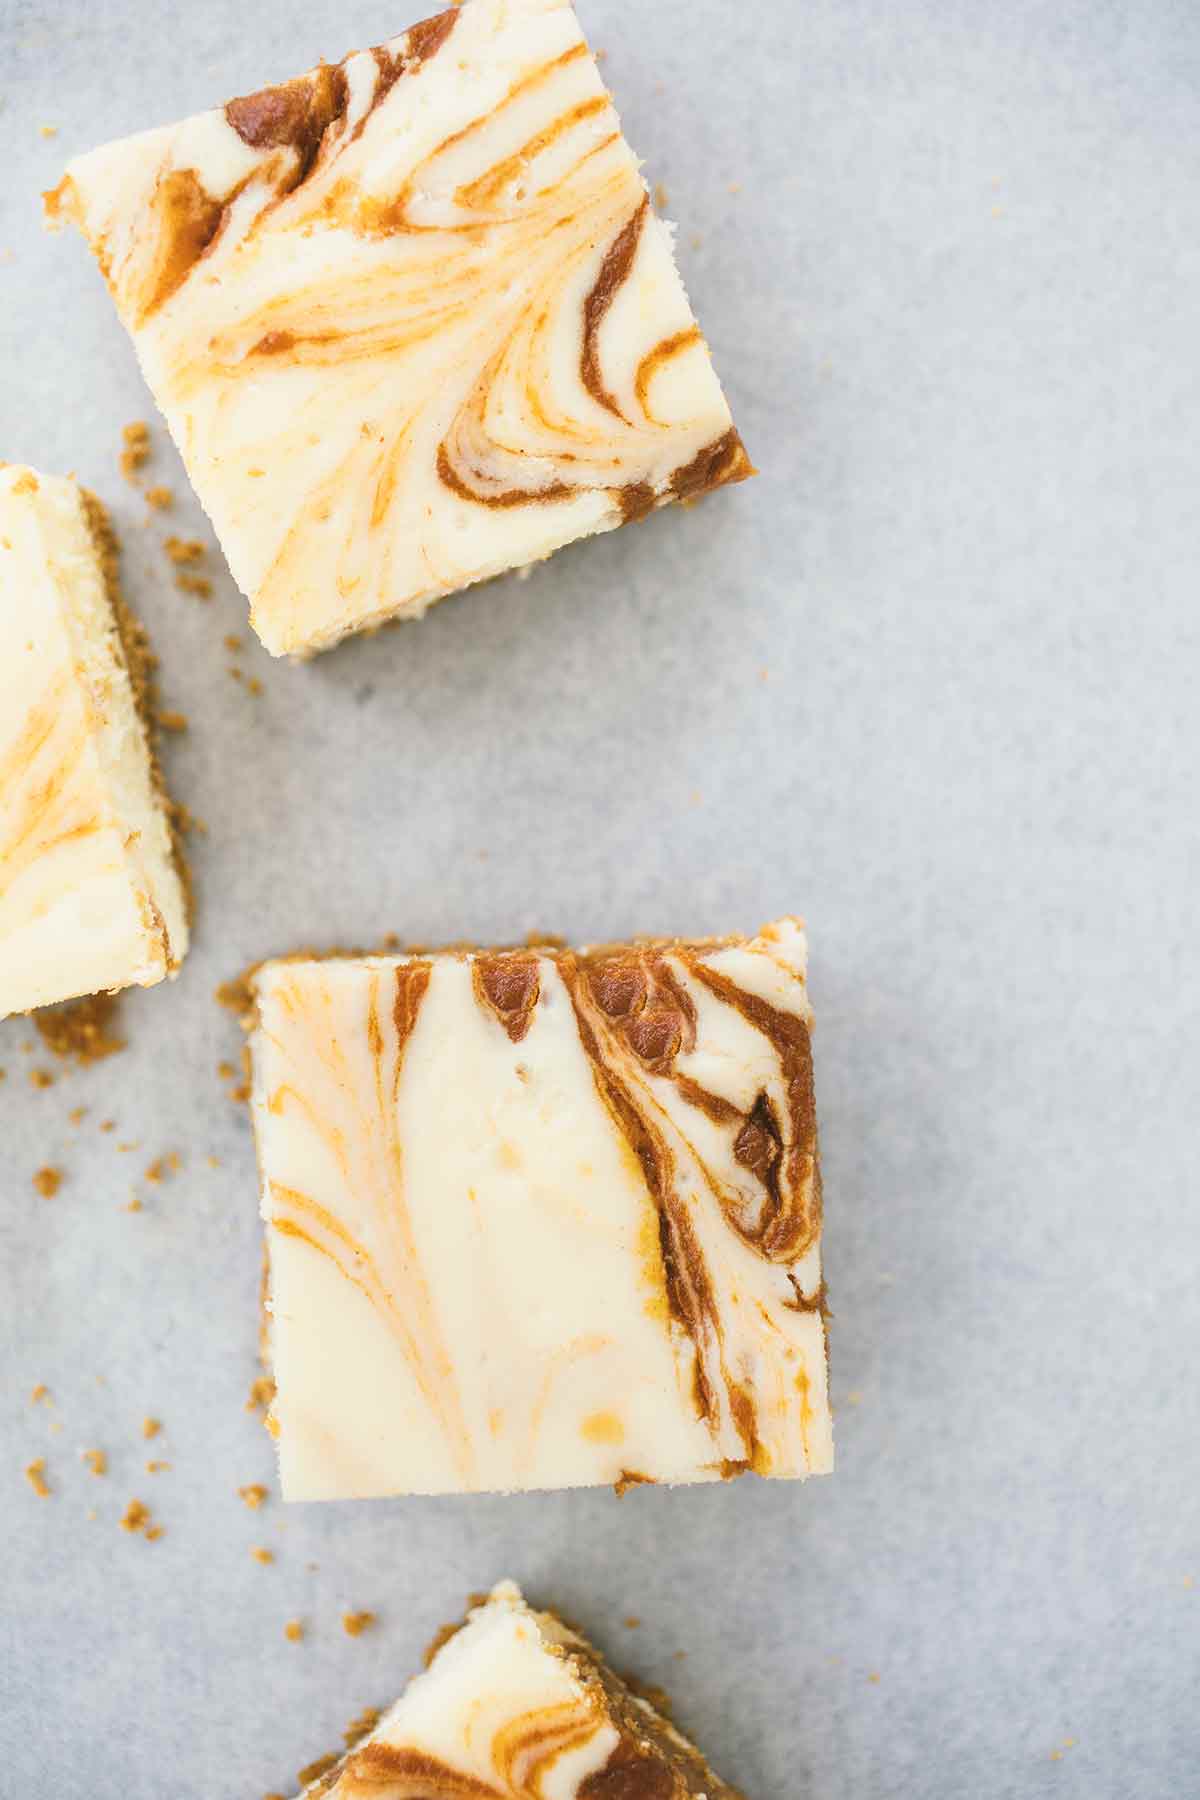
TL;DR (Quick-Answer Box)
- What it is: A decadent dessert bar with a buttery graham cracker crust, a creamy cheesecake layer, and a kicky spiced pumpkin pie filling swirled throughout.
- Why you’ll love it: It offers the best of both pumpkin pie and cheesecake in a snackable, sliceable bar, making it the must-bake, sassy holiday dessert.
- How to make it: Press the graham crust into the pan + bake and cool. Pour in the cream cheese filling, dollop the pumpkin mixture on top, gently swirl, then bake until done. Let cool completely in the oven and then at room temperature, and finally chill for at least 4 hours.

Jump To
I like pumpkin pie alright, but in all honesty, I will always take a slice of anything else over it, especially if cheesecake is an option. But pumpkin pie swirled into cheesecake? I will never say no.–Sarah Kieffer
Featured Review
OK. This is outrageous. Creamy, rich and sweet. Loved by my whole crew. BRAVO!
Margo Wickesser
Your Pumpkin Cheesecake Bars Questions, Answered
This recipe won’t use a full can of pumpkin purée, but don’t toss the extra. It can be used for making pumpkin muffins, pumpkin pie babka, or pasta dough.
Definitely. Simply roast cubes or halves of fresh pumpkin until tender, dump into the food processor, and blitz until smooth.
Use room temperature ingredients for the smoothest, lump-free filling.
More Stellar Cheesecake Recipes
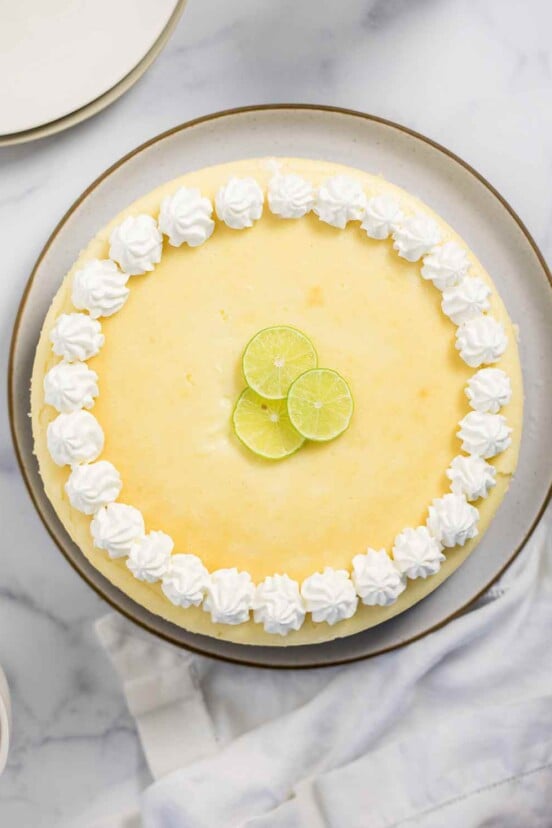
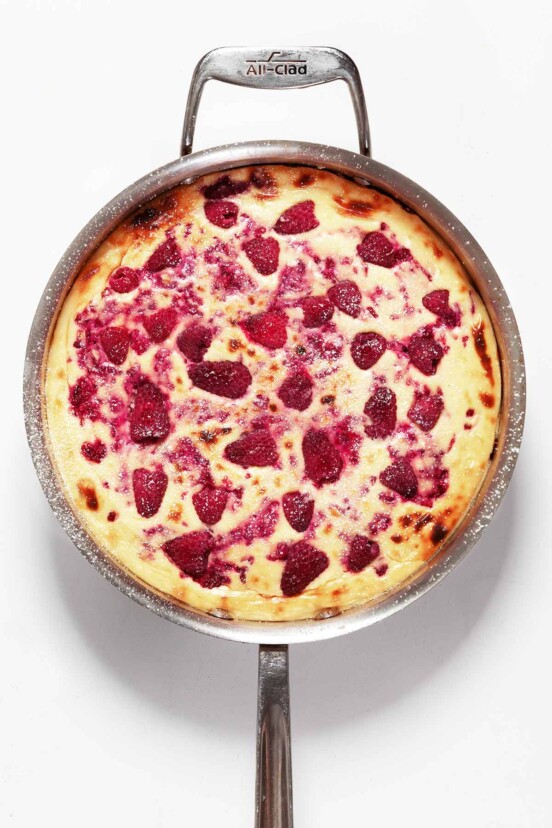
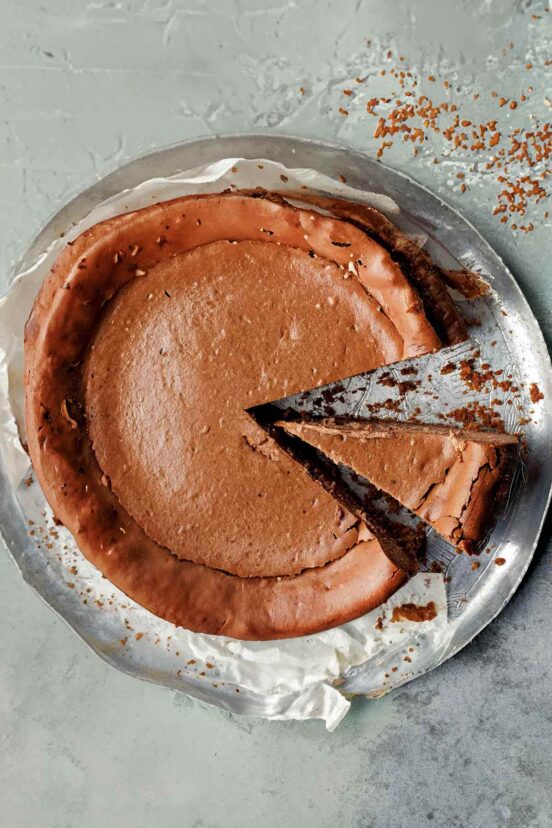
Fancy a trip to Italy? This incredibly dreamy ricotta cheesecake straight from Rome’s Jewish Quarter is lighter than air. Your mouth screaming for something bright and zesty? Heck yes! Whip up this tangy Key lime cheesecake with a crunchy pecan crust. If you’re thinking “less fuss, more fabulous,” then kids, this fantastically easy skillet cheesecake bursting with lemon and raspberry is your answer—so simple, so chic. And for my fellow coffee fanatics, you need this bold espresso cheesecake with a kicky biscotti crust in your life.
Write a Review
If you make this recipe, or any dish on LC, consider leaving a review, a star rating, and your best photo in the comments below. I love hearing from you.–David
Pumpkin Swirl Cheesecake Bars
Ingredients
For the crust
- 1 1/2 cups graham cracker crumbs
- 3 tablespoons granulated sugar
- 1/4 teaspoon ground cinnamon
- 1/4 teaspoon ground ginger
- 4 tablespoons (2 oz) unsalted butter, melted and cooled
For the pumpkin pie filling
- 1 cup unsweetened pumpkin purée
- 1/2 cup light or dark brown sugar
- 1 large egg, at room temperature
- 1 tablespoon pure maple syrup
- 1/2 to 3/4 teaspoon ground cinnamon
- 1/4 to 1/2 teaspoon ground ginger
- 1/4 to 1/2 teaspoon freshly grated nutmeg
- 1/4 teaspoon salt
For the cream cheese filling
- 24 ounces full-fat cream cheese, at room temperature
- 1 cup granulated sugar
- 1 teaspoon vanilla extract
- 1/4 teaspoon salt
- 3 large eggs, at room temperature
- 1/2 cup heavy cream
Instructions
Make the crust
- Preheat the oven to 325°F (170°C). Adjust an oven rack to the middle of the oven. Line a 9-by-13-inch (23-by-33-cm) pan with parchment paper, leaving a 1-inch (25-mm) overhang on the long sides of the pan.
- In a medium bowl, whisk together the graham cracker crumbs, granulated sugar, cinnamon, and ginger. Add the melted butter and mix with a spatula until evenly incorporated.
- Press the mixture onto the bottom of the prepared pan and bake until the crust is fragrant and a slightly darker shade of golden, about 10 minutes.
- Remove the pan from the oven and let it cool. After the pan has cooled, wrap the outside sides of the pan in 2 layers of aluminum foil, with the shiny side facing out.
Make the pumpkin pie filling
- In a medium bowl, stir together the pumpkin, brown sugar, egg, maple syrup, cinnamon, ginger, nutmeg, and salt.
Make the cream cheese filling
- In the bowl of a stand mixer fitted with a paddle on medium speed, beat the cream cheese until light and completely smooth, 3 to 5 minutes. Scrape down the sides of the bowl often, making sure all the cream cheese has been incorporated and is silky smooth.
- Add the granulated sugar and beat on medium speed until completely incorporated, stopping to scrape down the sides of the bowl as needed, 2 to 3 minutes.
- Add the vanilla and salt and beat, still on medium speed, for 2 to 3 minutes.
- Add the eggs, 1 at a time, beating on low speed after each addition until just combined. Pour in the heavy cream and mix on low speed until combined. Using a spatula, give the filling a couple of turns to make sure it is fully mixed.
Assemble and bake the pumpkin swirl cheesecake bars
- Pour the cream cheese filling over the cooled crust and use an offset spatula to smooth the top.
- Dollop the pumpkin pie filling over the top in 14 or 15 dollops. Use the tip of a table knife to swirl the pumpkin into the cream cheese batter, being careful not to cut into the crust. Bang the bottom of the pan on the counter a few times to help get rid of any air bubbles.
- Bake the cheesecake until the center registers 150°F (65°C) on an instant-read thermometer and the outside edges are puffed and set but the center is still jiggly, 40 to 45 minutes. Turn off the heat, open the oven door just a crack, and let the cheesecake rest and cool in the warm oven for 30 minutes.
- Transfer the pan to a wire rack and let cool. Once the cheesecake is completely cool, place a piece of parchment over the top of the pan (this helps keep condensation off the top of the cheesecake) and transfer it to the refrigerator. Let chill for at least 4 hours or preferably overnight.
- Slice into bars and serve. The bars can be served cold or at room temperature but keep best in the refrigerator for up to 2 days.
Explore More with AI
Nutrition
Nutrition information is automatically calculated, so should only be used as an approximation.
Recipe Testers’ Reviews
Did you know only 68% of the recipes we test make it onto the site? This recipe survived our rigorous blind testing process by multiple home cooks. It earned the Leite’s Culinaria stamp of approval—and the testers’ reviews below prove it.
Here today, gone tomorrow. That was the story of these pumpkin swirl cheesecake bars.
I found the baking to be stress-free. The hands-off cooking and cooling time allowed me to make dinner while anticipating the dessert. I wanted a bit more balance between pumpkin and cream cheese, but apparently that was just me. All other tasters loved a bigger pumpkin hit when biting into this dessert.
I also wanted the bottom to hold together a bit better. Perhaps more butter to bind? In the end, after the bars sat in the fridge for a day, the moisture from the cream cheese helped solidify the base nicely. I especially liked that the base itself wasn’t overly sweet.
I did use about 23 dollops of pumpkin filling vs 14-15. (see earlier remarks about balance with cream cheese) I stopped myself from swirling too much before baking, lest those “big hits” would be lessened. I would definitely make these again, and couldn’t stop thinking about seasonal variations on this theme!
To be honest, I don’t know exactly how many servings were in this dish, as everyone took varied size portions. (This is a good thing, right?) But if I had to guess I’d say 12 to 14 servings.
These pumpkin cheesecake bars are a simply heavenly dessert. Creamy cheesecake filling, warm fall spices, sweet pumpkin swirls, and a crunchy graham crust. I love pumpkin pie and my husband loves cheesecake and together we both get a slice of our favorite. Perfection.
The pumpkin swirl cheesecake recipe came together easily with all steps easily completed. I let it cool on the counter and chilled it overnight in the fridge. Made 12 large bars.
This pumpkin swirl cheesecake bar recipe is a perfect union of classic dessert flavors. And in any great marriage, each personality is allowed to shine while complementing the other. No competition here, both a classic cheesecake and pumpkin pie lover will adore the flavor mix!
Do chill overnight for best results—improved flavor and texture. This will be added to our fall dessert rotation!
The flavor of these pumpkin swirl cheesecake bars is phenomenal. Tastes like fall in a bar. Creamy cheesecake with just enough of that pumpkin pie swirl.
I do think the texture could use some improvement. The graham cracker crust is too crumbly, maybe even too dry. I also think the cheesecake would benefit from being a bit denser. These tasted better after refrigerating but there are still a bit softer than I prefer.
After 10 minutes in the oven, the graham crust was a golden color, not too dark, and smelled like cinnamon before opening the oven.
Cream cheese filling whipped for 5 minutes became creamy, had to scrape the bottom of the bowl several times. I let the mixer go another 3 minutes after adding sugar. I baked my bars a total of 45 minutes before opening the door, they were still jiggly. I cut my bars smaller to yield 24 total.
I love a good press-in crust…but the fact that it was topped with a delicious pumpkin pie and cheesecake filling didn’t hurt, either! It’s great if you’re serving a big family or want to venture into cheesecake without having a springform pan. Plus it’s the perfect recipe for fall! I would make this again…and again…and again.
When baking, I would recommend a water bath of sorts that sits on the rack below the pan. Because of the swirled nature of the top of the cheesecake, I have found with past similar recipes the cheesecake cracks will be VERY prominent in the swirls. With no post-baking toppings to cover the cracks, I wanted to ensure this didn’t happen, so I added the water bath.
I used Philadelphia original (full fat) cream cheese because my Nonna always said to use that one (and you don’t argue with Nonna).
In terms of beating the cream cheese, I don’t have a stand mixer, but this is possible with my little handheld! It took just over 6 minutes to get the consistency I believe I was aiming for.
I enjoy a good cheesecake and I really enjoy a good pumpkin pie, so to me this pumpkin swirl cheesecake is an excellent combo recipe. A great dessert!
I had help of four people with the tasting part of the recipe, including someone who isn’t a pumpkin pie fan and even he really liked these bars. In fact, everyone really liked these bars. I will definitely be adding this to my dessert recipe file.
Pumpkin season is here! I’m not the biggest cheesecake fan, but my husband is and as soon as I read the word pumpkin, I was in. I bought the last two cans of pumpkin at my store for this recipe. (I also bought a can of sweet potato puree and made a smaller second batch with that.)
Swirling the pumpkin filling into the cream cheese was my favorite part of this recipe. These bars photograph so well. The texture was light and fluffy. The pumpkin flavor was a nice amount, but could have been a teeny bit stronger for my tastes. The bars were just a teeny bit sweet for my tastes as well. Overall, this was a great recipe for someone who hadn’t made cheesecake in over ten years and was the perfect introduction to the fall season.
I used full fat cream cheese. Fat tastes better. For visual cues on the crust, it got a very lightly golden, but not much. Just small patches of golden brown. It felt done to the touch.
It took me less than 4 to 5 minutes to beat the cream cheese because it was so soft. It was closer to 2 to 3 minutes.
I needed to bake the cheesecake at least 40 minutes, maybe 43 minutes. The cheesecake was so jiggly that measuring the temperature was the only way I was sure it was done. However, the texture was absolutely perfect when it finished cooling.
I found it made 24 servings. It’s super indulgent so I wouldn’t eat more than a small square at a time.


Anybody tried halving this recipe?
We haven’t tried this, Margo, but we’d love to hear from anyone who has. I suspect it would work ok, though you’d need to keep a close eye on the baking time. If you try it, do let us know how it goes. They do also freeze very well if you’re concerned that it’s too big a batch to consume all at once!
I want this on my Thanksgiving dessert buffet.
Could I make them in advance? Would they freeze well? How long could I keep them in the fridge prior to serving?
I love cooking with pumpkin but, honestly, pie is one of the more boring ways to use it in my opinion.
Rainey, we haven’t tried freezing these, so we can’t say for certain, however, well-wrapped cheesecake bars do tend to freeze well for up to 2 months. Or you could make them up to 2 days in advance and keep them in the refrigerator.
These were great! They didn’t suffer a bit from only using a portion of the pumpkin.
The texture of the cheesecake wasn’t compromised at all from freezing. I froze them in the baking pan, then removed them, wrapped them in parchment, bagged them with a vacuum sealer and put them back in the freezer. I thawed them overnight in the fridge, then unwrapped them.
The crust layer was softened up and goo-if-ied in the thawing. So it’s clear these would be even better served fresh from baking but they were so good and there’s so much else to do at Thanksgiving that we still enjoyed them very much.
Thanks, Rainey! Thanks for letting us know and for sharing your tips for freezing them. I’m so glad that they turned out so well.
Mine are in the oven.
I must say marbling has never been one of my talents and I soooo coveted the beautiful coloration of the bars in the illustration above. I was tempted to lay down a thin coat of pumpkin filling under the cream cheese layer before dolloping. I wish I had. I ended up with half of the pumpkin batter still in my mixing bowl when I had done my dolloping. And the surface of my bars is still easily 75% dark pumpkin. Even if they look different than I had hoped it’s the punch of pumpkin flavor I suspect that we’ll miss.
Nevertheless, I’m looking forward to them.
I’ve researched freezing cheesecakes and all indications are they will freeze nicely provided they’re fully cooled before I wrap them.
Thanks, Rainey! We’d love to hear how they turn out and how it goes with freezing and thawing them for the big day.
OK. I know I’m writing a freakin’ book at this point and I apologize for that but I had half a can of pumpkin purée left over and I guess about everyone else will too. This is what I did with mine. I’ve had this recipe for decades. This stuff tastes like pumpkin pie that you can spread on a scone or an English muffin.
Of course, folks would have to halve the ingredients but it’s good, it’s easy and it will empty that can.
Microwave Pumpkin Butter
Recipe By:
Yield: makes about 6 4oz-jars
Summary:
This is a very simple preparation for a preserve that tastes very much like pumpkin pie.
It’s lovely on a buttery scone.
For best results, use a very large glass bowl so that you can see the action of the pumpkin in the microwave. Guessing at the time won’t work and if it’s over-boiled you’ll get a gummy grainy result. That said, when you can see what’s happening and pay attention to the time you’ll get excellent results.
Microwave Pumpkin Butter
• 1 15-ounce can pumpkin purée, do NOT use pie filling
• 3 tablespoons powdered fruit pectin
• 1/2 teaspoon allspice
• 1 teaspoon cinnamon
• 2 1/4 cups sugar
1. In a 2 quart microwave bowl, combine pumpkin, pectin, cinnamon and allspice. (DO NOT be tempted to use a smaller bowl. This stuff will boil up like crazy.) Mix well. Microwave on High for 6 minutes or until very hot, mixing every 2 minutes. Add sugar, mix well. Microwave on High for 5 to 10 minutes or until full rolling boil, stirring once during cooking. Continue to boil for 1 minute.
2. Spoon into 3 hot 8-oz. or (or six 4-oz.) canning jars, leaving 1/4″ head space. Wipe rims clean. Screw lids tight. Store in refrigerator up to 3 weeks or freeze for up to 3 months. OR process 10 minutes in a boiling water bath and store on a shelf for up to a year.
3. HINT: don’t be tempted to use a smaller bowl. The pumpkin will boil up like caramel when you add the cream.
Thank you so much for sharing this with us, Rainey! It sounds divine, and a fantastic suggestion for using up that leftover canned pumpkin.
OK. This is outrageous. Creamy, rich and sweet. Loved by my whole crew. I forgot to wrap with foil before baking but it didn’t seem to matter. What was the foil for, anyway? To prevent overcooking? Anyway, BRAVO!
Margo, that’s wonderful to hear! I’m glad the entire crew enjoyed it. The foil is used to prevent excessive browning.