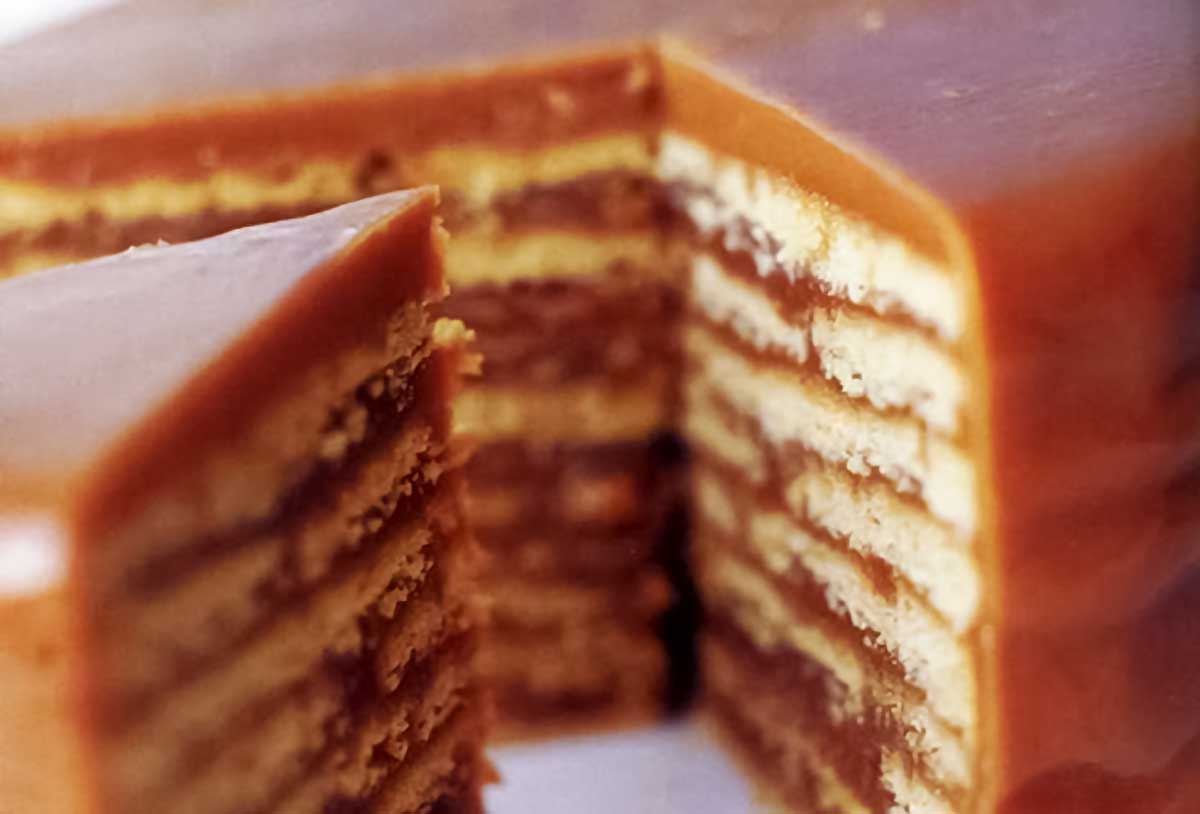
Most people think of leftovers as being confined to savory offerings, but this cake will last forever. It’s a very adult dessert, as it includes a quantity of rum that doesn’t get cooked out, and it’s so rich that very thin slices are the way to go. If you store it in the refrigerator and can restrain yourself, you can snack on it for up to two weeks. But beware, you might not be able to resist.–Bill Telepan
Thankful Butterscotch Cake FAQs
There’s not much you can do. Taste it–if it has a hint of burned bitterness, you’re just going to have to start over. When making butterscotch, it can go from nearly there to burned in a heartbeat. Telepan’s suggestion to pour the hot icing into a separate saucepan is brilliant because it will cool it down fast and stop the cooking process. Using a candy thermometer is also a great way to ensure that you know when you’re reaching the danger zone.
Bill Telepan asserts that this cake will easily last up to two weeks, if stored in the fridge. We suggest that you store it in an airtight container and just keep sneaking little slices until it’s all gone.
Seeing as how it lasts for nearly two weeks, you definitely can. You can also make all those layers ahead of time, stack them with those sheets of parchment in between, and wrap them tightly in plastic wrap.
.

Thankful Butterscotch Cake
Equipment
Ingredients
For the butterscotch icing
- 1 1/4 cups dark brown sugar
- 1 cup granulated sugar
- 1/3 cup corn syrup
- 1 stick (4 oz) unsalted butter
- 3 cups heavy cream
- 1/4 teaspoon kosher salt
- 1 tablespoon vanilla extract
- 3 tablespoons dark rum
For the cake
- 3 1/3 cups flour
- 1/4 teaspoon baking soda
- 1/4 teaspoon baking powder
- 1 teaspoon salt
- 1/2 teaspoon freshly grated nutmeg
- 18 tablespoons (9 oz) butter, at room temperature
- 2 1/4 cups very fine turbinado sugar or granulated brown sugar, (such as Domino’s Brownulated Sugar) or very fine turbinado sugar)
- 4 large eggs
- 2 teaspoons vanilla extract
- 1/4 cup dark rum
- 1 cup milk, preferably whole
Instructions
Make the butterscotch icing
- Combine the sugars, corn syrup, butter, cream, and salt in a large, heavy-bottomed saucepan to which you've attached a candy thermometer. Place it over medium-high heat. Cook, stirring continuously, until the butterscotch mixture comes to a boil. Have another pot of a similar size ready and on the side, off the heat. When the butterscotch mixture begins to boil, stir it frequently, taking care not to scrape the side of the pan. Cook at a full boil until the mixture reaches 242°F (120°C). This could take as long as 30 minutes. Be patient.
- Immediately pour the butterscotch into the empty pot. (Do not scrape the sides or bottom of the saucepan with the spoon, as this could cause the icing to crystallize.) Immediately and carefully add the vanilla and rum to the icing, pouring from a good height above the pot. (If you pour from too close to the pot, the icing will steam and potentially burn you.) Stir to combine. Let the icing cool for 20 minutes, at which point it should be thick yet pourable.
Make the cake
- Cut ten 8-inch circles of parchment or waxed paper. The baking will progress more quickly if you have at least three 8-inch cake pans. Preheat the oven to 350°F (175°C).
- Combine the flour, baking soda, baking powder, salt, and nutmeg in a medium bowl and whisk lightly to combine. Using an electric mixer fitted with the paddle attachment, beat the butter and sugar until light and fluffy Add the eggs, 1 at a time, beating after each addition. Reduce the speed to low and add half of the flour mixture. Blend well. Add the vanilla, rum, and milk and mix just until the liquid is incorporated. Add the remaining flour mixture and beat until smooth, up to 4 minutes.
- Working with 3 cake pans at a time, pour a heaping 1/2 cup of batter into each pan. Use a spatula to evenly spread the batter in the bottom of the pans. They will be very skinny cake layers. Bake for 15 to 18 minutes, or until the cakes spring back when lightly touched. Cool the layers in the pans slightly, then invert the cakes onto a wire rack to cool completely. Wipe the pans clean and continue to fill and bake with the remaining batter. You will need 9 layers for this cake.
- When all the cakes have been baked, line the inside of a clean, dry cake pan with plastic wrap. (If the plastic wrap sticks out above the rim of the cake pan, fold it over the outside of the pan.) Peel the paper from the top of one cake layer and invert the layer so it's upside down in the pan. (Or really, right side up, given that it was upside down on the wire rack.)
- Ladle about 1/4 cup of the warm butterscotch icing over the cake. (If the icing is no longer warm, rewarm it gently over low heat.) Top with another cake layer, paper removed. Continue ladling the filling evenly over each layer. The cake will grow higher than the cake pan as you fill; the cake pan is there just for a little foundational stability. Don't worry if the edges of the cakes are a bit ragged; you'll trim them before icing the sides of the cake. Just make sure the cake layers are evenly stacked, as it's difficult to move a layer once it's been placed on the icing. If at any point the butterscotch icing becomes too thick to pour easily, place it over low, low heat. Do not top the last cake layer with butterscotch. Refrigerate the cake until chilled completely through, at least 1 hour.
- Place an 8-inch circle of parchment on top of the cake. Carefully invert the entire stack of layers onto a wire cooling rack. Remove the pan and the plastic wrap. Hold a long, sharp knife lengthwise alongside the cake and trim about 1/4 inch evenly all around, making sure you are not tilting the blade. The cake should be uniformly shaped, not wider at the bottom than the top.
- Gently reheat the remaining butterscotch icing and pour it over the top and sides of the cake. Let stand until the coating is firm. Slide a metal spatula under the cake and transfer it to a serving platter. This cake is best if made a day ahead, although it keeps beautifully for up to 5 days. Let it come to room temperature before slicing and serving.

Nutrition
Nutrition information is automatically calculated, so should only be used as an approximation.
Recipe Testers’ Reviews
Make no mistake, this thankful butterscotch cake is an adult cake with plenty of rum and plenty of flavor. As the cake sits, the rum gets more absorbed, making this a moist, sweet cake. If you like the taste of dark rum and want a sweet dessert, this is for you.
The cake is time-consuming to make. It took me 2 hours to get everything mixed, baked, and iced, and then it needed to sit in the refrigerator for 1 hour before I could trim it and put the final glaze on it, which took another 10 minutes. I made the cake batter and started the baking before doing the icing as it saved some time. I used three 8-inch springform pans. Springforms are not necessary, but it made getting the thin layers out of the pan very easy. I baked each cake for 16 minutes, baking 3 at a time.
I had just enough icing to cover the top and sides of the cake. It took some coaxing to get this done, but I wouldn’t have wanted more icing on it.
When I looked at the picture and looked at each of my individual thin layers, I thought that my cake could not possibly look like the picture. By the time I stacked and iced each layer, let it sit in the refrigerator for an hour, then trimmed off 1/4 inch edge and put the final glaze on, it looked exactly like the picture! What a great transformation!
This thankful butterscotch cake is a stunning special occasion cake that wows with its towering tender cake layers, rich butterscotch, and a touch of earthy mellow rum. Slicing into all those wondrous layers is a showstopper and the first bite makes every kitchen moment oh-so worth it. It’s definitely a cake to be thankful for.
I started off with a 3-litre pot when making the icing but decided when it reached boiling that it wasn’t going to be tall enough. I then used an 8-litre pot to ensure it didn’t boil over while reaching temperature. I then boiled it until the mixture reached 242°F, which took about 20 minutes.
I poured the mixture back into the original pot and added the rum and vanilla. It did steam up but not too much. The mixture was thick and pourable.
I only have two 8-inch cake pans so it took a bit longer to bake all the layers. My first layers were slightly thicker. My heaping cups were a bit too much at first. My final layer ended being much thinner.
Since the baking time was longer, I reheated the butterscotch on low heat to make it spreadable. I set up the cake plate and layers beside the stovetop so I could keep the butterscotch warm and workable. I found that 1/4 cup of butterscotch worked well to cover each layer thinly. With the butterscotch still a bit warm, I found I needed to use skewers to hold the layers in place while it cooled. I let the layers set for 1 hour before I did the final top and sides. I used a serrated knife to clean up the edges of the layers and then poured the butterscotch on top and let it pour down the sides. Then I used an offset spatula to evenly spread the butterscotch around the outside of the cake. I had more than enough butterscotch and had a puddle of extra at the bottom of the cake plate.
The instructions were good and I think the measurements were right for the layers and for the icing. I think having the butterscotch warm helps to spread a thin layer. It was quite thick after it cooled while the cake layers were baking. Since I only had 2 pans I could have made the butterscotch while baking the layers but it only took 2 minutes to get the butterscotch warmed up.I did find the cake and butterscotch quite sweet on baking day but when the cake was served the following day the flavors and sweetness seemed to have mellowed and the rum was a bit more forward. I served it with strong coffee but an espresso or black tea would be nice as well.


Angie, I’m a HUGE fan of citrus with caramel. Two substitutions that will give you very different but equally delicious results would be straight up lemon juice, or undiluted orange juice concentrate. Fresh orange juice isn’t bossy enough for me. Hope that helps.
I would substitute the 3 Tbls. rum in the filling with 1 tsp. vanilla or almond extract and increase the cream slightly to make the liquid correct. Then, substitute the 1/4 cup rum in the cake with 2 tsp. vanilla or almond extract and increase the milk slightly to make the liquid correct in the cake batter. I’ve done the same substitutions when I didn’t have the correct liquor needed in a recipe and it comes out great, but with a vanilla or almond flavoring. Good luck and happy baking!
Vanilla extract has an alcohol content roughly equivalent to rum. So using it as a sub for the rum does not solve the problem for someone who wants to avoid alcohol. In fact, she should avoid all extracts, as they are all alcohol.
Hi Mary, I make my own extract and you’re right, it does pack a wallop. Thankfully, there are nonalcoholic extracts as well as rum syrups that can be easily substituted.
Mary, thanks for the comment. As you can see below many people have chimed in with nonalcoholic options for vanilla extract during the past two years, but it’s always good to have a reminder.
I don’t consume alcohol at all.. any suggestions for a substitute?
Hi Angie, I don’t consume alcohol either and have been learning how to cook without it for many years. It’s tricky with baking. The flavor and texture will be different. For the caramel: I would leave out the rum and add 3 Tbsp additional cream. In the cake, substitute an additional 1/4 cup milk for the rum. In both cases you can use a bit of rum extract if you adjust the amount of liquid to equal that of the recipe. Just remember, that won’t completely cook off either. You could also increase the vanilla, although it can be bitter if too much is used.
Happy Baking,
Donna Rose