This homemade raspberry jam recipe is the simplest jam ever. Or so says its creator, Rachel Saunders. We have to say, we’ve made a lot of jam recipes, and we have to concur. It’s also one of the best jam recipes we’ve ever tasted. Gotta love when simple and best go together.–David Leite
Homemade Raspberry Jam FAQs
As the author of the much ballyhooed—and deservedly so—The Blue Chair Jam Cookbook explains, it takes a very large pan to make even a relatively small batch of preserves. Reason being, in order for the jam to have a spreadable consistency when cool, a large quantity of moisture must be cooked out of them. Yet in order for the fruit’s original flavor to remain intact, the preserves need to be over heat for as little time as possible.
As a consequence, a wide pan is essential, as it allows a maximum of evaporation to occur in a minimum of time. If you decide to make a larger batch, bear in mind the moisture to be eliminated is directly proportional to the quantity of fruit used, so it would, in theory, need to be cooked for a much longer time. To ensure you do not compromise the quality of the preserves, you may want to make a couple small batches rather than a single large one.
Nope. Once it’s ready, pour it into clean sterilized jars and stash them in the fridge or freezer. Use refrigerated jam within a couple of months, and frozen jam within 6 months.
No. Raspberries are naturally high in pectin, so there is no pectin required here.
Homemade Raspberry Jam
Equipment
- Sterilized canning jars (See note below)
Ingredients
- 2 1/4 pounds fresh red raspberries
- 3 pounds granulated sugar
Instructions
- Place a saucer and five metal teaspoons in a flat place in your freezer for testing the jam later. Have ready a medium-mesh strainer or chinois suspended over a heatproof bowl.
- Combine the berries and sugar in an 11- or 12-quart copper preserving pan or a wide and deep-sided nonreactive pot. Place the pan over medium-low heat and cook, stirring and mashing constantly with a heatproof rubber spatula, until the juice begins to run from the berries.
- As soon as the sugar dissolves, increase the heat to high. Continue to cook, stirring very frequently, until the mixture boils vigorously, and continue to cook for 10 to 15 minutes, stirring frequently. You'll want to begin testing for doneness after 10 minutes.
☞ TESTER TIP: Watch the mixture carefully as it boils as it can easily threaten to escape the pot if the heat is too high.
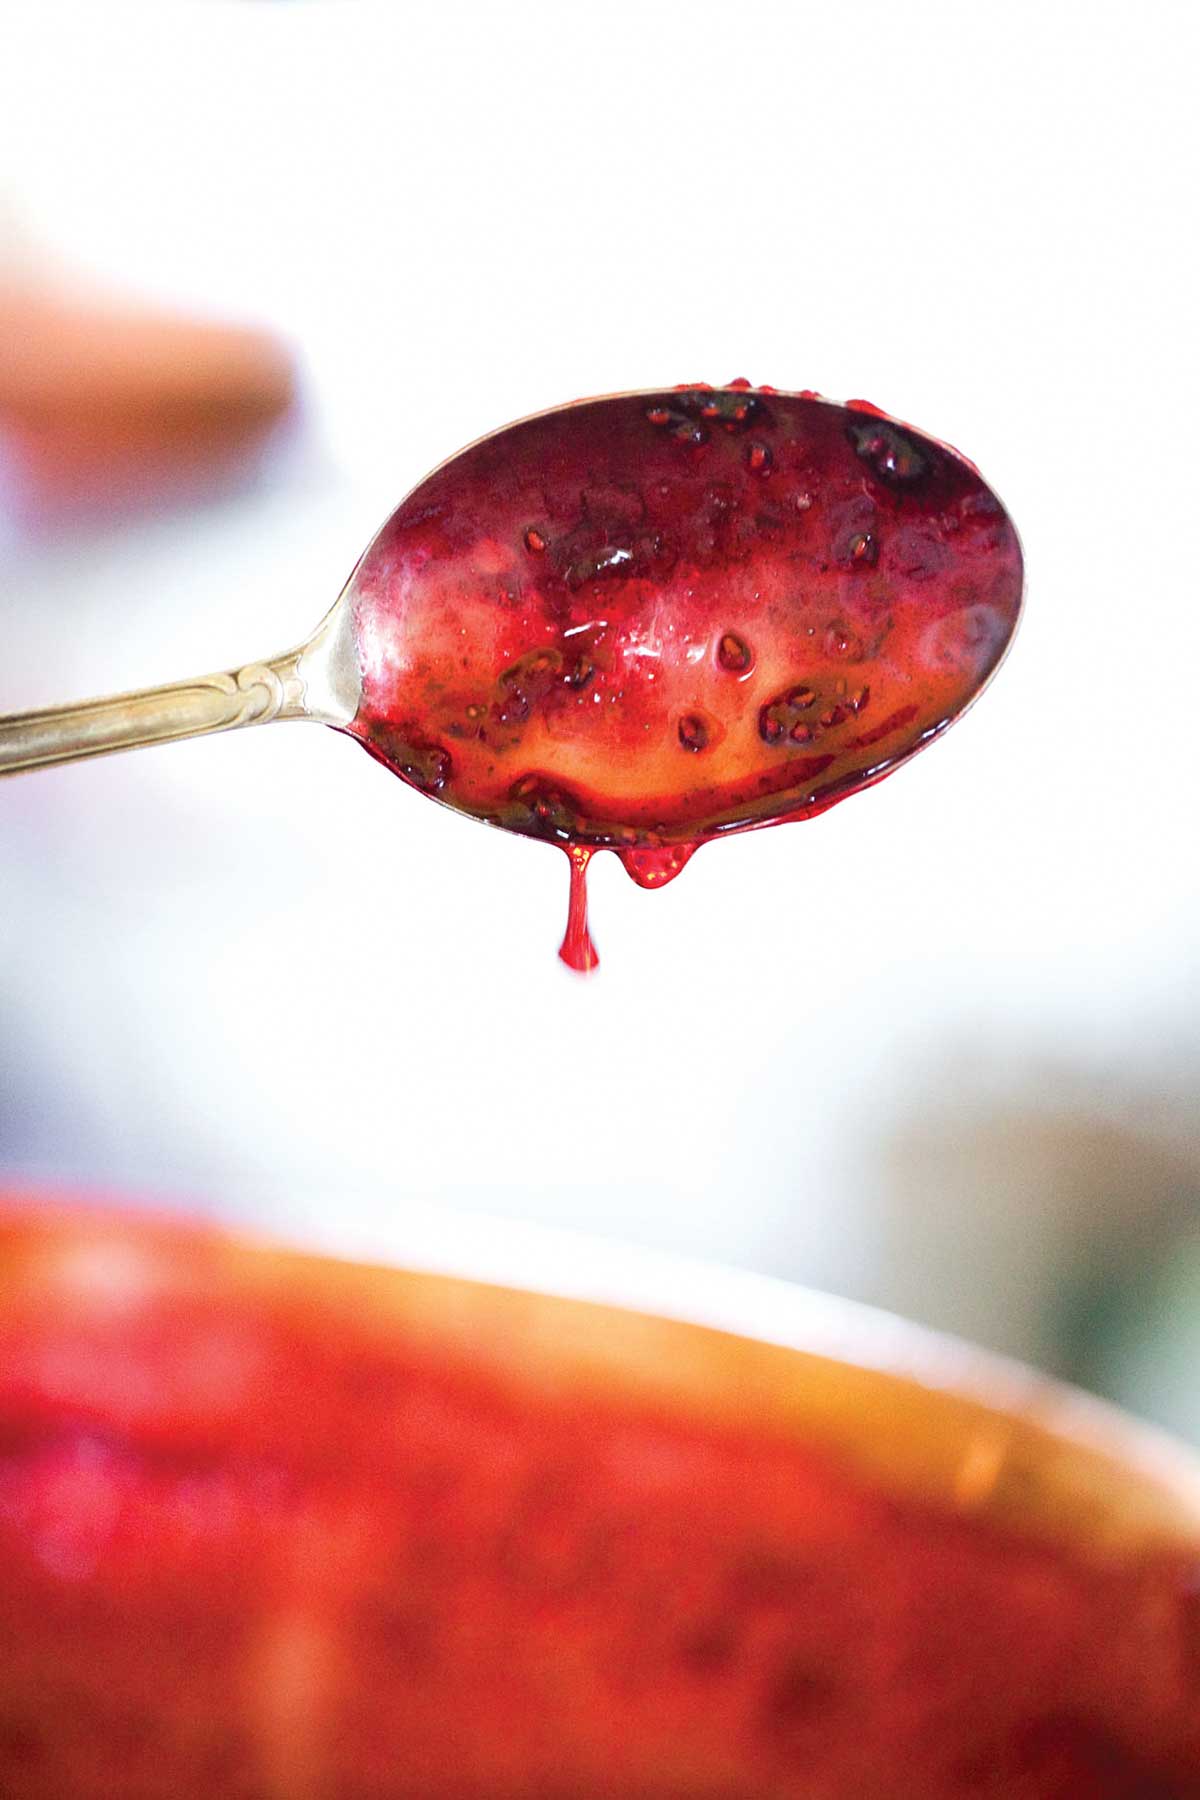
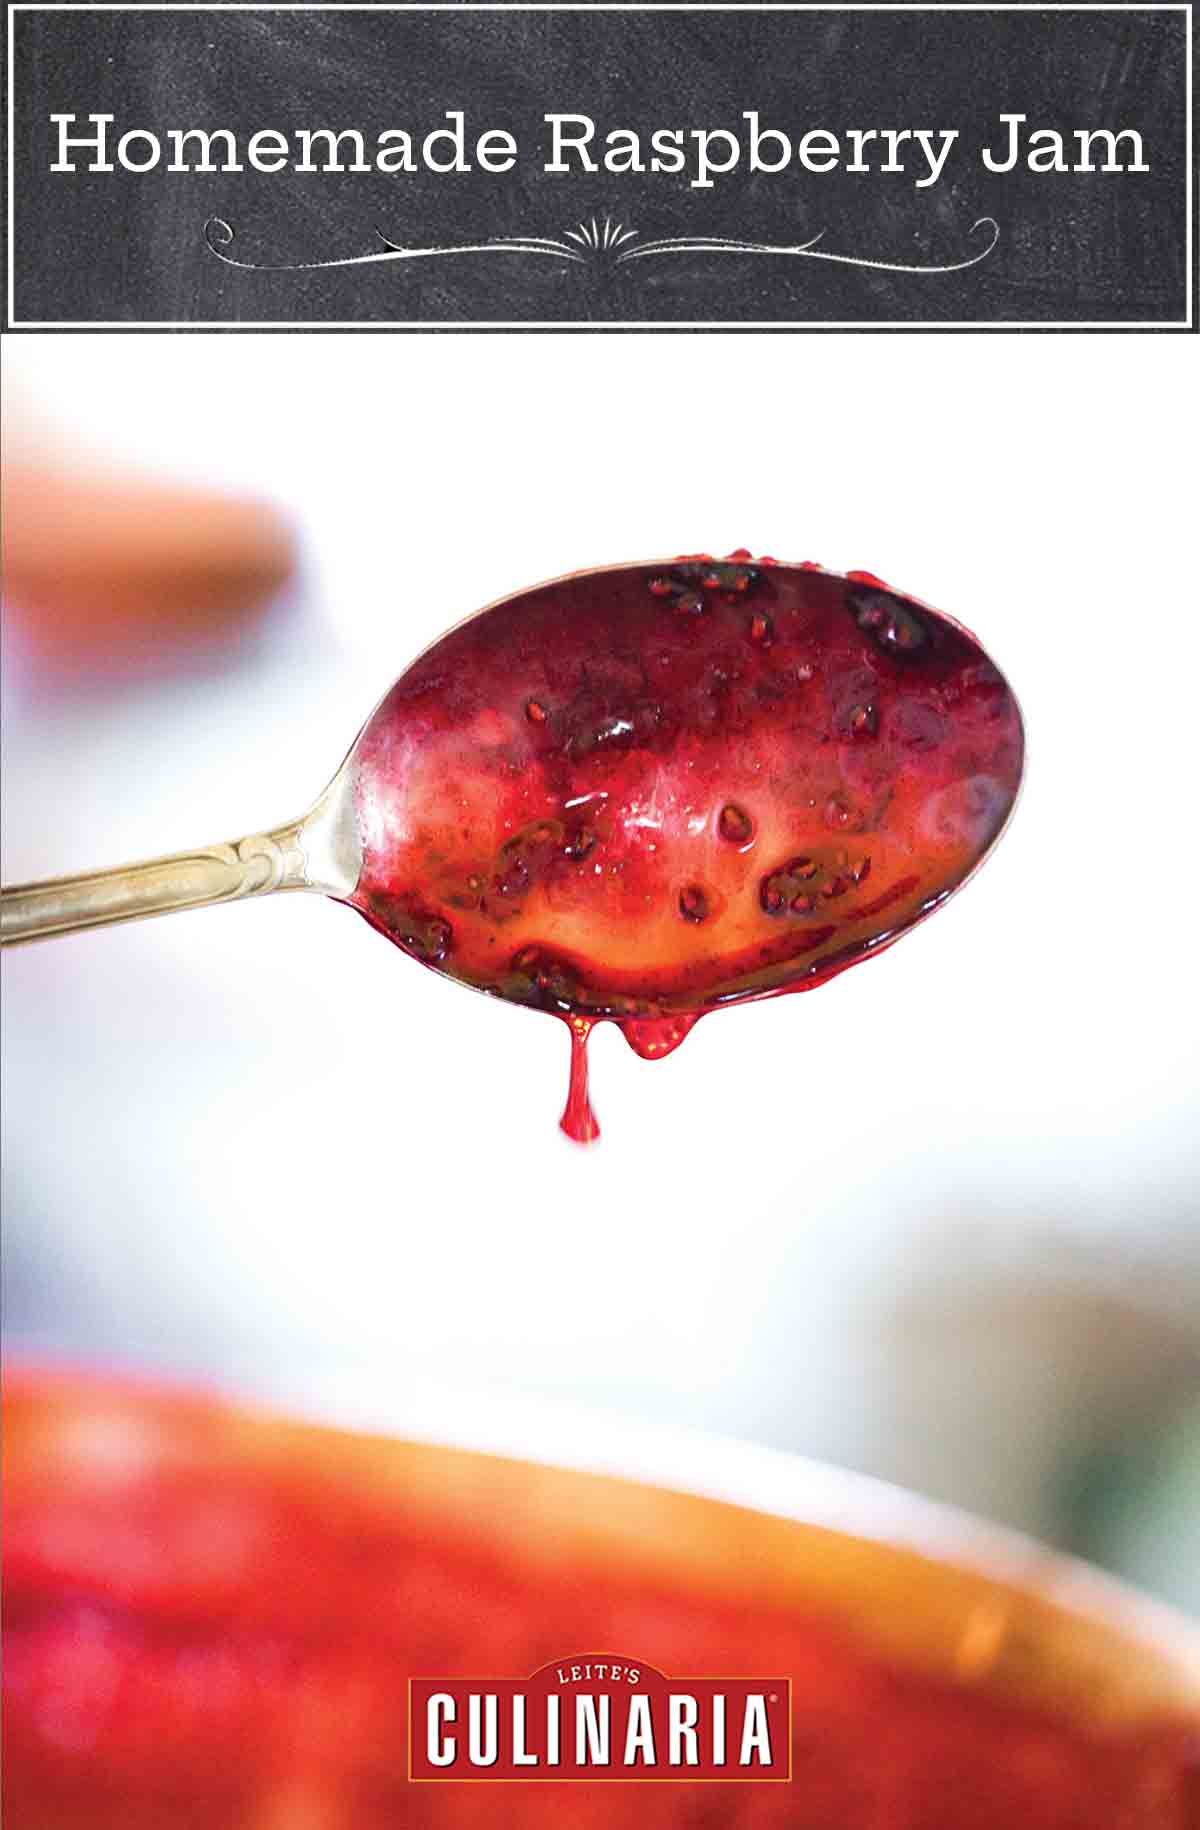
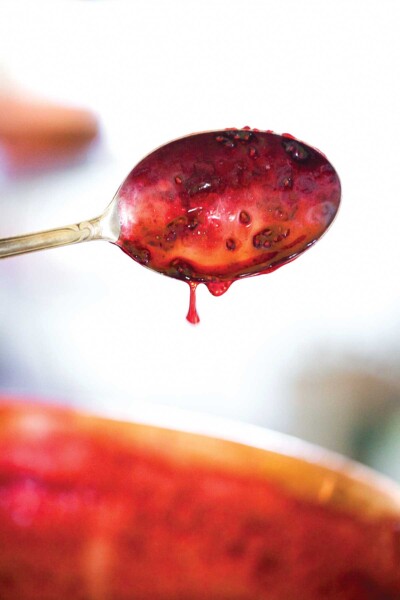
- To test for doneness, remove the pan from the heat and carefully transfer a scant half teaspoonful of jam to one of your frozen spoons. Return the spoon to the freezer for 3 to 4 minutes, then remove and carefully feel the underside of the spoon. It should be neither warm nor cold; if still warm, return it to the freezer for a moment.
- Tilt the spoon vertically to see whether the jam runs; if the jam does not run, and if it has thickened to a near-jelly consistency, it is done. If the jam runs, return the pan to the stove and cook the mixture for another few minutes, stirring and testing again as many times as needed.
- Using a stainless-steel spoon, skim any remaining foam from the surface of the preserve. If you don't mind seeds in your jam, skip ahead to step 5. If you prefer seedless jam, quickly transfer the jam to the mesh strainer and force as much of the preserve as possible through it by pressing on it with the back of the spoon.
- Discard the seeds. Skim any foam that lingers on the surface of the strained jam.
- Pour the jam into sterilized jars and process according to the manufacturer’s instructions.
Notes
Refrigerator Jam Safety
Use sterilized heatproof jars. To sterilize, wash jars and lids in hot, soapy water, rinse well, then either run them through a dishwasher’s sanitize cycle or submerge in boiling water for 10 minutes; let air-dry (do not towel-dry). Fill hot, cap, and refrigerate promptly (≤40°F). Use clean utensils—no double-dipping. Keep 2 weeks (low-sugar: 7–10 days). If any mold appears, discard the entire jar—do not taste. For longer storage, freeze up to 3 months with ½-inch headspace. Label and date.
Explore More with AI
Nutrition
Nutrition information is automatically calculated, so should only be used as an approximation.
Recipe Testers’ Reviews
Did you know only 68% of the recipes we test make it onto the site? This recipe survived our rigorous blind testing process by multiple home cooks. It earned the Leite’s Culinaria stamp of approval—and the testers’ reviews below prove it.
This homemade raspberry jam recipe delivers jam that isn’t too sweet and still tastes like fresh fruit! Even a first-time jammer will be successful thanks to the quick cooking time, few ingredients, and easy instructions in this recipe.
I halved the recipe and used my largest skillet. I started testing the jam at 6 minutes and pulled it off the heat at 9 minutes.
I love Rachel Saunders and The Blue Chair Jam Cookbook. Her approach is simple, straightforward, and, of course, delicious. If you’ve ever been afraid of making jam, this is the recipe for you! Berries and sugar, that’s it. No pectin or thickening agents.
I even went a step further and canned my bounty using Rachel’s oven-canning method. Words of advice, do not overprocess the jam or you’ll have a serious mess on your hands!
Otherwise, this rich and jammy jam is simply perfect on toast, ice cream, between layers of luscious white chocolate cake or Linzer bars, or by the spoonful, especially in your jammies at midnight eating the jam straight from the jar. It really doesn’t get much better—or easier—than this.
The color of the homemade raspberry jam was beautiful, the texture excellent, the taste good, and the spreading factor good. My yield seemed to be about a third short, but when I weighed the seeds that I left out, I had the exact yield amount.


Amazing stuff. Simple and perfect. Can’t wait to try with plain European-style yogurt, vanilla ice cream, PB&J sandwiches, and lemon bread!
Well, to test doneness I usually pour a little of the jam on a saucer and place in the freezer. Some minutes later I take it out and pass the finger through the jam. If it opens a path (‘fazer estrada’), it’s done.
I’m sure you know this method, so I’d like to know your opinion about it. Isn’t it accurate?
Lately I use another method for jams. Intermitent boiling (10/15 minutes) followed by a long cooling/evaporating period, maybe overnight. More boiling, another resting period, etc., until done. It takes a little time (though no surplus work) but the jam results brighter and with a more ‘fruitful’ flavour. And when you use the whole fruit, like figs, they absorb the syrup better, without overcooking.
Thank you for reading.
My grandmother used that saucer method, Manuela, and that’s what I still use. So yes, I dare say it’s accurate. As with so many things pertaining to cooking, there is no single way, and definitely no right or wrong way. The above technique in this recipe is the author’s way and it works for her and I respect that. But between you and me, next time I make preserves, I’ll still rely on a saucer. I think you will, too. Thanks for sharing.
i’m a big fan of barbara kafka’s brilliant book, microwave gourmet, from which book i learned to use the microwave for making jam. the microwave gives you the rapid evaporation, and no fuss. is there any point at all to making small quantities on the stovetop?
Personally I prefer the stovetop method, as I can more precisely control the heat, lowering or raising it depending on the amount of water in the fruit. But it’s really a matter of preference. If microwave canning works for you, then stick with it.