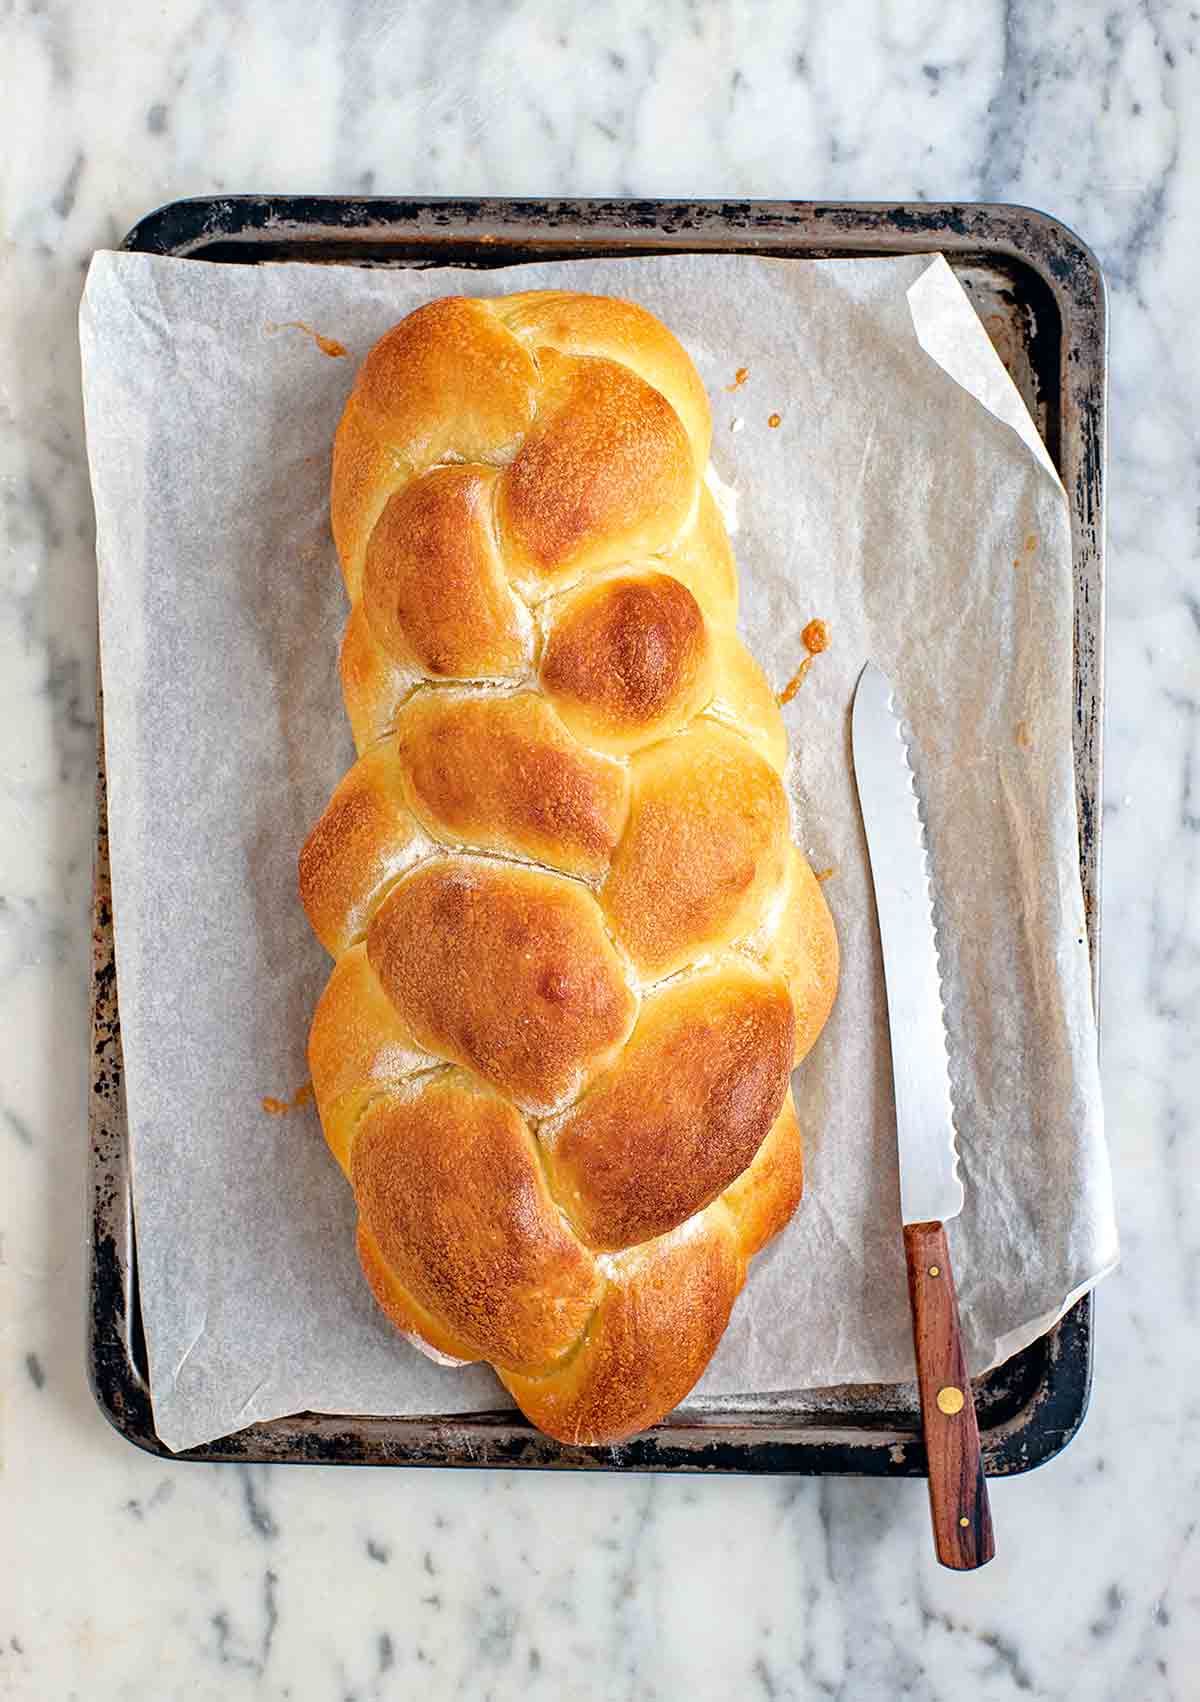
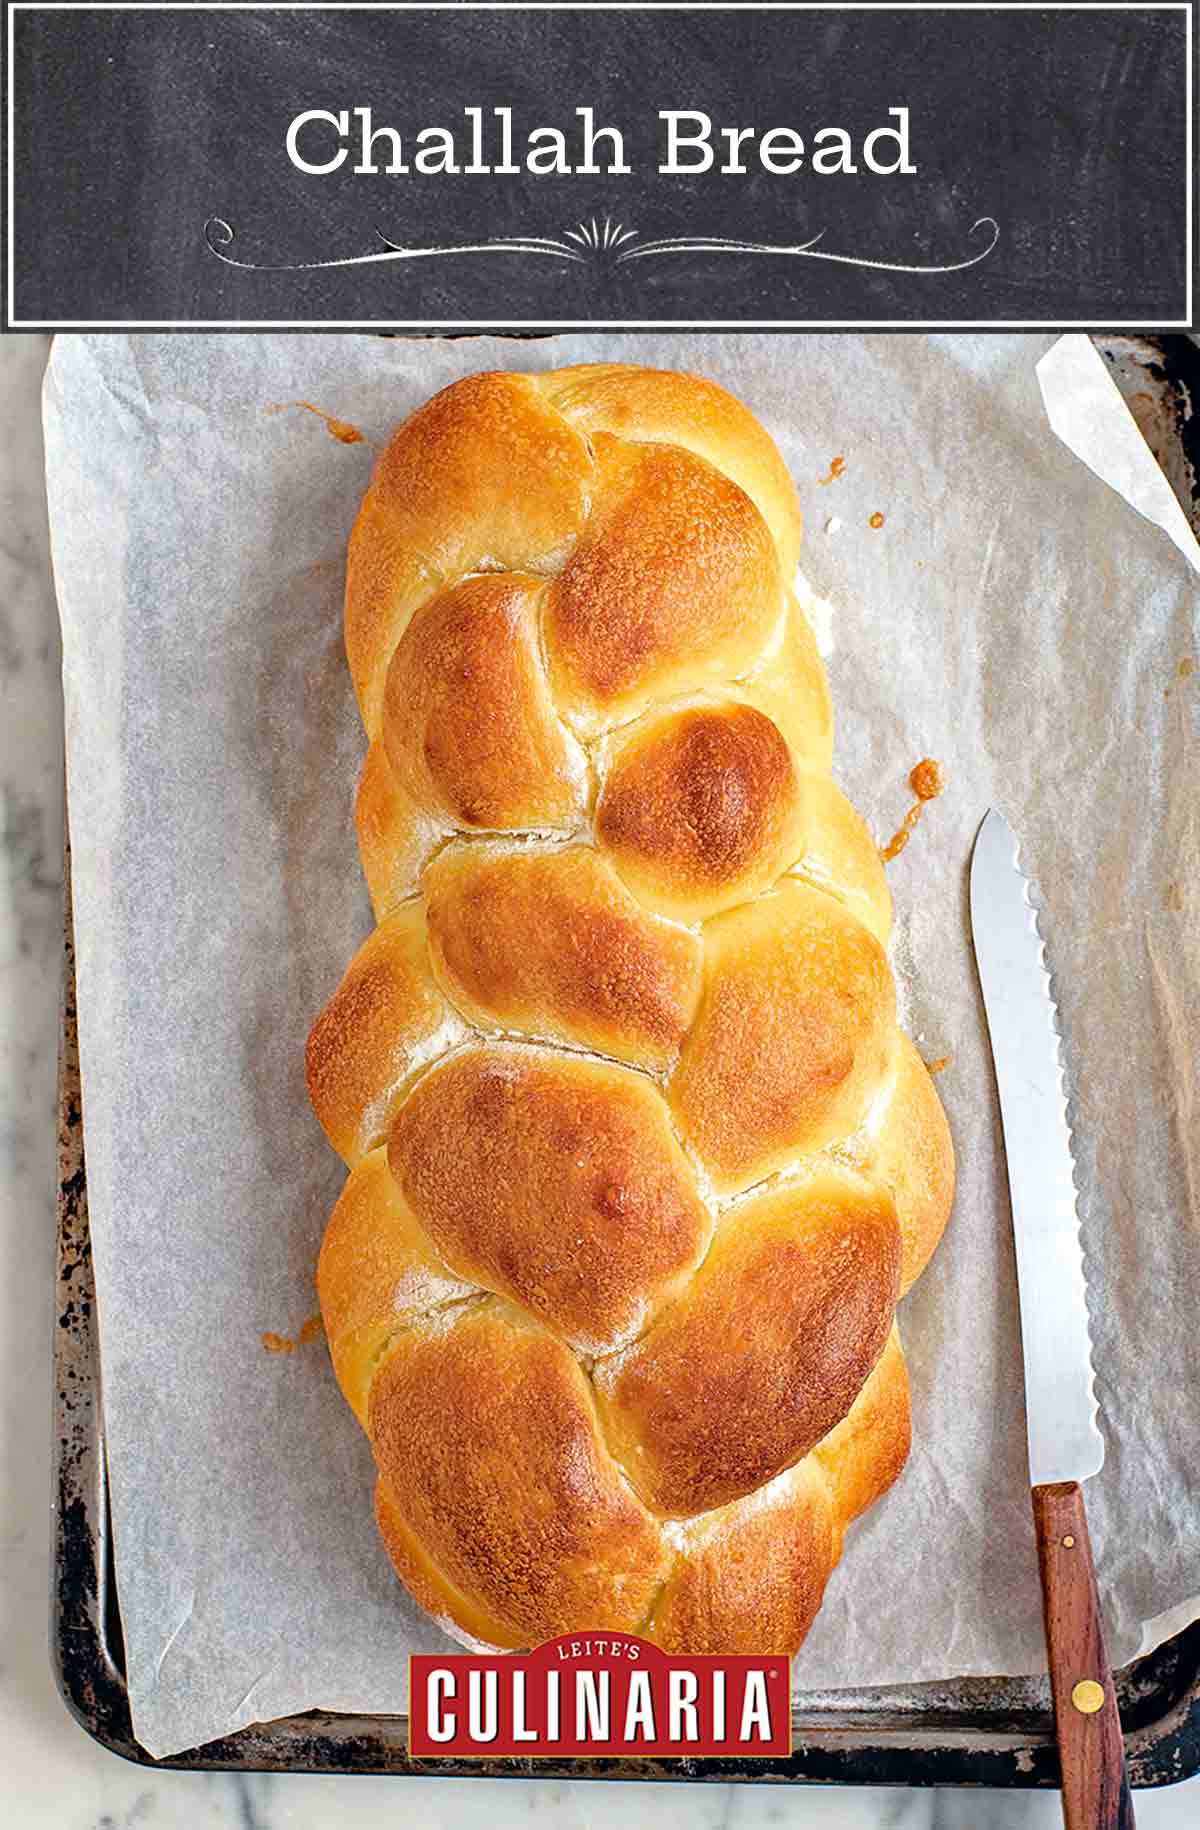
Always wanted to try your hand at baking homemade challah? Perhaps it’s time you do something about that. We’ve heard from several people that this recipe was their initial foray into bread-baking.
This particular challah bread recipe turns out a loaf that’s rich, dense, and slightly sweet—hallmarks of a classic challah, yes, and yet these traits are even more pronounced than usual in this recipe. What results is a gorgeous and generously sized loaf that makes plenty for you to share with loved ones.–David Leite
Challah FAQs
The ‘c’ is silent, so challah is pronounced haa-luh.
Definitely. After baking, let the bread cool completely and wrap it well in plastic, taking care to seal it fully. Well-wrapped, the bread will keep for up to 3 months in the freezer.
The richness of challah lends itself particularly well to breakfast dishes or desserts, such as bread pudding. We also love using it for decadent grilled cheese sandwiches.
Challah Bread
Ingredients
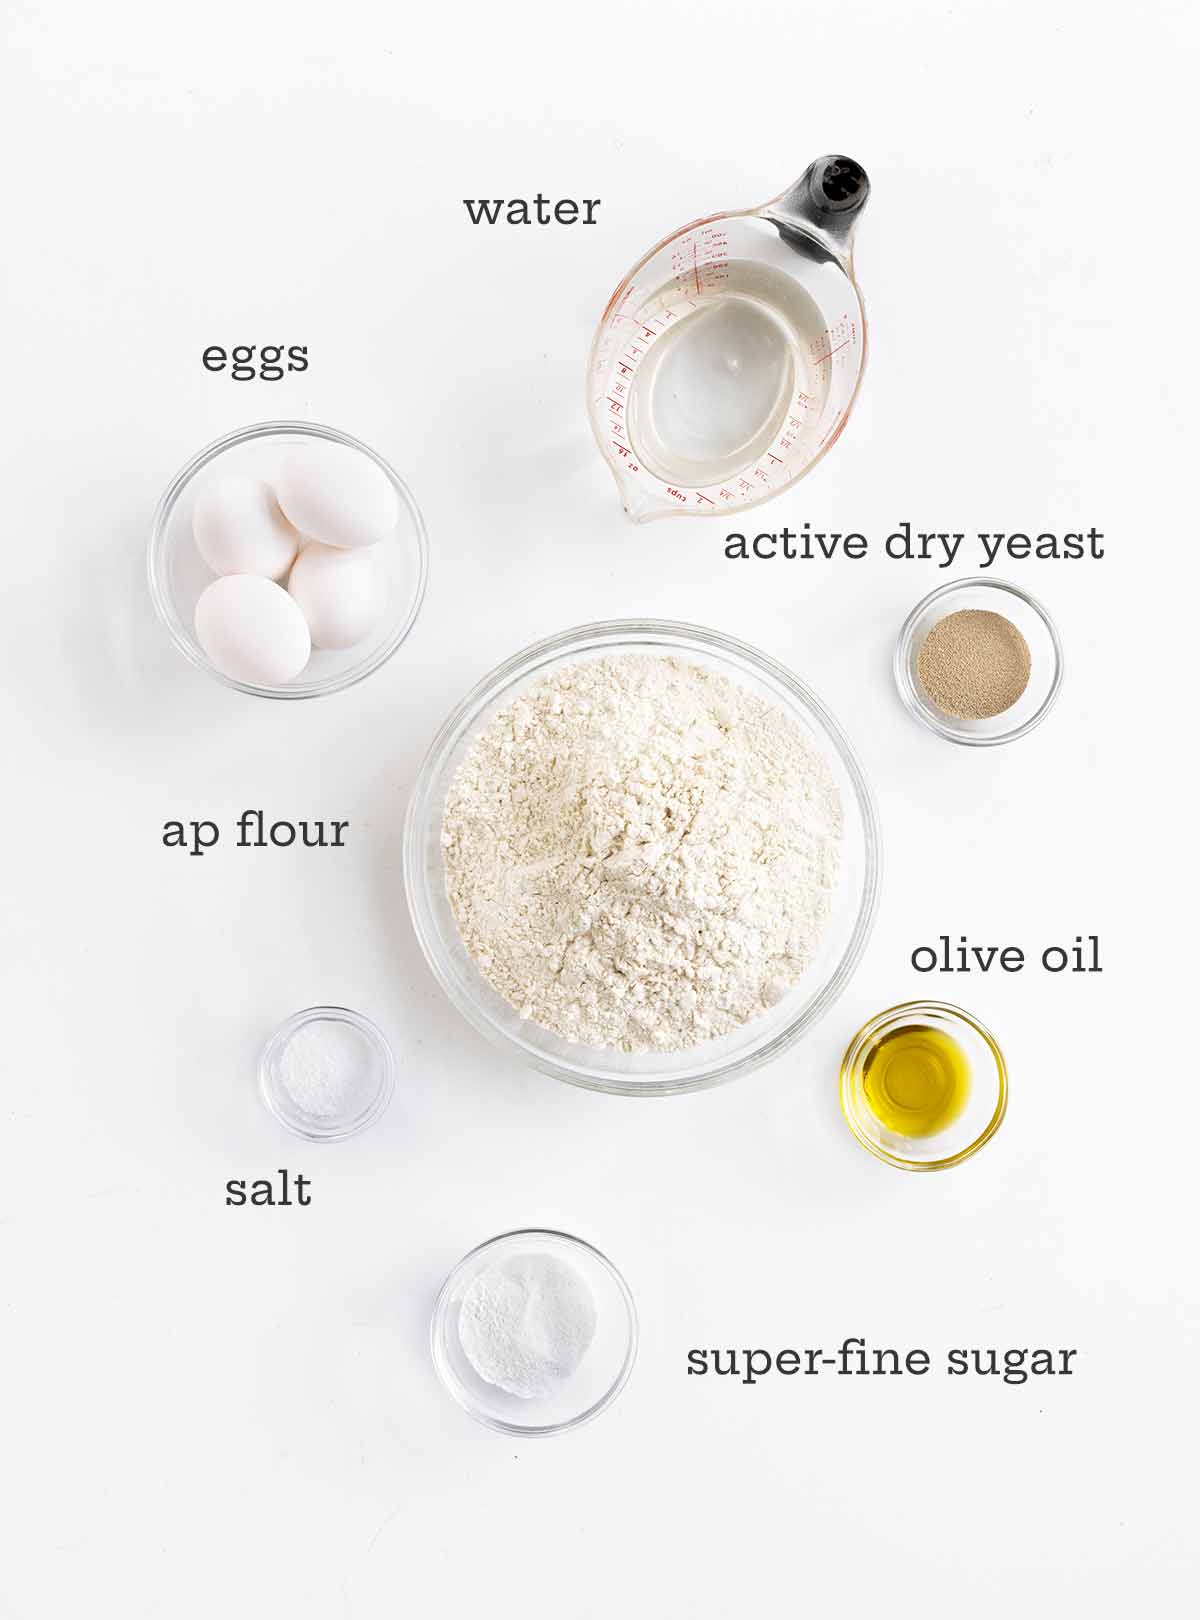
- 20 1/2 ounces all-purpose flour
- 1 1/2 teaspoons active dry yeast
- 2 ounces superfine sugar, (or just blitz granulated sugar in a blender until finely ground but not powdery)
- 2 teaspoons fine sea salt
- 4 3/4 ounces lukewarm water, (just shy of 2/3 cup), plus more as needed
- 2 large eggs
- 2 large egg yolks
- 2 tablespoons olive oil, plus more for the bowl
- 1 tablespoon egg white
- 1 teaspoon superfine sugar, (or just blitz granulated sugar in a blender until finely ground but not powdery)
Instructions
- In a large bowl, combine the flour, yeast, sugar, and salt. In a smaller bowl, beat together the water, eggs, egg yolks, and oil. Carefully combine the mixtures in a bowl or in your stand mixer fitted with the dough hook.
- Knead the dough, either on a lightly floured work surface with your hands or with the dough hook. Initially you will have a shaggy mess with a lot of dry flour but this will eventually give way to a dough that is very elastic (this ought to take 10 to 20 minutes). It may be necessary to add a touch more water if not all the flour can easily be incorporated—start by adding a tablespoon water, work the dough a little, and then if necessary add another tablespoon.
- When the dough is smooth and elastic, form it into a smooth ball, place it in a large bowl slicked with oil, and cover with plastic wrap. Let it rise at room temperature until it has doubled in volume, about 1 1/2 hours.
- Divide the dough into 6 equal portions. Using the palms of your hands, shape each portion into evenly shaped sausages about 12 inches (30 centimeters) long.
- On a rimmed baking sheet that’s lightly floured or lined with parchment paper, braid the dough. (For spectacularly helpful instructions on how to braid challah dough, check out this advice from the folks at King Arthur Flour on how to braid 6 strands of dough—without needing 6 hands.) Sprinkle the braid lightly with flour, then cover loosely with plastic wrap. Let it rest at room temperature until it has doubled in volume, about 1 hour.
- Preheat the oven to 350°F (180°C).
- In a small bowl, whisk together the egg white and sugar and lightly brush it over the braid. Bake the challah bread for 25 to 35, minutes until the bread has risen considerably and is golden brown. Let cool slightly before slicing.
Nutrition
Nutrition information is automatically calculated, so should only be used as an approximation.
Recipe Testers’ Reviews
My always-go-to challah bread recipe. Very simple yet delicious. It’s great the next day for French toast or simply with jam or as a “poached egg holder.”
Challah is one of my favorite breads and I have always wanted to try making it. I always feared making bread, as it appears to be a complicated process. I fear no more! Thanks to this recipe, I have succeeded in making a challah bread that is eggy with a chewy crust and that is just so delicious.
I will admit that I was anxious every step of the way. When I mixed the dry and wet ingredients together, it did form a ragged dough, but I felt it was a bit too dry and added an additional tablespoon of water and then another, increasing the water volume by 2 tablespoons. I then placed it all in my KitchenAid and let the mixer do all the work. I didn’t find it was very elastic at the 10-minute interval, so I kept mixing the dough for an additional 10 minutes—a total of 20 minutes. I was still hoping for a more elastic dough and ended up kneading it by hand for a couple of minutes more, and that worked for me.
Even though it was a warm day, I decided to try out my “Bread Proof” function on my oven and let the dough rise for 2 hours. I punched down the dough and cut it into 6 portions to make the braid. At first I thought the dough was a bit tough, but once I started shaping the ropes, the dough began to relax more.
Creating the braid was a bit complicated, but I was determined. I watched videos on how to braid it, read the instructions several times, and even unbraided and re-tried the process a total of several times. In the end, it still wasn’t exactly right, and certainly not the prettiest, but close enough.
After letting it rise again in its braided formation, I brushed on the egg white and sprinkled sesame seeds on top and baked the loaf for 35 minutes. It produced a very large loaf! I may make 2 smaller ones next time.
I could barely wait to try it and cut into it while it was a bit warm—just enough for the butter to melt. It was truly delicious, and I am thrilled to have made my first, but not my last, challah! Can’t wait to use it for grilled cheese (or, as my nieces like to call it, Girls Cheese).
This was my first try at making challah bread and the finished loaf looked beautiful and tasted rich and moist.
I used my KitchenAid mixer with the dough hook for the kneading, and I found instructions that made the 6-strand braid a piece of cake. I used my mixer with the dough hook for the kneading and let it run for 7 minutes.
The loaf was a nice golden brown in places. The places where the dough rose in the oven turned white and a quick search online suggested brushing with the egg mixture halfway through to get a more uniform browning. The bread was delicious warm with butter and had the texture of a soft pretzel.
I really like this challah bread recipe. I’m not sure it’s a typical challah—it’s denser and heavier but has good flavor and was easy to make.
The initial mixture was very shaggy and had lots of dry flour, but it came together nicely with the dough hook. I kneaded everything in my mixer for 10 minutes to get a smooth, elastic dough. I separated the dough into 3 logs and braided it since I’m not a very accomplished braider. The loaf raised well and had great oven spring—I was amazed that the braid pulled apart somewhat and made a very large loaf.
It tasted better the second day. Overall, it was very good and very easy to make.


I branched out this Rosh Hashanah and tried this new recipe. It was a hit! I made two batches and divided each into two (not-so-ginormous) loaves. You’ll note from my pictures that the two recipes came out somewhat differently, and the biggest difference in prep was the kneading time. It’s a dense dough, and my mixer was clunking along across the countertop in protest, but do not skimp on the kneading time…the well-kneaded dough yielded the better result. I did a four-piece round braid learned quickly on Youtube, and sprinkled one batch with sesame seeds, the other with poppy. All in all pretty easy and, topped with the requisite honey, it was a very sweet addition to Rosh Hashanah.
Terrific, Janet! Many thanks for taking the time to let everyone know how well this recipe works. Glad to hear you like it as much as we do. And your loaves are GORGEOUS!
Looks great. But it’s challah. Not challah bread, just challah. (Just like it’s brioche, not brioche bread, just brioche. Right?) Happy New Year!
Thanks, Fact checker. And yes, we are in complete agreement with you regarding challah versus challah bread. However, when people search online for recipes, they search far more often for challah bread, and so in order to help the most people find this reliable recipe, we acquiesced to the manner in which they try to find the recipe.
One of our local delis, the one that makes hundreds of round challahs for the New Year holiday, put together a “special” challah. It has minced bits of dry apricot and small chunks of chocolate kneaded into the raw dough and the raw bread is finished with large crystals of sugar sprinkled on the egg wash prior to baking.
Stu, what a lovely and sweet variation for Rosh Hashanah! Many thanks for taking the time to share it so that we can do the same in our kitchens…