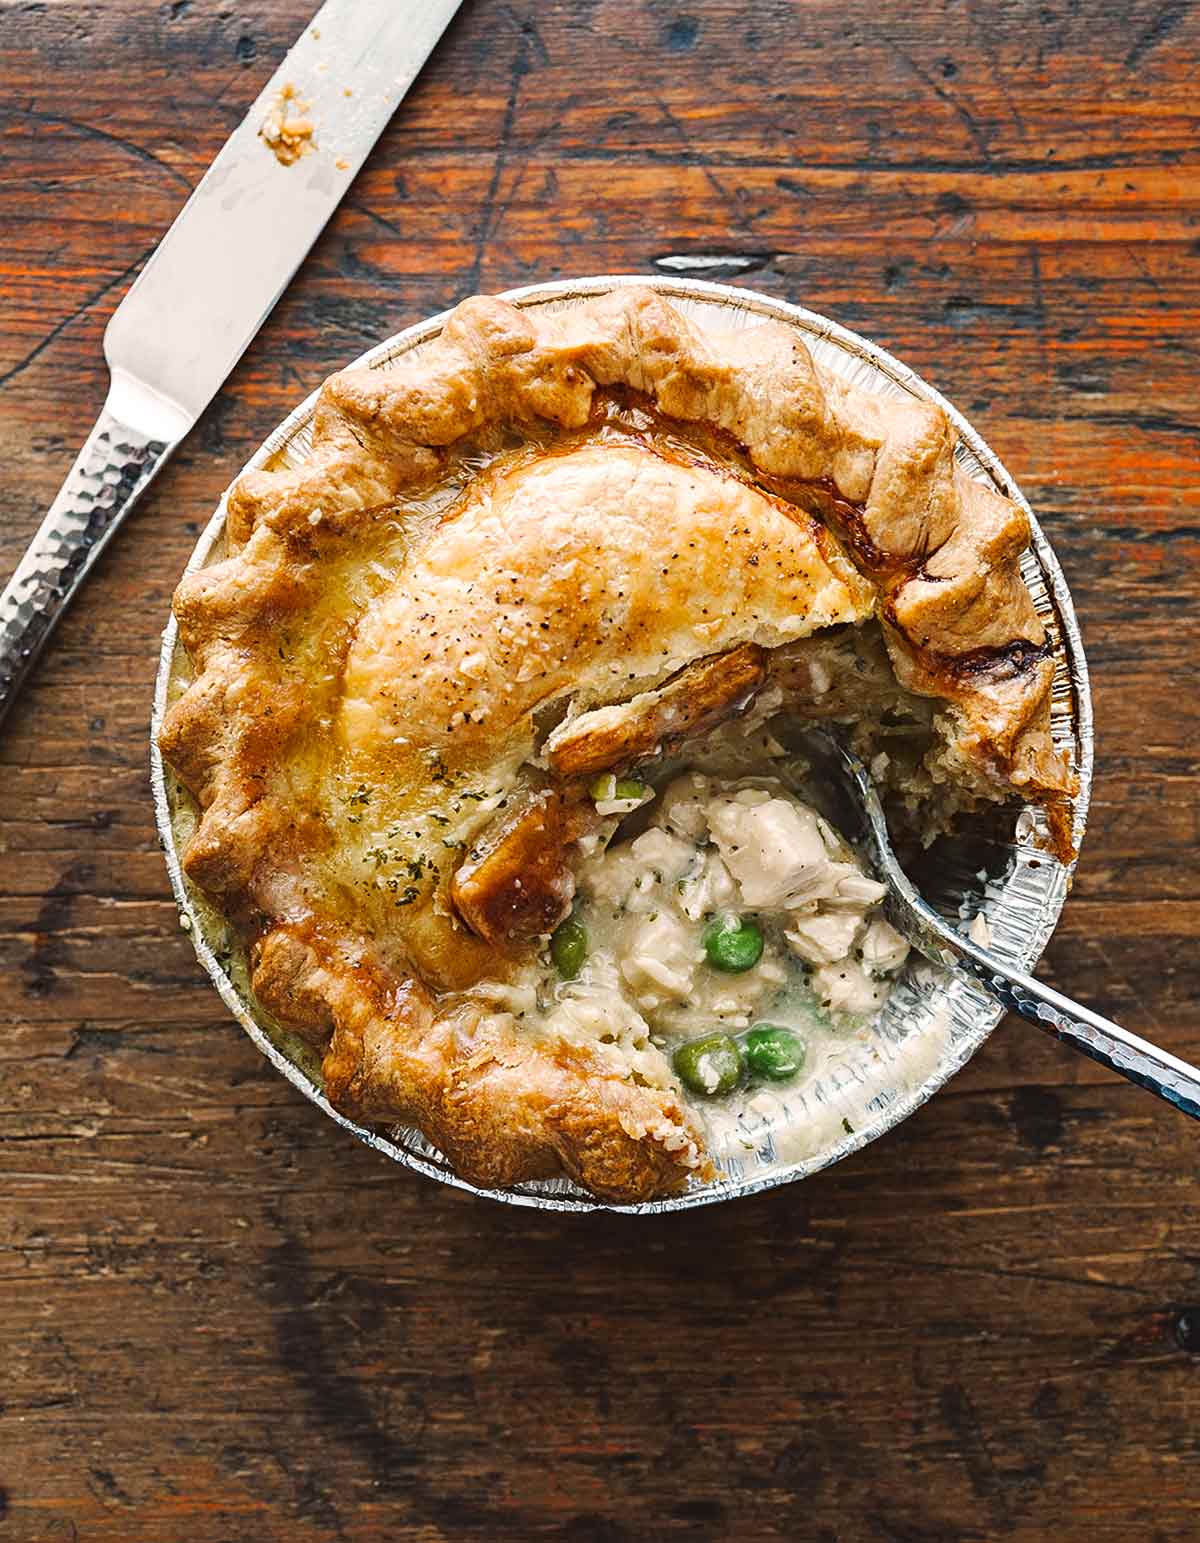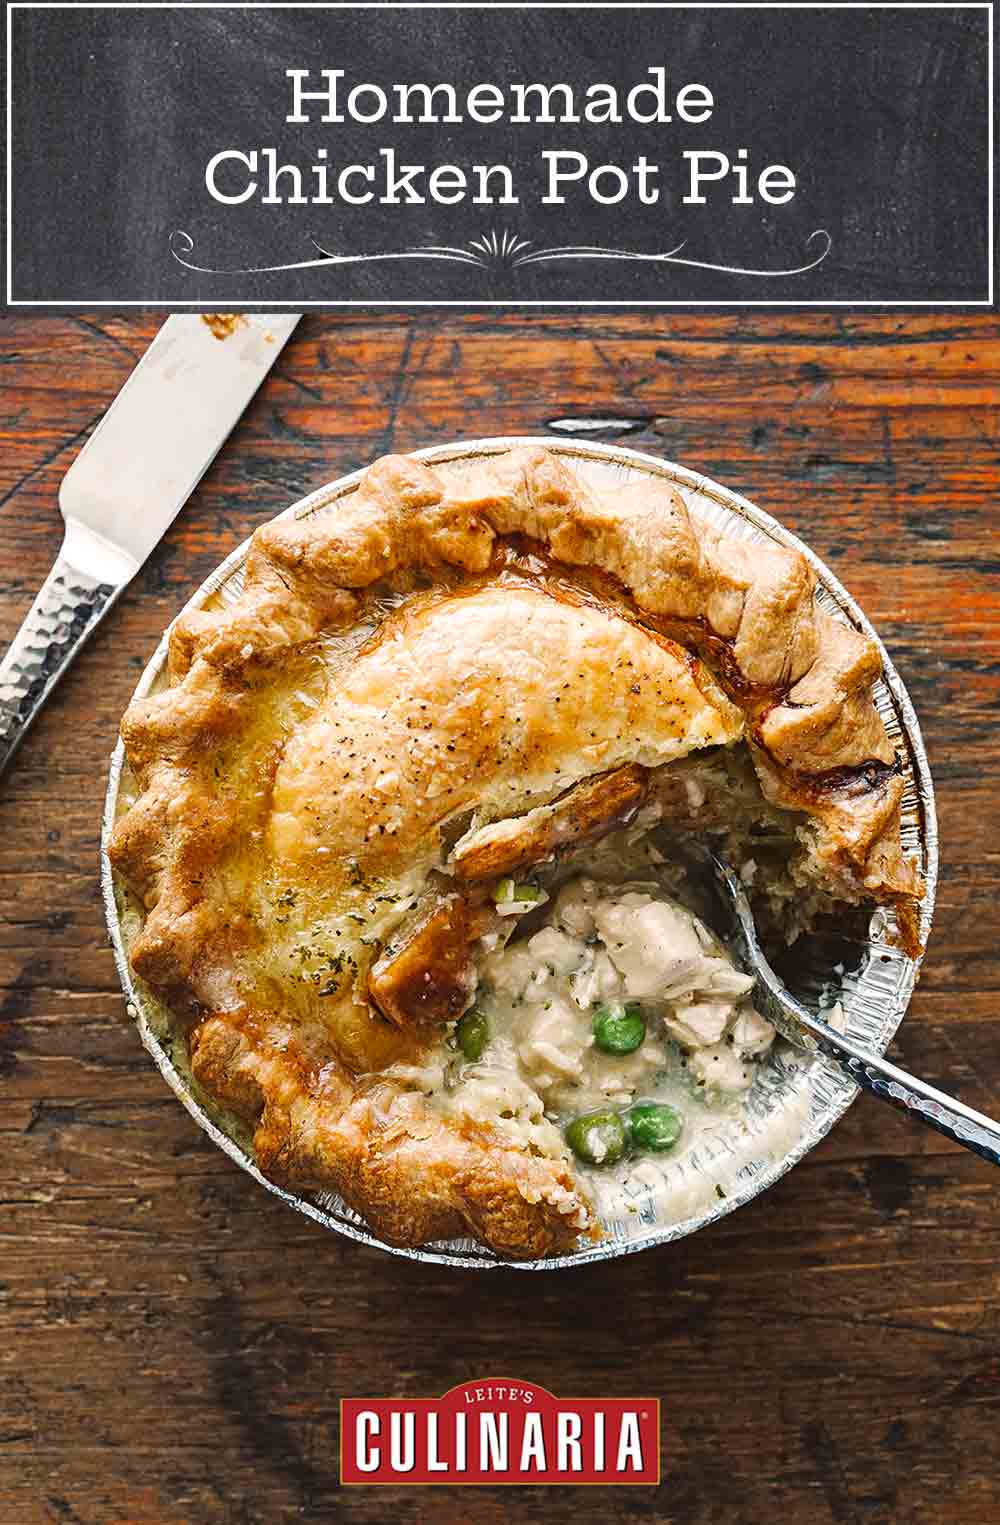
When we think of classic comfort food, homemade chicken potpie comes to mind before anything else. Although the version we crave takes on a few flourishes from what your mom made years ago. Including chicken that’s infused with rosemary. A cream sauce that strikes that tricky balance between perfectly creamy yet not ridiculously rich. And, natch, the expected peas and carrots but cooked to tenderness rather than mushy. All tucked beneath a buttery crust. Try it with these tweaks and we suspect you’ll be thinking exactly the same.–Angie Zoobkoff
Want to Save This?

Homemade Chicken Pot Pie
Equipment
- Four 5-inch (13-cm) individual pie pans (individual ramekins or other sized pie pans will also work here too, though the yield may change)
Ingredients
For the chicken
- 6 (2 1/2 lbs total) boneless, skinless chicken breasts
- 2 tablespoons extra-virgin olive oil
- Kosher salt and freshly ground black pepper
- 1 tablespoon finely chopped fresh rosemary
For the filling
- 1 1/2 sticks (6 oz) unsalted butter
- 3 cups (13 oz) chopped yellow onions (about 3 medium)
- 3/4 cup unbleached all-purpose flour
- 4 cups canned chicken broth or homemade chicken stock
- 1 cup heavy cream
- 2 teaspoons kosher salt
- 1 teaspoon freshly ground black pepper
- 2 cups (10 oz) chopped carrots
- One (10-ounce) package frozen green peas
- 1/2 cup (1 oz) finely chopped fresh parsley
- 4 store-bought pastry crusts or 4 batches homemade single crust pie dough*
- 1 large egg whisked with 1 tablespoon water
- Sea salt and coarsely ground black pepper
Instructions
Prepare the oven
- Preheat the oven to 450°F (230°C).
Prepare the chicken
- Rub the chicken breasts with the olive oil and sprinkle with salt, pepper, and the rosemary. Arrange on a rimmed baking sheet and bake just until cooked through, 15 to 20 minutes.
- Let cool. Then coarsely chop into large pieces.
Make the pot pie filling
- In a large saucepan over medium-low heat, melt the butter. Add the onions and cook, stirring, until translucent, 10 to 15 minutes.
- Whisk in the flour and cook, whisking continuously, until you end up with a thick roux, about 2 minutes. The mixture will brown slightly while you continue to whisk but don’t let it burn.
- Still whisking, gradually add the broth. Make sure the mixture is blended completely and the roux isn’t stuck to the sides of the pot. Reduce the heat to low and add the cream, salt, and pepper. Whisk for another minute or so, remove the pan from the heat, and, using a wooden spoon or spatula, stir in the carrots, peas, parsley, and chopped chicken. Let cool.
- Roll out all 4 discs of dough or remove the pie crust from the packaging and tin. If using store-bought pie crust, roll them a little thinner. Cut each into four 9-inch (23-cm) rounds and four 7 1/2-inch (19-cm) rounds (use inverted bowls as guides). Without stretching the dough, gently drape each larger dough round into an individual 6-inch (15-cm) pie pan about 2 inches (5 cm) deep, letting the round drape over the sides of the pan. Place the pie pans on a rimmed baking sheet.
- Divvy the cooled chicken mixture among the 4 pie shells. (Depending on the size pie pans you use, you may have extra filling. If so, simply freeze it for use in a future pot pie or tuck it in the fridge and rewarm it later in the week as a perfectly respectable stew.)
- Lightly brush the rim of the dough with the beaten egg and then place a smaller round of dough on top of each pot pie. Gently pinch the edges of the top and bottom crusts together to seal. Trim any excess dough to about 1/2 inch (12 mm) around the outside edge of the pans. Roll the outside edges toward the top of the pans, just inside the rim, and crimp with your fingers or a fork.
- Lightly brush the top crusts with the egg wash and cut a couple of slits in the center of each. Sprinkle with sea salt and coarse black pepper.
- Bake, rotating the baking sheet after 30 minutes, until the mixture is bubbling out of the slits and the crusts are golden, 50 to 60 minutes. If the edges of the pastry are browning too quickly, loosely cover with a strip of foil that you mold around the edge of each potpie.
- Let cool slightly and serve.
Notes
Make Your Homemade Pie Crust Savory
If you’d like to lend a more savory note to your pie dough, which will complement the chicken filling here, stir 1/2 teaspoon chopped fresh rosemary into the dough before adding the water.Explore More with AI
Nutrition
Nutrition information is automatically calculated, so should only be used as an approximation.
Recipe Testers’ Reviews
We LOVED these pot pies! They may be a bit time-consuming to prepare, but the rave reviews you’ll receive are so worth it! These sophisticated little pot pies are chock full of rosemary-infused chicken breast meat, veggies, fresh herbs, and a rich and luscious sauce.
I made these pot pies earlier in the day (without the final egg wash, salt, and pepper) and left them, covered with plastic wrap, in the fridge until I was ready to pop them in the oven for dinner. I took them out of the fridge and added the egg wash, and seasonings while the oven was heating up.
For convenience, I used 4 store-bought crusts and rolled them very thin, which made the crusts less heavy tasting. The added sea salt and freshly ground pepper sprinkled over the top crusts sent them to the next level!
I served these pot pies to guests and everyone was blown away with their unique flavor and appearance. Not your ordinary chicken pot pie.
A fresh green salad with a bracing vinaigrette was the perfect accompaniment to cut through the richness of the filling.
This recipe made four individual pot pies with enough leftover filling to fill a 10-by-7-inch baking dish. I baked the leftover filling the next day without a crust at 400°F for 45 minutes and it was great on its own in a bowl served with crackers.
This is a traditional chicken pot pie recipe. What sets it apart and takes it up a notch is the use of chopped fresh rosemary in the baked chicken and in the crust.
You’re going to need at least 3 1/2 hours from start to finish, so it’s important to plan out the time. To make it quicker to prepare for dinner, the chicken could be baked, the vegetables chopped, and the dough all made the day before and held in the refrigerator until just before assembly and baking.
I used 5-inch disposable pie pans, which looked very similar to those in the photo, and the yield was 7 pot pies. I froze several but have not yet taken them out to bake.
The finished pot pie hit all the notes of “comfort food” with its stick-to-your-ribs consistency and home-cooked flavor.
Many of my friends (including myself) are trying to reduce their carbohydrate consumption. Because of this, I decided to follow the recipe exactly as written sans pie crust, simply baking the chicken mixture in a Dutch oven for the requisite period of time. While this was cooking, I rolled out some puff pastry, cut it into 1-inch strips, and twisted them into “straws.” I brushed these with the egg wash, sprinkled with salt and pepper and slid them into the lower shelf of the oven the final 15 minutes of cooking. This gave my guests the option of dipping the straws into the chicken mixture, but honestly it was so delicious and rich it didn’t need them. The kids loved dunking the pastry straws into the stew, and the richness indulged the adults without forcing their healthful eating habits completely out the window.
This classic recipe for comfort food is simply delicious. With a creamy and tasty filling and a crunchy crust, it works very well with chicken leftovers and is so simple to prepare, making it a good recipe for beginner cooks or for those who have little time to cook.
Preparing these tarts following the recipe allows you to freeze enough for several family meals, which greatly facilitates housework.
Love, love this Chicken Potpie. It was as good as it gets as far as comfort food. It tasted delicious, oh-so-comforting, and nostalgia inducing. It reminded me of eating the Swanson Chicken Pot Pie on our fancy TV trays when I was a kid back in the 1970s.
I used store-bought pie crusts. I could only find 5-inch foil pot pie pans. I was able to make six 5-inch pot pies using the crust from 2 pie crust packages. I did have to jury-rig the crust to equally distribute the pieces for each pie pan as it’s hard to cut perfect circles within the larger circle of crust. However, pie crust is easy to piece back together and the result is a more rustic and less perfectly looking pie, as long as it tastes good!
I did seem to have an excess of filling after using it for the 6 pot pies, at least a few cups leftover, and I amply filled each pie. I opted to bake 3 pot pies and freeze 3 pot pies for a later date, so we have only tasted the fresh baked pie.
Where I had an issue is the baking. The only notation for oven temperature is 450°F. That seemed rather high to be baking a pie for 1 hour. I decided to watch it closely and after baking for 30 minutes the crust was perfectly golden and the filling had reached a temperature of 160°F.


