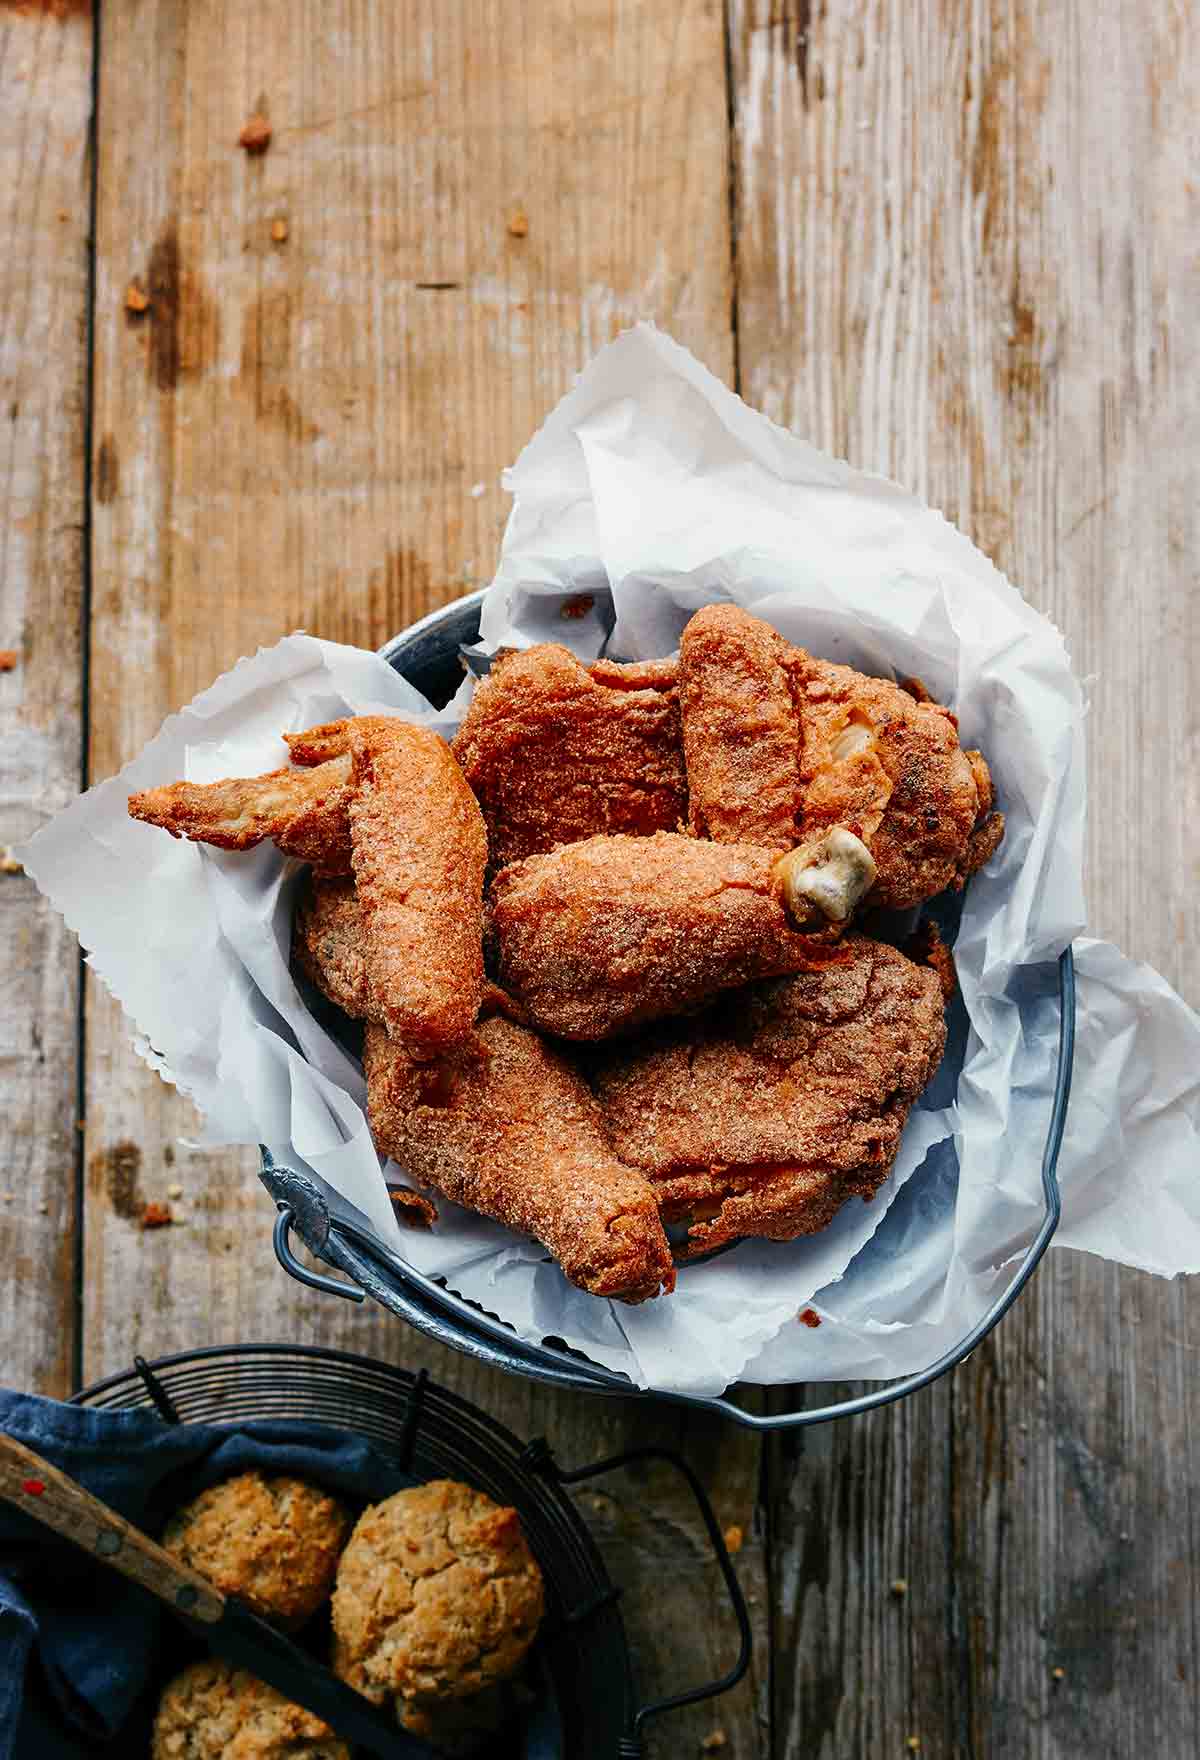
If you’re faced with dietary restrictions, then you likely already know that truly exceptional gluten-free dairy-free fried chicken is difficult to come by. Your wait is over. This slightly spicy version easily rivals the best traditional fried chicken we’ve experienced.–Angie Zoobkoff
Want to Save This?

Gluten-Free Dairy-Free Fried Chicken
Ingredients
- 6 cups water
- 1/2 cup kosher salt
- 3 to 4 pounds bone-in chicken pieces
- One can full-fat coconut milk
- 1/2 tablespoon apple cider vinegar
- 2 cups brown rice flour
- 2/3 cup potato or tapioca starch
- 1 teaspoon sea salt, plus more for seasoning
- 2 teaspoons garlic powder
- 2 teaspoons paprika
- 2 teaspoons cayenne pepper
- 1/2 cup coconut oil
- 1/2 cup extra-virgin olive oil
Instructions
- In a large bowl, combine the water and salt, stirring until the salt dissolves.
- Add the chicken pieces to the brine and refrigerate for 2 to 8 hours.
- When you’re ready to fry the chicken, preheat the oven to 350°F (177°C). Place a wire rack inside a rimmed baking sheet.
- Drain the chicken and thoroughly pat it dry with paper towels.
- In a medium bowl, whisk the coconut milk and vinegar together.
- In a large bowl, stir the flour, starch, salt, garlic powder, paprika, and cayenne together.
- Working with 1 piece of chicken at a time, dip it into the coconut milk and vinegar mixture and let the excess drip off. Dip the chicken into the flour mixture, turning to completely coat all sides. Set the prepared pieces on a large plate.
☞ TESTER TIP: For a thicker, crunchier coating on the fried chicken, repeat the dipping process a second time for each piece of chicken, using both the liquid and the dry mixtures again.
- In a large skillet over medium heat, combine 1/4 cup each coconut and olive oils and heat until lightly bubbling but not smoking. You should have about 1/4-inch (6-mm) oil in the skillet.
- Working in batches with 3 to 4 pieces of chicken at a time, fry the chicken until deep golden brown, 4 to 6 minutes per side. Transfer to a paper towel-lined plate to drain.
- Repeat the frying process with the remaining chicken, wiping out any burnt or crusty bits between batches, and adding more oil as needed to maintain a depth of about 1/4-inch.
- When all of the chicken has been fried and drained, transfer it to the prepared rack and bake, until it reaches an internal temperature of 165°F (74°C), about 25 minutes.
- Let rest for 5 minutes before serving.

Nutrition
Nutrition information is automatically calculated, so should only be used as an approximation.
Recipe Testers’ Reviews
I was pleasantly surprised by how good this recipe was and by the fact that it exceeded my expectations, although not my hopes. I was hoping that the end result would be moist, flavorful, and crunchy and each of those objectives was achieved.
I put the chicken in the brine in the morning and let it stay in the refrigerator until just before cooking, about nine hours, then drained and dried the pieces using paper towels. In general, I think most of the pieces were well dried so the coating adhered well, although a couple lost some during frying. I used a 12-inch skillet and heated the oil to about 250°F, which seemed to be the perfect temperature: the oil was lightly bubbling at that level. At one point, I increased the temperature to around 300°, but the chicken pieces took on color and started to burn early in the process, so I reduced the heat back to its original temperature. The ½ cup total of the two oils rose to about ¼ inch in the pan.
Rather than placing the fried pieces directly on a baking sheet, I set them on a rack over the sheet pan to increase the airflow. The result in 25 minutes was moist chicken with a crunchy, slightly spicy coating that, while not resembling classic fried chicken, absolutely delivered. My testers all loved it and unanimously voted it a yes. While I could have served it with corn bread or biscuits, I opted to keep it simple and maintain the focus on the chicken. A simple salad went especially well to lighten the meal.
Gluten- and dairy-free fried chicken for the win! I suspect that there is some combination of gluten, dairy, egg, and nut allergies/intolerances in most families nowadays. In my family, we have all of them. As we’ve added to our list of “no” foods, fried chicken has been one of those that seems impossible to make without one of the forbidden ingredients, so I was cautiously optimistic about trying this recipe. My husband is a huge fried-chicken fan. He also is vehemently opposed to all things coconut, so I figured he’d be my biggest critic. Two bites in, he declared he’d “eat it over KFC any day”. My son, also a fried chicken fan, said “I hope you give it a good review.” From them, exceptionally high praise.
I’m just delighted we can have fried chicken again!
For frying, cook times were pretty accurate; 4 to 6 minutes per side to get golden brown. It was hard to tell what the temperature of the oil was as it was only about ¼ inch deep. I just made sure it was bubbling but not smoking. Baked the chicken on a rack set in a baking sheet. Fully cooked after the 25 mins baking.


I’ve had some seriously bad gluten free/dairy free food over the years – this however was amazing. The chicken was super moist and the crispy fried coating had everyone ohhing and awwing! A keeper for sure!
Ingrid, THIS is what I love to hear. Superb! Dying to know what you’ll make next from the site.
Any thoughts on doing this an an air fryer?
We haven’t tried this in an air fryer, Debbie, so we really can’t say how it would turn out. We’d love to hear from any of our readers who have tried this.