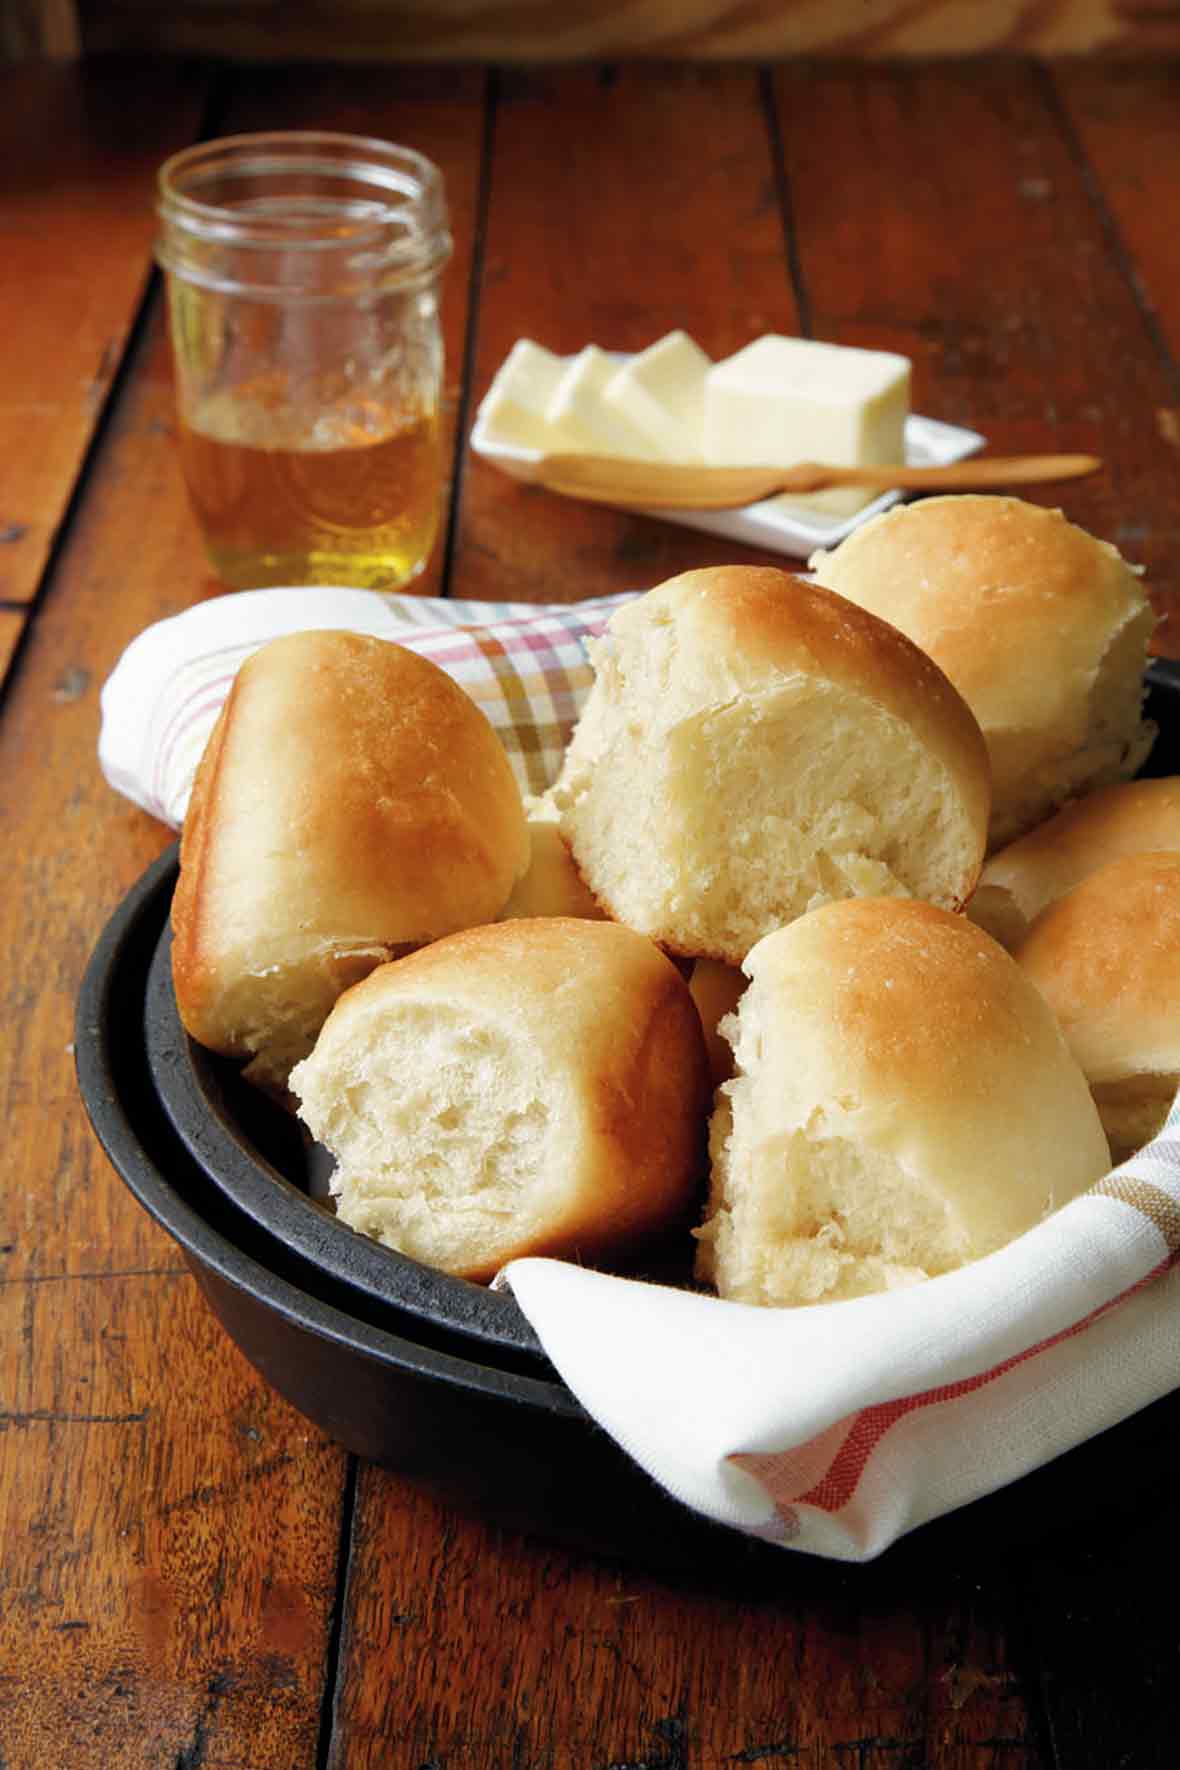
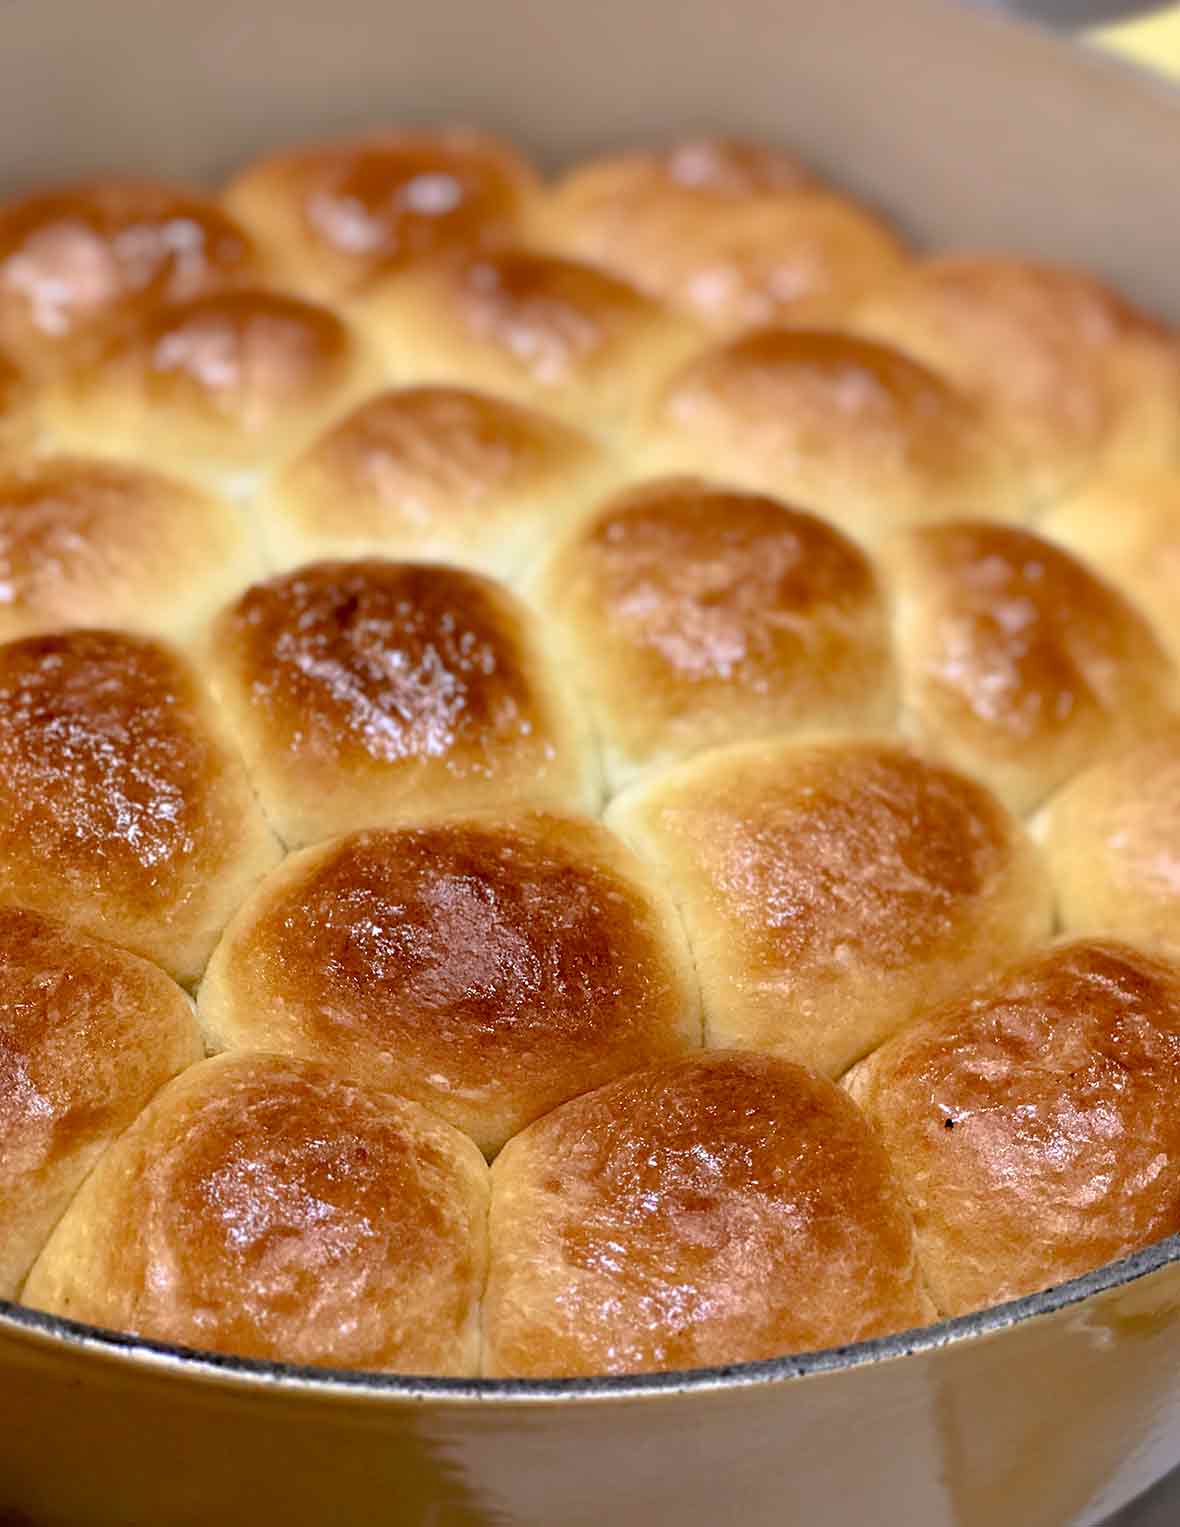
I’m nuts about pull-apart rolls. (Actually, I love just about any kind of rolls.) The One, on the other hand, isn’t a big bread fan. When he was a kid it was used as a way of filling bellies when there wasn’t a lot to eat. So I held out little hope that would be even remotely interested in these pull-apart rolls. But when I took them out of the oven, their smell lured him into the kitchen like one of those big aroma fingers from the old Looney Tunes cartoons. These rolls have a thin, crisp crust and sweet, fluffy insides. They’re great with butter and honey or homemade jam. This recipe was contributed by Sandy and Jack Wallace and Maureen Knapp of the International Dutch Oven Society.–David Leite
LC Light as a Feather… Note
These buttery pull-apart rolls are feather light. Paranormally airy, even. So much so that they practically levitate on their own, which takes us straight back to that loony levitation game we played at the pajama parties of our childhood. “Light as a feather, stiff as a board. Light as a feather, stiff as a….” Oops. Sorry. Anyways, we think you’ll have no trouble lifting each of these pull-apart rolls with just two fingers. No chanting or paranormal activity required.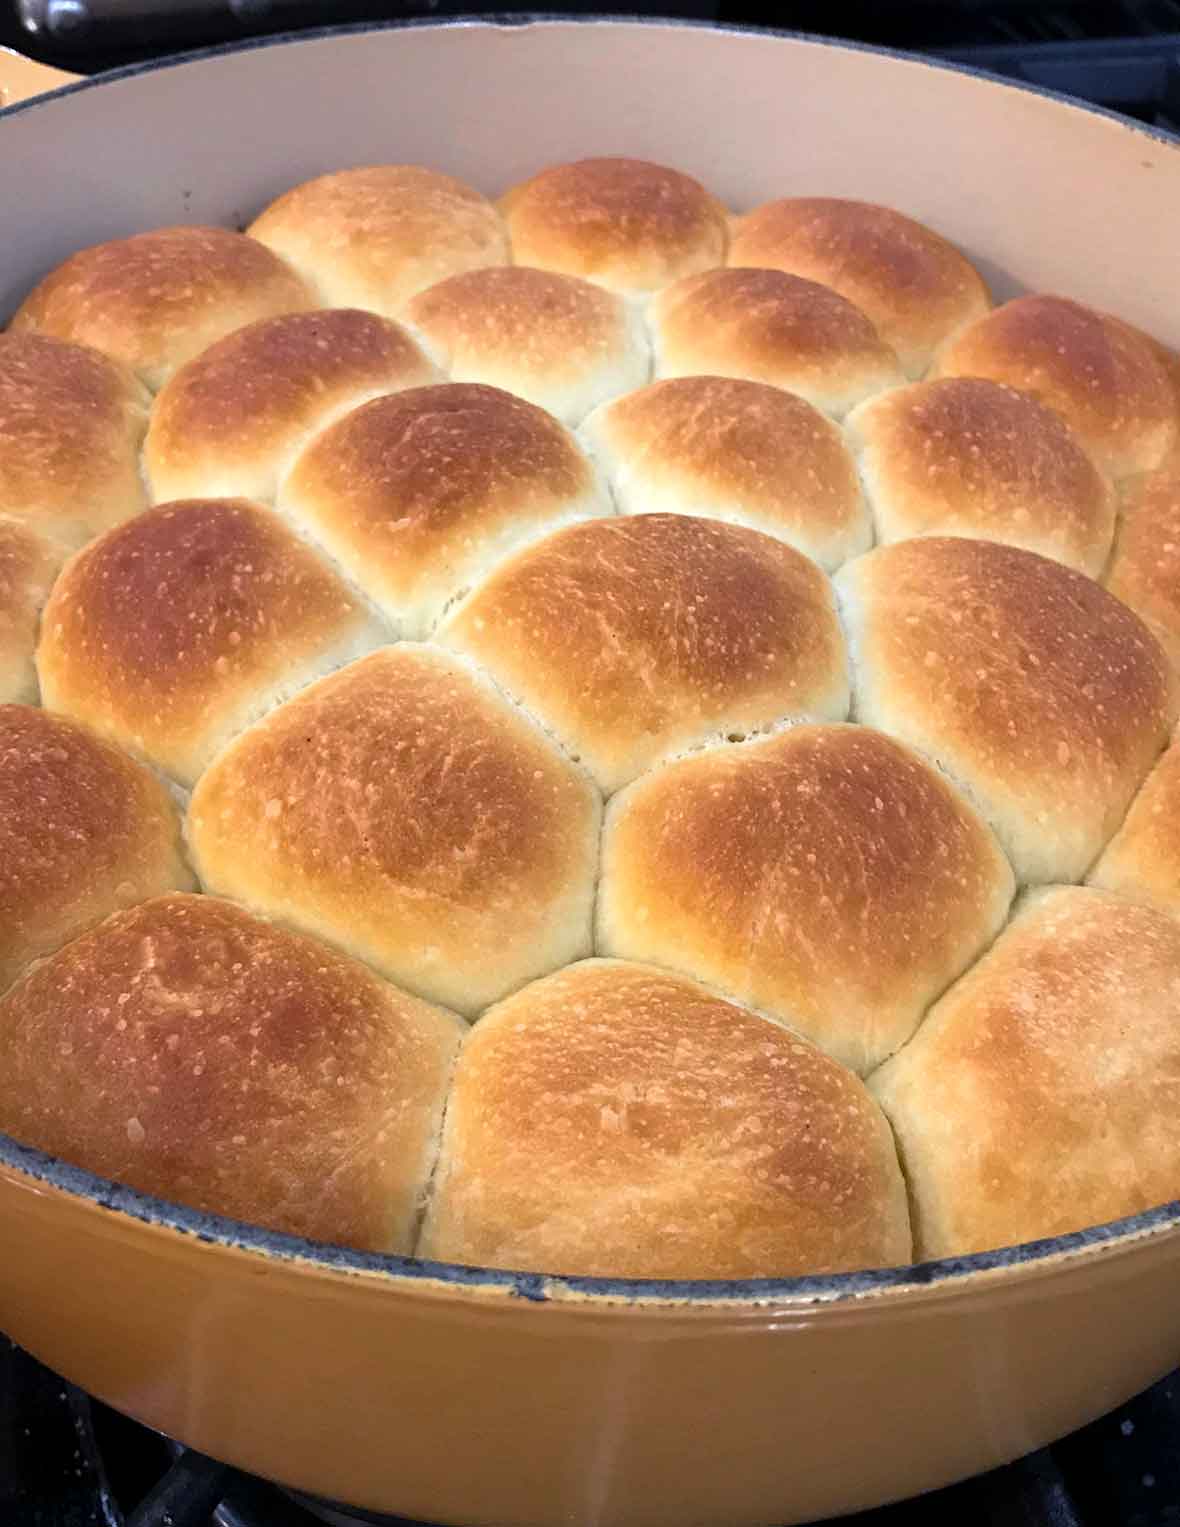
☞ Like rolls? Try these:
Buttery Pull-Apart Rolls
Ingredients
- 1 tablespoon instant yeast
- 1 1/4 cups warm milk [110°F to 115°F (43°C to 46°C)]
- 1/4 cup granulated sugar
- 1/4 cup mild vegetable oil
- 2 large eggs
- 3 1/2 cups bread flour, plus more for the work surface
- 1 teaspoon salt
- 4 tablespoons (1/2 stick) unsalted butter, plus more for the work surface
Instructions
- To make the pull-apart rolls, combine the yeast, milk, sugar, oil, and eggs in a large bowl, stirring well. Add 2 1/2 cups flour and stir well for 1 minute. While stirring, slowly add the salt. Add the remaining 1 cup flour, a little at a time, or as much of it as needed, to create a soft dough.
- Turn the dough onto a lightly floured surface and knead for 5 minutes or strongly whack the dough with a large spoon 30 times. [Editor’s Note: Yes, you read correctly. It works!] Shape the dough into a round and place it in a large bowl. (Avoid stainless steel or sheet metal bowls, as both can have a negative reaction with the yeast.) Cover the bowl with a clean cloth and place it in a warm, but not hot, spot. Let rise until doubled in bulk. The warmer your kitchen, the faster your dough will double—figure 20 to 30 minutes at 75°F (18°C).
- While the dough is rising, melt the butter in a warm 12-inch cast-iron Dutch oven or a similarly sized pot with a lid. Remove from the heat and tilt the pot so the butter covers the bottom and about halfway up the sides. The excess butter will pool in the bottom of the pan. This is okay. In fact, it’s more than okay, it’s desirable.
- After the dough has risen, place it on a clean, flat, lightly buttered work surface and shape the dough into a round ball. Pinch off a 1 1⁄2- to 2-inch (4- to 5-cm) portion of dough, roll the dough between your palms to round it, then pinch and smooth it to seal the seam. Plonk the dough ball into the prepared Dutch oven and roll it around in the butter to coat it on all sides. Place the buttery dough ball, seam side down, in the Dutch oven with its nice rounded top facing upwards. Repeat with the remaining dough, arranging the rolls so they touch one another.
- Cover the Dutch oven with a clean cloth or its lid and place it in a warm, but not hot, spot. Allow the rolls to rise until almost doubled. Again, depending on the temperature, this will take 20 to 40 minutes. Watch the dough carefully!
- Preheat the oven to 350°F (176°C). Slide the rolls into the oven and bake, covered with a lid or tinfoil, for 20 or so minutes. Then uncover and bake until puffed and lightly browned, 10 to 15 more minutes. (Keep in mind, every time you lift the lid to check on your rolls, you need to add 5 more minutes of cooking time.) Be patient and trust your nose, knowing when you can smell yeasty bread, the rolls are about 5 minutes away from being done. And when you smell baked bread, the rolls are done.
- Remove the rolls from the oven. Thanks to the exceptionally generous amount of butter in the pot, the rolls should be easy to lift, slide, or plop onto a plate or platter. They can also be brought to the table in the Dutch oven, although if you leave the rolls in the vessel, its residual heat will cause the bottoms and sides of the rolls to get a little crunchy. (If you’re really keen on serving the rolls out of your spiffy cast-iron Dutch oven, dump the rolls out on a wire rack to cool for a few minutes, then return them to your Dutch oven when it comes time to serve them.) We like them best when they’re still warm, but they’re lovely at room temperature, too.
Notes
Campfire Cooking Variation
If you’re baking these rolls outdoors over a campfire, arrange 8 hot coals in a ring underneath the Dutch oven and place hot 16 coals on the lid, keeping in mind that your target temperature inside the Dutch oven is 325°F to 350°F (163°C to 176°C). It may take 25 to 40 minutes to reach this temperature.
Nutrition
Nutrition information is automatically calculated, so should only be used as an approximation.
Recipe Testers’ Reviews
This is a second time I have made this kind of recipe in my Dutch oven. It’s easy enough to do and I can see why this would be a good camping recipe. My son loved them, but my husband said they needed a bit more salt.
This is a really soft dough, so I had to use more flour to be able to handle it. They rose really high and I loved the crusty taste they got from the butter. The crust was my favorite part of this roll.
These rolls were delicious and super easy…no kneading, I just whacked the dough with a spoon as specified in the recipe and it worked! The rolls develop a glorious, buttery crust where it contacts the Dutch oven. I have many Lodge pieces, but the camp oven is next on my list so I used a regular enameled Dutch oven, which worked great. The next day I sliced the leftovers like a loaf of bread and it made awesome birds in a nest for brunch. One small tip: double the salt. The sweetness of the milk and the butter call for a better balance.
The idea of being able to bake over a fire is an appealing one, but don’t let the lack of camping skills prevent you from baking up a batch of these tender, airy pillows of dough. My home oven served just as well, and produced exactly what the recipe promises—feather-light rolls. The dough is a soft, slightly sticky one to work with, and I had to resist adding too much flour. The dough becomes less tacky when forming the rolls, so don’t be afraid of being firm with it. Once they’re baked, the rolls spring up to double their original size; I highly recommend serving them straight from the pot, as the buttery crunch of the crust adds immensely to the appeal of these rolls.
These rolls actually were feather light. And quite delicious. Since they were rolled in all that butter, they could be simply pulled apart and devoured without any additional fuss. Clearly, whacking dough a few times is not a substitute for kneading. Didn’t quite get that.
The Dutch oven seemed weird at first. I did manage to fit all the buttery balls of dough into one layer, but maybe you couldn’t in a smaller pot. When they rose the second time, I was sure they’d be too squished to form shapely rolls, but they looked ok. So I baked these in the oven at 350, covered. Then took the cover off the last 10 minutes or so, since they weren’t browning on top. They rose nearly three inches high and formed a beautiful loaf. It looked like a giant flower. The loaf turned out easily. Again, all that butter. The hardest part was waiting for them to cool a little before we pulled them apart. These tall, skinny rolls were light, yet rich. Definitely worth the effort of working through this recipe.
These rolls are a breeze to put together, mixed all in one bowl, and the recipe is easy to follow. The rolls came out perfectly, even though I don’t own a Dutch oven. I placed rolls in an 9 x 11 1/2-inch stainless steel pan with the melted butter in it, covered them with tinfoil and baked in a 350 degree oven. The rolls came out perfect, light and fluffy with a delightful crunchy-crisp crust on the bottom. I would make these anytime I needed a homemade roll and wanted to impress my guests, and fool them into thinking I can bake!


I’d like to serve these for Thanksgiving but I have a couple of questions–first, do you think they’d be good if made in advance, frozen, & reheated? And second, I don’t like oil in my baked goods; do you think melted butter would work as a substitute for the oil in the dough (realizing that’s a lot of butter overall!)?
Rebecca, I think freezing them would be fine. But substituting more butter, which isn’t a equal substitution for oil (unlike butter, oil has no water) could cause a problem.
I tried this amazing recipe, and oh my goodness I can’t stop raving about it. They were Heavenly Pillows… Best recipe ever and sooooo simple. They remained soft and fluffy for breakfast the next morning. Love love love it! ?
Naim, I’m so delighted you enjoyed them. They are my go-to Easter rolls. We love them, too!
Love this recipe! I’ve used it a dozen times now. Makes for great rolls, bread, cinnamon rolls, scones and even pizza dough. Quick and easy.
Dutchman, so happy you like it. It is a winner, right?
Holy wow! Like carby angel fluff. These turned out extremely well. I thought I was messing them up when making them though because the dough is extremely wet! Very wet – and I think when I kneaded for 5 minutes I added a full extra cup of flour to make the dough workable. But…it turned out fantastic. It really did! I think next time I may add some thyme – these are buttery and perfect but crying for herbs. Thanks Dave and team!
“Carby angel fluff.” I love that, Dana! And yes, as we specify in the instructions, you may need that full extra cup of flour! So lovely to hear that these worked out so well. That’s exactly why we do what we do—so that folks have exactly your experience. Thank you so much for taking the time to let us know!