TL;DR (Quick-Answer Box)
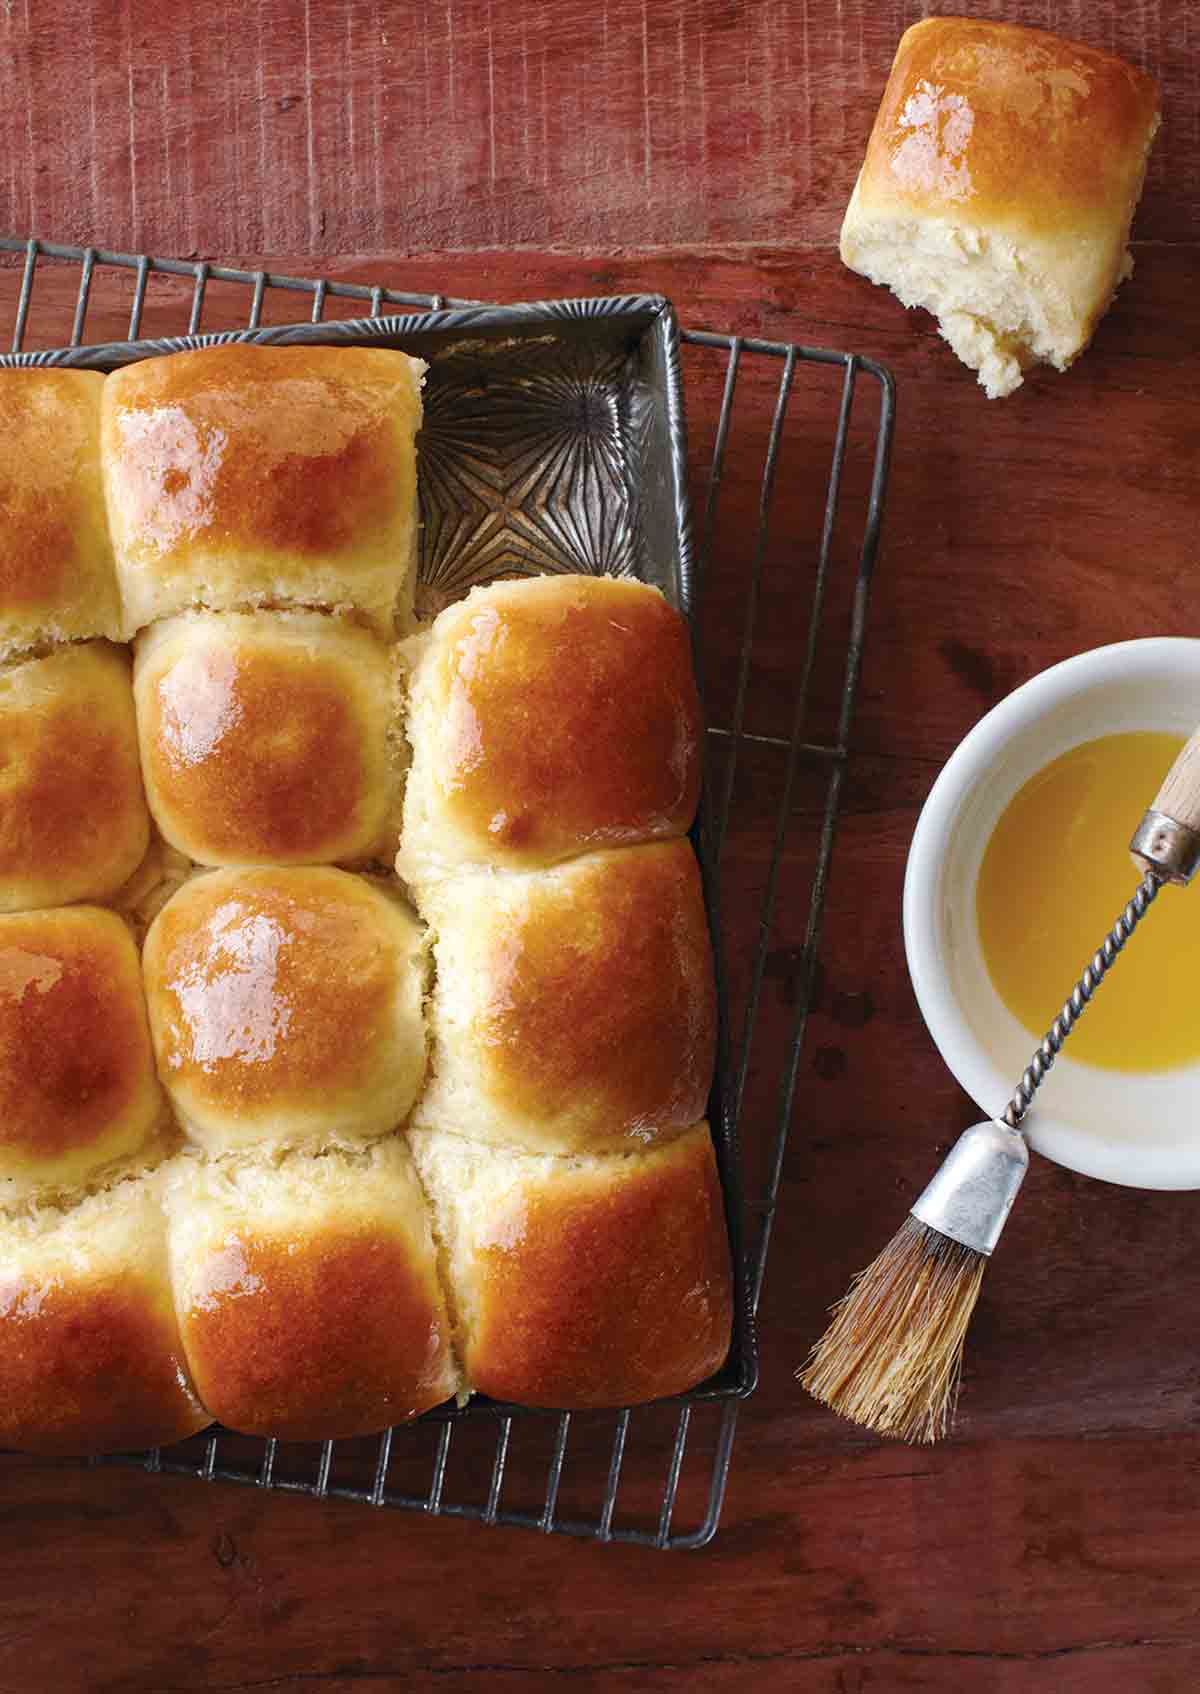
- What it is: A remarkably easy, soft, and buttery dinner roll recipe, using honey for a subtle sweetness and beautiful browning. They’re perfect for any holiday or family gathering.
- Why you’ll love it: These rolls are a quick win, requiring a single rise and about 1 hour and 45 minutes start-to-finish, delivering the ultimate fluffy, melt-in-your-mouth texture.
- How to make it: Mix the simple dough, divide, roll into balls, let it rest for one quick rise until doubled in size, and bake until they’re golden brown and ready for a final butter bath.

Featured Review
I made these today… I baked them for about 15 minutes, brushed with butter, sprinkled salt, and tried one. OMG! Soft, buttery, tender… the best rolls I have ever made in my life. I would make these again in a heartbeat.\My family is so impressed with my mad baking skills, these can replace the store bought ones we usually have at Thanksgiving!
RJ Haynes
Jump To
A lot of folks shy away from baking bread or dinner rolls for the holiday table. We understand. Baking bread takes time. It takes finesse. And it takes guests who aren’t eschewing carbs, refined flours, gluten, dairy, non-foraged foods, or all of the above.
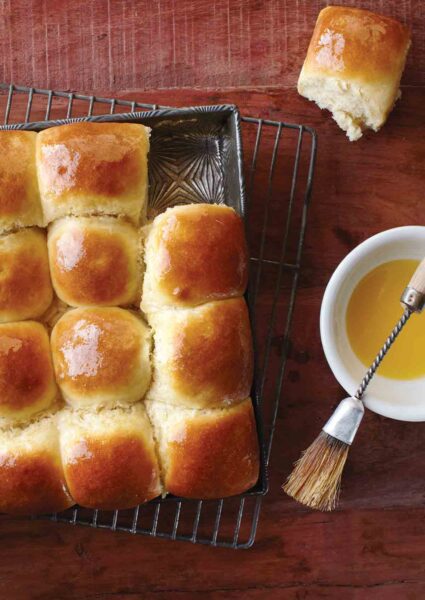
This dinner rolls recipe, however, is practically instant gratification with its blink-and-you’ll-miss-it rise. It practically makes itself thanks to its straightforward mixing method. And it’s otherworldly in terms of the resulting light, airy, squishy, slightly sweet, tender, buttery, completely addictive pull-apart rolls that we find darn near irresistible.
So go on. We’ve eradicated two out of three concerns you had. As for those who choose to decline for their own personal reasons, well, that just means more for the rest of us.–Kelsey Nixon
Can I make a smaller number of rolls?
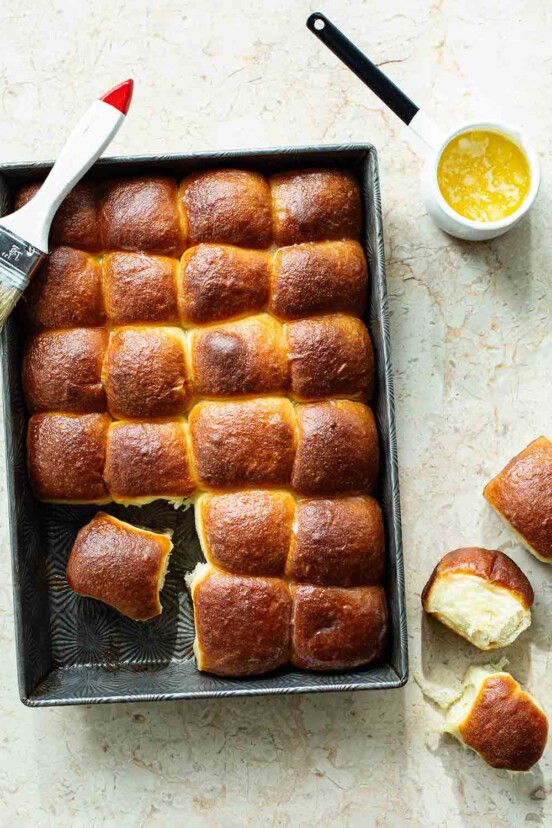
If you need—or want—far fewer than a couple dozen dinner rolls, simply halve the ingredients and use a 13-by-9-inch baking dish. You should end up with 12 rolls that fit perfectly in that pan.
More Roll Recipes to Seek Your Teeth Into
Cheryl Day’s Icebox Rolls
3 hrs 45 mins
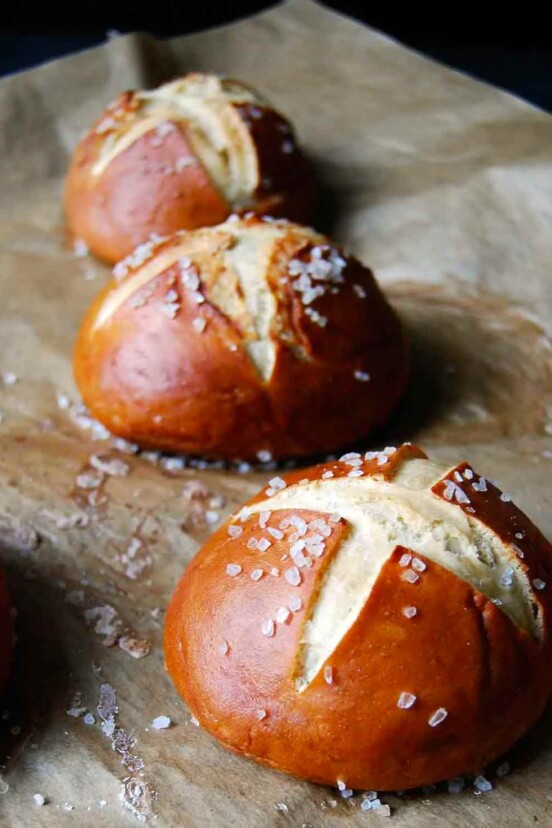
Pretzel Rolls
2 hrs 30 mins
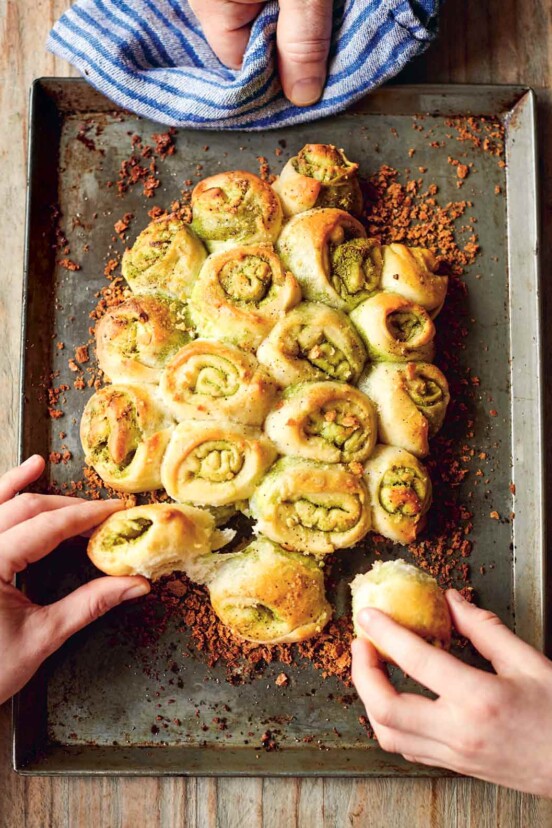
Jamie Oliver’s Garlic Pull-Apart Rolls
3 hrs 40 mins
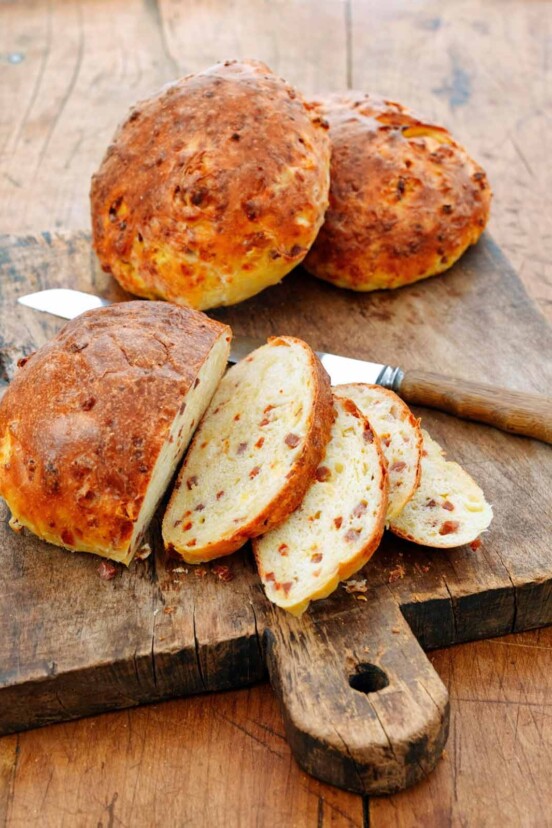
Portuguese Sausage, Ham, and Cheese Bread
3 hrs 10 mins
Write a Review
If you make this recipe, or any dish on LC, consider leaving a review, a star rating, and your best photo in the comments below. I love hearing from you.–David
Featured Review
Excellent recipe! Cooked both batches in cast iron pans and they came out perfect. Definitely a go-to recipe.
Michelle-Randy
Classic Dinner Rolls
Ingredients
- Three (1/4-ounce) packets active dry yeast
- 1 3/4 cups warm water, [105º to 115ºF (41º to 46ºC)]
- 1/2 cup honey
- 1 stick (4 oz) unsalted butter, melted, plus more for brushing
- 2 large eggs, beaten
- 2 teaspoons kosher salt, plus more for sprinkling
- 6 cups all-purpose flour, plus more as needed
Instructions
- In the bowl of a stand mixer fitted with the paddle attachment, combine the yeast and warm water. Let stand for 5 minutes until the yeast is bubbly and looks creamy. (If your yeast doesn’t begin to bubble, throw it out and start again using slightly warmer water.)
- When the yeast is bubbly and looks creamy, turn the mixer on low speed and add the honey. Add the melted butter, eggs, and salt. Slowly add 6 cups flour, 1 cup at a time, until it’s fully incorporated and the dough pulls away from the sides of the bowl, 3 to 5 minutes. If the dough is too sticky, add more flour, a little at a time, until you have a workable dough. (This is going to sound crazy, but after you add the initial 3 cups flour, you may need to add anywhere from 1 tablespoon flour to 3 cups flour. That’s what we found when we made this dough in our home kitchens.)
- Turn the dough out onto a lightly floured work surface. Divide the dough evenly into 24 pieces and roll them into balls. Space 12 rolls about 2 inches apart in a large (12-inch) cast-iron skillet or a 9-by-13-inch baking dish. Repeat with the remaining dough balls in another skillet or baking dish. Keep covered with a clean towel in a warm place and let the rolls rise until doubled in size, about 30 minutes in a warm kitchen or up to 60 minutes if your kitchen is rather cool.
- Preheat the oven to 400°F (204°C).
- Brush the rolls with melted butter. Bake until the tops are golden brown, 15 to 25 minutes. Keep a careful watch on the rolls. They tend to brown quite easily thanks to the large amount of honey. The type of baking dish or skillet you use also affects how fast the bottom of the rolls cooks. If you’re using anything other than a cast-iron skillet, 20 minutes will probably be just right—any longer and the bottoms of the rolls will be too dark.
- Remove the skillets or pans from the oven. Brush the dinner rolls with more melted butter and sprinkle with a pinch of salt. Serve warm. (Store leftovers in an airtight container at room temperature for up to 3 days. Rewarm, wrapped in foil in a warm oven, before serving.)
Explore More with AI
Nutrition
Nutrition information is automatically calculated, so should only be used as an approximation.
Recipe Testers’ Reviews
I wasn’t particularly hungry when I tested this recipe, but these classic dinner rolls smelled so good that I ate one right out of the oven standing by the kitchen counter. That was it—there was no stopping. I immediately enjoyed two more of the pillowy clouds. Ever so slightly sweet, these rolls are delicious plain, but they are wonderful with a little butter or jam. And it couldn’t have been easier to make them.
The dough was a little sticky and I found that 1 tablespoon additional flour made the texture more workable. My dough took 35 minutes to double in size, most likely due to the cooler room temperature, but the rolls took only 20 minutes to bake (I used a metal baking pan) so the whole process was still pretty darn rapid. I didn’t want to commit to 24 rolls so I halved the recipe. I used 10 1/2 grams active yeast. And for the warm water, I measured 1 cup and removed 1/8 cup. Twelve rolls fit perfectly in my 13-by-9-inch baking pan (three rows of four rolls). When baked, they were cozy and snug, filling the entire bottom of the pan.
One thing I will change next time: I’ll omit the salt, as it didn’t stick to the baked rolls (the butter dried immediately on the hot crust). Instead, I’ll use salted butter for brushing. If you end up with cool rolls, I recommend reheating them, as the texture is best when the bread is warm. Just wrap the rolls individually in foil and pop them in the oven—10 minutes at 300°F worked for me.
Yes! Something I can bake and have turn out amazing. These dinner rolls are easy to pull together and almost foolproof. Light, airy, squishy, slightly sweet, and completely addictive, these are fantastic rolls.
To start, I had to add an additional cup of flour to my mixer, as it was so sticky that it wouldn’t release from the sides of the bowl as described. There was some confusion in my mind as to how much the dough is supposed to pull away from the sides. In some bread recipes, the dough will form a ball and completely pull away from the sides. Definitely not the case here. Even after adding the extra flour, the dough was still sticky. I’d like to point out that its been raining lately here, so it’s been really humid, which might be the reason why so much extra flour was needed.
My rolls took 60 minutes, not 20, for the dough to double in size. Please note that this recipe makes 24 large dinner rolls. So for a small family, these could last several days if you can control yourself from eating too many. I’ve heated them up a few different ways, including reheating them at 350°F for 10 minutes and also steaming them for 5 minutes. I really liked the way the steam made them moist and chewy while the former method made them crisp and slightly dehydrated. Although nothing beats these right out of the oven for the first time, slathered in melted butter and sprinkled with salt. Heaven.
These are slightly sweet, perfectly fresh classic dinner rolls that you can proudly pile in a warm basket, cover with a towel, and serve at a party buffet or formal holiday dinner. This was a relatively quick recipe with an easy dough and very fast turnaround.
Making the dough using the paddle on my mixer amazed me—it was perfectly smooth dough that’s easy to divide and roll with minimal flour. The rise took 35 to 40 minutes, although my house was quite cool today, and the kitchen was only 68°F. If your kitchen is warm, expect them to rise on schedule, allowing a little more time if it’s a winter day and the house is a little cooler. I halved the recipe and baked the rolls in a 9-by-13-inch glass baking dish, but they’d be cozier and pull apart just as nicely in a 12-inch cast-iron skillet. They were done baking at 20 minutes, and, with a second brushing of butter when they come out of the oven and some Maldon sea salt flakes, they looked great.
These rolls would also be the just the right size for a small ham sandwich for sneaking late night. I’m used to breads made with fermented doughs with more character and substance, although there is a place for this kind of roll. I might cut back on the sweetness, but I’m not sure if that will affect the rise—the yeast may count on the honey for the quick rise.
These classic dinners rolls came together quickly and were devoured by my guests. I was a little concerned with the number of packets of yeast involved but that turned out not to be a problem—the rolls weren’t bitter, yeasty, or overly fluffy. It was surprising that they were airy but dense—you really felt like you were eating a homemade roll.
The only thing I wished I did differently was weigh the balls. Weighing ensures you get the same size roll. The rolls rose in 20 minutes and I baked them for about 22 minutes. They were served warm, and I never got a chance to store any leftovers! Next time, I’ll add some herbs to the dough and include some with the brushed-on butter to take them to the next level.
I was searching for a delicious dinner rolls recipe to serve at Thanksgiving, and here it is! I needed about 7 cups flour (35 ounces) to achieve a dough that was still moist but stiff enough to roll out. Each roll weighed about 6 ounces. I put 12 rolls in a cast-iron skillet and 12 in a 9-by-13-inch glass baking dish. After 35 minutes resting, the rolls had doubled in size. The rolls I baked in the cast-iron skillet were more evenly browned, less crisp, and overall softer and more delicious than the rolls in the glass baking dish. The rolls in the glass dish were much browner on the bottom than those in the cast-iron skillet and crisper on top and not as pillowy on the inside. Maybe I should get a second cast-iron skillet! These classic dinner rolls are best right out of the oven. Reheating them in the oven hours later was not as good as blasting them in the microwave for 15 to 20 seconds. They got too crisp and a bit dried out reheating them in the oven. The microwave did a great job of making them moist and pillowy and yummy!
In just over an hour, I had a beautiful batch of buttery, yeasty rolls. They were soft, slightly sweet, and rich from butter. The honey flavor was subtle but definitely there. These classic dinner rolls were perfect in just about every way, and it was an extra bonus to have them ready in just over an hour.
My first thought was that the recipe included a lot of yeast. I wondered if the yeasty flavor would be too strong. It wasn’t. (I do wonder if the same recipe would work with 2 packages of yeast and I may try that when I make the recipe again. I am interested to see if they will still rise in 30 minutes.) The rolls had just barely enough salt for me, even using salted butter. Given the large amount of honey, I would recommend a mild honey unless you want a roll that is really strongly honey-flavored.
I had to add 3 extra cups flour to get a soft dough. After the initial 6 cups, the mixture was still a thick batter, nowhere near a dough. I used 3 cups white whole-wheat flour in the rolls. I meant to substitute whole wheat for about half of the flour, but since I used 9-plus cups of flour, it ended up being only a third. I liked the added depth of flavor the whole wheat gave the rolls. Next time I’ll use a bit more.
I forgot to get my eggs out of the fridge ahead of time to warm up. My dough was slow to rise, and I wonder if the cold eggs contributed to that. My cast-iron skillets are 10 1/2 inches in diameter, so I had to use 2 skillets and a 9-inch cake pan to fit all the rolls. This worked beautifully—they rose up to touch one another and were lovely pull-apart rolls. I couldn’t fit all 3 pans on a single oven rack, so I switched the pans top to bottom after 10 minutes of baking. I think the large amount of honey contributed to the tendency of the rolls to get too dark. These definitely need watching during the last part of the baking time.
Maybe I was too light with my brushing, but we couldn’t tell much of a difference between the rolls I brushed after baking and the ones I didn’t. I forgot about the salt sprinkle after baking. We didn’t miss it, but I was using salted butter. The rolls were big. The oven spring was impressive. Did I say they were big? It didn’t stop the three of us from eating seven of them with dinner, but they were large rolls. Next time I might make 30 smaller classic dinner rolls. If the rolls were flatter I think they would make killer slider buns.


I’m a little confused about the yeast requirement. The recipe calls for three 1/4 oz packs of yeast. My packets hold 2 3/4 oz each. What am I missing?
Jennifer, what brand is the yeast, and what kind is it? Could it be they are 2 3/4 teaspoons? Most yeast packets are 1/4 ounce.
Thank you for helping me read correctly! I’m still in a turkey haze.
Of course, Jennifer!
Can these be made ahead and frozen? Thank you.
Jackie, they certainly can. Just let the roles cool completely then wrap them individually in plastic wrap. When you want to use them, take them out of the freezer, unwrap them, let them come to room temperature. Or tyou can reheat them directly from the freezer. Crank the oven to 350°F (175°C). Place the rolls on a baking sheet and, for added moisture and a soft crust, brush them with melted butter or wrap in foil. Bake them for 10 to 15 minutes if thawed or for 15 to 20 minutes if frozen. But keep an eye on them because you don’t want them to burn.
I introduced a lot of kooky variables to this recipe and it STILL turned out well, so I had to leave a great review!
I realized the day before Thanksgiving that I had forgotten to factor rolls into my recipe planning. No problem – I always have yeast in my pantry. Except I discovered I only had one packet of yeast and it had expired two weeks before. I figured I’d give it a try, anyway. But then I looked at this recipe and saw it called for three packets of yeast. Even with me halving the recipe, I didn’t have enough (one and a half packets for a halved recipe). Still, I pressed on. Subpar rolls would be better than none at all, right?
I let the rolls rise for way longer than called for, to give the yeast I did have more time to work. And you know what? They turned out well! A little dense, but still soft and flavorful. I’ve been enjoying the leftovers heated up and slathered with more butter.
I can only imagine how good they are when you have all the ingredients and follow the recipe properly. 😜
Leah, how resourceful you are! The rolls look fantastic. And I can assure you, when you have the correct amount of yeast, these little babies will blow you away.