Sunday in the South is often baking day. With this recipe, you can shape the rolls and bake some of them for Sunday dinner, then refrigerate the rest for the days that follow (this recipe makes a lot of rolls!)
Leftover mashed potatoes were my grandmother Queen’s secret ingredient for these tender icebox rolls. The potassium and starch molecules in the potatoes allow the yeast to rise quickly and also condition the dough, which makes for a soft, delicate crumb.–Cheryl Day

Why Our Testers Loved This
Tester Anna Scott said it best with her comment, “The recipe was easy to follow, it did not require any fancy baking equipment, and the results were simply divine.”
Notes on ingredients
- All-purpose flour–You may need a little extra flour for kneading, as the dough is very sticky, but resist the temptation to add a lot of extra flour. Just use enough to keep it from sticking.
- Whole milk–Full-fat milk is best here, but you can substitute a lower fat milk, if that’s all you have on hand. If you don’t want to dirty a pot for warming the milk, you can microwave it on low power for a couple of minutes.
- Mashed potatoes–This is the secret ingredient to these fluffy, tender icebox rolls. Be sure that your mashed potatoes are very smooth and lump-free. Any potato lumps will show up in your rolls.
Step-by-step instructions
- Make the dough. Combine the flour and yeast in a large bowl. In a separate saucepan warm the milk and butter until the butter melts, then stir in the sugar and salt. Cool to room temperature.
- Mix the dough. Use a stand mixer to beat the flour mixture, milk mixture, water, potatoes, and eggs. Finish kneading by hand on a floured surface.
- Let the dough rise. Plop the dough into a covered bowl and let rise until doubled. While it is rising, butter a baking sheet or two baking dishes.
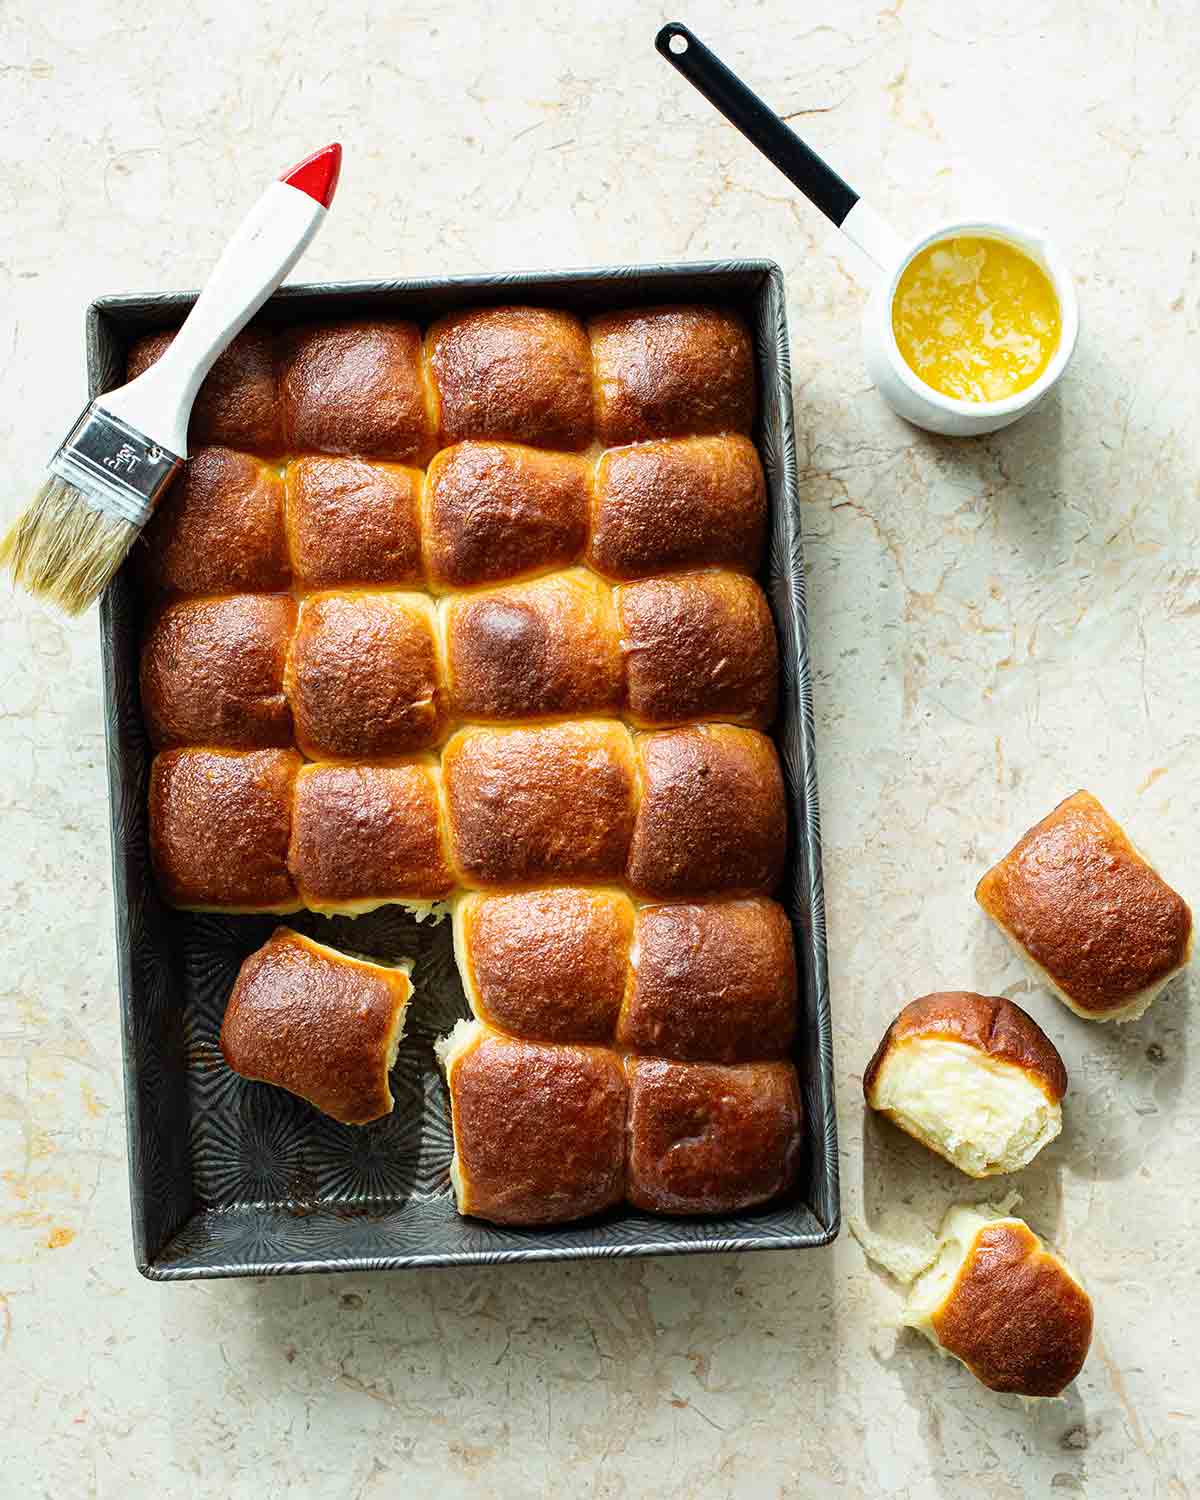
- Shape the rolls. Arrange the rolls in the prepared pan(s) and let rise again until doubled. Alternatively, you can refrigerate them overnight.
- Bake the rolls. Preheat the oven to 400°F and prepare an egg wash. Lightly brush the rolls with the egg wash, then bake until golden brown.
FAQs
Some of our testers made hot dog, slider, and hamburger buns along with their dinner rolls, with outstanding results. That said, because the dough is extremely soft, attempting braids, twists, or knots could present a challenge.
You can prepare the dough and arrange it in the baking dishes or on the baking sheet up to 1 day in advance. Refrigerate overnight and then let rise at room temperature until doubled. Bake and serve.
Yes. Our testers had success halving the recipe by using one 9-by-13-inch baking dish and halving all of the ingredients.
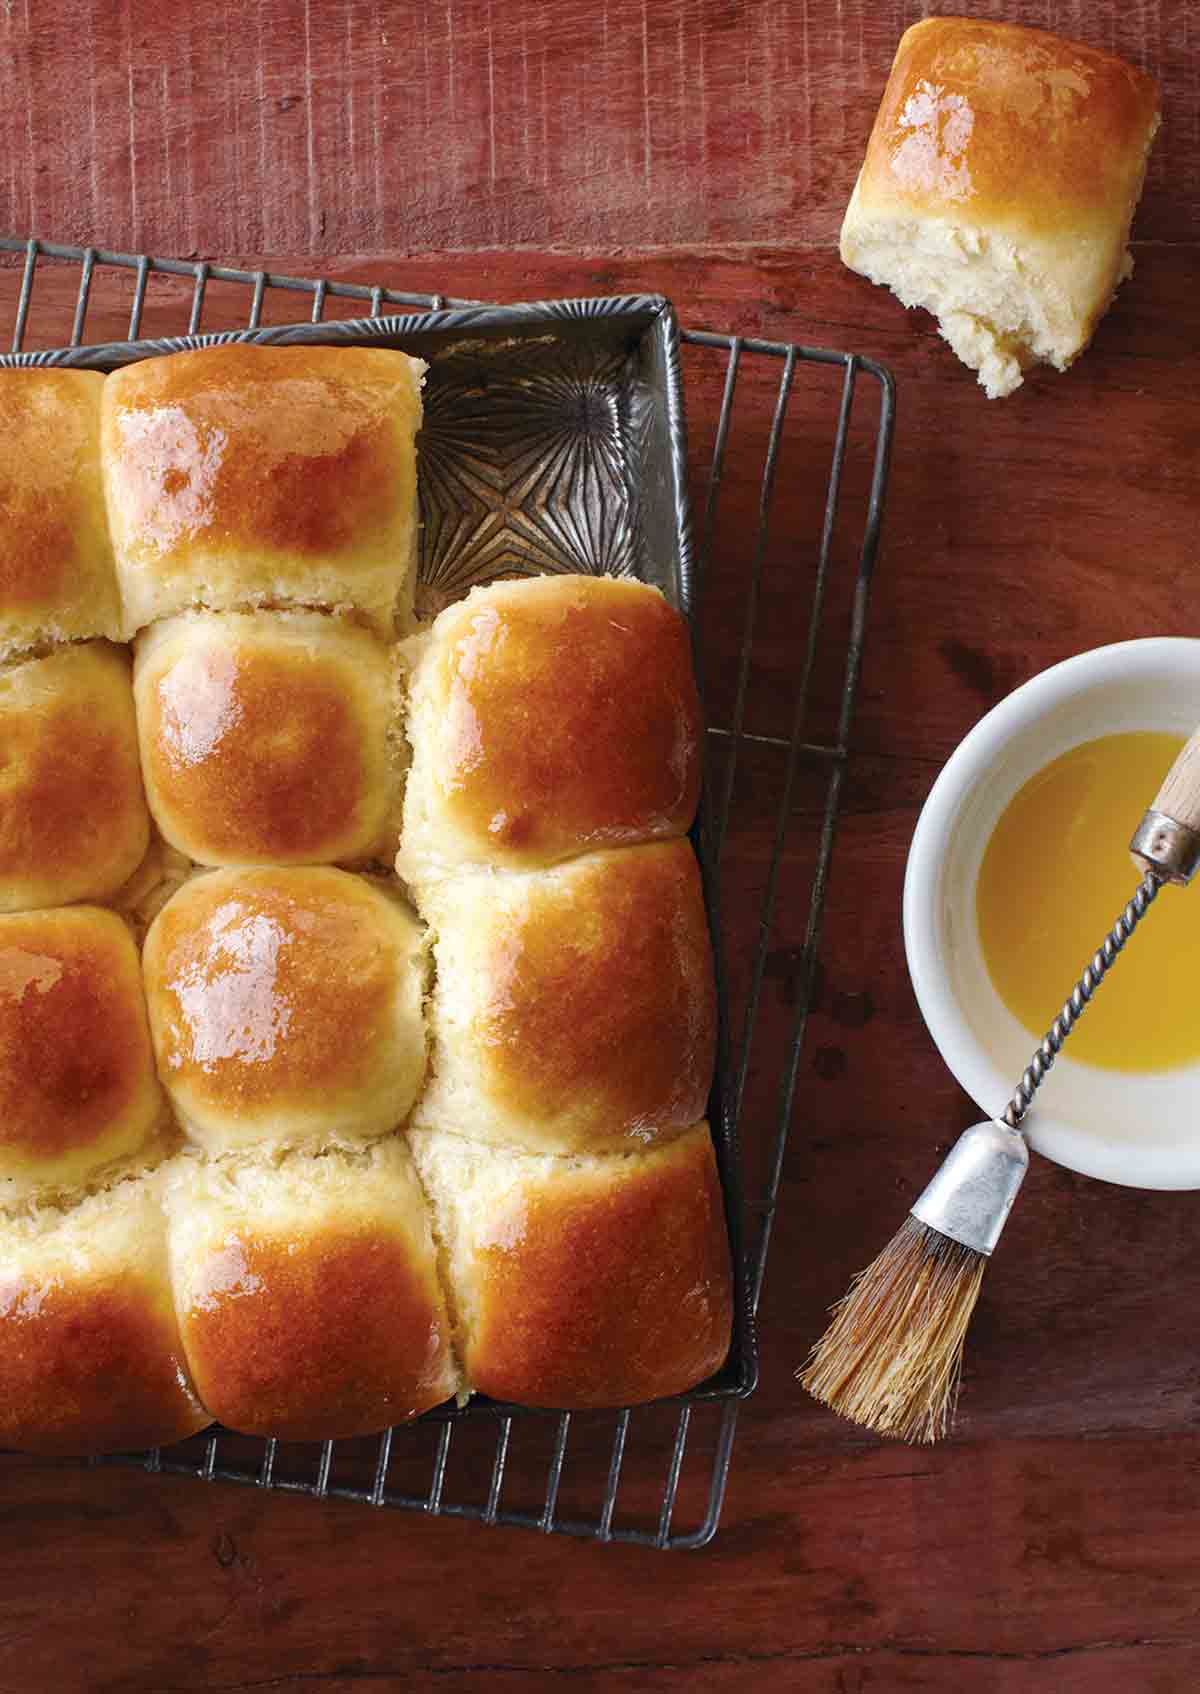
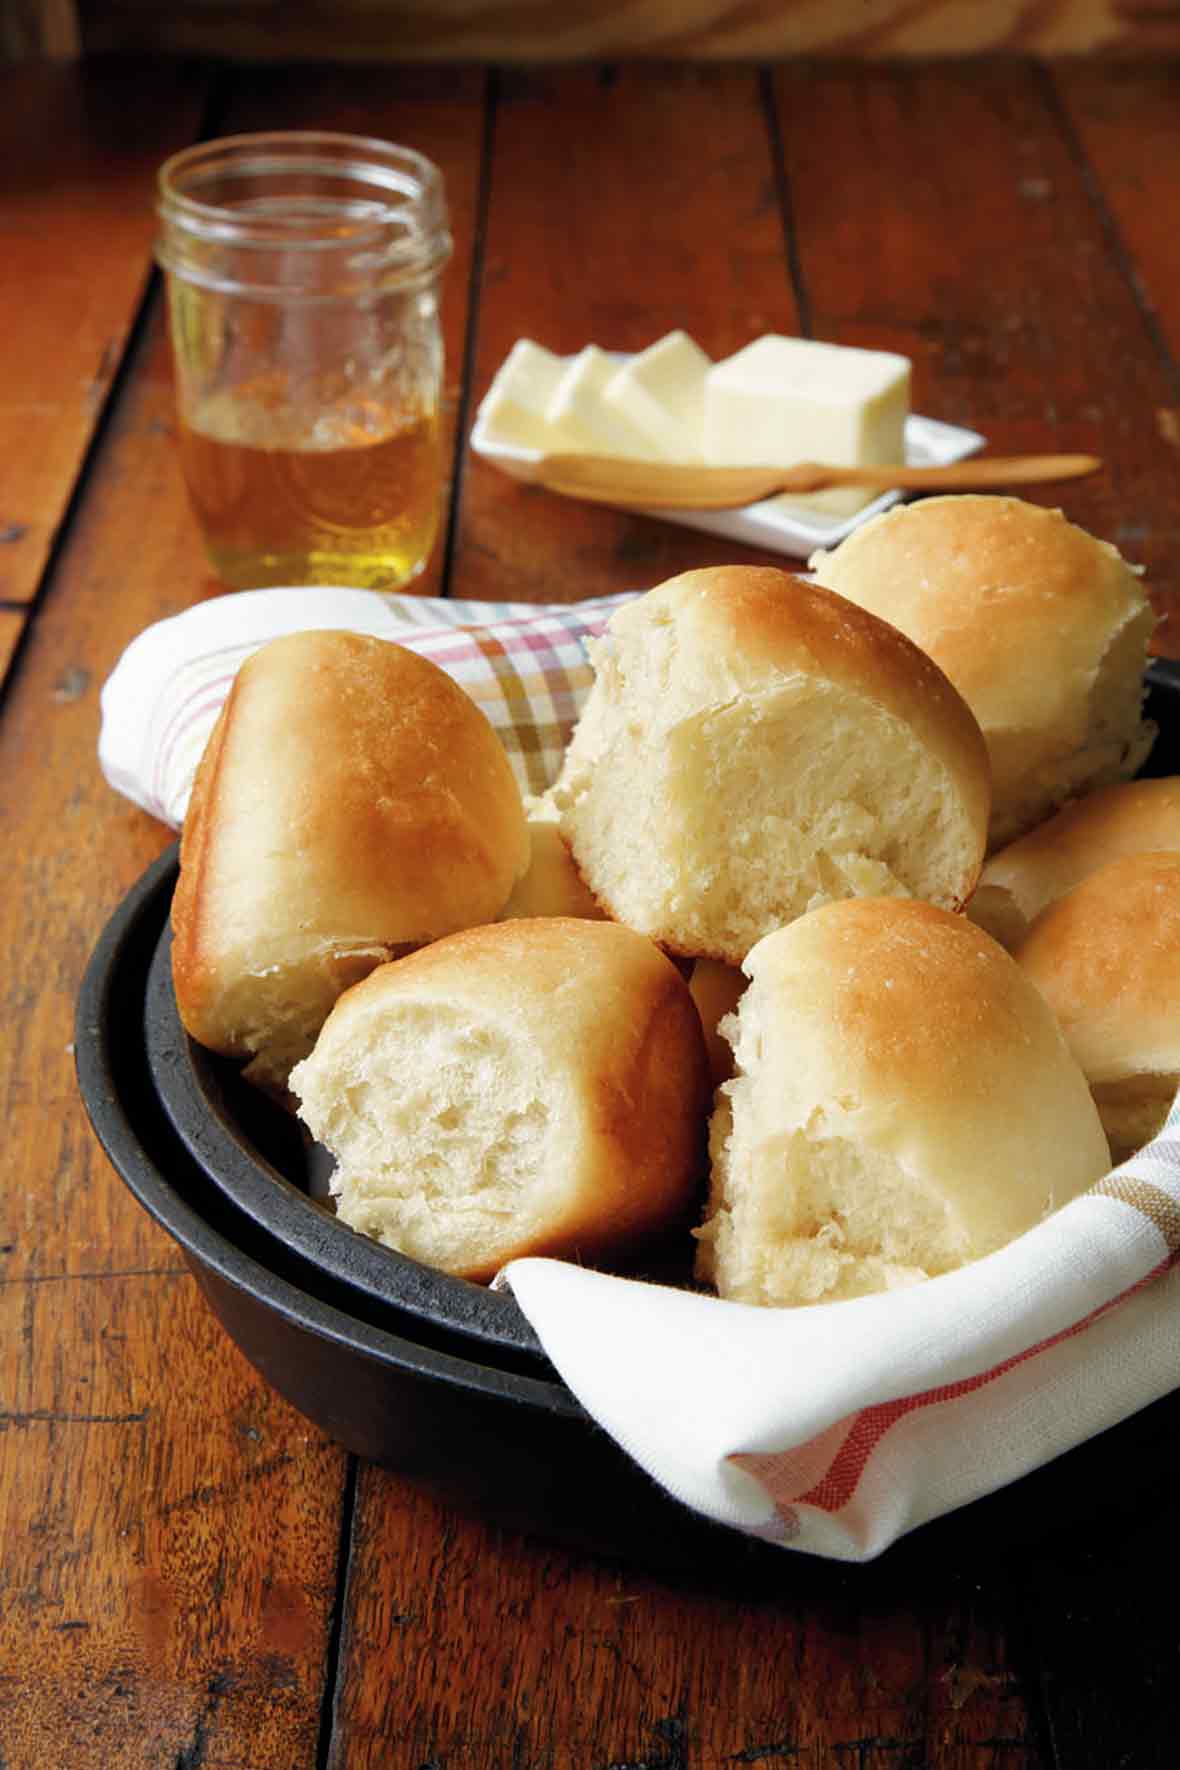
The icebox rolls are best served straight from the oven, slathered with butter. However, our testers also found that the extras reheated well and were a wonderful breakfast treat, especially with a dollop of homemade strawberry jam on top.
Want to save this?
Pro tips & troubleshooting
- Use a scale for dividing your rolls to ensure they are equal in size.
- The dough is very soft and sticky. Be sure to dust your work surface with flour, and coat your hands with flour as needed when working with the dough. Don’t overwork the dough; just quickly shape each roll into a ball so that handling time is minimal.
- Leftover rolls can be stored at room temperature in a plastic bag. Reheat in a 350°F oven for 5 to 10 minutes or until heated through.
More Great Dinner Roll Recipes
Write a review
If you make this recipe, or any dish on LC, consider leaving a review, a star rating, and your best photo in the comments below. I love hearing from you.–David

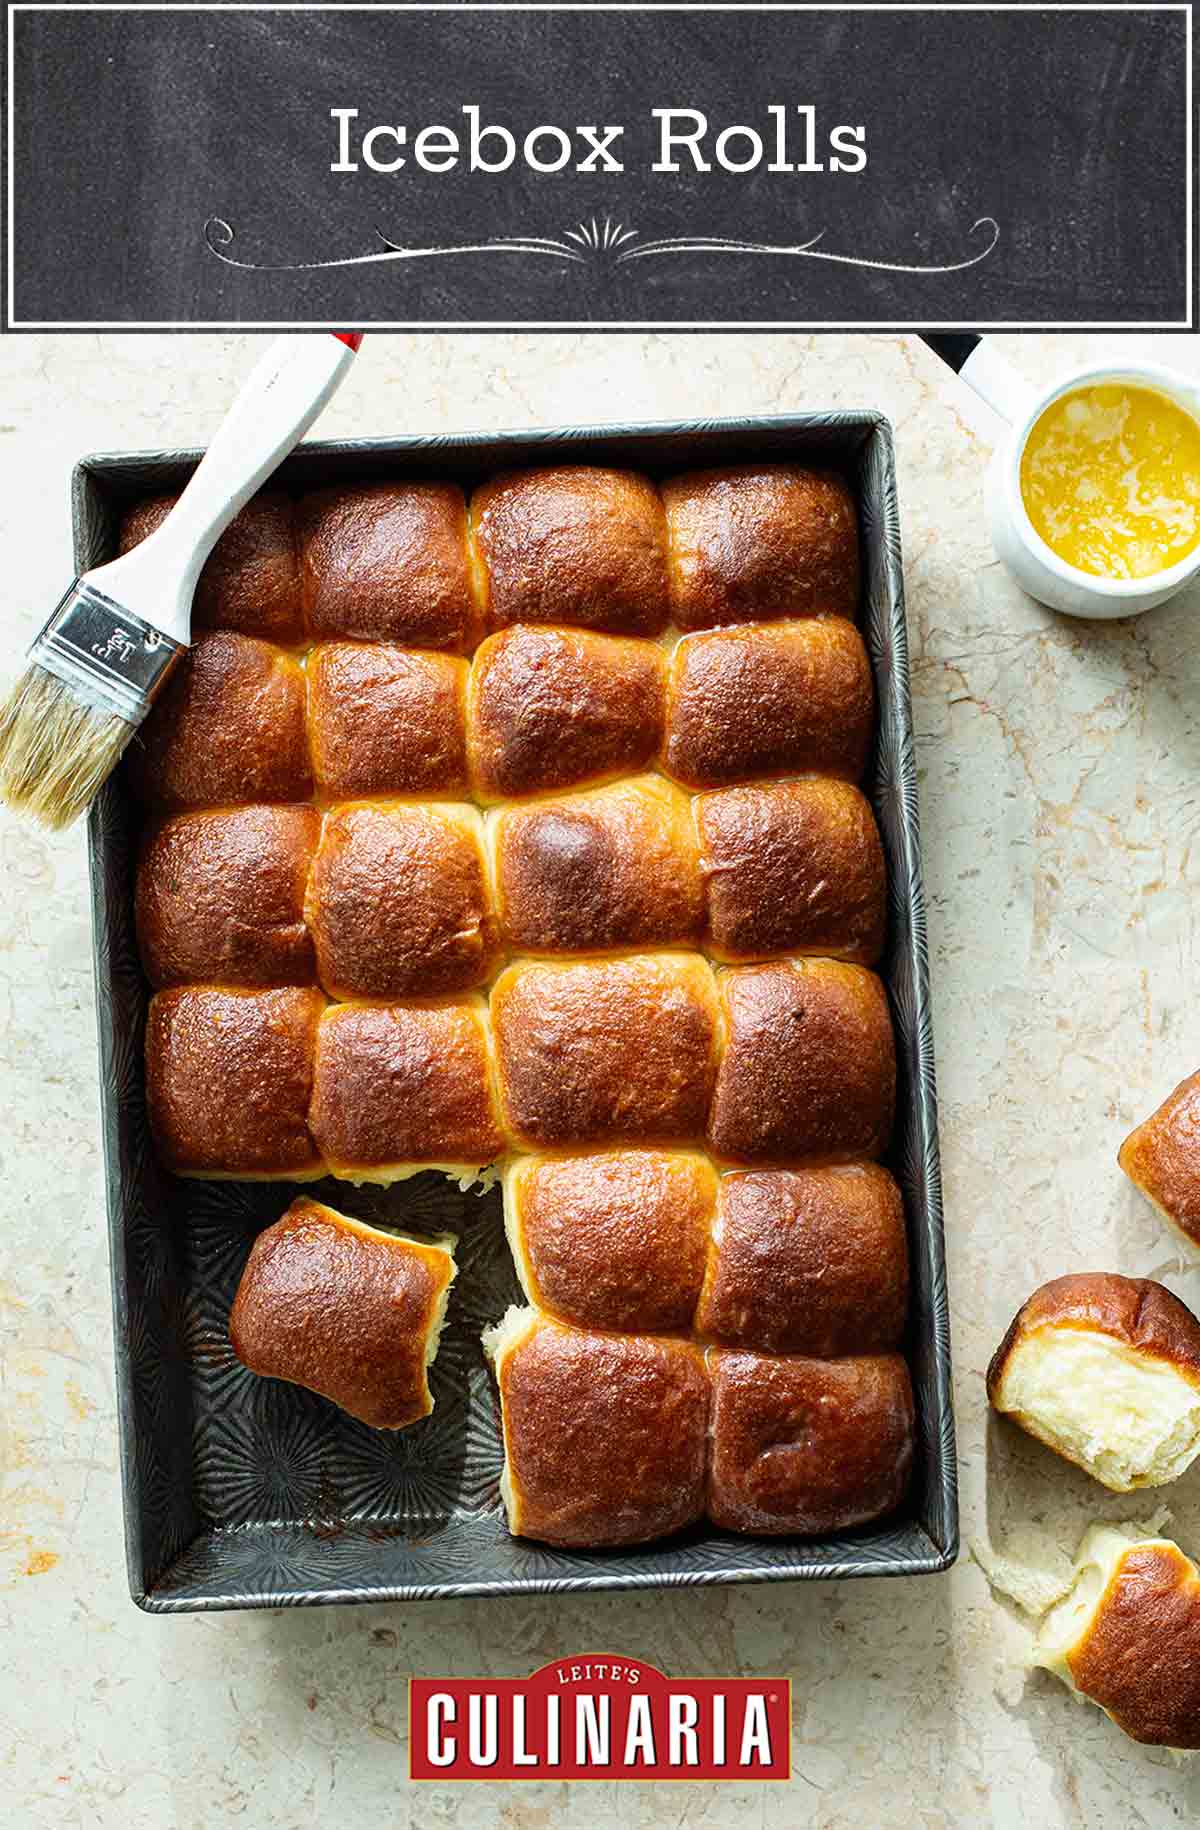
Cheryl Day’s Icebox Rolls
Ingredients
For the icebox rolls
- 7 cups unbleached all-purpose flour, plus more for kneading
- 1 tablespoon instant yeast
- 1 cup whole milk
- 12 tablespoons (6 oz) unsalted butter, at room temperature
- 3/4 cup granulated sugar
- 2 teaspoons fine sea salt
- 1/2 cup water
- 2 cups mashed potatoes (about 4 medium russet potatoes, boiled until tender, peeled, mashed, and cooled to room temperature)
- 2 large eggs, beaten
For the egg wash
- 1 large egg yolk
- 2 teaspoons heavy cream
- Butter, for serving
Instructions
Make the icebox rolls
- In a large bowl, combine the flour and yeast, stirring to blend.
- In a medium saucepan over low heat, add the milk and butter. Stir frequently, until the butter melts. Add the sugar and salt and stir until they dissolve. Remove from the heat and let cool to room temperature.
- Pour the cooled milk mixture into the bowl of a stand mixer fitted with the dough hook. Add the flour mixture, water, potatoes, and eggs and mix on low speed for 3 minutes. Increase the speed to medium and mix until you have a smooth dough, about 7 minutes more.
- Transfer the dough to a lightly floured surface. Sprinkle the top of the dough with flour and do a final kneading of the dough, shaping it into a ball and tucking the edges of the dough to the bottom center, creating a smooth, taut ball.
- Lightly spray a large bowl with nonstick spray. Add the dough and turn to coat with oil, then turn seam side down, cover with a tea towel or plastic wrap, and let rise in a warm, draft-free place until doubled in size, 1 to 1 1/2 hours.
- Lightly butter a 12- by 17-inch (30- by 43-cm) rimmed baking sheet. Alternatively, you can use two 9- by 13-inch (23- by 33-cm) baking pans.
- Turn the dough out onto a lightly floured surface and divide into 48 (about 1 1/2-ounce or 44 g) pieces. Shape into balls and place in the prepared pan, 8 rows by 6, arranging them on the baking pan so they just barely kiss each other. (You also have the option to cover and refrigerate the rolls in the pan until ready to bake, up to 1 day.)
- Allow the rolls to rise in a warm, draft-free place until doubled in size, 1 to 1 1/2 hours. (If your rolls were refrigerated overnight, this may take 2 to 3 hours.)
- When you are ready to bake, preheat the oven to 400°F (205°C).
Make the egg wash
- In a small bowl, beat the egg yolk and cream together. Lightly brush the tops of the rolls with the egg wash.
- Bake the rolls until golden brown, 16 to 24 minutes. Remove from the oven and serve warm with butter alongside, if desired.
Notes
- Halve the recipe–You can halve all of the ingredients and use a single 9-by-13-inch baking dish for making a half batch of these rolls.
- Use flour as needed–The dough is very soft and sticky. Be sure to dust your work surface with flour, and coat your hands with flour as needed when working with the dough. Don’t overwork the dough; just quickly shape each roll into a ball so that handling time is minimal.
- Make evenly-sized rolls–Use a scale for weighing out your rolls so that they are evenly sized.
- Reheating–Leftover rolls can be reheated in a 350°F oven for 5 to 10 minutes.

Explore More with AI
Nutrition
Nutrition information is automatically calculated, so should only be used as an approximation.
Recipe Testers’ Reviews
Did you know only 68% of the recipes we test make it onto the site? This recipe survived our rigorous blind testing process by multiple home cooks. It earned the Leite’s Culinaria stamp of approval—and the testers’ reviews below prove it.

The description of this icebox rolls recipe reminded me of those popular soft, sweet Hawaiian rolls but much less sweet. This is what first drew me to the recipe. I also enjoy baking with potatoes, as it usually results in a pillowy, and often forgiving, dough. (Which was true! Read on.)
Soft throughout with a hint of butter-iness they would be fabulous for breakfast, used for sliders, even savory bread pudding! The options are endless, but so far we’re happy just slathered in butter. (You could even eat them as is, really!) Because we like a little salt, I used Maldon atop the egg wash. This added a little extra flavor punch.
My potatoes were quite moist which resulted in having to use about an extra cup of flour. At first I was concerned the dough would be too tough and not rise properly but thankfully that wasn’t the case – probably because of all the potatoes and extra moisture. Even after kneading it for longer than indicated (10 minutes), the dough was still a little tacky but I didn’t want to add more flour. I had planned to go through the first rise and if I had problems I would dump the dough and start over. Thankfully, both the first and second rise were perfect! I did use additional bench flour for shaping the rolls, but this didn’t harm the dough in any way.
Instead of heating the milk and butter on the stove, I used a 4-cup measuring cup and microwaved on 20% power for 2 minutes, then 40% for one minute. It was warm enough to dissolve the sugar and salt. This made it easy to measure everything and it took less than 4 minutes. To help cool it, I added the 118 ml of water, then whisked in the eggs to combine.
To help with preparing the rolls, I would definitely recommend using a scale to ensure the entire batch is even, especially with this many rolls. I did learn that the next time I make them I will either halve the recipe or freeze some of the dough for future batches. I do plan on freezing as many rolls as I can find room for and giving the rest of them away, especially to those who have already requested them.

One of my favorite things is a lazy afternoon in the kitchen with a baking project. Taking the time to measure out all of your ingredients, knead the dough into a smooth ball, and ultimately watch your dough baby rise is just so rewarding; and then, of course, there is the pure joy of pulling the perfectly browned baked good from the warm oven.
All of this takes time and patience on your part, yes, but it also hinges on the hope that you are indeed following a well-written and successful recipe. One such recipe is these ice box rolls. It had been a while since I had been in the kitchen with a yeasted dough project, and this one reminded me what I have been missing! The recipe was easy to follow, it did not require any fancy baking equipment, and the results were simply divine.
We enjoyed the refrigerator rolls with dinner last night and did not even use any butter on them. We are left with a lot of leftover rolls and actually enjoyed them for breakfast this morning as well with some refrigerator jam; they reheated nicely in the oven at 350°F for 6 minutes.

These icebox rolls are the real deal! I love warm bread with salted butter, and these were one of the best I’ve had. Pillowy soft with a caramel brown crust on the outside and the light yellow color inside from the egg. Soft inside and out.
If you’re not making this for a big gathering, the recipe can be cut in half and baked in a 9-by 13—that’s what I did with excellent results. I got 23 rolls in a 9-by-13, laid in roughly a 6 by 4 pattern (minus 1). The size of the dough balls (44g) makes a perfect dinner or ‘slider’ bun.
These were easy to mix, but a bit on the messy side as it is a soft dough. I halved all the ingredients, except the yeast. I used 1 full packet (a little over 2 tsp) for the single batch, and it worked well—don’t really have much use for a small leftover amount of yeast. I also had a giant russet potato, so I baked it and only needed the one for a half recipe.
My first tip is to make sure your potato is well done and mashed smooth….any little lumps will show up in the dough (they don’t ‘mix out’). While the lumps will not ruin the dough, you will not get ‘smooth’ tops on your rolls. If this is your first try at bread, don’t sweat that. Just chalk it up to learning. They will still be wonderful to eat.
The process is easy to follow, and I recommend weighing your flour to ensure the right consistency.
For an extra tasty version, sprinkle with a bit of coarse kosher salt. Another option is topping with some Italian seasoning for a hint of flavor. Any kind of seeds for the top would be an interesting way to upscale them. Think poppy seeds, sesame seeds, or ‘everything bagel’ seasoning.

This refrigerator rolls recipe is relatively simple to make and your stand mixer will do most of the work for you. That said, the outcome is fabulous. The rolls are delicious, light and pillow-y.
While making the mashed potato, go ahead and melt the butter and milk together, adding salt and sugar. Once these short steps are done, you are ready to make the most wonderful refrigerator rolls!
Once the dough has risen and you are ready to shape the balls, make sure to sprinkle your surface with flour and the top of the dough a little. The dough is very soft and slightly sticky, and when making the balls, it is easiest to take each piece and tuck it under into a ball shape versus trying to roll it in your hands.

These are the most delightful, soft and fluffy refrigerator rolls! I have always wanted to try a potato bun recipe, and these did not disappoint. My Italian grandmother used to always talk about how back in Italy they would add mashed potato to their bread dough. While this is likely a very different bread than she used to make, I think this would have blown her socks off!
I like my bread a touch saltier so I will increase the salt by an extra teaspoon next time, but other than that, it was perfect. It does make a lot of bread, so I actually shaped half the dough into hot dog buns and hamburger buns, and the other half of the dough I made into a tray of small rolls just like the photo. They all baked up beautifully. I devoured one of the small buns with a fried egg on top – delicious!!


David I read your mailings daily and look forward to the recipes sent each morning. As a fellow Connecticut resident always looking forward to beautiful food to offset this ungodly weather, the recipes posted are intriguing, inviting and often undertaken by myself: thats why this particular formula was more difficult than most and more frustrating than need be.
But your site is absolutely awesome 👏🏻 👏🏻👏🏻. Kudos to you and thanks for your response.
Paula, thank you for the kind words!! And your feedback was very useful. Thanks.
I’m missing something…formula calls for approx 4 cups wet, with 7 cups dry. Thats a very wet dough but its not written as such. Also, 12 TB of butter is a lot-does it all go into the dough or perhaps 8 TB into dough and 4 TB as used in the pan? I am an experienced bread maker, and love potato bread, but this one is quite unusual.
It is an unusual recipe, Paula, but we tested it thoroughly and it makes pillowy tender rolls. All of the butter does go into the dough, but keep in mind that this makes a lot of rolls . . . 48 to be exact!
while that might be the case, I think it would be extremely helpful to include that information in the recipe. The dough was one of the most difficult I’ve ever worked with. With close to a 2/1 dry to wet ratio, working the dough into balls my hands were constantly sticky.
Paula, thanks so much for your input. We’ll make notes in the recipe to help future bakers.