
Bagels have become standard fare in coffee shops these days. And certainly a real, traditional bagel, with a firm, shiny crust and a luscious, chewy inside, is a super tasty thing. Is it possible to replicate this magic at home with homemade bagels? After many doughs and testings, we believe we’ve perfected it. Try it. It’s worth the effort.–Ruth Joseph and Simon Round

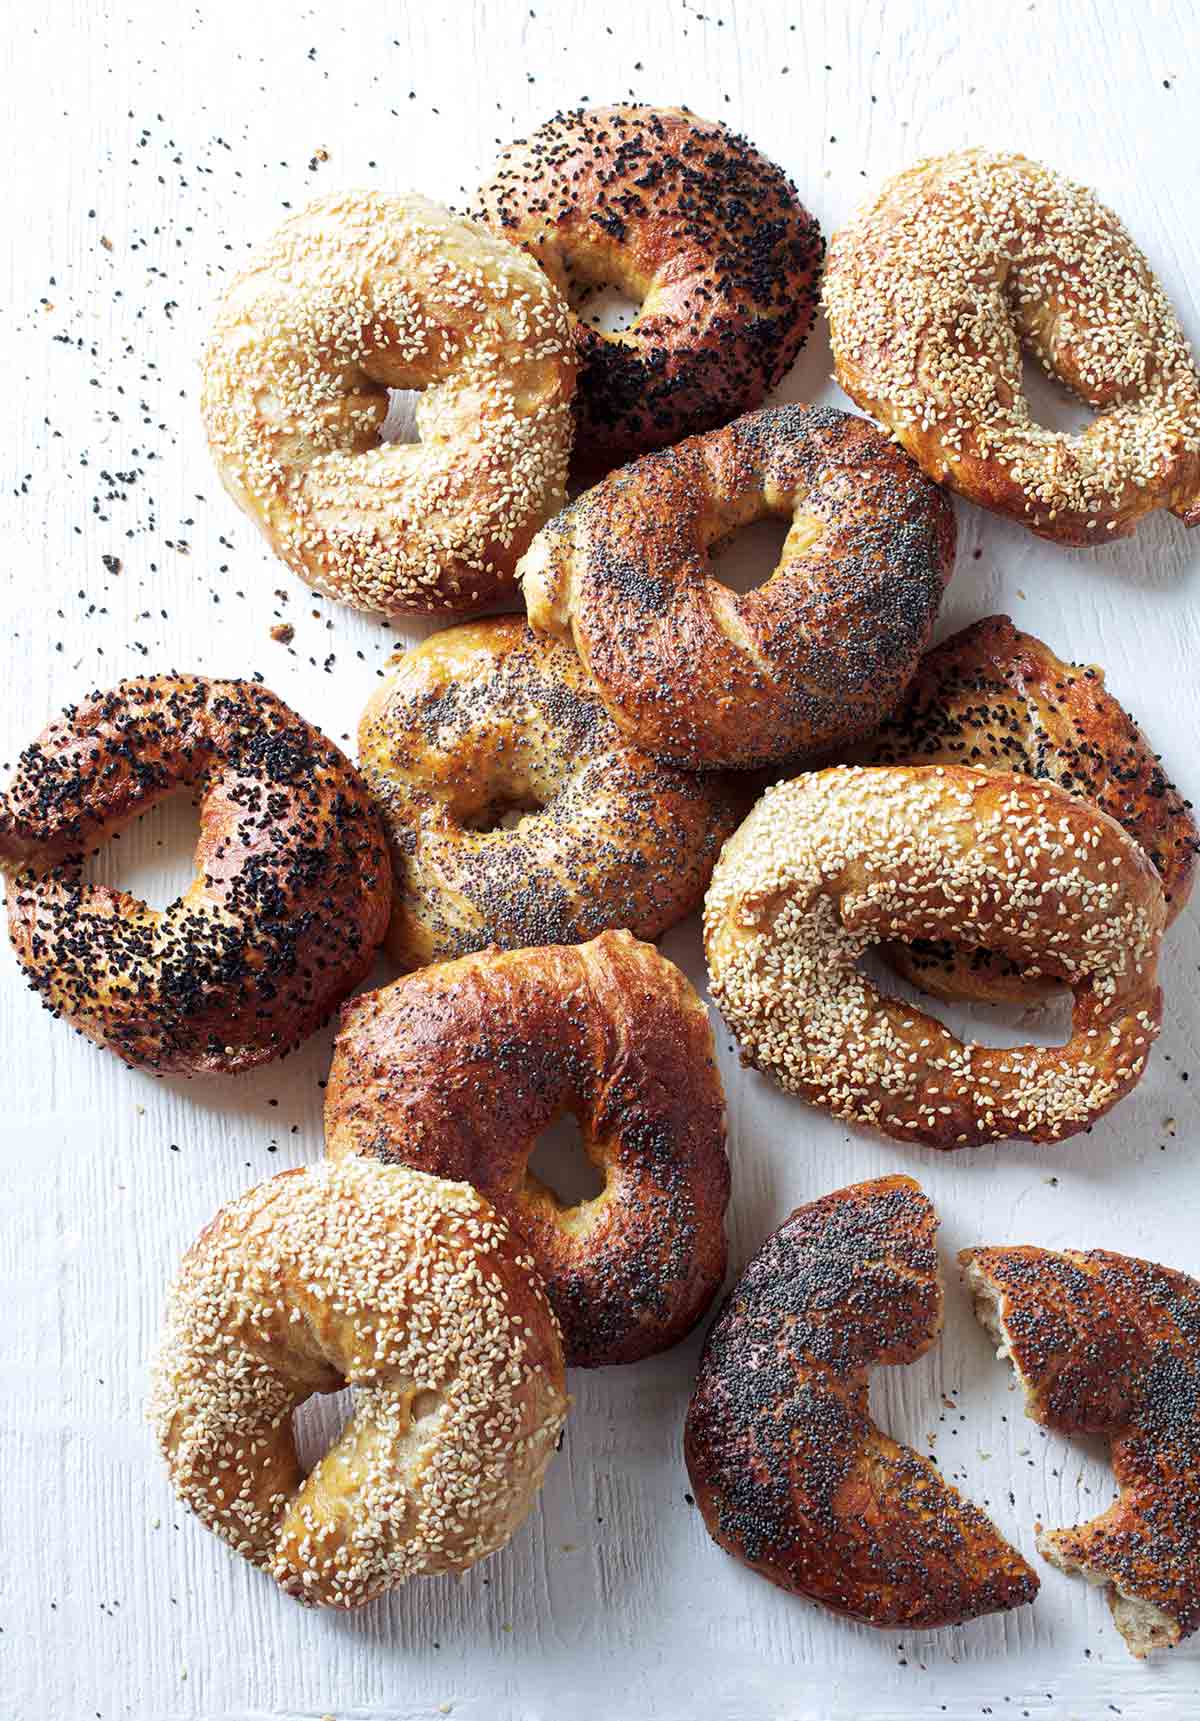
Classic Homemade Bagels
Ingredients
For the bagel dough
- 7 cups bread flour, plus more for the work surface and the baking sheets
- 2 cups self-rising whole-wheat flour
- 3 cups lukewarm water
- 4 teaspoons active dry yeast
- 1 1/2 tablespoons light brown sugar
- 2 1/2 teaspoons salt
- 2 tablespoons olive oil, plus more for the bowl and plastic wrap
For cooking the bagels
- 1 tablespoon molasses
- 1 tablespoon baking powder
For the bagel toppings
- 1 large egg, beaten
- Poppy seeds , sesame seeds, or finely chopped onion
Instructions
Make the bagel dough
- In a large bowl, combine the bread and whole-wheat flours and whisk to blend well.
- In a medium bowl, combine 1 1/2 cups of the flour mixture with the lukewarm water, yeast, and sugar and whisk until smooth, making sure all of the yeast has dissolved. Set it aside in a warm place for 10 to 15 minutes until fermented and foamy.
- Combine the remaining flour mixture with the salt in the bowl of your stand mixer.
- Pour the oil into the fermented yeast mixture and beat with a fork until smooth. With the mixer running, add the yeast mixture to the flour in the bowl and mix until a soft, pliable dough forms.
- Turn the dough out onto a floured work surface and knead until smooth, about 5 minutes.
- Shape the dough into a ball, place it in a large oiled bowl, drape a piece of oiled plastic wrap or a clean kitchen towel over the bowl, and place in the fridge to rise overnight.
- On a lightly floured work surface, divide the dough into 40 pieces and shape them into balls. Then roll each ball of dough into a sausage shape and form into a bagel by overlapping the ends to form a ring, pressing the ends together so they stick. Allow a disproportionately large hole in the center so there's space for the bagels to rise (otherwise the hole will close).
- Transfer the bagels to 2 or 3 baking sheets lined with parchment paper and dusted with flour. Cover with a clean kitchen towel and let rise in a warm place until doubled in size, about 20 minutes.
- Preheat the oven to 425°F (218°C).
Cook the bagels
- Bring a large, wide, deep pot of water to a boil.
- Add the molasses and whisk in the baking powder. Carefully drop the bagels—just 3 at a time—into the boiling water and simmer without budging them for 2 to 3 minutes. Then quickly flip the bagels over and cook for another 2 to 3 minutes. Remove them with a slotted spoon and place them back on the parchment paper while you repeat with the remaining dough.
Top the bagels
- Once all of the bagels are cooked, lightly glaze them with the beaten egg and sprinkle with the onion or seeds. Bake for 10 to 15 minutes until golden brown.
- Transfer the bagels to a wire rack to cool completely. Be proud!
Notes
Rye and Caraway Variation
You can substitute 2 cups rye flour for the whole-wheat flour and use 4 tablespoons caraway seeds instead of onion or other seeds.
Explore More with AI
Nutrition
Nutrition information is automatically calculated, so should only be used as an approximation.
Recipe Testers’ Reviews
Did you know only 68% of the recipes we test make it onto the site? This recipe survived our rigorous blind testing process by multiple home cooks. It earned the Leite’s Culinaria stamp of approval—and the testers’ reviews below prove it.

I LOVE Bagels. I LOVE to make bagels. For me, one of the truly wonderful things about making bread, especially bagels, is the traditional ritual of kneading and resting the dough, letting it rise, shaping it, baking it, and finally eating it. It’s a very relaxing and therapeutic endeavor that anyone should find rewarding. This is a VERY good bagel. The crust became very shiny and almost crisp and the crumb was chewy, as a bagel should be.
This recipe calls for the standard method of boiling the shaped dough for a couple of minutes, but what I found interesting is the use of molasses and baking powder as opposed to the standard baking soda.
I found these to be much better when they were allowed to cool. I made this recipe twice. The second time I halved the recipe, which also worked quite nicely.

This was an elaborate recipe but well worth the effort. The recipe produced 40 melt-in-your-mouth bagels. I used sesame and nigella seeds on my bagels.
The recipe makes about 5 pounds of dough. I found that I needed 1/4 cup more water while kneading the dough than what the recipe had specified. I rolled them into approximately 2-ounce balls and shaped them into bagels measuring 2 1/4 inches in diameter. I used a large Dutch oven and filled it with 12 cups of water and added 3 bagels at a time to boil.
After about 20 bagels, I had to add at least 6 more cups of water to replenish. I then baked them for about 15 minutes. The first 3 bagels I boiled came undone and I ended up with crescent-shaped bagels. When you overlap the ends of the bagel, moisten your fingers and really press the ends together well.
Classic homemade bagels are such a wonderful thing to see on your counter and smell in your kitchen. Crisp on the outside, dense and firm on the inside, nothing else like them. This recipe delivers. The boiling and then the baking give them their unique quality that’s just perfect for smoked salmon, cream cheese, red onion, and capers (yes, that’s my favorite topping!). The whole-wheat flour gives the resulting bagels just a little extra nuttiness, which I quite liked. I finished some with sesame seeds and the rest with sesame seeds, poppy seeds, and garlic. My family thought they’d died and gone to bagel heaven.
It’s quite simple, just a little time-consuming. The overnight rise makes for a simple beginning the next morning as long as you can remember to get going the night before. Waiting for that second rise in the morning can be a little tricky if your kitchen isn’t warm enough, so I make sure I turn on the 425°F oven before I even remove the dough from the fridge—then that second rise gets a little extra kitchen help. Don’t cheat on the boiling time and don’t put more than 3 in your pan at a time, as the water temperature will drop too quickly. Other than that, these really are a treat. Go on, you know you want to!
You won’t be disappointed with this recipe for classic homemade bagels. These are very good bagels that are easy to make. Too many bagel recipes make what’s more like a round roll with a hole in the middle rather than a real bagel.
I halved the recipe and got 18 bagels. Of course, the number of bagels you get from the recipe will depend on the size you make them. The recipe works very well and the outcome was a bagel with a crisp crust and nice, chewy center.


I’ve never made bagels before but would like to give it a try. If I want these to be onion bagels, how much chopped onion should I use? Does it make a difference what type of onion is used? (Green Onion, Yellow, etc.)
Kathryn, I always use dehydrated onion from the spice aisle. You could use the dehydrated or maybe a green onion throughout, but I use them strictly as a topping.
Thanks so much for your onion opinion- it’s the tops, um, topping!
Excellent recipe! I still need to work on my shaping technique (next time I will work the seam better, some of them opened while simmering in water), but it is the best homemade bagel recipe I’ve tried! I added raisins and cinnamon to 1/4 of the dough. I also added cocoa powder and mini chocolate chips to another 1/4 of the dough. The rest of the dough I topped with sesame seeds! Yum! Thanks!
Glori, all I can say is you can do my seams anytime. These look fantastic. I’m so happy you like the recipe, and we’ll be looking for more from Glori’s Bageleria.
Thanks David! 🙂
De nada.
Bagel forming question:
Growing up I’d always seen bagels formed (in bagel shops) by making a ball of dough, starting a hole in the middle with thumb and forefinger, then using both hands to spread the hole to maybe and inch or so in diameter.
Lately I’ve been seeing this overlapped sausage method. Is this new? Seems like it would be hard to slice and fill without it tearing open at the join, plus the thickness of the sides is really uneven.
PITA cranky bagel lovers want to know. 😉
Hi Ruthie, let’s have some of our experienced bagel makers weigh in on this question. Anyone?
My research tells me that the more traditional method is the over-lapping method. I have tried both but prefer the poke your finger and thumb method. After you make the hole put both index fingers through – one from either side and pull from the center a bit while winding like string.
Thanks for the tip, Larry!
Well, the overlap looks nicely rustic, I will admit. 😉 And is fine if you’re just eating a bagel, but for slicing, toasting, filling…I’ll stick to the expanded dimple method. Kind of makes me think of making pizza, stretching the dough to get the shape you want.
Anyway, I’m going to give this recipe a try ’cause I often just eat a bagel, all by itself and I haven’t fallen in liove with any of theother bagel recipes I’ve tried.
Thanks, Larry! And Beth for passing it along. 😉
most welcome..