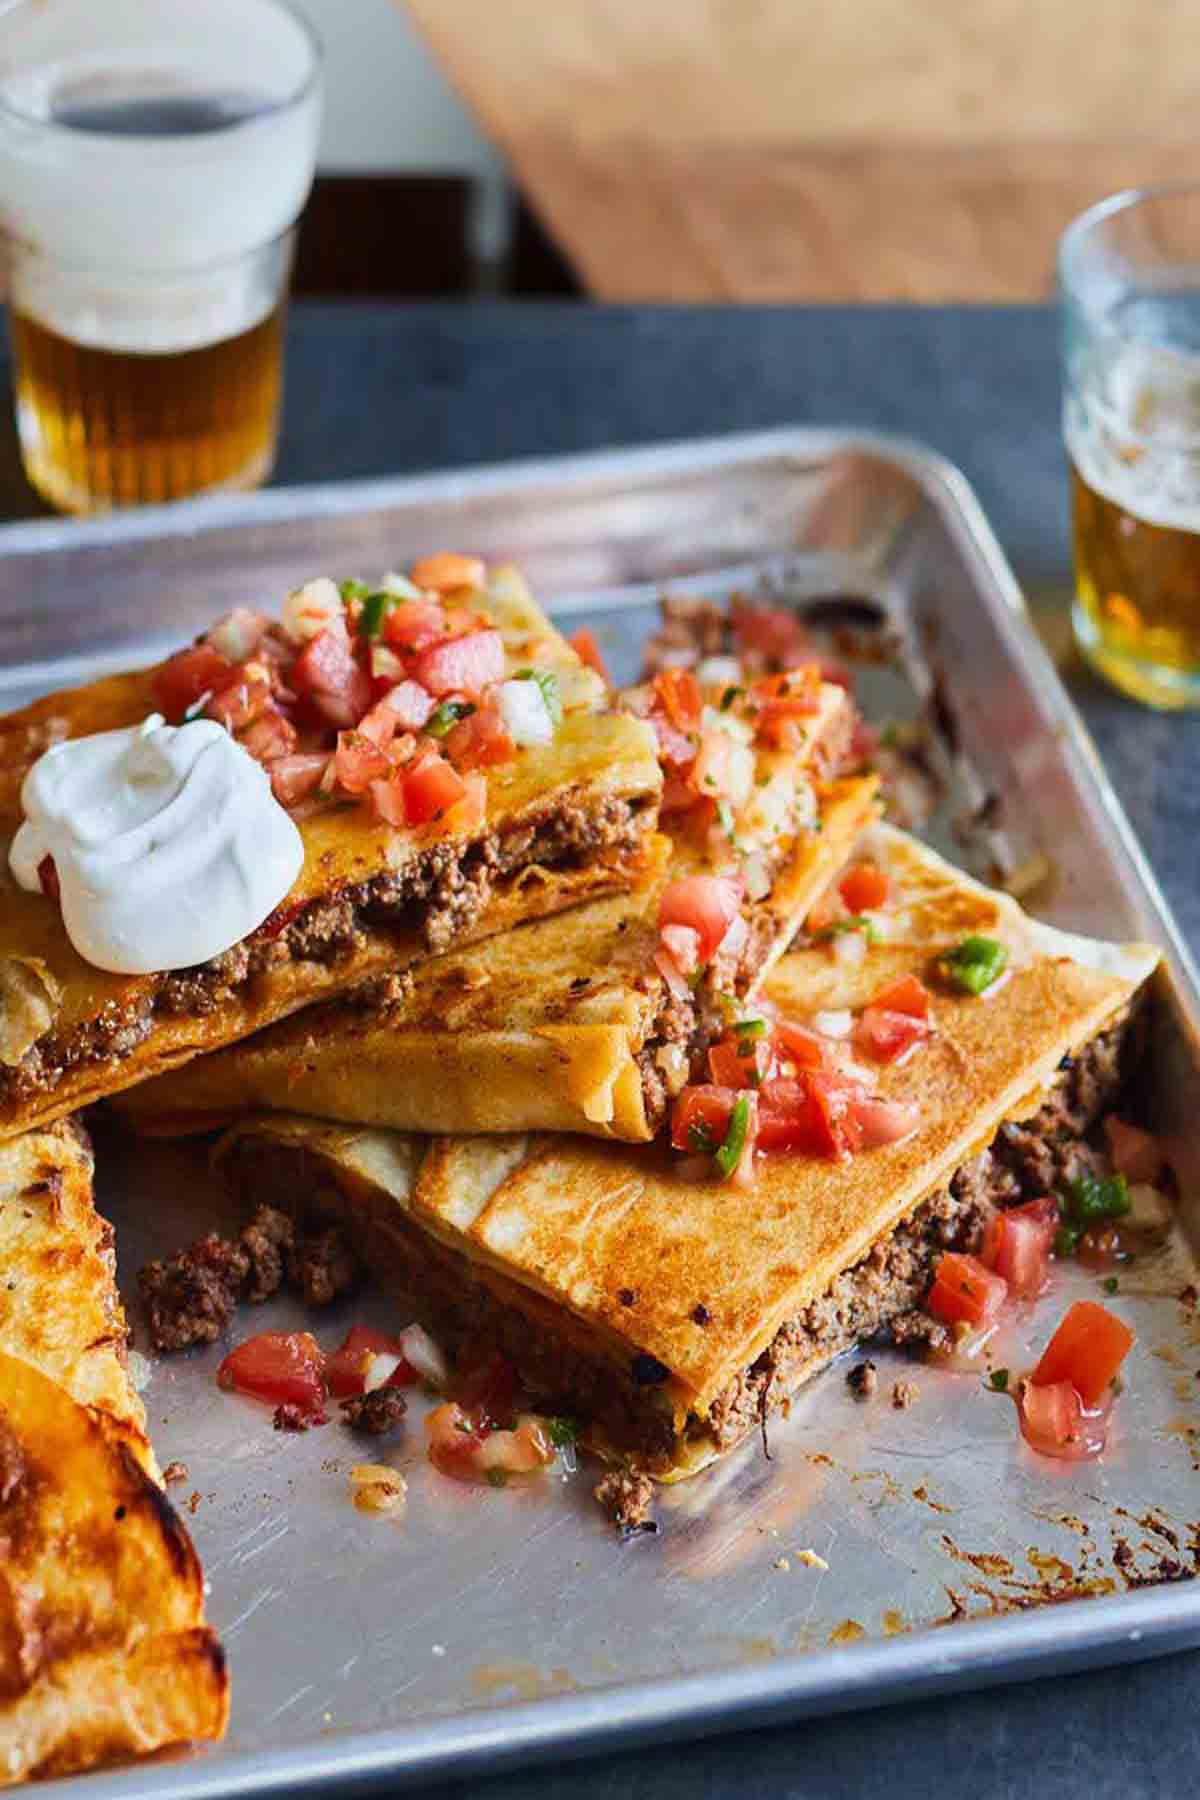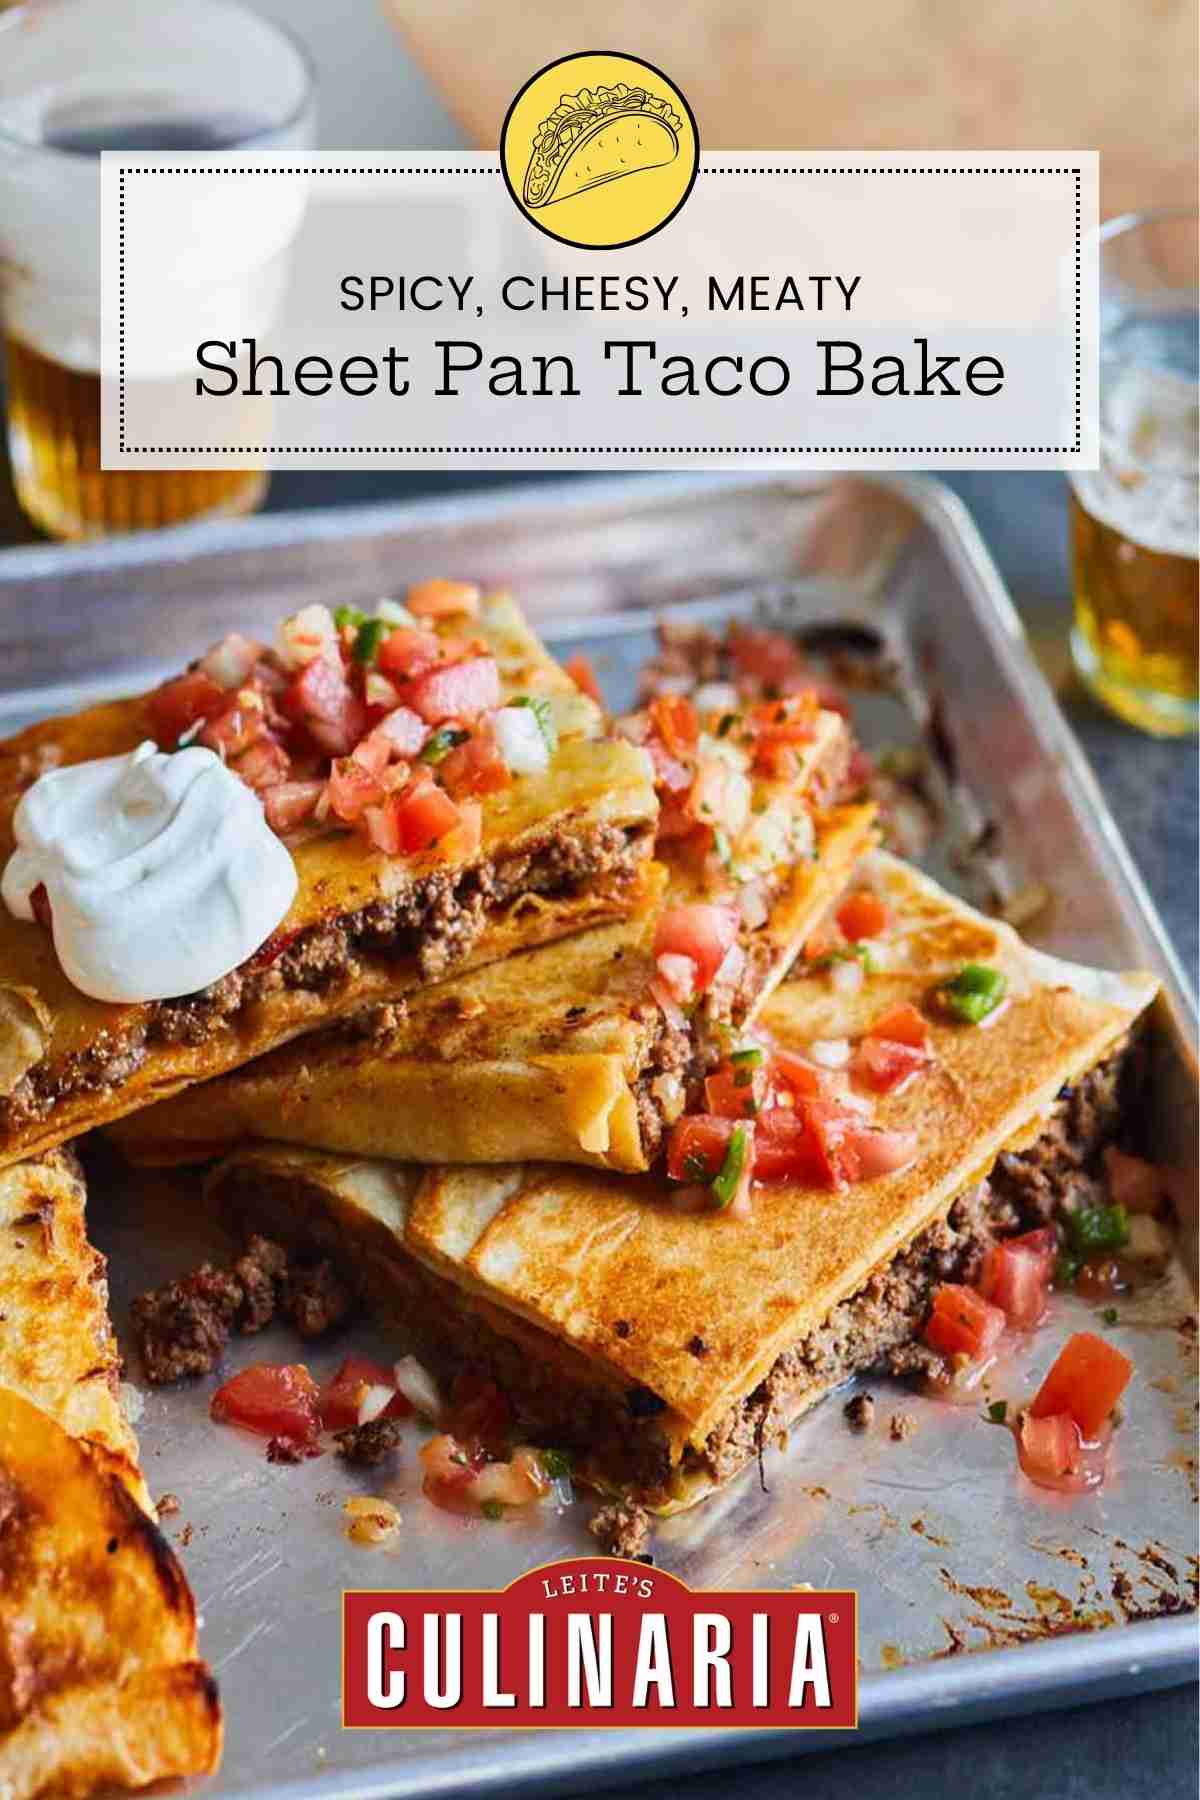
Whether it’s Super Bowl Sunday or a gathering of starving teens, this sheet pan taco bake is our go-to for feeding a crowd. Taco meat, onions, tomatoes, cilantro, and Cheddar and Monterey Jack cheeses are tucked between tortillas and baked until golden. Supremely satisfying.–Angie Zoobkoff

Sheet Pan Taco Bake
Ingredients
- 3 tablespoons olive oil
- 3 medium (about 1 1/2 lbs) white onions, finely chopped
- Kosher salt and freshly ground black pepper
- 3 pounds 90% lean ground beef
- 1/4 cup finely chopped fresh cilantro
- 3 medium tomatoes, finely chopped
- Three (1-ounce) packets taco seasoning or your fave homemade taco seasoning
- 1/4 cup fresh lime juice
- Nonstick cooking spray
- 8 burrito-size flour tortillas, warmed
- 3 cups shredded Cheddar cheese
- 3 cups shredded Monterey Jack cheese
- Five (5-inch) tostadas or corn tortillas*
- Sour cream and salsa, for serving
Instructions
- Preheat the oven to 375°F (191°C). Generously spray a large (13 by 18-inch | 33-by 46-cm) rimmed baking sheet with cooking spray. Have a second baking sheet at the ready.
- In a large Dutch oven over medium-high heat, warm the oil. Add the onions, season with salt and pepper, and cook, stirring occasionally, until softened and browned, 10 to 15 minutes.
- Add the ground beef and cook, stirring to break it up as it cooks, until no longer pink, 8 to 10 minutes.
- Stir in the cilantro, tomatoes, taco seasoning, and lime juice. Remove the skillet from the heat and let cool.
- Turn the baking sheet so its long sides run horizontal to the edge of your counter. Place 1 flour tortilla in the center on the left-hand side of the baking sheet so it’s half on the sheet and half on the counter. Working clockwise, place 2 more tortillas along the top side of the baking sheet so they overlap evenly to cover the whole top edge. Place 1 tortilla in the center of the right-hand side of the baking sheet, then place 2 more tortillas along the bottom edge of the baking sheet so they meet with the first tortilla. Place 1 tortilla in the center of the baking sheet to cover the gap. The baking sheet should be entirely covered at this point.
- Sprinkle half of each cheese evenly over the portions of the tortillas that are covering just the bottom of the baking sheet.
- Using a slotted spoon, scoop the beef mixture onto the cheese and spread it into an even layer. Arrange the tostadas evenly over the beef, with one in each of the four corners and one placed in the center. Sprinkle the remaining cheeses evenly over the tostadas.
- Starting with the first flour tortilla on your left-hand side, fold the overhanging tortilla edges back over the filling so they cover the filling. Place the remaining tortilla over the cheese in the center of the baking sheet. Spray the tortillas with cooking spray.
- Place another baking sheet on top of the taco bake, then place an ovenproof weight, like a large cast-iron skillet, on top of the baking sheet.
- Bake for 30 minutes, then remove the weight and top baking sheet and bake until the tortillas are golden and crisp on top, 10 to 15 minutes more. Remove the baking sheet from the oven and set it on a wire rack. Let rest for 5 minutes.
- Using oven mitts or kitchen towels to protect your hands, place a cutting board upside down over the taco bake, then, holding the cutting board and baking sheet together, flip them so the taco bake falls out of the baking sheet onto the cutting board.
- Remove the baking sheet and cut the crunch wrap into squares. Serve with sour cream and salsa on the side.
Notes
*How to turn your corn tortillas into tostadas
If ready-made tostadas aren’t available at your grocery store or local Latin American market, you can easily make tostadas from corn tortillas. Place your corn tortillas in a single layer on a rimmed baking sheet and brush lightly on both sides with a mild vegetable oil. Bake in a 400°F (200°C) oven for 5 minutes, flip the tortillas, and continue to bake until golden and crisp, 5 to 10 minutes more.
Nutrition
Nutrition information is automatically calculated, so should only be used as an approximation.
Recipe Testers’ Reviews
My testing of this recipe was very eventful. Let’s just say that the Nashville Fire Department paid me a visit. LOL. Given the end product, though, it was worth the hassle, although there were some kinks I need to work out for next time. This recipe also was the impetus for me finally running a self-clean on our oven.
This recipe was really tasty. It was like a taco lasagna! I enjoyed both the flour and corn tortilla taste and textures even though at first I thought it would be too much. I also thought this is a LOT of cheese, but hey, it was delicious. The taco seasoning was a great shortcut and I thought it was the perfect amount for 3 pounds of meat. 3 pounds of meat!!!??! (At first my husband thought that was a mistake on the shopping list.) I would definitely make this again, especially if I am having people over!
The filling was simple and easy to make. I purchased 3 of those organic taco seasoning packets (one spicy and the rest regular). Next time, I’d go all spicy. The packets were slightly over 1 ounce each so I didn’t end up using all 3. My choice of tortillas was limited. They didn’t have the burrito size so I bought a packet of the Maria y Ricardo 8-inch tortillas as well as five-inch corn tortillas. This is where my woes began.
The layering instructions were fantastic and easy to understand. I just think because my tortillas were slightly too small, I didn’t quite have enough to fold over the top. For this reason, some of the cheese layered on the very top was exposed. I wasn’t sure what to do, so I used the corn tortillas as is. I ended up wrapping foil over the sheet pan before placing the second sheet pan on top, and on top of that a la Creuset lid for weighing down. Well, let’s just say some stuff dripped out as the crunch wrap was cooking because, by the time the half-hour was up, it was a bit smoky. And alarms went off. And a truck came. Embarrassing. (I would add a sheet pan with foil next time to catch drips.)
All in all, though, this produced a very delicious meal that could feed an army. After the fiasco, we weren’t brave enough to try to turn the crunch wrap out of the pan although once it cooled, I think that would have been easy. With sour cream and salsa, the meal was complete. This definitely feeds 10 and maybe 12! The 2 of us ate well for 4 days and still had some leftovers.
I loved this sheet pan taco bake recipe for how quick and delicious it was. I love tacos of any kind but sometimes I welcome simplicity or novelty and this recipe has both. I found it very easy to put together and I also like the fact that you can make it with any other fillings you might want. I’d definitely add a layer of refried beans next time.
The crispiness of the tostada makes a huge difference in the texture of the finished dish. I found the recipe very easy to follow and all the amounts were accurate for me.
This taco bake recipe was a crowd-pleaser. It served a happy group of football fans during the all-important bowl games! Bonus as the kids thought it was a good hack for Taco Bell’s Crunchwrap. Note to eaters: do not skip the sour cream and salsa on the side. Truly delish.
The first thing I noticed was that my chosen pan was going to be too large for the specific instructions provided. I couldn’t find burrito-size tortillas at Trader Joe’s so I used the 7.5-inch package (TJ’s handmade Flour Tortillas, albeit small for this recipe, are superior to the regular grocery store brand). I used the 14-by-19-inch rimmed sheet that came with my Miele oven. This was only a minor problem as I had plenty of extra tortillas. I cut a few in half and they filled in the gaps nicely.
This dish was so incredibly delicious. It definitely had a kick but not too much in my opinion. Plus it really did surprise me how crisp the end result was. Oh, maybe one more thing. You may want to tell the reader that they will need 2 pans of similar size. Needing an extra to place over the top of the taco did take me by surprise late in the game (no pun intended).
This was a perfect laid-back Sunday night dinner. The prep is easy, it’s quick to assemble, and it tastes good. The wrapping of the tortillas around the cheese and meat mixture then baking provides a nice texture and taste, different from the traditional taco.
Adding sour cream and salsa when served or passing the sour cream and salsa are a nice addition that provides a bit more interest to the dish.
And this is a recipe that could feed a big family or a crowd. I cut it into 8 very filling pieces and served it alone, but it could easily be cut into more pieces with a side salad and still provide a filling meal.
What a fun way to jazz up taco night! My kids and I had a lot of fun fitting together the tortillas to fully enclose the crunch wrap. The wrap is a cross between a grilled quesadilla and a taco. Next time I think I will use my own spice mix for the ground beef as I think it would be tastier than using packets of taco seasoning. It serves between 10 and 12 so make sure you have a hungry crew!
I used taco-size flour tortillas that were about 8 inches. I needed a total of 10 flour tortillas to cover the top of the crunch wrap (easy to cut to fit if necessary).


I lined my pan with parchment paper (the roll type- not pre-cut) which made removing the slab much easier. Just allow for a couple of inches on both ends and you can lift it right out. Homemade taco season is much better as well.
Earlene–that’s a great tip that most of us (by that, I mean me specifically…) forget about until the taco bake is halfway built. Hopefully, this is just the reminder I needed! I’m planning to make this for dinner this week, just to see if your reminder sticks. Thanks for reaching out.
If I wanted to make a small version of this recipe, say 1/3 of the amount, for 3-4 people, what size sheet pans would I use?
Do you happen to have a broiler pan, Christi? If not, use a regular sheet pan but only use 1/3 to 1/2 the space…
OMG! Soo good and the instructions were simple. I did use the smaller flour/tostada size tortillas. but used a smaller cookie sheet which worked fine. BTW… I LOVED “Johnisha L.’s” response. Hilarious. Sometimes that’s what it takes to get the oven cleaned! LoL. Thanks for sharing a wonderful recipe.
You’re so very welcome, GrammaSue! Many thanks for the kind words…and we completely agree about the oven!!!