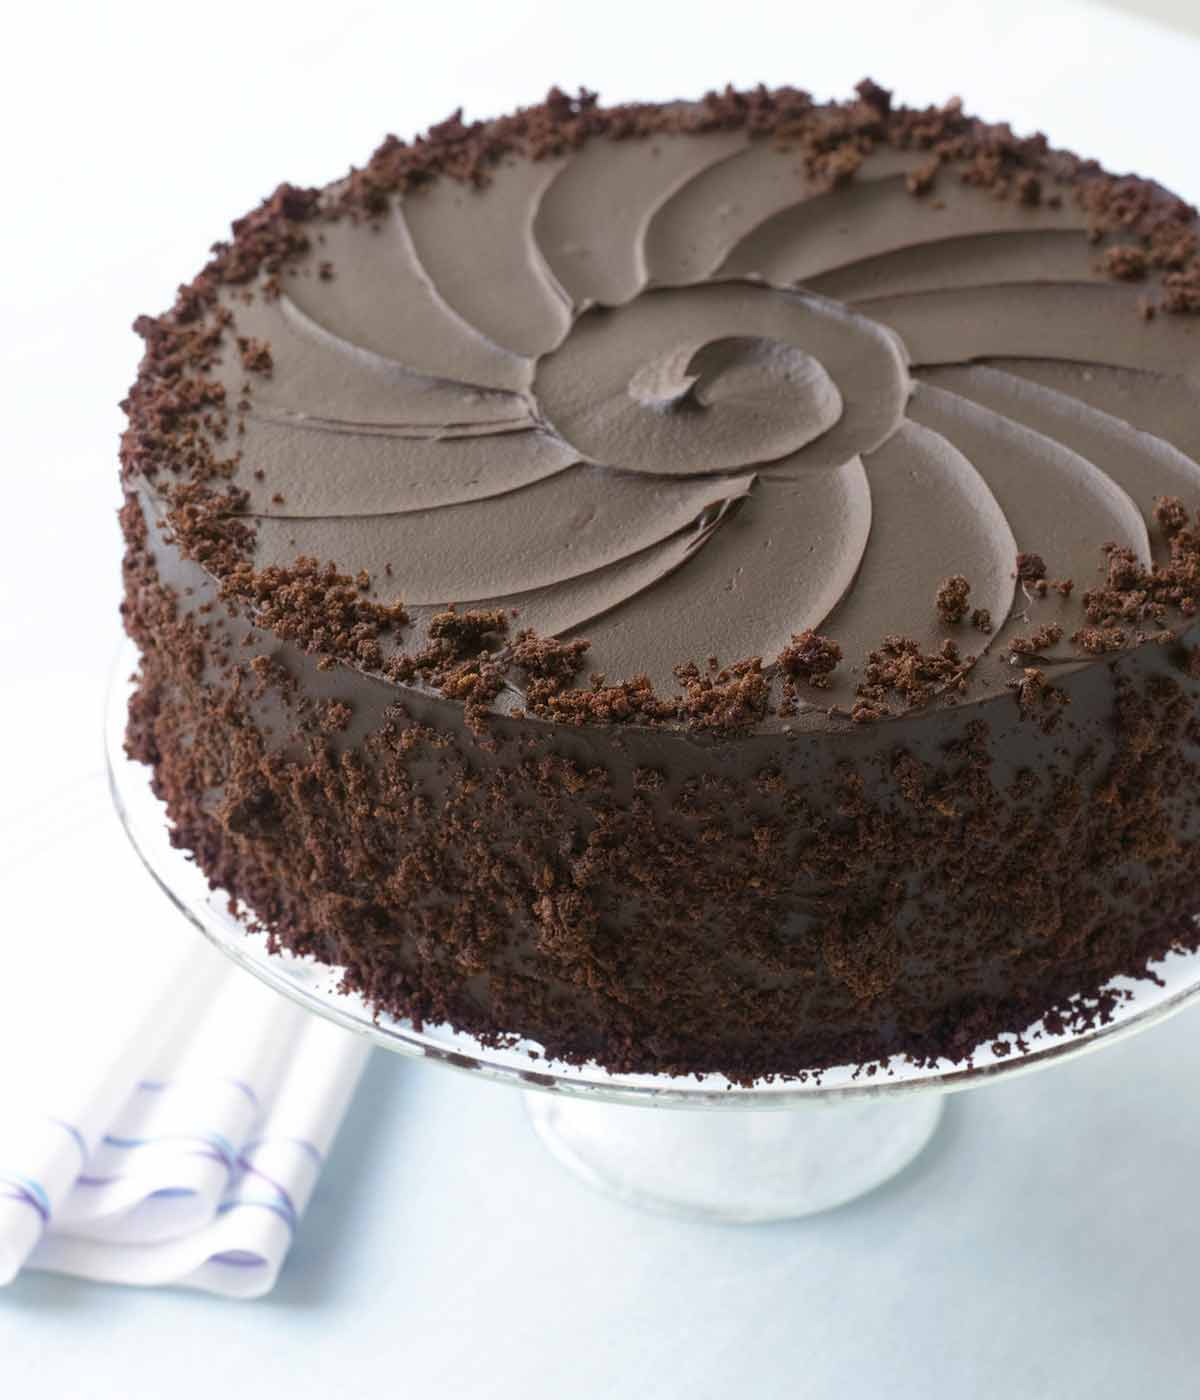
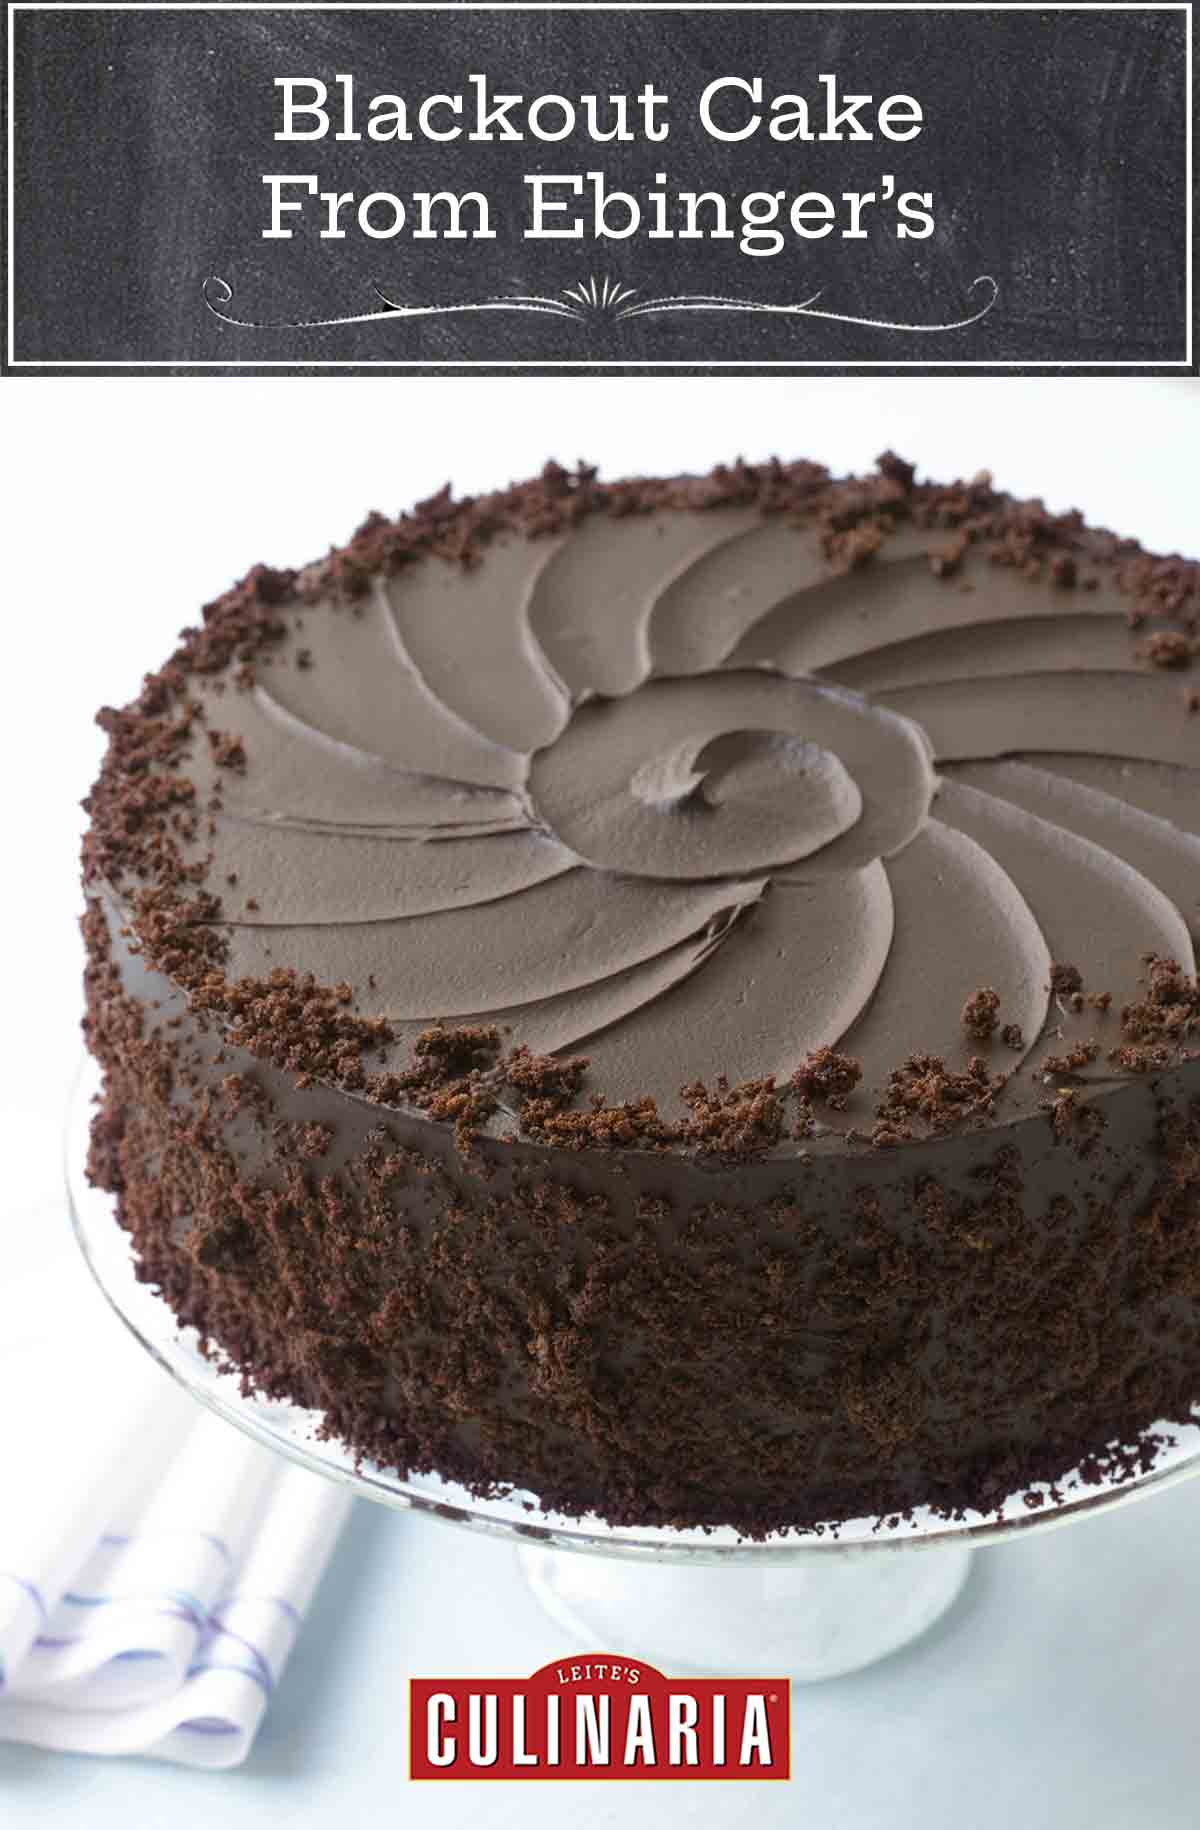
When I was a kid, my family spent summers at my grandfather’s house in Brooklyn, New York. My mom was a great baker but never baked in the summer. She didn’t have to—she had Ebinger’s Bakery. It was just a few blocks away and sold blueberry crumb pies, lemon meringue tarts, and Parker House rolls that were just as good as homemade. And for company dinners, there was Ebinger’s special chocolate blackout cake. It had three layers of chocolate cake, a creamy chocolate filling, and was covered with thick fudge frosting and chocolate cake crumbs. Ebinger’s is long gone, but the cake recipe has appeared now and again in publications. My “new and improved” blackout cake has the same pudding-like filling, though I made it slightly thicker so it stays firmly in place between the cake layers. This dark chocolate cake also has the same tender texture, but unlike many such cakes, it’s easy to mix and doesn’t require beating the egg yolks and whites separately. The best thing? You never have to wait for company dinners to enjoy this cake. It’s yours for the baking.–Elinor Klivans
Can I make my own cake flour?
Cake flour is a softer, lower-protein version of white flour that has been more finely milled and produces less gluten when used. This means that it bakes up softer and fluffier than all-purpose flour. But wait..you can get awfully close to the real thing by making your own cake flour substitution at home. For each cup of cake flour needed, you’ll need 1 cup of all-purpose flour with 2 tablespoons removed. Add in 2 tablespoons of cornstarch. Then—and this is important—sift twice. You’ll be aerating the flour as well as ensuring that it’s well mixed. Measure out 1 cup and use in place of cake flour (sifted flour is less dense so you may end up with a little more after it’s been sifted).
For this recipe, here’s the math already done for you—
2 cups of all-purpose flour minus 4 tablespoons. Add 4 tablespoons of cornstarch. Sift, sift, sift. Measure 2 cups and proceed.
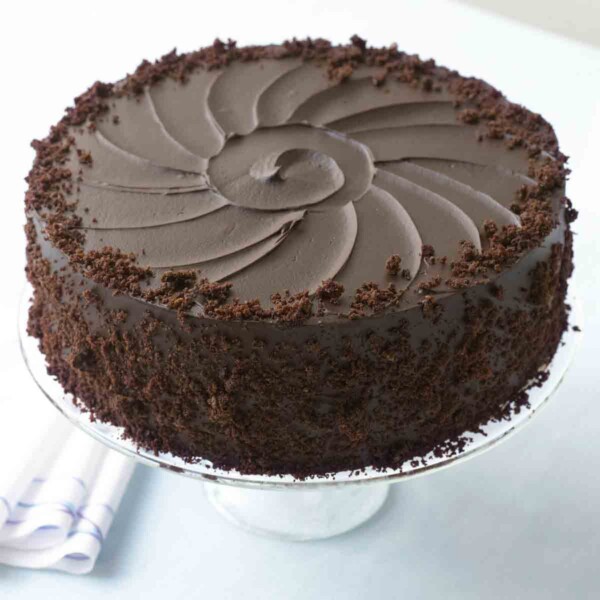
Blackout Cake
Ingredients
For the chocolate filling
- 2 tablespoons unsweetened Dutch-process cocoa powder
- 1 1/2 cups hot water
- 3/4 cup granulated sugar
- 3 ounces semisweet chocolate, chopped
- 3 tablespoons cornstarch, dissolved in 2 tablespoons water
- 1/4 teaspoon salt
- 1/4 cup (4 tablespoons) unsalted butter, cut into 4 pieces
- 1 teaspoon vanilla extract
For the chocolate cake
- 2 ounces unsweetened chocolate, chopped
- 1/2 cup unsweetened Dutch-process cocoa powder
- 3/4 cup whole milk
- 2 cups cake flour
- 1 teaspoon baking powder
- 1 teaspoon baking soda
- 1 teaspoon salt
- 1 cup unsalted butter, at room temperature
- 2 cups granulated sugar
- 4 large eggs
- 2 teaspoons vanilla extract
For the chocolate frosting
- 12 ounces semisweet chocolate, chopped
- 3/4 cup unsalted butter, at room temperature
- 1/2 cup lukewarm water, 88°F to 90°F (31°C to 32°C)
- 1 tablespoon light corn syrup
- 2 teaspoons vanilla extract
For the garnish (optional)
- Shaved semisweet chocolate
Instructions
Make the chocolate filling
- In a medium saucepan, heat the cocoa powder, hot water, sugar, and chocolate over low heat, stirring constantly until the cocoa powder dissolves and the chocolate melts. Add the dissolved cornstarch and the salt, increase the heat to medium-high, and boil gently for 1 minute, stirring constantly, especially where the sides and bottom of the pan meet.
- Remove the pan from the heat, add the butter and vanilla, and stir until the butter melts. Pour the filling into a bowl and press plastic wrap onto the surface to prevent a skin from forming. Refrigerate until the filling thickens, at least 5 hours or up to overnight. It should be the consistency of soft pudding.
Make the chocolate cake
- Position a rack in the middle of the oven. Preheat the oven to 350°F (180°C). Butter the bottom and sides of two 9-in round cake pans with 1 3/4- to 2-inch sides. Line the bottoms with parchment paper and butter the paper.
- Place the chocolate, cocoa powder, and milk in a heatproof bowl (or the top of a double boiler) and place it over, but not touching, barely simmering water in a saucepan (or the bottom of the double boiler). Stir until the chocolate is melted, the cocoa powder dissolves, and the mixture is smooth. Remove from the heat and set aside to cool to lukewarm.
- Meanwhile, sift the flour, baking powder, baking soda, and salt together in a medium bowl.
- In a large bowl with an electric mixer on medium speed beat the butter and sugar until light in color and smooth, about 2 minutes. Stop the mixer and scrape the sides of the bowl as needed. Add 2 of the eggs and mix until each incorporated. Add the remaining 2 eggs and the vanilla and mix until incorporated. Beat for 1 minute more. Reduce the speed to low and mix in the cooled chocolate mixture until blended and smooth. Add the flour mixture, mixing just until the flour is incorporated and the batter looks smooth. Pour the batter into the prepared pans.
- Bake just until the tops of the cakes feel firm when lightly touched and a toothpick inserted in the center of each cake comes out clean, about 40 minutes. Cool the cakes in the pans on wire racks for 10 minutes. Use a small, sharp knife to loosen each cake from the sides of the pan, and invert each cake onto a wire rack. Carefully remove the paper and place it loosely on the cake. Let the cake layers cool thoroughly, then discard the paper.
Make the chocolate frosting
- Place the chocolate and butter in a heatproof bowl (or the top of a double boiler) and place it over, but not touching, barely simmering water in a saucepan (or the bottom of the double boiler). Stir until the chocolate and butter are melted and smooth. Remove from the heat and set aside to cool slightly. Check with your fingertips that the temperature of the lukewarm water feels similar to that of the chocolate. (It should be 88°F to 90°F (31°C to 32°C) when measured with an instant-read thermometer.)
- Add the lukewarm water all at once to the chocolate mixture and gently whisk until the frosting is smooth. It will thicken slightly when the water is added. Stir in the corn syrup and vanilla. Let the frosting sit at room temperature until it cools and thickens slightly, about 30 minutes.
Frost the blackout cake
- Invert a serving plate on top of one of the cake layers and turn it so the cake is top up. Tuck a strip of wax paper under the edge of the cake all the way around to keep the plate clean. Use a long serrated knife, cut the cake layer horizontally into two even layers, leaving the layers in place. Carefully slip the removable bottom of a tart pan or spring-form pan between the layers, lift the top layer, and set aside. Use a thin metal spatula to spread about half of the cold filling over the bottom half of the cake layer, leaving a 1/2-inch plain edge around. Carefully slide the top half of the cake layer on top of the filling, centering it over the bottom layer. Spread the remaining filling over the top.
- Invert the second cake layer onto a plate so that it is top up, and cut it horizontally into two even layers. Carefully slide the top layer on top of the filling-topped stacked cake layers. You will have a three-layer cake. The remaining cake will be crumbled and used to cover the frosted cake.
- Use the thin metal spatula to cover the top and sides of the cake with a thin layer of the frosting. Refrigerate the cake for 15 minutes to firm the cake and filling. Spread the remaining frosting over the top and sides of the chilled cake.
- Using your fingers, crumble the remaining cake layer into small crumbs. Press the cake crumbs onto the side of the cake and, if desired, sprinkle them over the top of the cake. Remove the wax paper strips. If desired, sprinkle the top of the cake with chocolate shavings. Use a large, sharp knife to cut the cake. The cake can be covered and refrigerated for up to 2 days. Let it sit at room temperature for about 45 minutes before serving. Originally published April 12, 2010.
Notes
- Butter the pans–Be sure to thoroughly butter the pans and the parchment paper so that there are no issues with sticking.
- Don’t overbeat–To avoid sunken spots in your cake, don’t overbeat the cake batter. The batter should have a texture similar to mousse.
Nutrition
Nutrition information is automatically calculated, so should only be used as an approximation.
Recipe Testers’ Reviews
All I can say is fabulous, fabulous, fabulous. If you like chocolate, this blackout cake is for you. What I liked most about this recipe was that its spongy cake layers and decadent filling were rich, without being too sweet. Although the recipe instructs that the cake should be served at room temperature, I preferred to eat my slice still a little cold from the fridge. The cake takes some time to prepare, so plan accordingly. Also, be careful as you’re cutting the cake layers—this cake produces a lot of crumbs!
I may have been giving a few elbows to some teenage boys as I tried to assemble all the components of this cake. The house was full of a rich chocolate aroma that had everyone running into the kitchen. A rich, dark chocolate cake with a wonderfully thick chocolate pudding centre and an intensely chocolaty frosting and a finish of some more chocolate crumbs. Fabulous!
For the pudding filling, I checked it at 3 1/2 hours and found it a nice thick consistency and so went ahead with assembling and decorating the cake. I did find I needed to refrigerate the frosting for about 15 minutes to thicken before I put it on the cake. My kitchen was warm so I think leaving it at room temperature wasn’t going to be enough.
The cake layers sliced nicely and I didn’t have any problems at all with crumbs. The filling spread out nicely and I used slightly less than half for the first layer with and extra spoonful in the middle to even things out. As per the comments I made sure to only use as much as needed and left 1/2 inch around the edge. I do have some leftover but I’m sure that will disappear quickly.
The frosting was still a bit runny when I spread out the first layer on the top but it firmed up nicely when I let it set in the fridge for 15 minutes. I also placed the bowl of icing in the fridge while the cake set and needed to stir it a few times to get it back to a spreadable consistency. The crumb topping hid all my mistakes and made for a fun finish. And everyone got to sneak a few bits before we cut into the final product!
You know how sometimes when you have a piece of chocolate cake and it’s “just too much.” and you’re unable to finish it? This blackout cake is no such cake. I rewarded myself with a slice of cake at 10:30 this evening, I’m eating it as I write my review, and it will be gone before I finish typing–no crumbs spared. Although it took 5 hours from start to end, it’s worth closely following the recipe to produce the exact result described by the author.
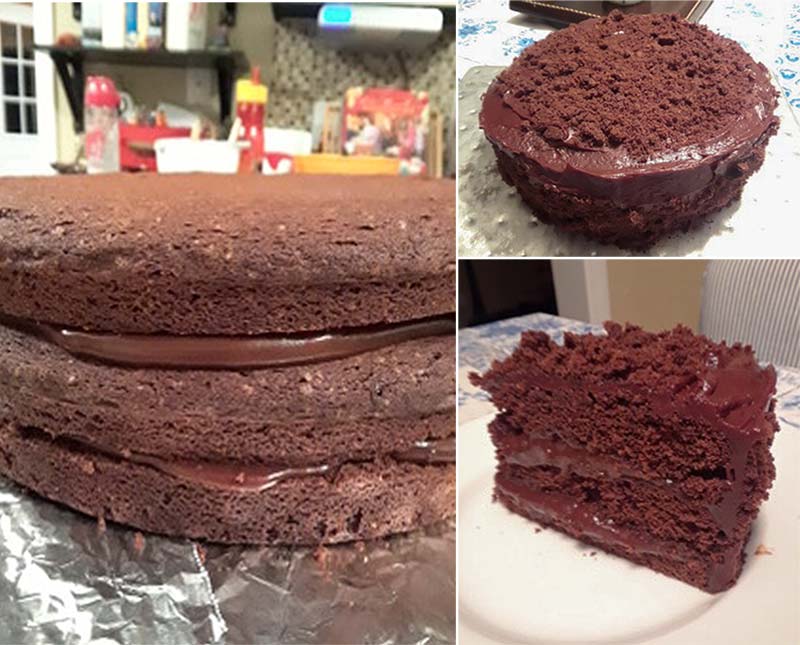
I do have a few tips for anyone looking to make this cake.
• When adding the cornstarch, be sure to scrape every last bit from the bottom of the cup to ensure proper thickness when combined with the chocolate mixture and bring to a full boil before cooking the 1 minute, the cornstarch needs a bit of time to meld with the chocolate.
• Thoroughly butter the pans (bottom and sides) as well as the parchment paper, don’t skimp on the butter.
• Be sure to use cake flour as stated in the recipe, this ensures a lighter cake texture and the desired crumb.
• Follow the electric mixer times stated (2 minutes for the butter/sugar, 1 minute additional after all eggs and vanilla have been added). and fold in the flour mixture to be certain you do not over mix and create too much air. Too much air in the batter would cause sunken cake as stated in the comments. The cake batter should be similar to chocolate mousse in texture. Because it is a thicker batter be sure to smooth out the batter when placed in the pan to remove any possible air pockets.
• The most important part of making the frosting is to use a thermometer to get the chocolate mixture and water to the same temperature. It should easily gel together with a minimal amount of whisking. It did take about 20 minutes to get the chocolate mixture to 90°F before combining it with water.
• I didn’t let it sit for 45 minutes before slicing (maybe 15 minutes). I wanted to be able to eat it before midnight on the day of the solar eclipse. It sliced perfectly and tasted delicious!
This cake just made me happy. I’m trying not to think about the fact that it’s in my fridge right now as I’m afraid that I will eat the entire thing myself. The filling came together perfectly and easily, but note that it took nearly 20 minutes for everything to dissolve at low.
I followed the directions exactly and did experience an indent on each cake. However, I just was careful when slicing the layers to make them as even as possible. I used one indented layer as the middle and just put a bit more filling in that layer, which made the center of each slice my favorite bite due to the extra filling. The other indented section I used as the section to crumble, so my cake still ended up even and lovely in the end, even with the dip in the baked cakes.
Though I tested the water and chocolate with an instant-read thermometer before combining, the frosting was a bit thin initially, so I popped it in the fridge for about 15 minutes which gave it a perfect consistency.
When assembling the cake, I found the tip about using the bottom of my tart pan to assist was so very helpful, I’ll use this every time that I make a cake. Also, be prepared to clean up a lot of cake crumbles as you assemble, or you can just eat them as you go…


Cake sunk a little in the center, how can I prevent that next time? I had to improvise with buttermilk so maybe that’s why? Otherwise, love it!
Hi Marcy, I think that the buttermilk might be the culprit. When you substitute buttermilk, you need to adjust the amounts of baking powder and baking soda so that the cake is not over leavened. Too much leavening will cause the cake to rise then collapse. I would also double check your oven temperature with a thermometer. It might be that your oven isn’t properly calibrated. Hope this helps.
I only made the cake, but didn’t make the filling and frosting. I used chocolate Swiss meringue buttercream as the filling and chocolate ganache as the frosting. And it tasted amazing. The cake itself is super-delicious. One tip for those who worry about the crumbs, freeze the cake first, then it will be less crumbly.
Lovely, Sharmin! And thank you for the freezing trick, I’d never heard of that and can’t wait to give it a go…
Hi, can I make this cake two days ahead and freeze it fully frosted? Thanks in advance.
Sharmin, you could, although there’s a very good chance the consistency of the frosting will not be the same after thawing. We suggest you instead bake and cool the cake layers and then wrap them individually and freeze them. Let them thaw overnight and then make the frosting and slather it all over the layers at the last moment, if that’s an option. Good luck!