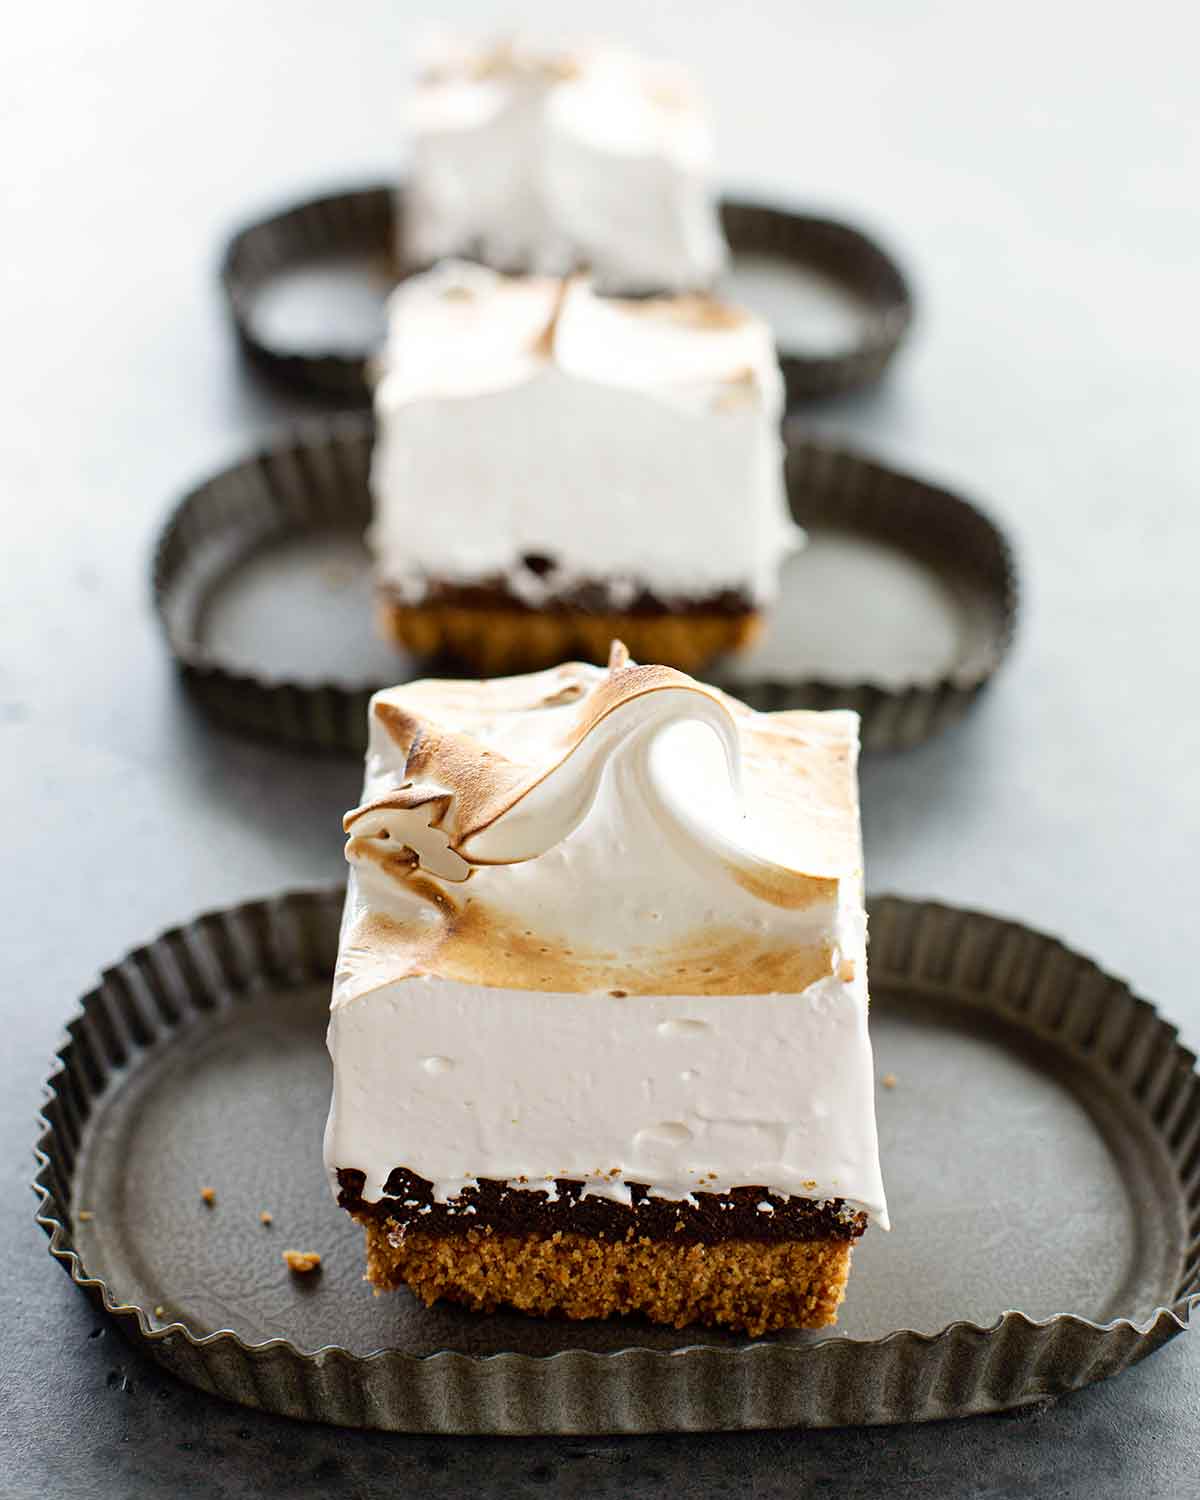
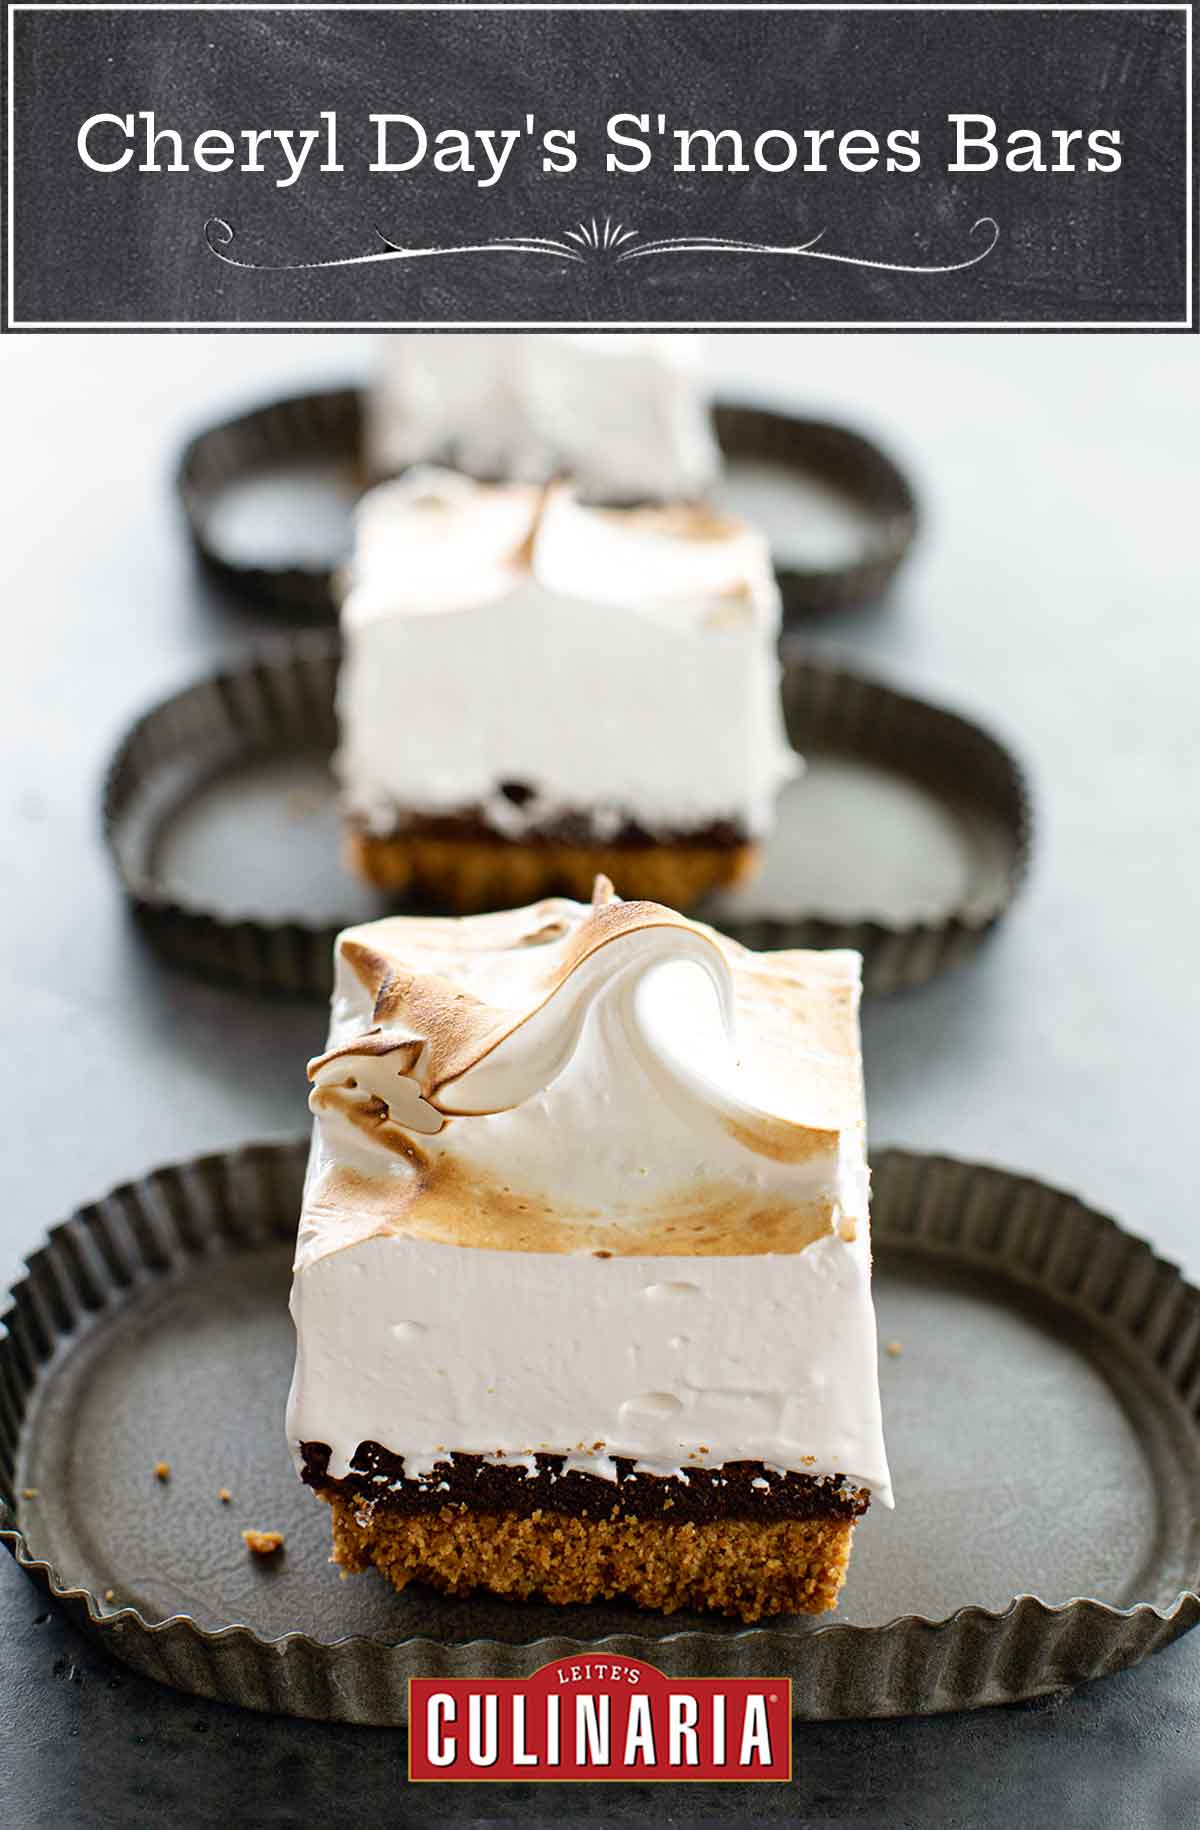
Every year, thousands of green-sashed girls make a pilgrimage to Savannah, Georgia, to visit the birthplace of Juliette Gordon Low, founder of the Girl Scouts of America. These s’mores bars are a nod to the classic campfire treat. A salty, crunchy graham cracker crust is topped with a rich, melt-in-your mouth chocolate filling and a fluffy, light marshmallow meringue, which is toasted for the full experience.–Cheryl Day
S’mores Bars FAQs
From what we can tell, s’mores were first made popular in a guide book called Tramping and Trailing With the Girl Scouts which was published in 1927. The book contains several camp-out style recipes that can be made over an open flame, one of which was titled “Some Mores”. Our guess is that that name is hard to pronounce with your mouth full of hot toasty marshmallows, and that “s’mores” is far simpler.
While we love brands like Callebaut and Valrhona, a simple, inexpensive unsweetened chocolate will work perfectly well in this s’mores bars recipe. Be certain to use unsweetened, as semi-sweet or milk chocolate will result in a cloyingly sweet dessert. Using unsweetened chocolate brings a more grown-up lilt to the classic s’more – but they’re still just sweet enough, so the kids will love them, too.
You really have two options here. A double boiler (or bain-marie) or the microwave. There are tricks to both methods, though.
If you’re using a double boiler, put water in the bottom pot and heat to barely simmering. Place your chopped chocolate in the top pot. The steam from that low simmer below gently heats the chocolate in the pot above, melting it until velvety smooth. Take special care to ensure that no water gets into your chocolate – or the entire batch will be ruined.
For the microwave, place your chocolate (chopped into evenly sized pieces) into a microwave safe bowl and heat it at 50% power. This is important, as normal or high power can easily burn your chocolate! We generally heat for 30 seconds, then stir, heat for 30 seconds, then stir, and repeat until everything is evenly melted and smooth.
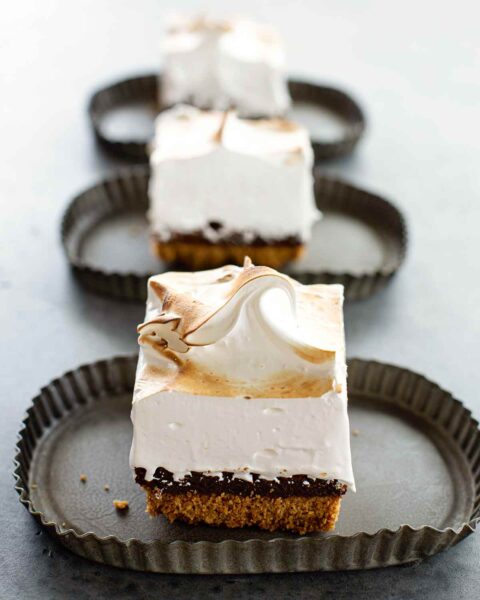
Cheryl Day’s S’mores Bars
Ingredients
For the crust
- 3 cups (about 24 crackers) store-bought or homemade graham cracker crumbs
- 2 tablespoons light brown sugar
- 1/2 teaspoon fine sea salt
- 12 tablespoons (6 oz) unsalted butter, melted
For the filling
- 1 stick (4 oz) cold unsalted butter, cut into 1-inch (3 cm) cubes
- 1/4 pound unsweetened chocolate, chopped (about 1/2 cup)
- 1 1/4 cups granulated sugar
- 1/4 teaspoon fine sea salt
- 2 teaspoons vanilla extract
- 2 large eggs, at room temperature
- 1/2 cup unbleached all-purpose flour
For the marshmallow meringue
- 3 large egg whites
- 3/4 cup granulated sugar
- 1/4 teaspoon cream of tartar
- 1/2 teaspoon vanilla extract
Instructions
Make the crust
- Position a rack in the middle of the oven and preheat the oven to 350°F (175°C). Butter a 9- by 9-inch (23- by 23-cm) baking pan. Line with foil, leaving an overhang on two opposite sides of the pan.
- In a medium bowl, combine the graham cracker crumbs, brown sugar, and salt. Drizzle in the butter and blend with a fork until the crumbs are evenly moistened.
- Press the crumb mixture firmly and evenly over the bottom of the prepared pan. Bake the crust until lightly golden, 8 to 12 minutes. Cool completely.
Make the filling
- Set a medium heatproof bowl over a saucepan of simmering water (do not let the bottom of the bowl touch the water), add the cubed butter and chocolate, and heat, stirring frequently, until melted and smooth, about 5 minutes.
- Remove the bowl from the heat, add the sugar, salt, and vanilla, and stir until completely combined, about 2 minutes. Add the eggs and stir until thoroughly incorporated and smooth. Add the flour and fold into the batter until combined.
- Pour the batter into the prepared baking pan. Bake until a slight crack forms around the edges of the bars, 20 to 25 minutes. Let cool completely on a wire rack.
Make the marshmallow meringue
- Put the egg whites, sugar, and cream of tartar in the bowl of a stand mixer (or a medium heatproof bowl), set the bowl over a medium saucepan of simmering water (do not let the bottom of the bowl touch the water), and whisk constantly until the sugar is completely dissolved and the egg whites are warm to the touch, 4 to 8 minutes. The mixture should appear pale and opaque. Rub a little bit of it between your fingers to make sure all the sugar is dissolved; it should feel smooth, without any grittiness.
- Attach the bowl to the mixer stand (if using) and fit it with the whisk attachment (or use a handheld mixer). Add the vanilla and, starting on low speed, whip the egg whites, gradually increasing the speed to high, until the meringue is glossy and forms stiff peaks, 5 to 7 minutes.
- Loosely pile the meringue onto the bars and spread it evenly over them. Toast the meringue with a kitchen blowtorch until golden in spots, or broil 8 inches (20 cm) from the heat source, watching carefully until toasted and golden, 1 to 3 minutes.
- Let cool completely before lifting the foil from the pan and cutting into bars.
☞ TESTER TIP: To get clean slices, run a knife under hot water between each cut.
- The s'mores bars can be refrigerated in an airtight container for up to 2 days.
Explore More with AI
Nutrition
Nutrition information is automatically calculated, so should only be used as an approximation.
Recipe Testers’ Reviews
Did you know only 68% of the recipes we test make it onto the site? This recipe survived our rigorous blind testing process by multiple home cooks. It earned the Leite’s Culinaria stamp of approval—and the testers’ reviews below prove it.
Cheryl Day’s s’mores bars capture the tastes and textures of the real s’mores. Although there are a lot of steps in the recipe, it actually comes together pretty quickly. You can cut the s’mores bars into smaller pieces and have a yield of 16 – even these are quite large. They are very tall and fall apart a little bit, so they are a little hard to eat.
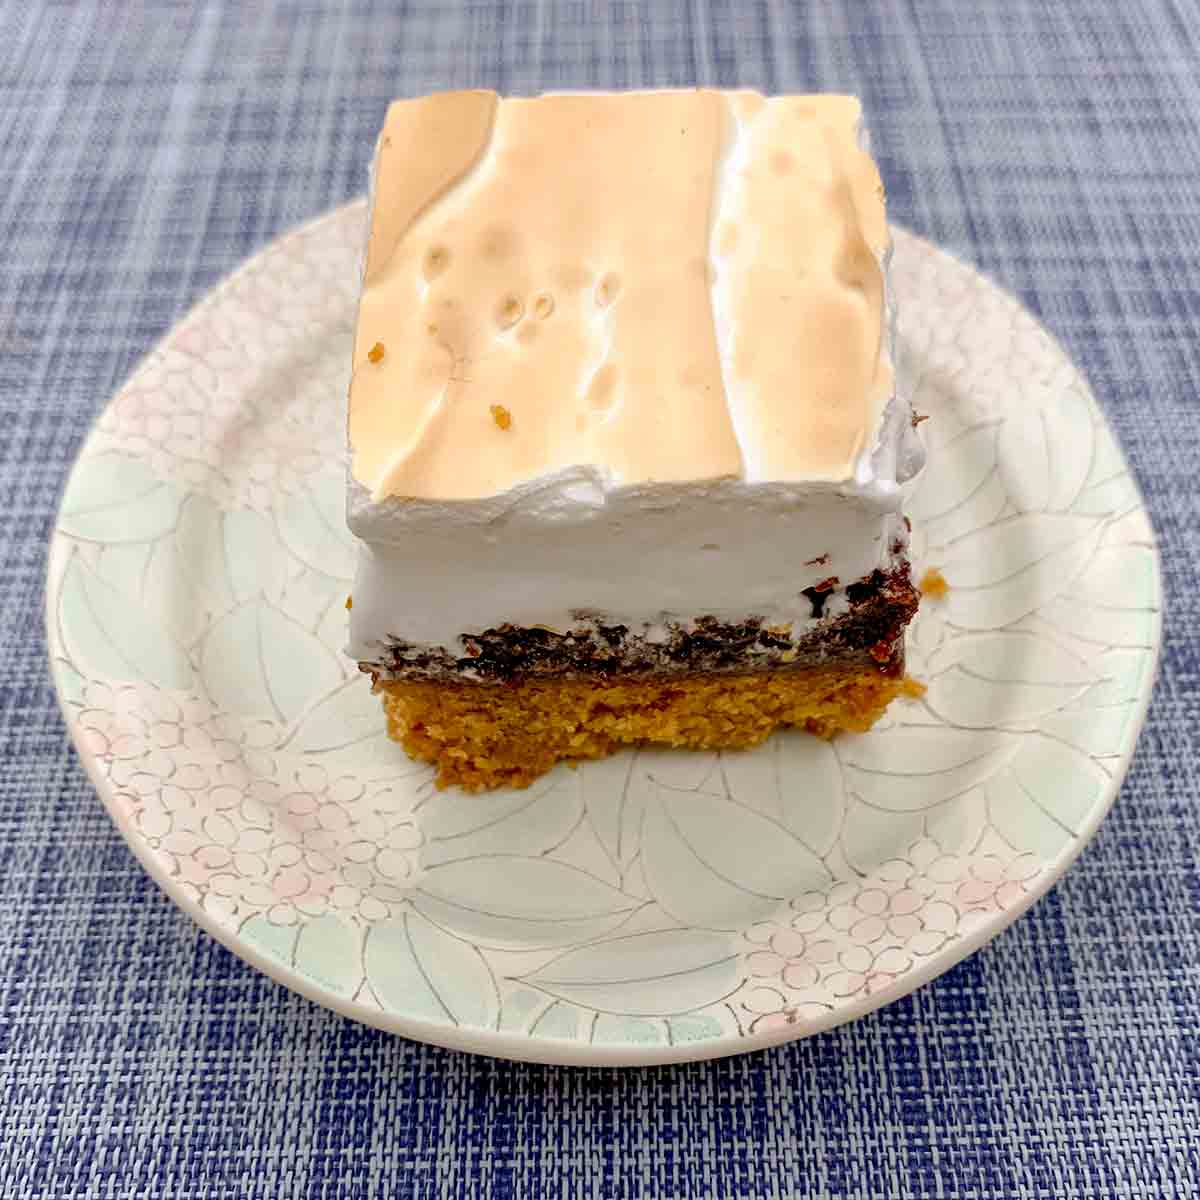
This was a show-stopping dessert and probably one of the best things I’ve baked since I tested the Warm Mocha Tart last year. Usually, s’mores bars are too rich and too sweet with a little going a long way. This recipe revisits every component to provide a thoroughly grown-up but still kid-endorsed dessert.
The look on a person’s face when they see one of these bars for the first time is priceless. The graham cracker base is thicker than usual, with a healthy dose of salt and is reminiscent of a soft cookie. The homemade Swiss meringue top is very stable and holds its shape when cut for days (5 days was as long as I had leftovers) with better flavor and texture than the usual store-bought marshmallows. The real surprise for me was the chocolate layer, which replaces a common melted chocolate layer with a vastly superior brownie-esque layer. This brought consistent chocolate flavor in every bite without overwhelming the other layers.
Honestly, it tastes as good as it looks, which is a very rare achievement for a dessert. Hell, these would steal the show at any bake sale and I’ve already been asked to make them again.
Cheryl Day’s s’mores bars recipe has multiple steps and the length of the recipe might seem overwhelming at first but each component – the crust, filling, and meringue – is easy to make and assemble.
These bars are a great alternative to a basic brownie dessert by adding a salty and buttery graham cracker crust and topping with a creamy and sweet toasted meringue. It definitely has a whimsical nod to a s’more that adults and kids alike would love to eat. The bars were a bit hard to cut and take out of the glass dish so they weren’t as neat and pretty as I would have liked, so I might think of ways to make individual bars instead of one large sheet.
Also, instead of spreading the meringue and then torching, I piped the meringue with a large round piping tip. I definitely recommend purchasing a kitchen blowtorch because you will be able to control the heat and brown the topping quickly without overheating it and running the risk of it melting or losing its peaks. I was very happy with these s’more dessert bars, everyone loved them, and I would make them again.


These were simply amazing! Not sure I’ll ever go back to traditional s’mores! Such a wonderful, deep chocolate flavor and nice, crispy crust. I loved that they were bars that lasted, well, a little bit. The only trouble I had was getting the peaks in the meringue. Not sure if I didn’t dissolve the sugar enough (though I did the test thing) or what but they never did reach stiff peak stage. I used it anyway and it worked out fine. Kind of like when you have totally melted marshmallows on your s’mores. Anyway, great recipe for the summer!
Thanks, Greg. We’re delighted that you enjoyed them. One tip for making meringue (as I’ve had the same issue many times) is to make sure your bowl is completely clean and dry before making the meringue.