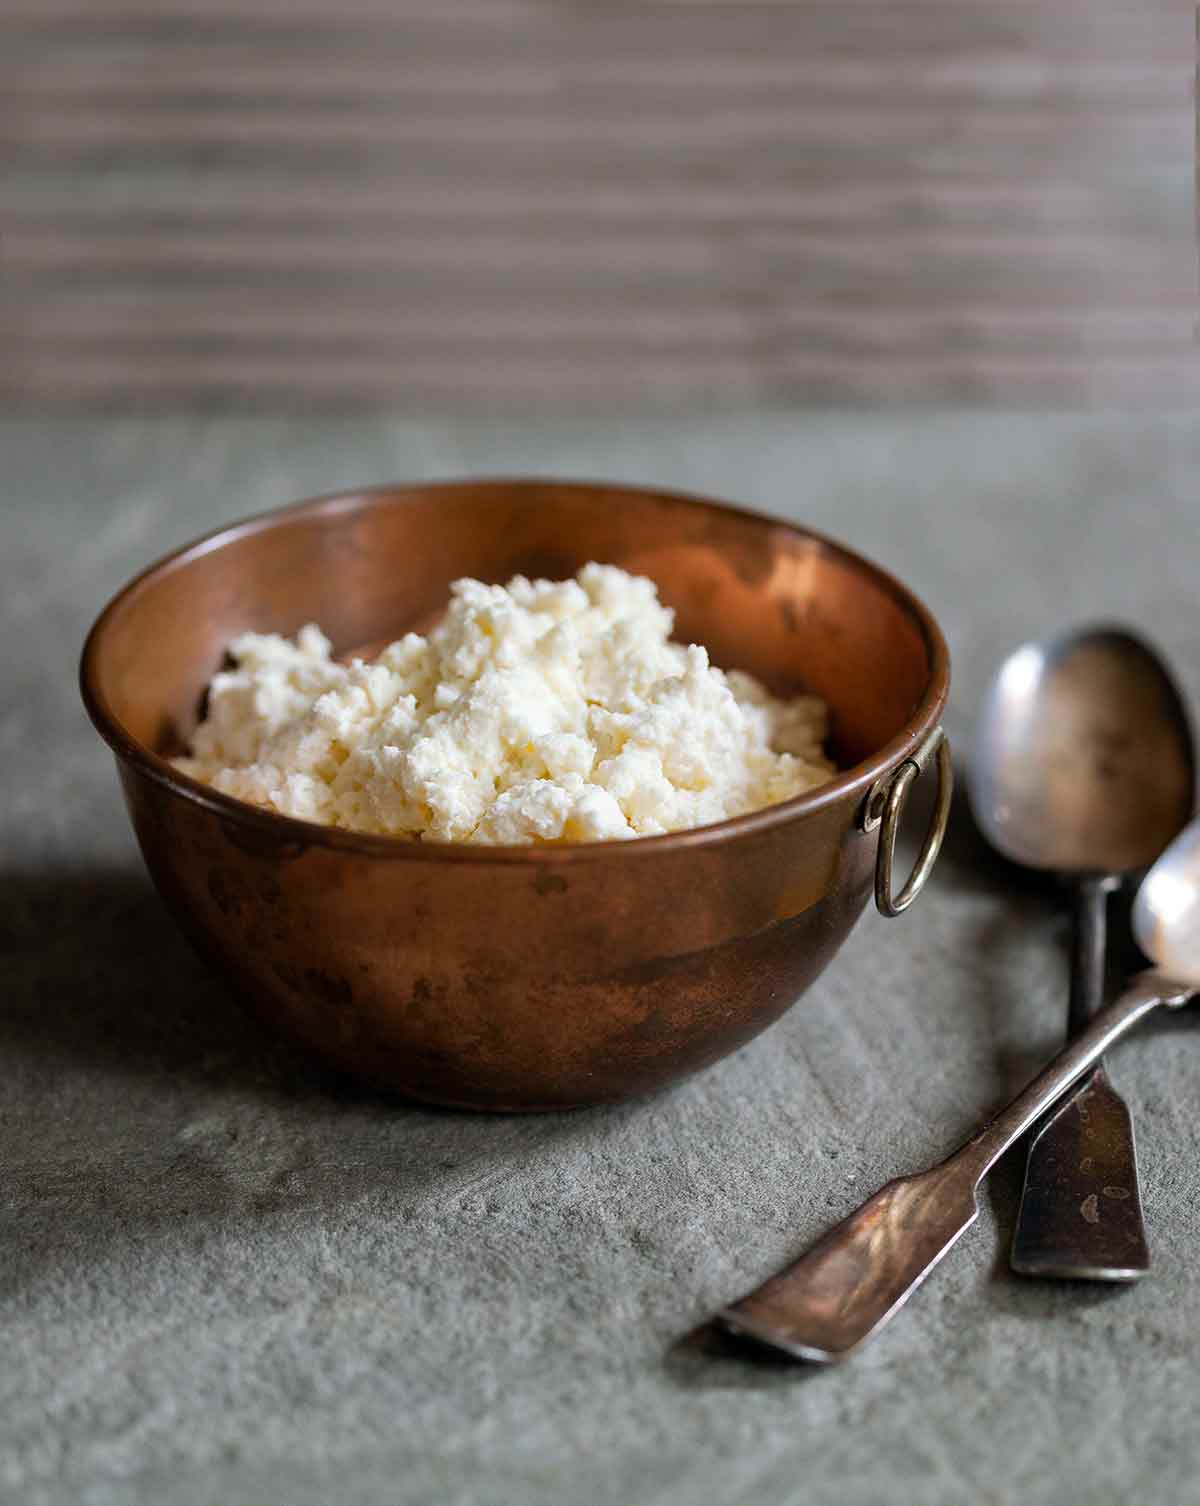
Ricotta means “twice cooked” in Italian because traditionally it’s made from the whey left when making mozzarella. We have used raw milk, goats’ milk, organic milk, and supermarket milk, and it works out just fine. And it couldn’t be easier.–Melissa Hamilton and Christopher Hirsheimer
Can You Really Make Creamy, Authentic, Traditional Ricotta At Home?
To echo authors Hamilton and Hirsheimer, it couldn’t be easier to make your own ricotta. And to quote The New York Times and their Diner’s Journal blog, “Thinking about making ricotta is only marginally easier than actually making it.”
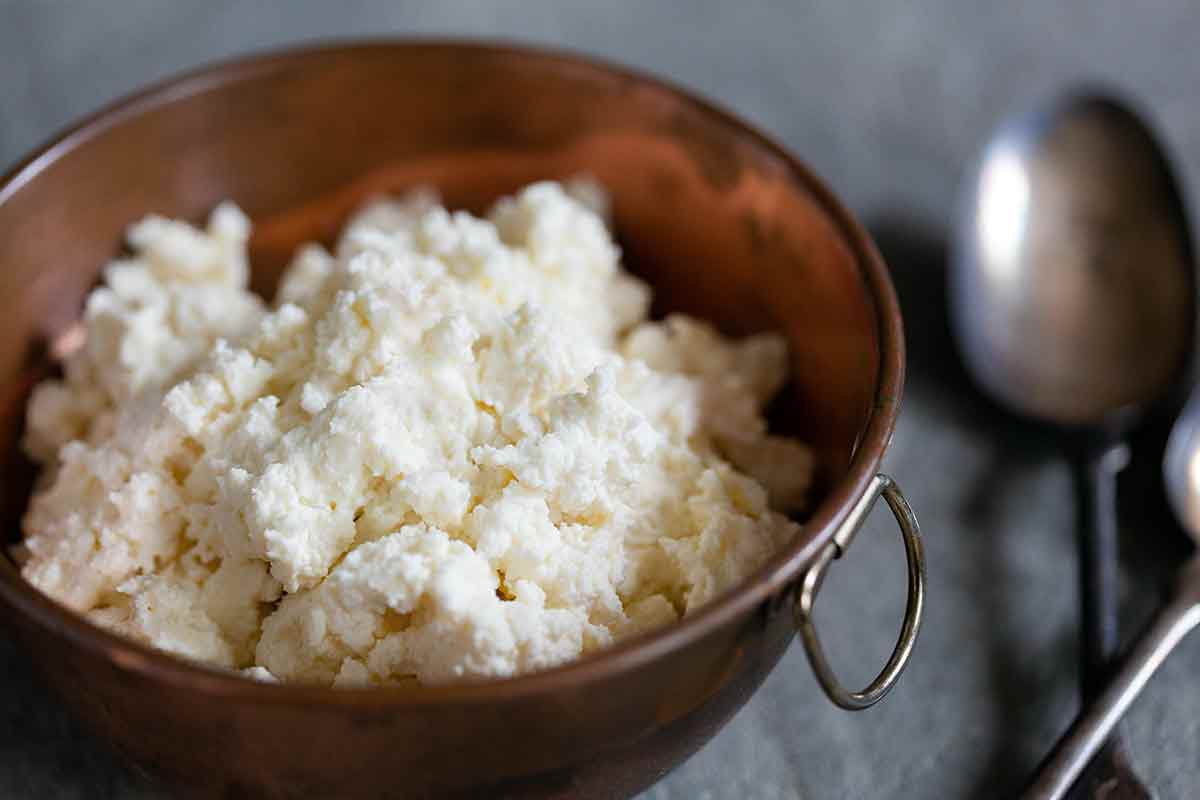
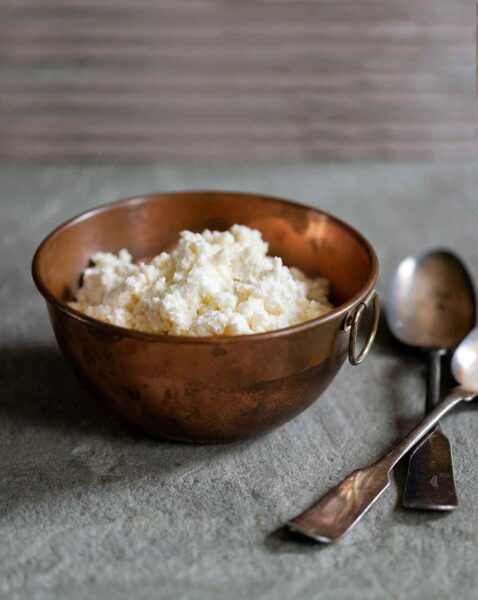
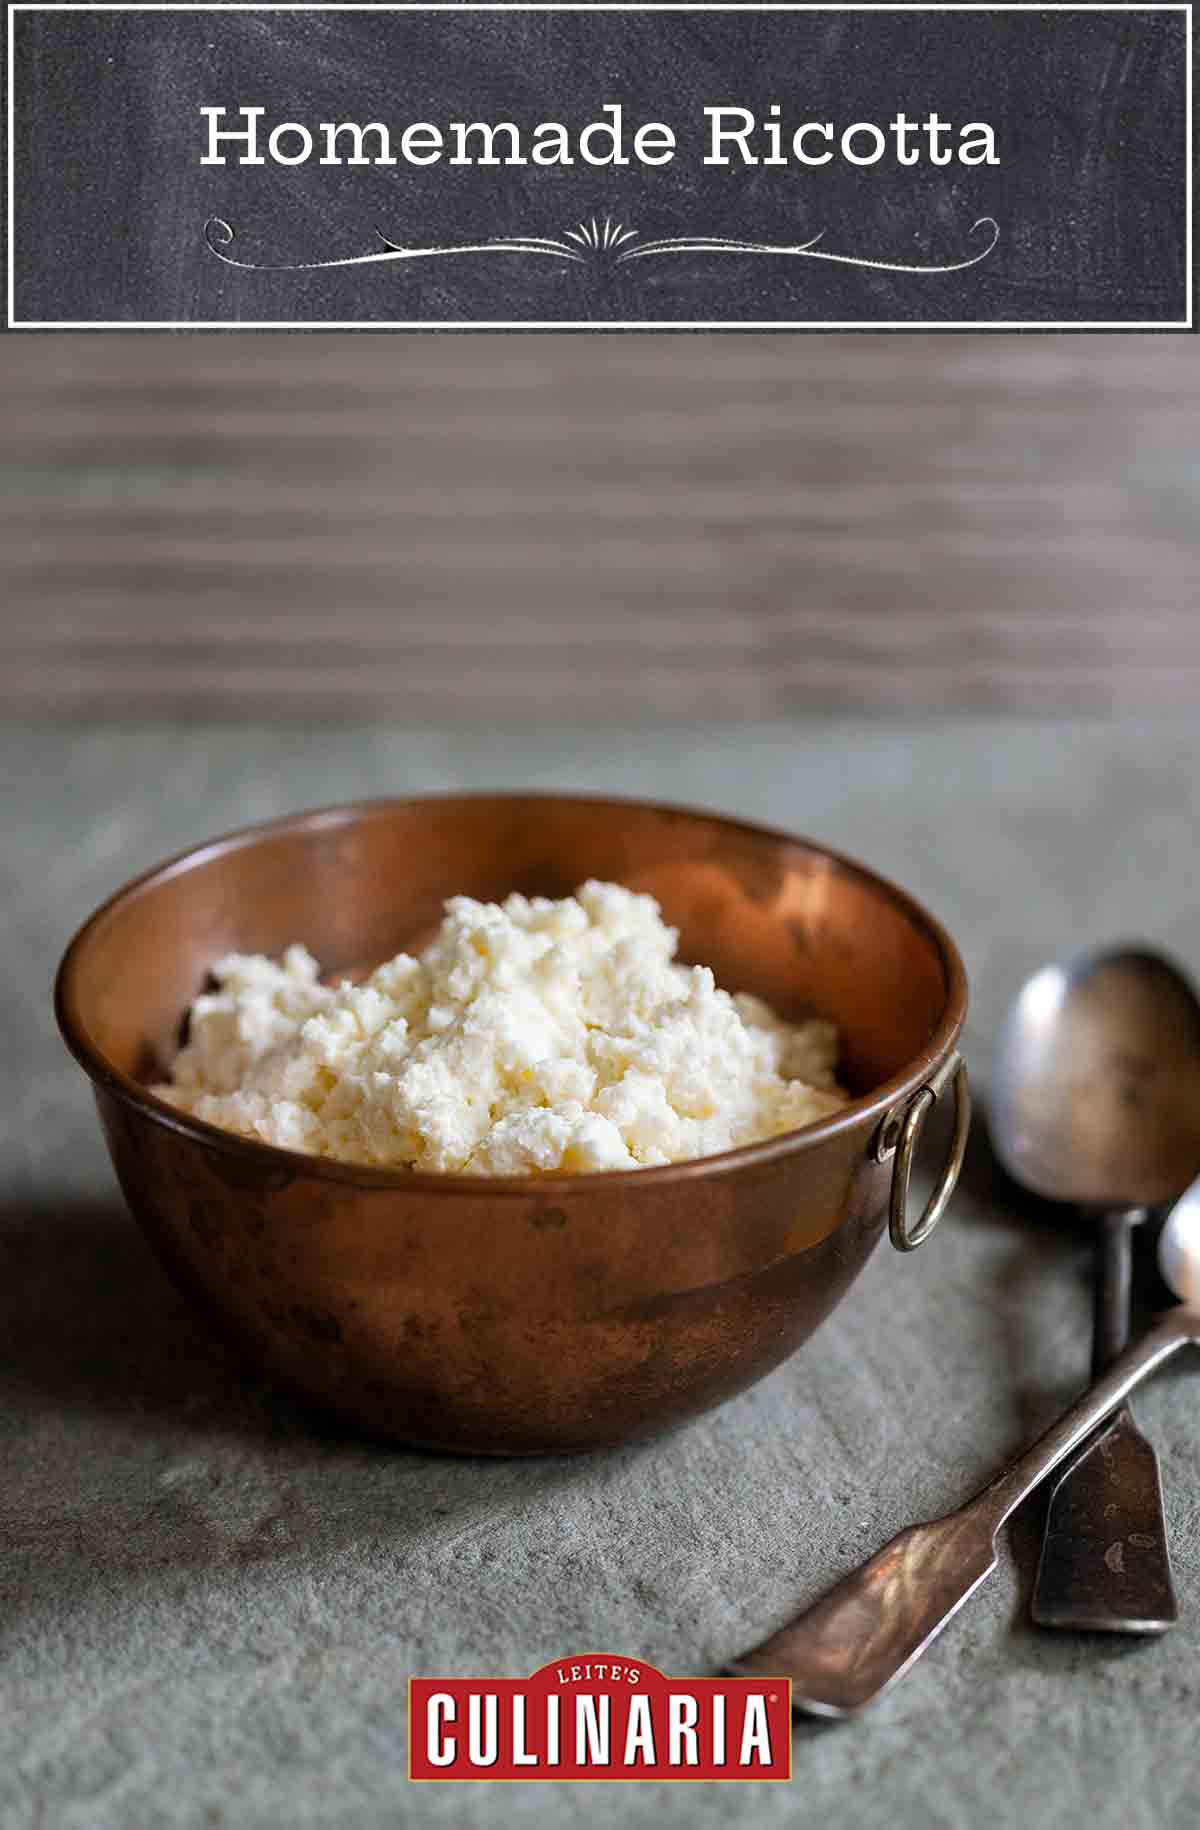
Although let’s clarify one thing. What they refer to isn’t ricotta, per se. It’s cheater’s ricotta made by souring milk with a little lemon juice rather than slowly simmering the whey leftover from cheese making. It’s satisfyingly similar to real ricotta in appearance, taste, and texture, it’s just not quite the same as can be had from the real deal. Close. (And you may be thinking it looks a little dry in the photo. The cheese pictured is well-drained for use in ricotta cheesecake. For softer curds, skim the curds immediately from the pot and don’t let them drain as long.)
Any extra “ricotta” or ricotta that’s left in your fridge from your intended use can be drizzled with honey and spooned up for breakfast, slathered on crostini and dribbled with a heady olive oil, tossed with freshly cooked pasta (like in this noodle kugel) and herbs or vegetables, and…shall we go on? We think you get the idea.
Fresh Whole Milk Ricotta
Ingredients
Instructions
- Make a double boiler out of 2 large pots, pouring enough water in the bottom pot to come at least halfway up the sides of the top pot. Pour the milk into the top pot and heat over medium-high heat until the temperature reaches 190°F (88°C) on an instant-read or candy thermometer, at least 15 minutes and as long as 40 minutes.
- Add the salt, yogurt, and lemon juice to the milk, and stir with a wooden spoon for about 30 seconds to mix everything together. Reduce the heat to low or turn it off.
- Maintain the milk’s temperature at 190°F (88°C) for the next 25 minutes, lifting the pot out of the water if the milk gets too hot and returning it as the temperature drops. Whatever you do, DO NOT stir the milk while the ricotta curds are forming.
- Use a skimmer to carefully lift all the ricotta curds out of the whey and transfer them to a fine-mesh strainer set over a bowl.
- Let the ricotta drain for about 1 hour and then pour off any of the drained whey from the bowl and gently dump the ricotta from the sieve into the bowl. Transfer to a covered container and refrigerate for up to 4 days.
Notes
How to make homemade ricotta with slightly less fuss
One of our recipe testers, Jenny Howard, has made this recipe countless times. And recently she tried it without the added trouble of monitoring and maintaining the 190°F temperature over hot water. She simply brought it to temperature as instructed in step one, added the additional ingredients in step three, turned off the heat, and let it sit for 25 minutes without stirring. And what results was still quite lovely. As she explains, “It formed large curds perfectly well and was easy to lift out of the whey at the end of the rest. I’m not sure if I’m imagining it or not, but I vaguely remember the first batch (with the 190°F carefully maintained) being a bit lighter in texture and more airy, but it has been a while since I made that first batch and that could just be a confabulation.” So there you have it. When time (or the kids) are pressing down on you, you can make things a little easier for yourself with barely a discernable shift in quality.
Nutrition
Nutrition information is automatically calculated, so should only be used as an approximation.
Recipe Testers’ Reviews
I was lucky to be in one of the 8 states that allows retail sales of raw milk and I purchased raw goat milk to try with this recipe—and it was a huge success! The homemade cheese is very perishable and I cannot vouch for being able to keep it in the refrigerator for up to 4 days, in either its plain or its marinated state. It disappeared long before then.
I used only the lemon and no yogurt, and I salted it at the very end because I wanted to experience the goat milk version in its purest form initially. After 15 minutes, I felt I had enough curds to proceed and transferred then. I then took this cheese and made the Goat Cheese with Olives, Lemon, and Thyme without the olives and it was lovely and extra-much appreciated because the cheese was homemade!
I chose to make this recipe because I needed ricotta cheese for another recipe. The use of the yogurt both intrigued me and made me question whether or not I wanted to give up one ingredient in favor of creating another. Since I still had plenty of my homemade yogurt, my curiosity won.
I used 1 gallon (3.8L) of pasteurized 3.25% milk. My salt was fine sea salt. I used homemade skim milk yogurt with active culture that was strained to Greek yogurt consistency. I warmed my refrigerated milk to 190°F over 40 minutes in a double boiler (7 on induction cooktop). This is the usual time for me when working with cold milk, not 15 minutes as stated in the recipe. After draining for an hour, my “ricotta” was still warm, it was creamy with a hint of sweet and tangy goodness. In a time where conservation of ingredients is more important than ever. I’ve made ricotta before with just lemon juice or citric acid, I’m still not sure that the yogurt addition greatly enhanced the yield or the flavor of the finished product. Enjoyed some of the cheese while still warm piled on toasted ciabatta bread with fresh tomato, crushed olives, and olive oil… such a treat!
Making a lasagna today, day 3, and it’s still creamy and delicious. Perhaps the use of the yogurt assists its shelf life or, in this case, refrigerator life. Used some of the whey in my morning smoothie. Stored the remaining whey in the fridge for bread making.
While I did question my sanity a bit while trying this recipe (who makes their own ricotta after all?), I was thrilled with the relative ease of the process and the delicious result.
I used it as filling for some brioche buns, in a recipe for ricotta gnocchi (pasta social club recipe), and for a lemon ricotta sauce with farfalle. I gifted some to my mom who used it in her morning omelet. All applications were delicious.
The actual process of making the ricotta is very straightforward. The beginning of the recipe confused me a bit with the instruction to partially submerge the top bot into the water in the bottom, having only ever used the double boiler method for recipes that practically screamed not to allow the water in the bottom pot to come within an inch of the top pot. Nonetheless, I took a leap of faith and let that water climb up half the height of the top pot. (The larger pot I used was a pasta pot—probably not the best option since it took eons to get the mixture up to temp, but other than time wasted it didn’t have any negative impact on the end result.) I dutifully kept watch to keep the temp at 190°F (more or less) and found that the candy thermometer I generally use wasn’t quite up to the task for such precise measurements and opted for the instant-read.
The biggest trouble I had was with the straining. I didn’t have a single strainer large enough to hold the full yield of curd and ended up with several straining stations across the counter. When making again I’ll consider halving the recipe for a more manageable amount or purchase a much larger strainer.
I’ve tried numerous homemade ricotta recipes and they all seem to differ: cream vs. whole milk vs. half-and-half, vinegar vs. lemon juice, lots of salt vs. questionably low amounts of salt, etc. This is the first recipe I’ve seen that includes yogurt and that doesn’t include cheesecloth (yay!).
I was very pleased with the results—rich and creamy and yet not overly so—but I didn’t love the 25 minutes of closely monitoring the milk during the curd formation and the constant back and forth on and off the heat to maintain its temperature. (Despite my attention, it was nearly impossible to achieve a steady temperature anyhow.) I have to wonder how truly necessary this step is to achieve the desired results, as most other recipes I’ve used allow for the milk to just sit unattended during this rest period.
That quibble aside, when it was all said and done, both the size and texture of the final ricotta curds were better than what I’ve achieved with alternative recipes, and the final cheese was fresh, light, and perfectly salted. I’ll definitely make this again, but I might see what happens if I pare down some of the procedural fuss.
I planned to use whole milk yogurt but couldn’t find it in the current stripped-down state of our grocery stores…so my yogurt was low-fat.
Lifting the pot in and out of the water to maintain the temperature was quite tedious and hardly precise in terms of keeping the 190°F reading. I would love to find out that this was not really necessary; other ricotta recipes aren’t so exacting about the resting temperature during the formation of the curds, and I would love to see this recipe tested again without that step to see if it could work just as well.
I got just shy of 8 cups of curds, with a little more than 8 cups of whey left in the bowl under the strainer. After 1 hour of rest and draining, the finished ricotta measured close to 5 cups, with another 2 1/2 (plus more) cups of whey in the bowl. The ricotta easily kept for 4 days.
We used the ricotta on a red sauce pizza with sausage and pesto and also on some breakfast toast with bananas and honey.
I always wanted to try making cheese at home and this ricotta recipe seemed simple enough for a beginner like myself. Simple ingredients, simple process, what could go wrong?
And indeed it is a simple process, however, after an hour of effort and patience, all I had was almost 1 cup of ricotta curds from almost 4 litres of milk. I had gone over the recipe several times before assembling everything and starting so I don’t think that was the problem. While the end it tasted delicious, I was disappointed in the resulting amount produced. It hardly seemed worth the effort.
What I noticed was left in the milk pan was milk, not whey. So I added another cup of milk to the pan and started again. This time the results were stupendous. The resulting ricotta was milky and creamy, mild and slightly sweet. A true delight on the tongue, just like the fresh ricotta I get from the local cheese factory. This time the only liquid left in the milk pan was whey. I got a further 2 1/2 cups of ricotta for a total of 3 1/2 cups. Perhaps the problem lay in the amount of lemon juice used the first time? I don’t know if the first amount used was sufficient for almost 4 litres of milk, or perhaps it was something not right in the way I did it the first time. Did someone stir the pot when I was out of the kitchen for a few minutes? I am sort of stumped on why it didn’t work completely the first time. This recipe does work but you might have to take more than one crack at it. However, it is worth it.
Fresh ricotta never lasts long in our house. I like to have 1 cup of the ricotta with a little sweetener, cinnamon, and fresh berries for breakfast in the morning or as an afternoon snack. I could have that every day and be very happy.
I mixed the salt and lemon juice into the yogurt to thin it before adding it to the milk. It made it easier to stir into the hot milk.
There was almost as much liquid drained from the curds being strained as there were curds in the strainer.
On the taste and texture alone I would give this a TC rating, I’m just not sure about the process.


I am making the Canal House Roman Cheesecake (and homemade ricotta) for Easter next week! One question…can I use Greek (Fage) yogurt? Would 2% yogurt be okay, or is it best with whole? Thanks!
Alex, all will work perfectly.
Thank you so much!
am I missing it or is there no way to know how much a gallon of milk will give out as ricotta?
Hi vel, right under the photos is where we always put the yield. This recipe makes approximately 3 cups of ricotta.
thanks. I’m just being blind 🙂
No yogurt in my fresh ricotta, just 2 liters whole milk, 150 ml heavy cream, salt, and lemon juice. I never use a double boiler, just regulate the heat very carefully so the milk proteins don’t scorch – but then again, I usually only cook the milk for a few minutes, not 25 minutes, and I get very soft, tender curds. Does cooking for such a long time yield a tougher curd?
Nene
Nene, that sounds lovely as a quick fix rendition of ricotta. Honestly, we’ve never tried it this way, so we can’t speak to the relative tenderness of the curd, although perhaps someone else out there has experienced this method and can chime in?