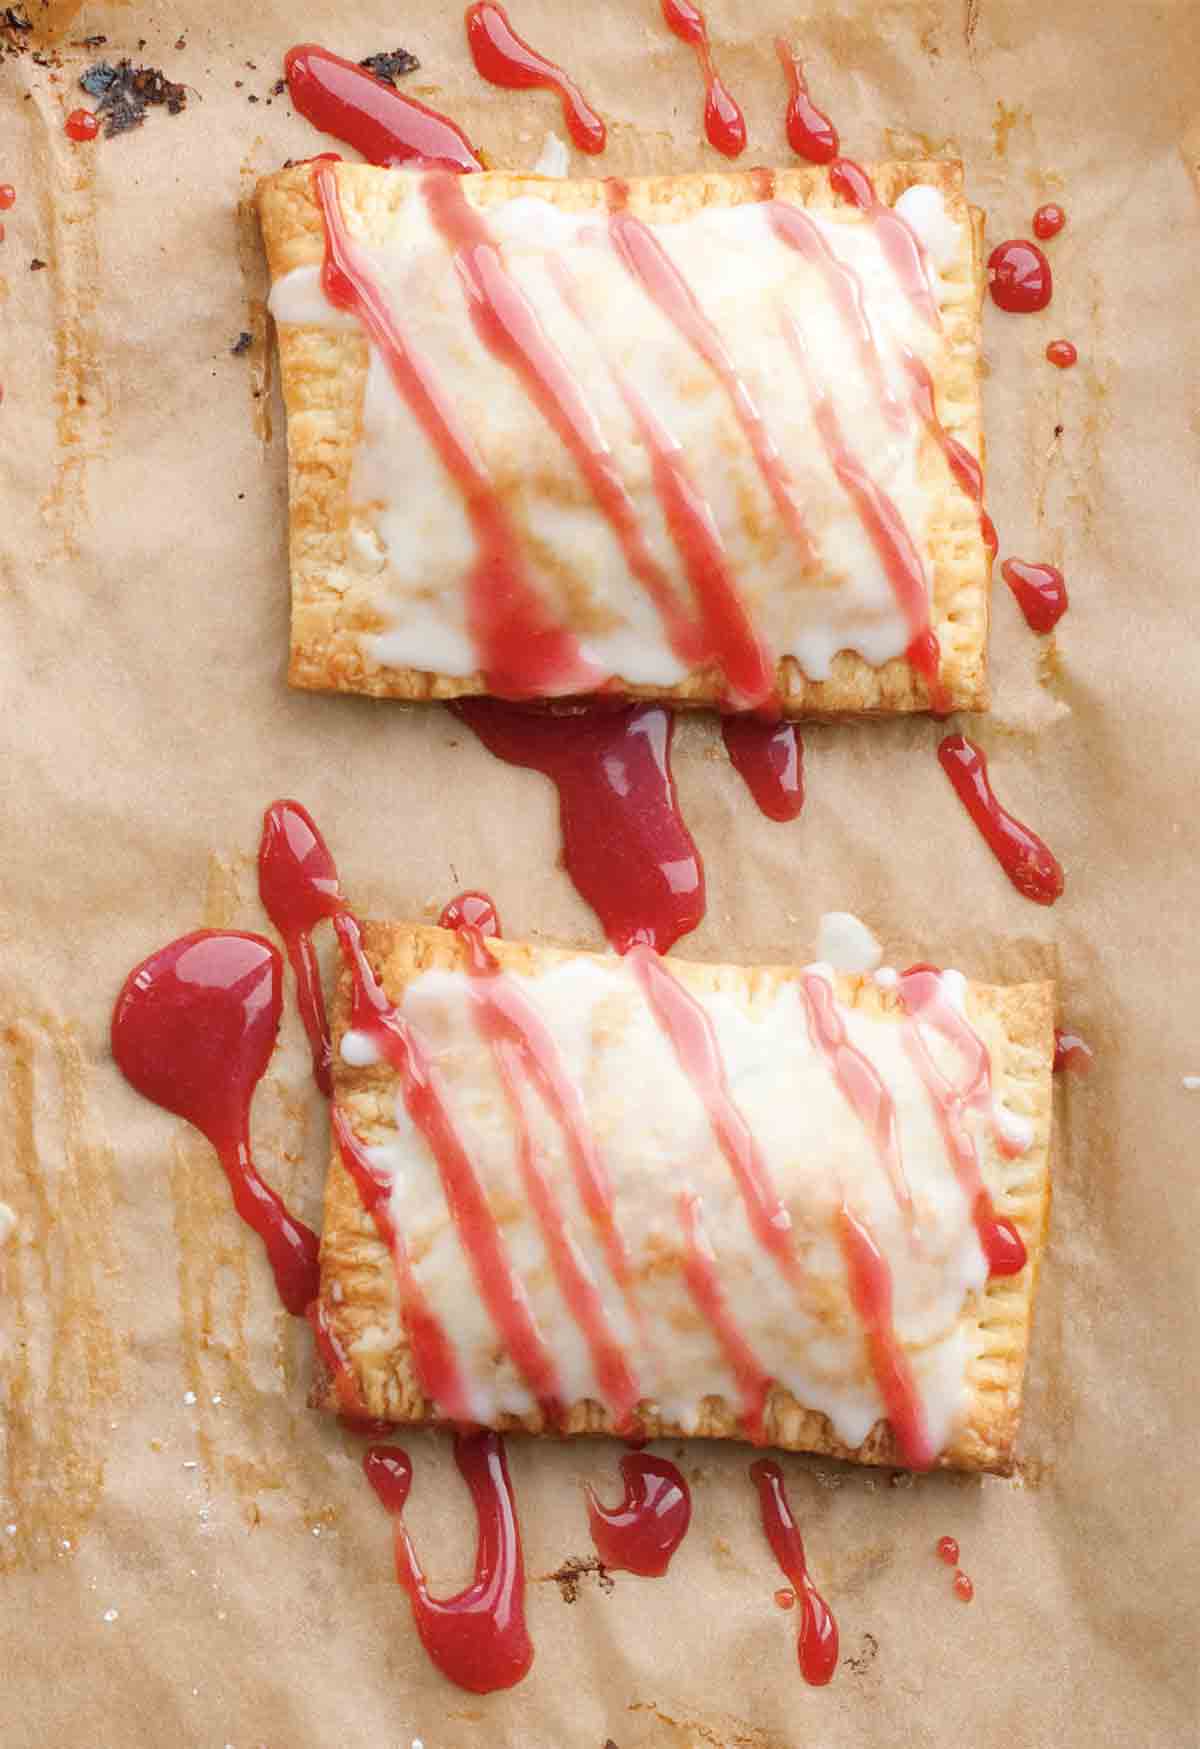
Yes, homemade Pop Tarts. Even if you weren’t obsessed by the boxed, preservative-laden version of these as a kid, we think you’ll find yourself intrigued by this made-from-scratch, choose-your-filling rendition. In fact, one of our recipe testers, who shall remain nameless, made them three times in as many weeks. Three times. What’s that you say? You can’t imagine making them yourselves? Nonsense. They’re soooo easy. And customizable. We’ve been told that Nutella is a particularly swoon-inducing filling, should that information happen to be of interest to you.–David Leite

Homemade Pop Tarts
Ingredients
For the pastry
- 2 cups all-purpose flour, plus more for the work surface
- 1/4 cup confectioners’ sugar, sifted
- 1/2 teaspoon kosher salt
- 10 tablespoons (5 oz) unsalted butter, cold, cut into chunks
- 1 large egg yolk
- 1/3 cup plus 2 tablespoons whole milk
For the filling
- 3/4 cup your favorite flavor jam, (the author relies on sour cherry; we’re partial to rhubarb)
- 2 teaspoons cornstarch, mixed with 1 teaspoon cold water
- 1 teaspoons egg, beaten with 1 teaspoon warm water
For the glaze
- 1 cup confectioners’ sugar, sifted
- 2 teaspoons whole milk
- 2 teaspoons corn syrup
- 1/2 teaspoon vanilla extract
- Sprinkles, (optional)
Instructions
Make the dough
- In a food processor, combine the flour, confectioners’ sugar, and salt, and process until blended. Add the butter and process again just until the mixture looks like coarse crumbs. Add the egg yolk and milk and process until the dough just comes together. Dump the dough onto a double layer of overlapping sheets of plastic wrap. Press the dough into a disk, wrap it with the plastic wrap, and refrigerate for at least 30 minutes and up to overnight.
Make the filling
- In a small saucepan over medium heat, cook the jam and cornstarch, stirring quite frequently but not constantly, until slightly thickened and bubbly. Let cool.
Assemble the toaster tarts
- Line 2 baking sheets with parchment paper. On a lightly floured work surface, divide the dough in half and form each portion into a rough rectangle. Roll one rectangle until it measures about 16 by 9 inches. Using a ruler and a pizza cutter, cut the rectangle into 12 small rectangles, each about 3 by 4 inches. Set the rectangles on a baking sheet and refrigerate while you repeat with the remaining dough.
- Lightly brush half the rectangles with the beaten egg. Place a tablespoon dollop of the filling in the center of each egg-brushed rectangle and use the back of the spoon to spread it evenly over the dough, leaving a border of about 1/2 inch. Top each filling-slathered rectangle with a plain rectangle and press the edges together with your fingertips to seal, being careful not to let the filling ooze out the sides. Crimp the edges with the tines of a fork. Place 6 tarts on each baking sheet, spacing them evenly, Prick the tarts all over with the fork. Refrigerate while the oven preheats.
- Preheat the oven to 375°F (190°C) and position 2 oven racks in the upper and lower third of the oven. Bake the tarts, rotating the pans once halfway through, until golden brown, 15 to 18 minutes. Let cool on a wire rack.
Make the glaze
- Meanwhile, whisk together the confectioners’ sugar, milk, corn syrup, and vanilla until smooth. Set aside at room temperature until needed.
- Stir the glaze to recombine. Drizzle or smear the glaze on the cooled tarts. If desired, decorate with sprinkles.

Nutrition
Nutrition information is automatically calculated, so should only be used as an approximation.
Recipe Testers’ Reviews
My coworker summed this one up: “These taste like Pop Tarts should taste.” I went for my childhood favorite, strawberry, slightly pink icing, and pink sprinkles. The tarts were good warm from the oven, weren’t particularly impressive cold, and perfect toasted in a toaster oven until the iced tops blistered a bit.
Oh my!!! These homemade Pop Tarts are so fun and so delicious; if you could only have seen my boyfriend’s dance in my kitchen when he tried these–they are that good.
The pastry dough is incredibly easy to make and is velvety with nice bits of butter. Although the recipe seems a little lengthy with a lot of steps, these tarts come together quickly. I didn’t get exactly 12 tarts but close to it. I used a raspberry jam, and it was delicious.
I wouldn’t change a thing but to try other flavors of jam. These would be fun to bring to a gathering and wow my friends!
I have a real soft spot for DIY versions of treats from my youth. How I loved the crisp crust of the Pop Tart dough followed by the warm, oozing strawberry filling. However, my adult brain cringes at the amount of preservatives that must have been in those pastries.
I don’t always have an easy time with pastry dough, but this dough was easy to prepare and rolled out easily. The finished dough was light and flaky. I filled most of my tarts with strawberry preserves from the farmer’s market and also filled a few with Nutella. These toaster tarts fulfilled my nostalgia and also pleased my adult tastes.
It’s always a delight to discover a recipe for a childhood food made right! I was never a fan of the packaged toaster “pastries” as a child, but could see their potential and am happy to find this recipe that brings all their potential out. I can’t wait to try a dozen different fillings.
I remember trying Pop Tarts as a child but never loving them. I rarely, if ever, buy them, because my husband and kids feel the same way, but for some reason I still wanted to try this homemade recipe. I am so glad I did! They were a huge hit!
I made several varieties: brown sugar cinnamon, strawberry, Nutella, and almond. All were great! I couldn’t find sour cherry jam, but I think it would be wonderful, too.
While this is a fun recipe, it’s one that takes a significant amount of time. The results are really worth it. When I finished the processing, the refrigerating, the making of the filling and glaze, the rolling, the forking, and the baking, I had the coolest homemade “Pop Tart” in my hand. Everyone really enjoyed the strawberry preserves in the center. The crust was flaky and flavorful.
These tarts also made for a great opportunity to use my seasonal sprinkles. I liked that I could decorate them with my family in any fashion we desired and for any occasion. This is a fantastic family project that has the benefit of being way better than the boxed version.
I don’t even know where to begin. I’ve always been a fan of the idea of Pop Tarts yet I’ve never really enjoyed them—until now. Everything that was wrong with the original has been corrected. The pastry is flavorful and you can use as much or as little filling as you wish. I make them normal Pop Tarts-size and I also make them about half the normal size and lovingly refer to them as Tartlets. You really should make a double batch for good measure.
I fill mine with my homemade jams but, any jam you like will suffice. My latest fantasy Pop Tart? A batch filled with this wonderful Meyer Lemon Marmalade!


Hi Lori! How did you do the brown sugar cinnamon filling? Sounds delish!
Kara, I made these with brown sugar, cinnamon, and a little flour and they turned out great. We tried tiny bits of apples and raisins mixed in with the brown sugar cinnamon another time and thought they were good that way too, just be careful not to overfill. Hope you enjoy them!
Ahhh, sounds great. Thanks, Lori!
Oh my, I must have these in my life. I love that Joanne added sprinkles like the recipe said you could. My mind is racing!!
Yes, you must, JulieD! And you must let us know what flavor filling and drizzle you decide to use…
OH MY GOODNESS. I just made these and they are RIDICULOUS. So good!!! I did strawberry preserves with mine and loved it. The dough is so flaky.
Wonderful to hear that, Joanne. Thank you for letting us know how you liked them!
Today I posted my adventures in baking these, they were so much fun!
Joanne, when I saw this on your site, I just knew we had to add it to LC. I wanted our readers to see how versatile the recipe is. Thanks.