Want to save this?
With this homemade Nutella, no longer can you consider yourself safe from temptation just because you mustered the wherewithal to walk on by the Nutella aisle at the grocery store. Nope. Temptation lurks in your very own pantry, every second of the day, with this made-from-scratch rendition. Lord, deliver us from temptation.
And while we’re quite content to simply consume it by the spoonful, if you have the patience to wait just a couple minutes longer, you can also make Nutella frosting to slather on brownies and cakes and whatever else you fancy. You’ll learn how to make that simple fix in the how-to beneath the recipe.
Homemade Nutella
Video
Ingredients
- 1 cup hazelnuts
- 12 ounces quality milk chocolate bars, chopped (I like Lindt milk chocolate bars)
- 2 tablespoons mild vegetable oil or coconut oil
- 3 tablespoons confectioners’ sugar
- 1 tablespoon unsweetened cocoa powder
- 1/2 teaspoon vanilla extract
- 3/4 teaspoon table salt, or to taste
Instructions
- Crank the oven to 350°F (176°C).
- Spread the 1 cup hazelnuts on a rimmed baking sheet in a single layer and toast them in the oven until they’ve browned a little and the skins are blistered a bit, about 12 minutes.
- Wrap the hazelnuts in a kitchen towel and rub vigorously to remove as much of the loose skins as possible. (Some skin will inevitably cling to the nuts. It’s okay. Doesn't have to be perfect.) Let cool completely.
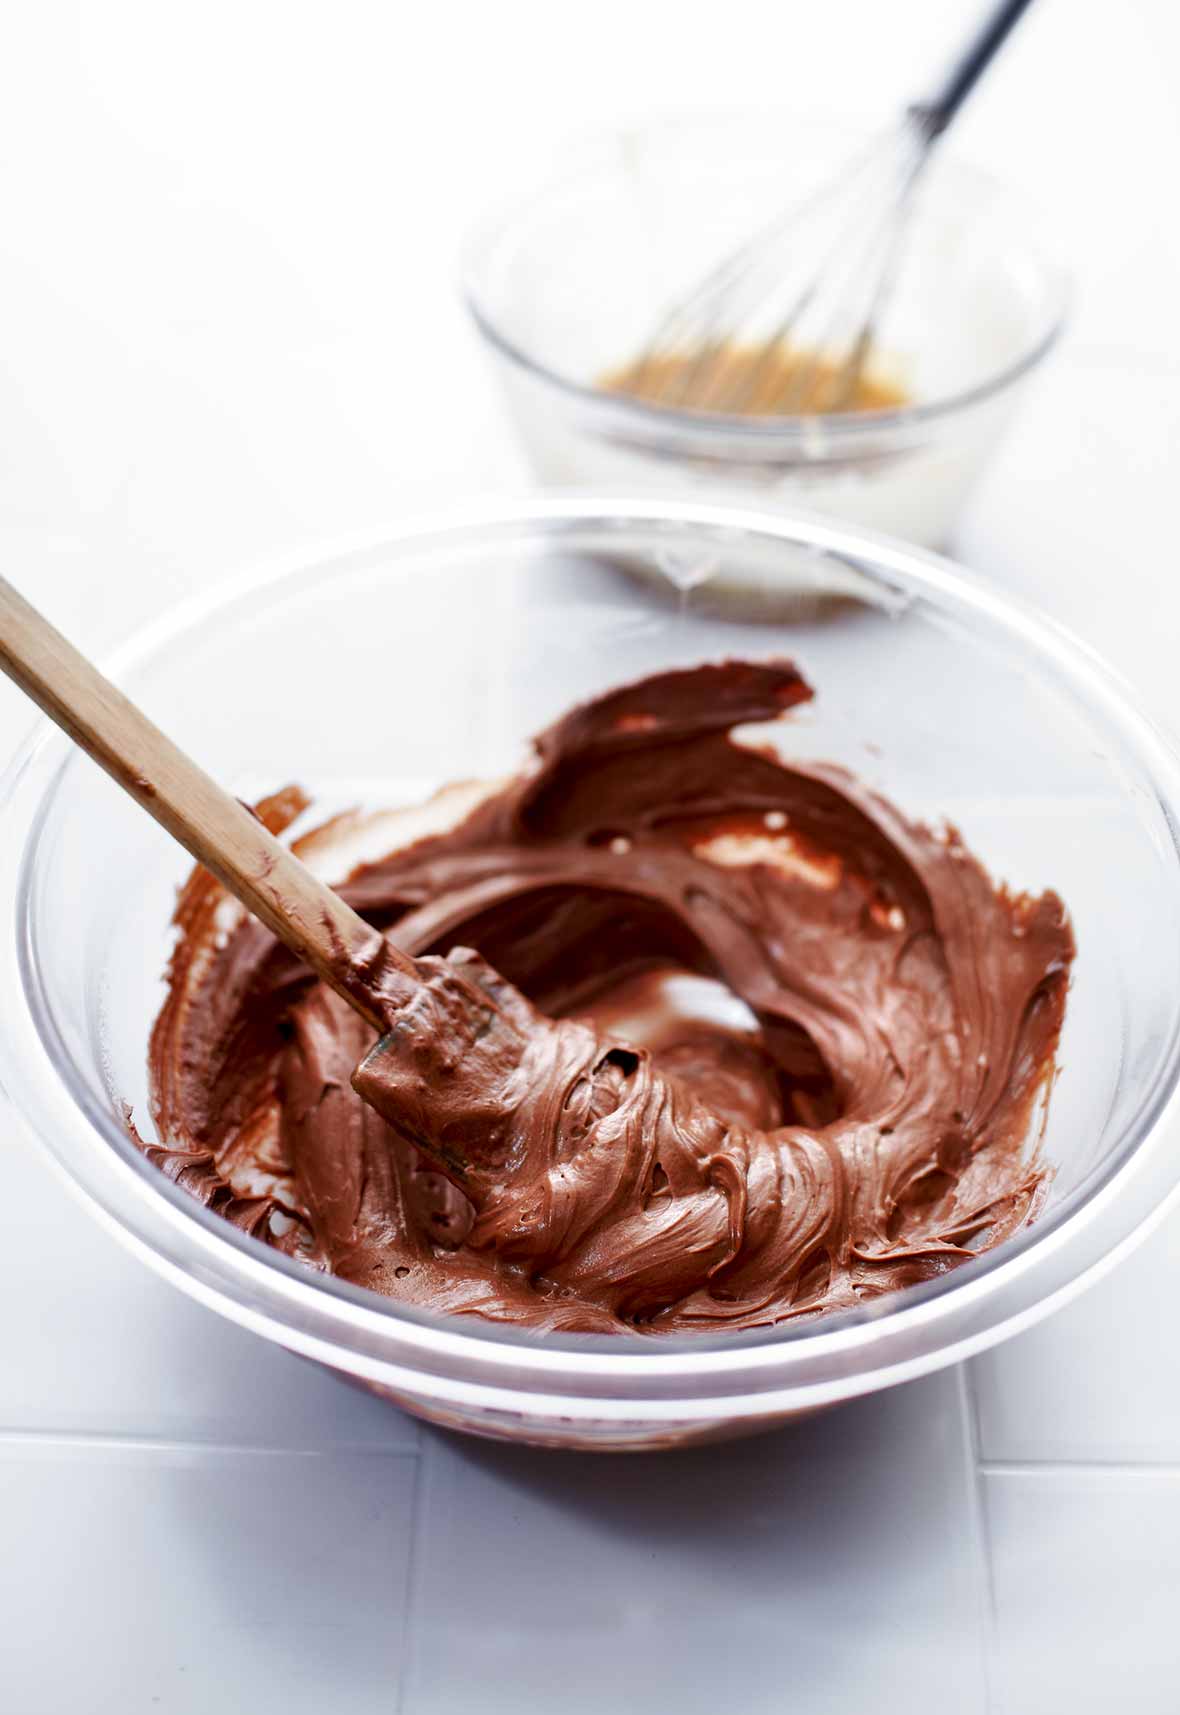
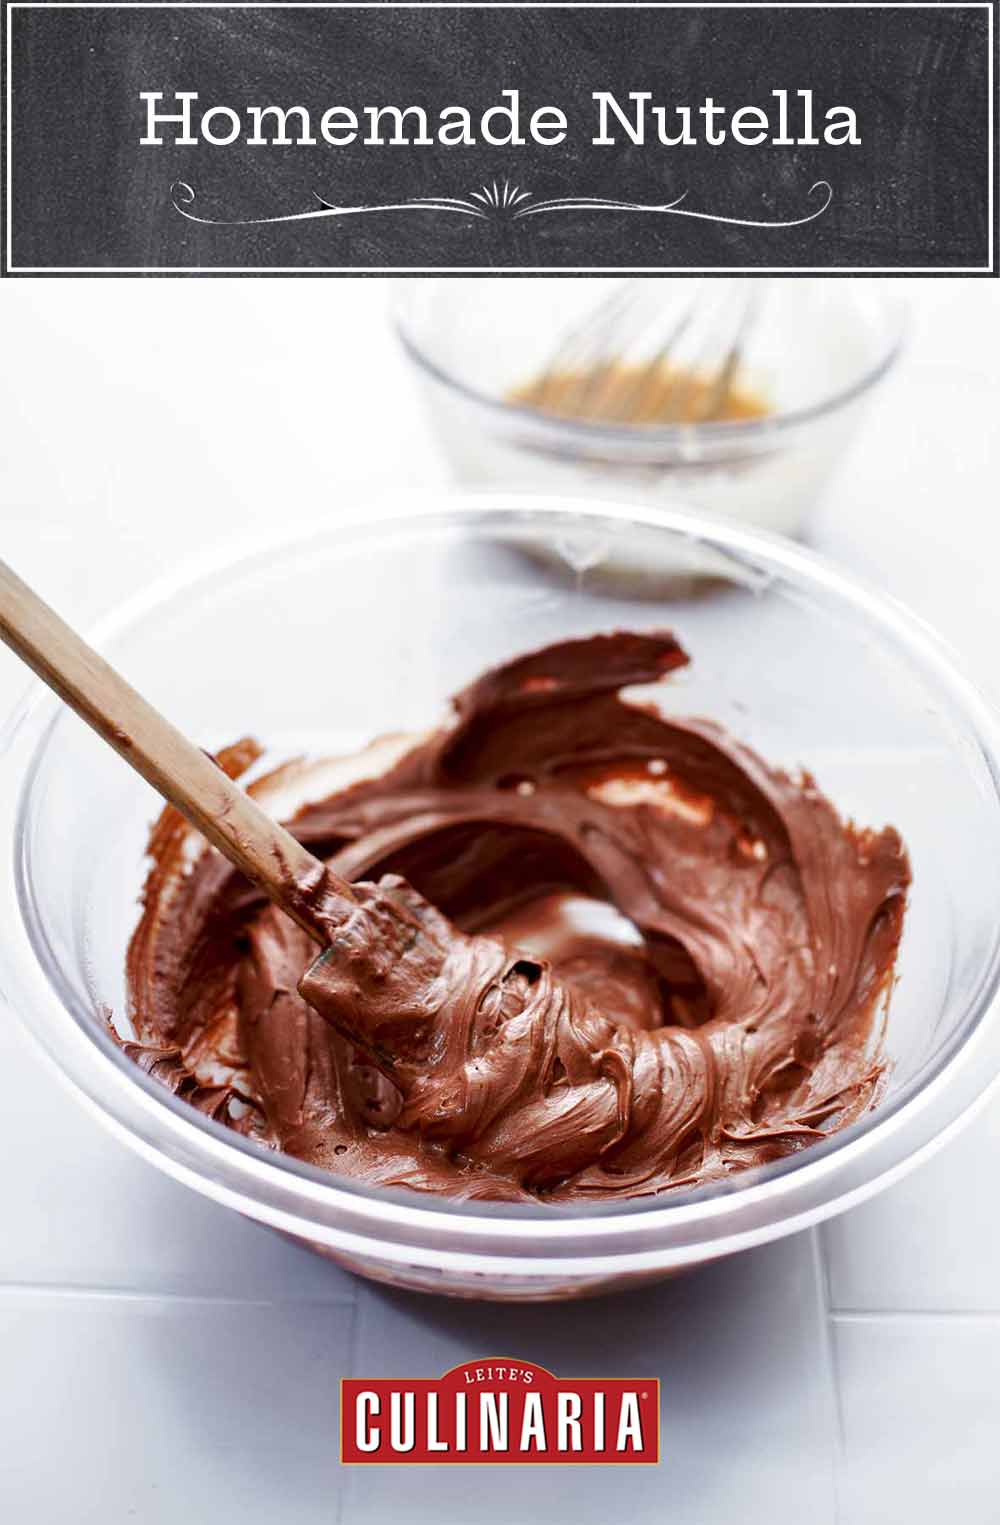
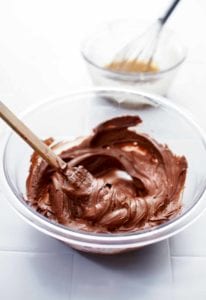
- Melt the 12 ounces quality milk chocolate bars in a bowl set over a saucepan of gently simmering water or in the microwave at 15-second bursts. Stir until smooth. Let cool completely.
- In a food processor, grind the hazelnuts until they form a paste.
- Add the 2 tablespoons mild vegetable oil or coconut oil, 3 tablespoons confectioners’ sugar, 1 tablespoon unsweetened cocoa powder, 1/2 teaspoon vanilla extract, and 3/4 teaspoon table salt and continue processing until the mixture is as smooth as you like.
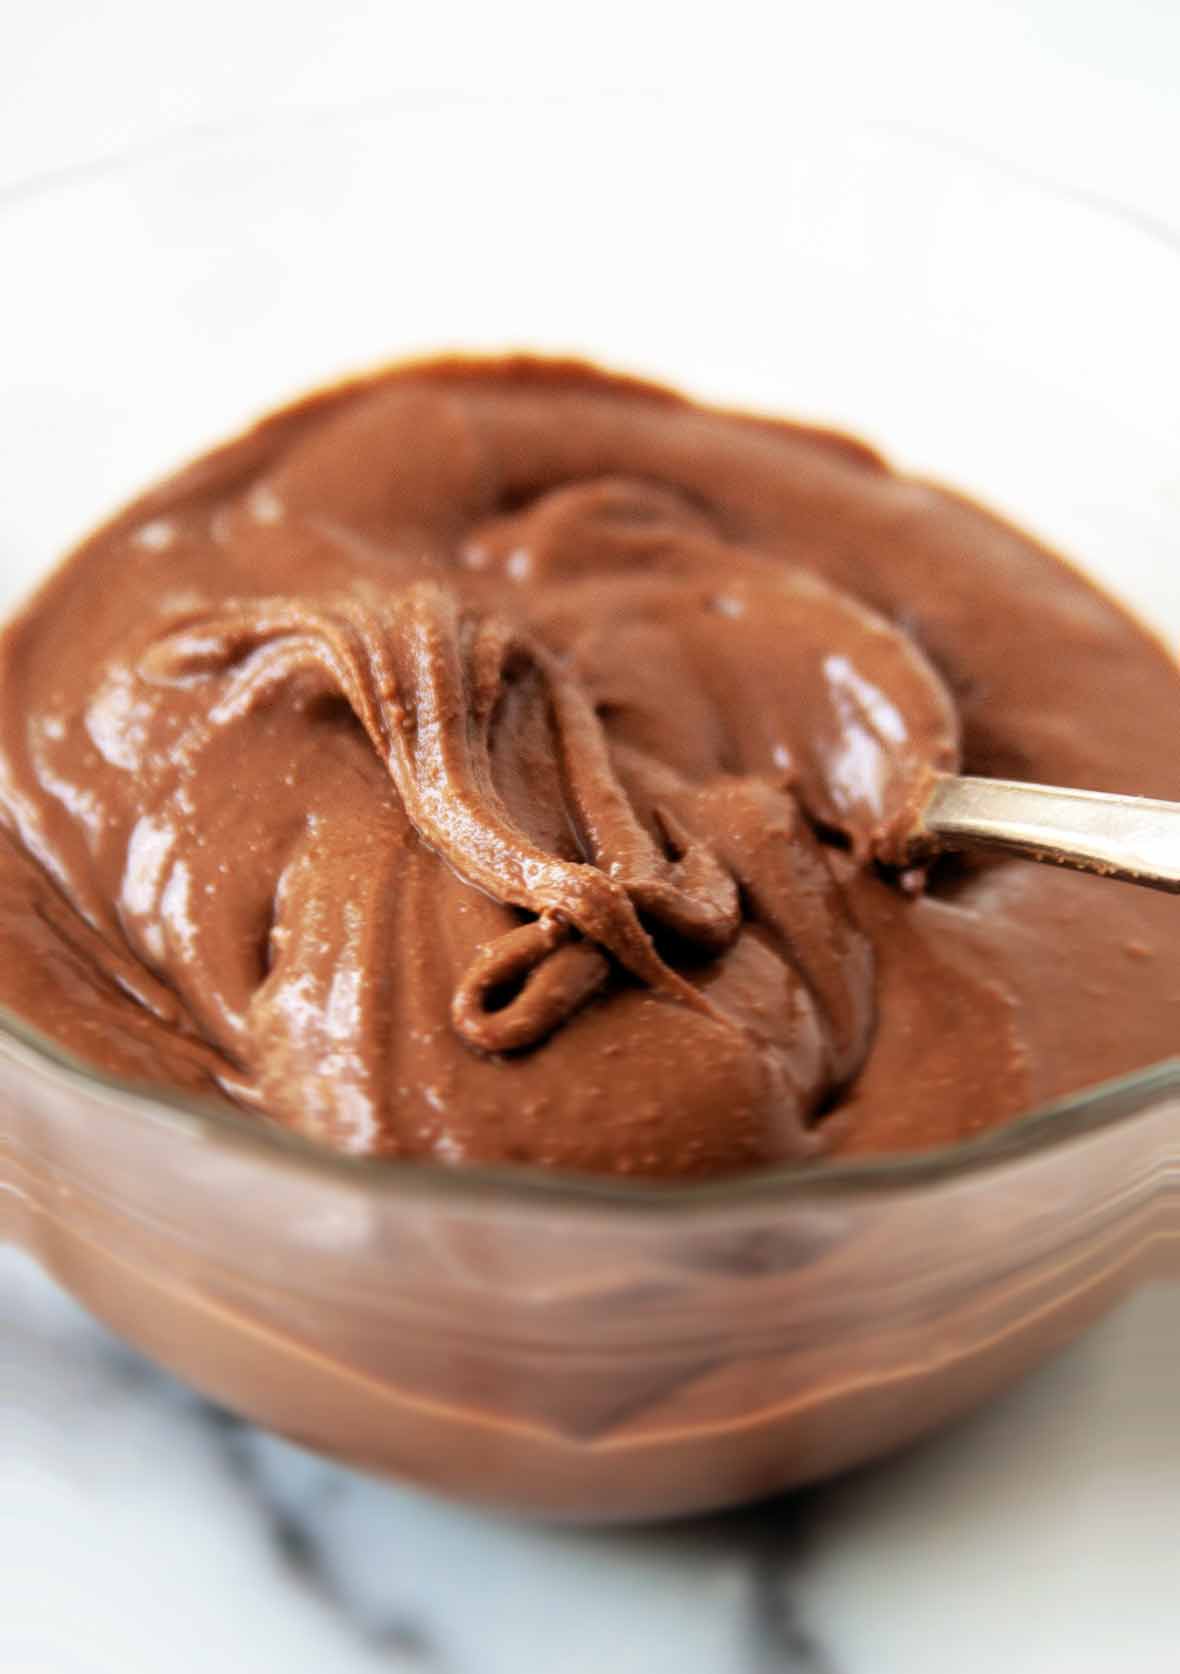
- Add the melted chocolate, blend well, and then strain the mixture to remove any chunks of hazelnut that remain. Keep in mind that it will thicken as it cools.
- Scrape your homemade Nutella into a jar or other resealable container and let it cool to room temperature. Cover the container and keep on the counter at room temperature for up to 2 weeks. (Hah! In theory, anyways.)
Notes
How To Make Nutella Frosting
Here’s what you do to make Nutella frosting. (Yes, Nutella frosting.) Just grab your stand mixer and beat 1/2 cup homemade Nutella, 3 tablespoons room-temperature butter, and 3/4 cup confectioners’ sugar until creamy. Crank up the speed to medium-high and slowly, slowly drizzle in 2 tablespoons heavy cream, beating just until smooth and fluffy and irresistible. Immediately slather it over cake or cupcakes. Don’t forget to lick the beaters and the spatula.
Explore More with AI
Nutrition
Nutrition information is automatically calculated, so should only be used as an approximation.
Recipe Testers’ Reviews
Did you know only 68% of the recipes we test make it onto the site? This recipe survived our rigorous blind testing process by multiple home cooks. It earned the Leite’s Culinaria stamp of approval—and the testers’ reviews below prove it.

Before I saw this homemade Nutella recipe, the idea of making my own had never entered my mind. It looked so simple I had to give it try. My teenage son (who is a Nutella connoisseur) loved it. I don’t think I can go back to the store-bought version.
The roasted nut aroma from the nuts while rubbing them together is heavenly. The skinning of the hazelnuts was straightforward, but did take a few minutes. The processing part of the recipe worked like a charm. At first I thought the straining aspect to be a bit redundant, but then as I strained the Nutella I noticed the little “sand” size pieces of nuts. The Nutella does profit texturally from the straining.
This would be a fabulous gift presented in a little old-fashioned jar.

The flavor of this homemade Nutella is great—not too sweet and a strong chocolate taste.
What’s nice is that you can select the type of milk chocolate you want to use. In this case, I used a European milk chocolate. The texture is just a little more sandy than a regular Nutella, but it’s not offputting. If I were making this again, I might actually use a mix of chocolates—like a mix of dark and milk chocolate.
My son’s favorite TV commercial is the one where Nutella is billed as part of a healthy breakfast, and I must admit to digging into a jar of the stuff myself on occasion. Naturally, we had to give this homemade Nutella a try. It was quick and easy and the difference between jarred Nutella and homemade Nutella is significant. The hazelnut and chocolate flavors are so much more pronounced in the homemade version.
If you have ever enjoyed Nutella, do yourself a favor and make this ASAP.

Where do I start? Well the best way to explain is that we have three daughters plus extra visiting kids in this home, and this homemade Nutella was 200% approved by all from age 3 to 43! WOW! So very easy to make and so very good.
The final result is not as thick as the Nutella from a store-bought jar but the taste is so much better. Right after making the first batch, we went on to repeating it and not doubling but TRIPLING it and jarring it for Christmas gifts and, well, for the kids in this household.
Hooray! This homemade Nutella is a huge hit in my household! Nutella rarely makes it into our house due to the ingredients in the store-bought version. But once again, a LC recipe allows me to score some serious bonus points in the culinary arena.
Everyone loves this version, they didn’t even want me to strain it, they liked it just as is. I only added 1/4 teaspoon salt yet it provided a great salty-sweet balance—just the right amount for us.
I used a food processor to make this.
UPDATE: I’ve made this recipe about 5 or 6 times and I just made a couple of great discoveries when making my latest batch. First, Dry Roasted Unsalted Hazelnuts from Trader Joe’s! I picked up a bag from my local store and guess what? I had homemade Nutella in minutes without the wait of roasting the hazelnuts myself. The flavor was just as good as the home-roasted hazelnut version, if not better. The dry-roasted nuts also surprised me in that they ground up so finely in the food processor that there were no detectable hazelnut pieces—it was as smooth as store-bought Nutella without the extra step of straining (even though I never did strain the other version because my family loved the textural bits of hazlenuts). I even left the skins on and again the skins were not detectable at all in the finished product! I love the smooth version, so from now on it is dry-roasted hazlenuts for me. I also substituted coconut oil instead of canola and loved the flavor all the more.

The hardest part of this homemade Nutella recipe was finding the hazelnuts. This is so much better than the jarred stuff, you will never buy it premade again.
I thought too much skin may be left on my hazelnuts, it was not a lot, but many of the nuts had a little skin still on them. I processed the spread until it was pretty smooth, and so I decided not to strain the mixture—I wanted the added texture, then realized I could strain one jar’s worth and leave the rest with bits. Next time, according to what I am using it for, will determine how much I strain. For the frosting I used strained, but to spread on bread (or homemade graham crackers) the added texture is nice.


How long will this last if kept in fridge?
Michelle, it should be ok in the fridge for about 1 month.
12oz is a LOT of chocolate for a recipe that just makes two cups of Nutella….
Dina, you’re totally right—12 ounces does sound like a flotilla of chocolate for 2 cups of Nutella. The operative word being: sounds.
Here’s the thing, that high-choco ratio gives this homemade Nutella its lappable, spoon-worthy texture and full-frontal flavor. Most store-bought versions are heavy on sugar and hydrogenated oils, which give a firm, spreadable consistency but does nothing for richness. Ours leans into the chocolate for a creamy, complex flavor.
And keep in mind: This recipe makes 32 servings—just 1 tablespoon each! So, yup, it’s rich, but not over-the-top when smeared on bread.(But, hey, no judgment if you eat it by the spoonful, which I am wont to do!) 😉
If you end up making it—I’d love to hear how it turns out.
Okay, I actually did end up making it and it has very good flavor and it is rich but the next day it turned out very very grainy. Could it be that I used chocolate chips…?
It just doesn’t make sense. I’m very disappointed, and I don’t think I will be making it again….
Hi Dina,
Sorry it turned grainy—that’s usually a chocolate issue. Chocolate chips are designed to hold their shape in cookies, so they often have less cocoa butter (and stabilizers) than bar or couverture chocolate. They melt thicker and can make a spread feel a bit waxy or gritty if there isn’t enough cocoa butter to fully suspend the cocoa and sugar particles.
Next time, use a high-quality bar with cocoa butter on the label. Melt it gently (15-second microwave bursts), and blend it into the warm hazelnut paste so it emulsifies smoothly. Also use powdered sugar (not granulated) to avoid grit, and make sure no water from the double boiler drips into the chocolate, which can cause it to seize.
I hope this helps! If you have more questions, please email me so we can get to the bottom of this together.
Thanks Angie, I am going to experiment, one of the things I love about cooking! And if there are a few versions that don’t work before I hit on success, I mean, oh well, it’s chocolate! It’ll get eaten, no worries. 🙂
I like the way you’re thinking, Roland! Do let us know if you stumble across any revelations.
Okay, well I didn’t melt it in a double boiler, I just melted it in a saucepan,so that’s definitely not the problem. And if I make it again I definitely will use chocolate bars (thank you for clarifying that.) But the Nutella also solidified, And so much that I was able to roll it in a ball, So now it’s a Nutella truffle, which is yummy, But definitely NOT what I wanted, It’s supposed be Nutella spread.
Dina, using compound chocolate (the chips) and heating it directly over the heat is definitely the problem, High, direct heat causes chocolate to seize, becoming grainy and solid, and even burn the sugar. Next time, follow the recipe, using the correct chocolate and heating it gently over a double boiler, and you should have a winner!