Want to save this?
TL;DR (Quick-Answer Box)
- What it is: A simple, five-ingredient rhubarb preserve made without added pectin. This old-fashioned recipe uses lemon seeds and peels to create a soft, luscious, and vibrant pink jam.
- Why you’ll love it: It is foolproof, requires zero canning experience, and delivers a perfect balance of tart and sweet. It’s the perfect way to preserve seasonal spring produce.
- How to make it: Steep rhubarb, sugar, water, lemon juice + lemon halves/seeds for 1 hour. Boil + simmer until it sets, then ladle into jars for the fridge or water-bath process.

Jump To
- TL;DR (Quick-Answer Box)
- Why Our Testers Loved This
- Notes on ingredients
- Visual step guide: Rhubarb jam
- Your rhubarb jam questions, answered
- Pro tips & troubleshooting
- More great preserve recipes & guides
- Write a review
- Easy Rhubarb Jam Recipe
- Our Guide to Canning Rhubarb Jam and Other Preserves
- Recipe Testers’ Reviews
This easy rhubarb jam perplexes me in the best possible way. It tastes far lovelier than you’d expect, given that it’s derived from a funky-looking plant with gangly stalks and floppy leaves. It’s also ridiculously easy to make—more so than I’d ever imagined. All you need are a mere four ingredients and an occasional stir to whip up this easy old-fashioned rhubarb jam.
Featured Review
I’m on my third batch in one week of this recipe. We run a B&B and will be serving it as a jam option to our guests (who love the homemade touch). We inherited a rhubarb plant with this property that generates SO MUCH RHUBARB–last season, I had to just throw some of it out. Now I have something worthwhile to do with it.
We love the lemony flavor. Great consistency. No need to try other recipes, this one is a winner.
Shannon

Why Our Testers Loved This
The testers were incredibly pleased that this jam recipe was easy to make and could be scaled down without any problems. They also loved having the choice as to whether to can it or not. Linda B. was overjoyed that it “tastes just like an old-fashioned rhubarb jam.”
Emily O. was delighted with the “beautiful color, tart flavor, and a hint of lemon in this recipe.”
Notes on ingredients
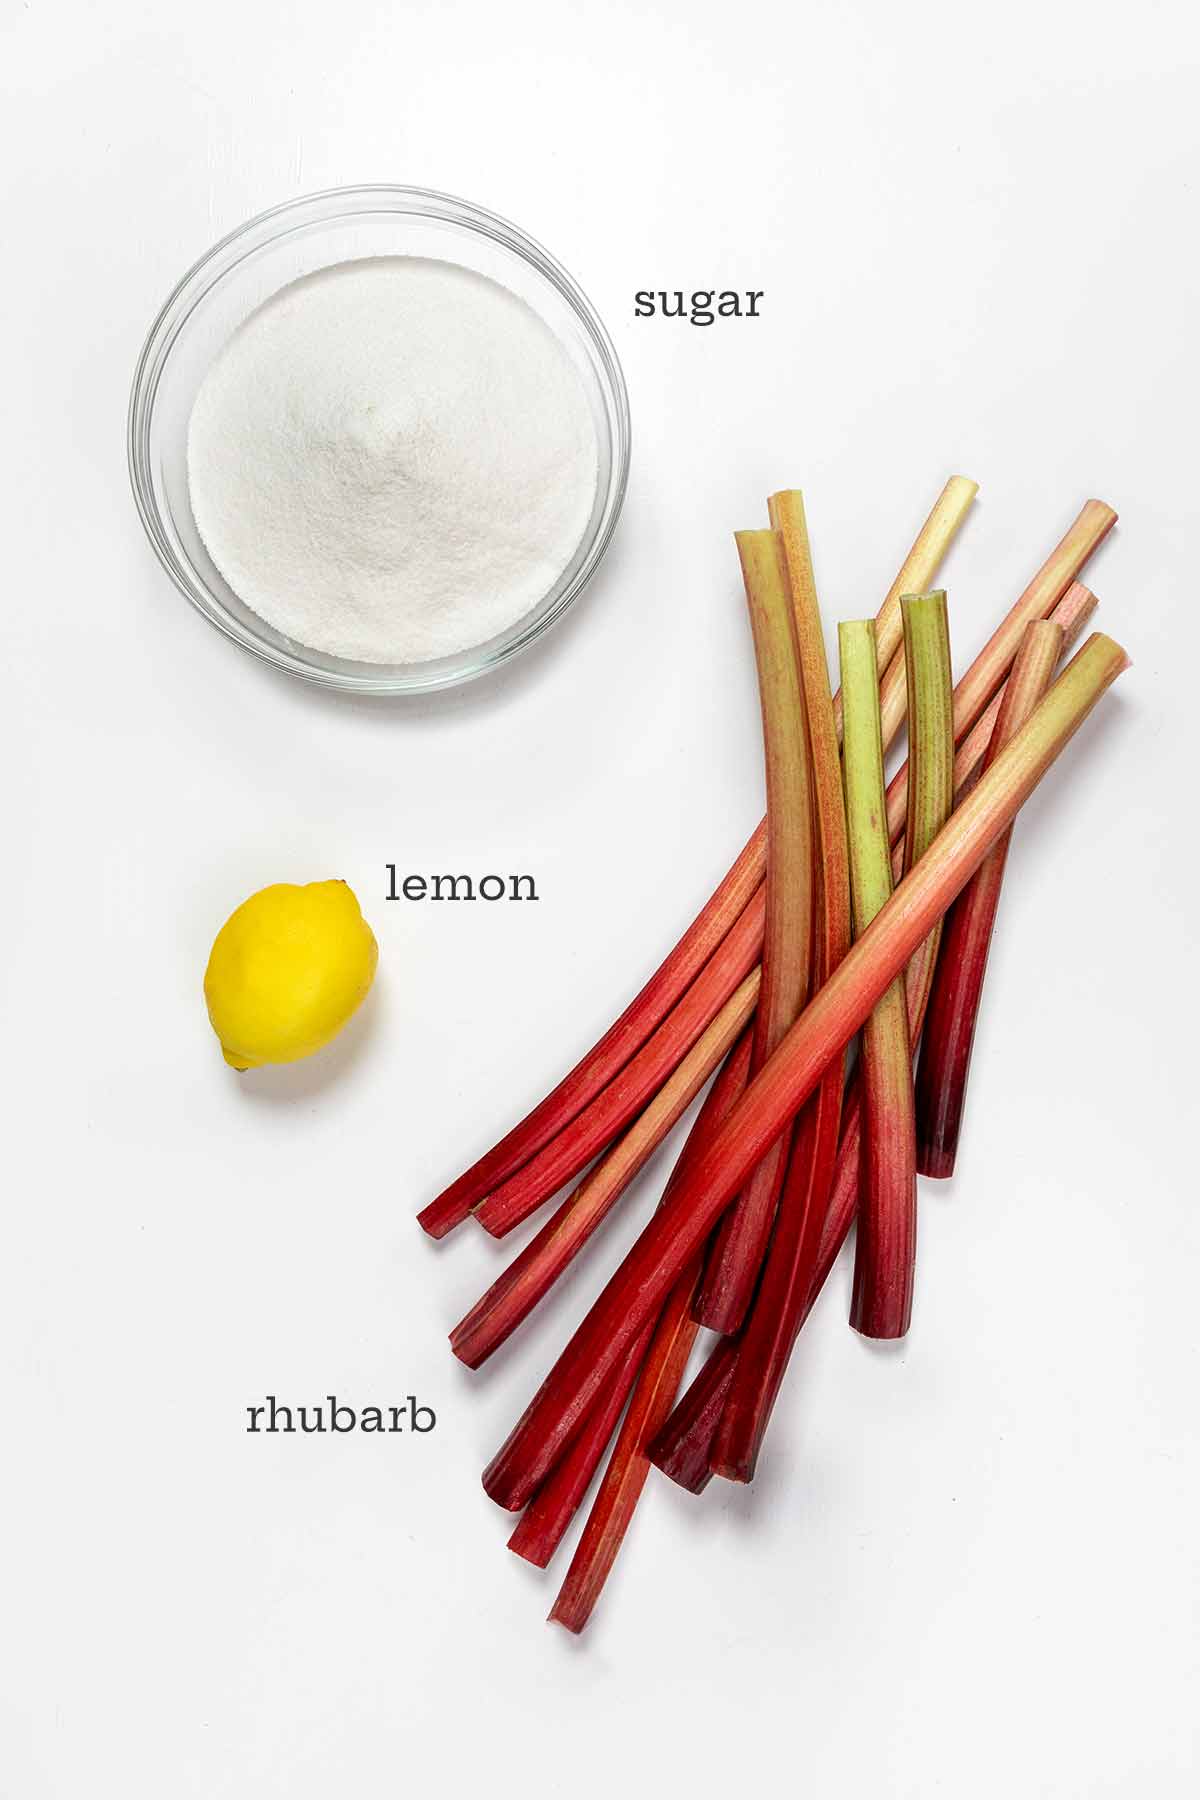
- Rhubarb—Use only the stalks of the rhubarb plant, as the leaves are toxic. Look for bright pink or red rhubarb that’s firm and without bruising. If it is late in rhubarb season and the stalks are fibrous, peel away the tough fibers before chopping.
- Granulated sugar—For best results, use white granulated sugar for this rhubarb jam recipe.
- Lemon—Use a large whole lemon for making this jam. The seeds are necessary for adding pectin, so don’t attempt to substitute bottled lemon juice.
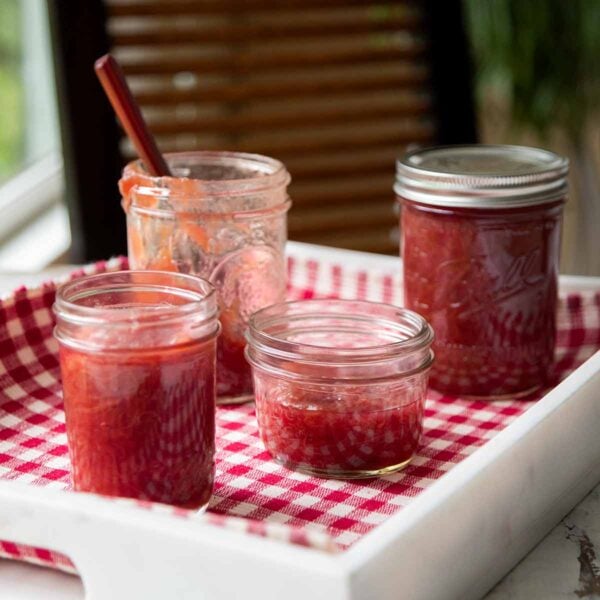
Visual step guide: Rhubarb jam
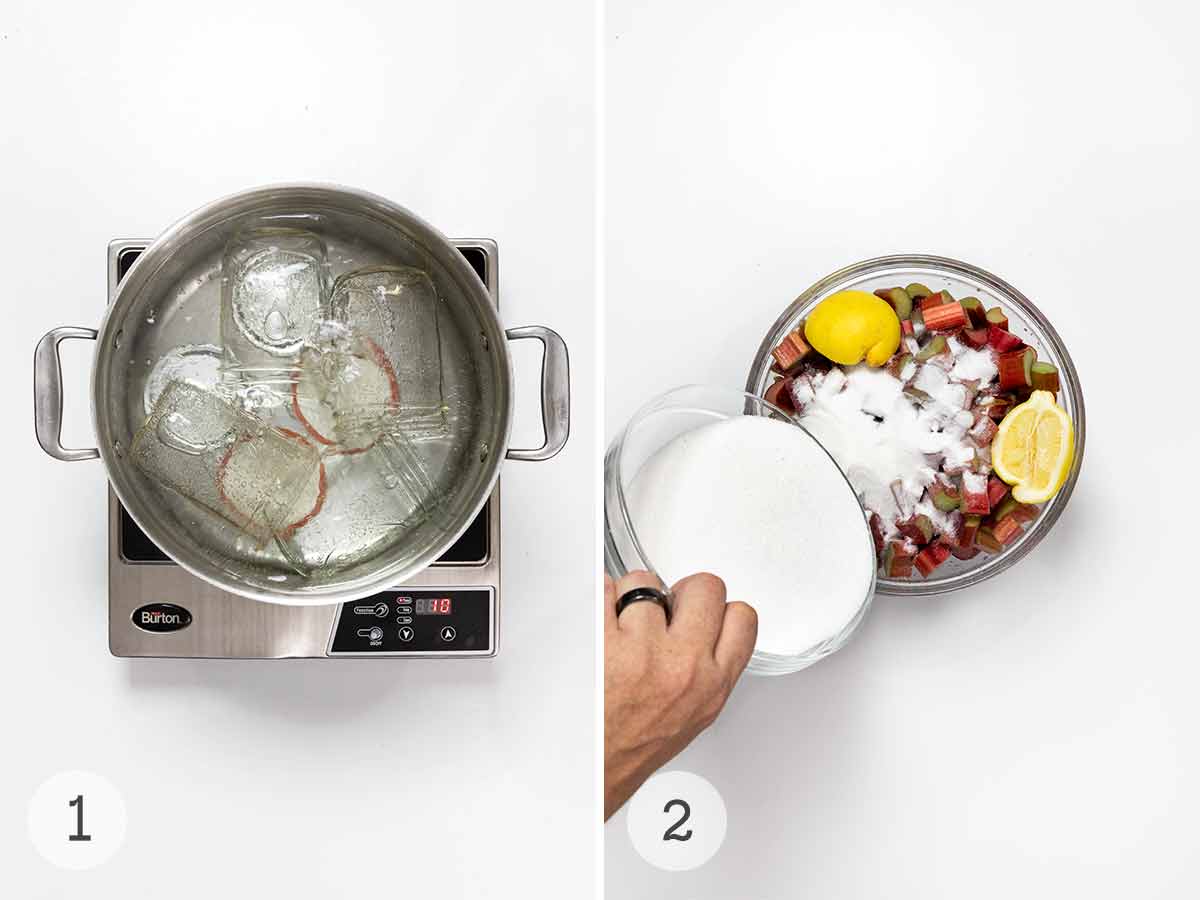
- Sterilize the jam jars. Place a small plate in the freezer.
- Combine the rhubarb, sugar, water, lemon juice, lemon halves, and seeds in a large bowl and let rest for 1 hour.
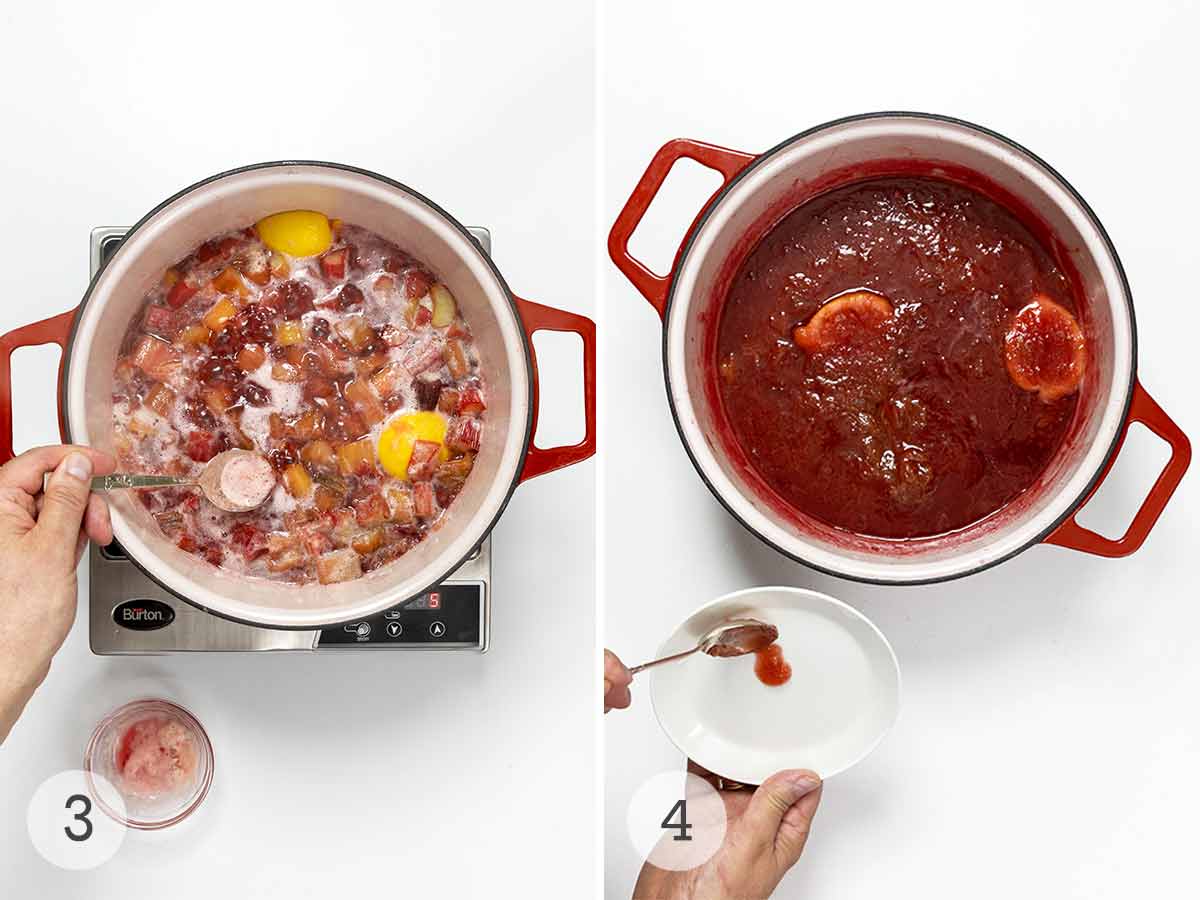
- Dump the rhubarb mixture into a large pot. Bring to a boil and cook over medium-high, stirring constantly, for 15 minutes. Reduce the heat to medium and simmer the jam, stirring occasionally, for 15 minutes more.
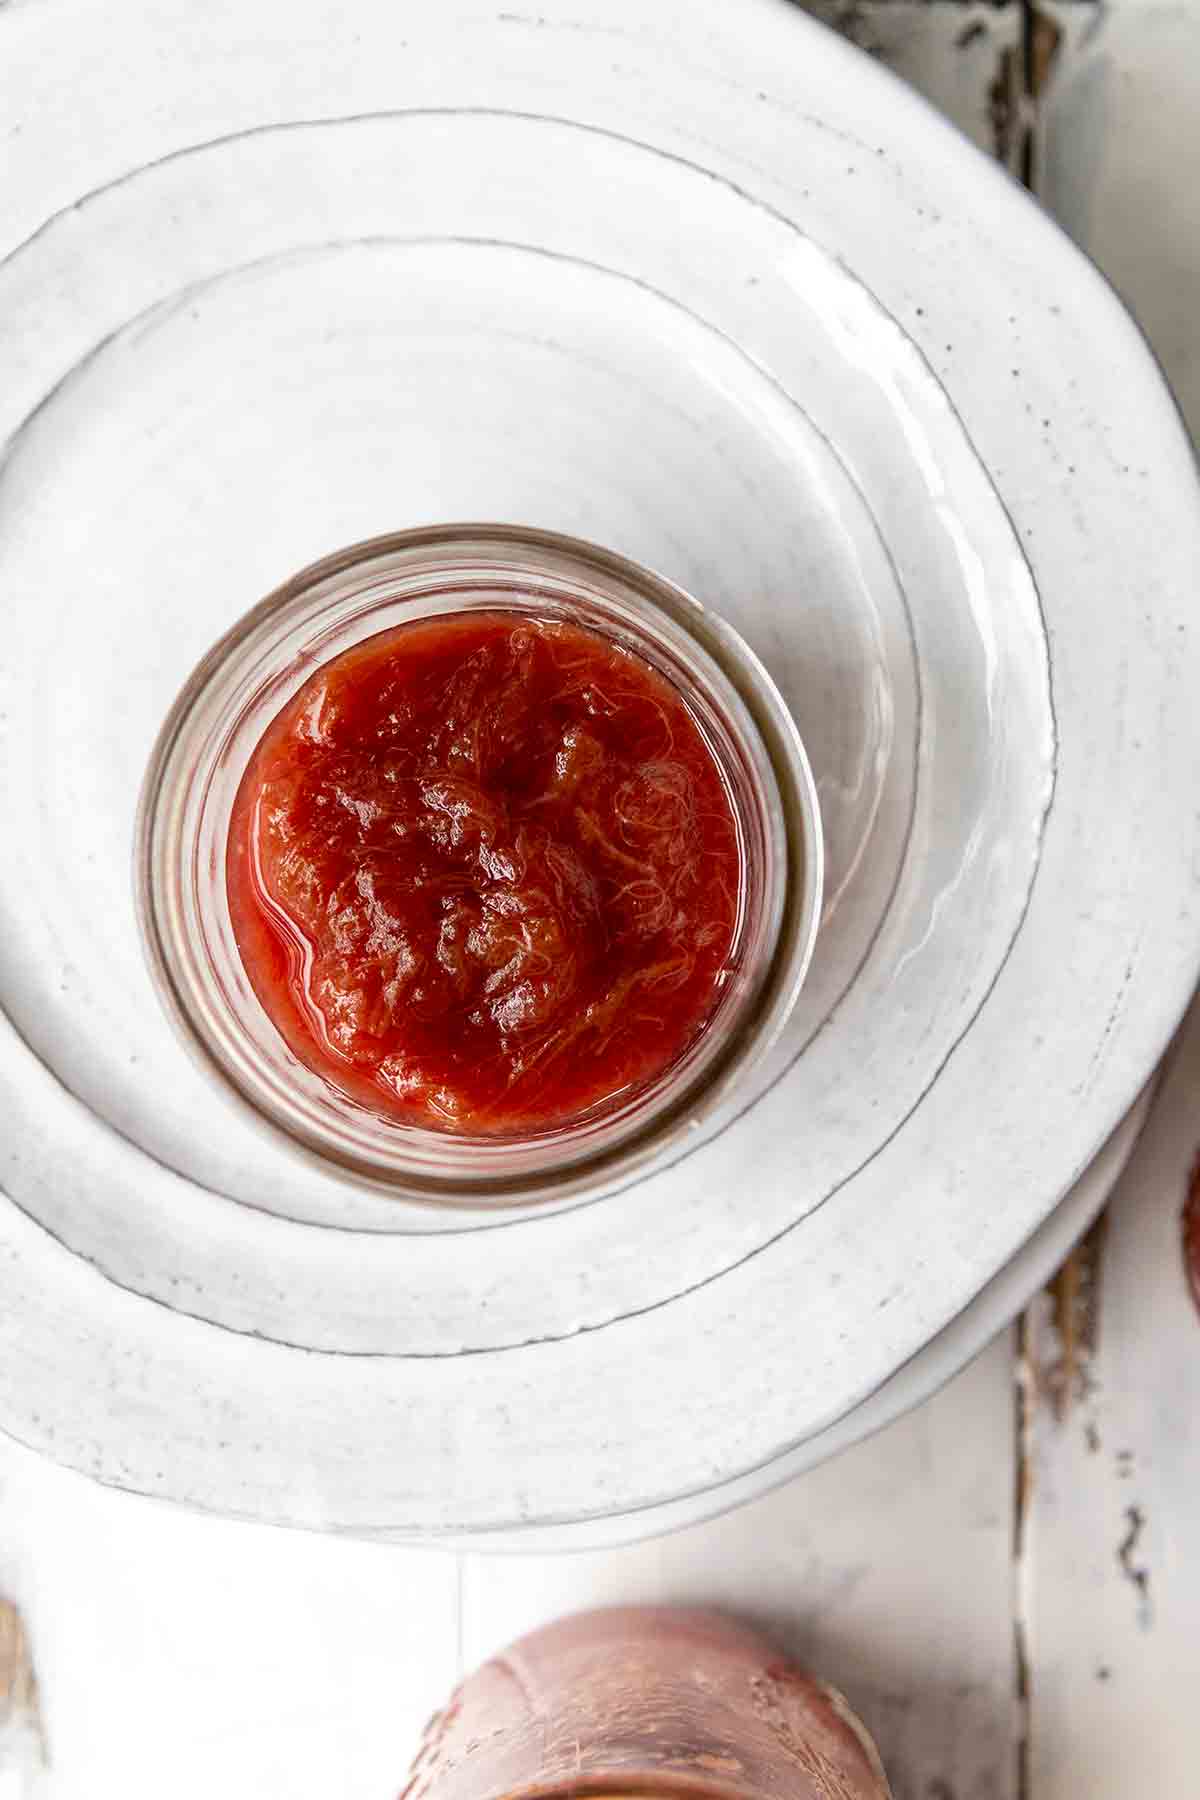
- Check the set of the jam by placing a small amount of jam on the frozen plate. If it’s still runny, continue cooking until set.
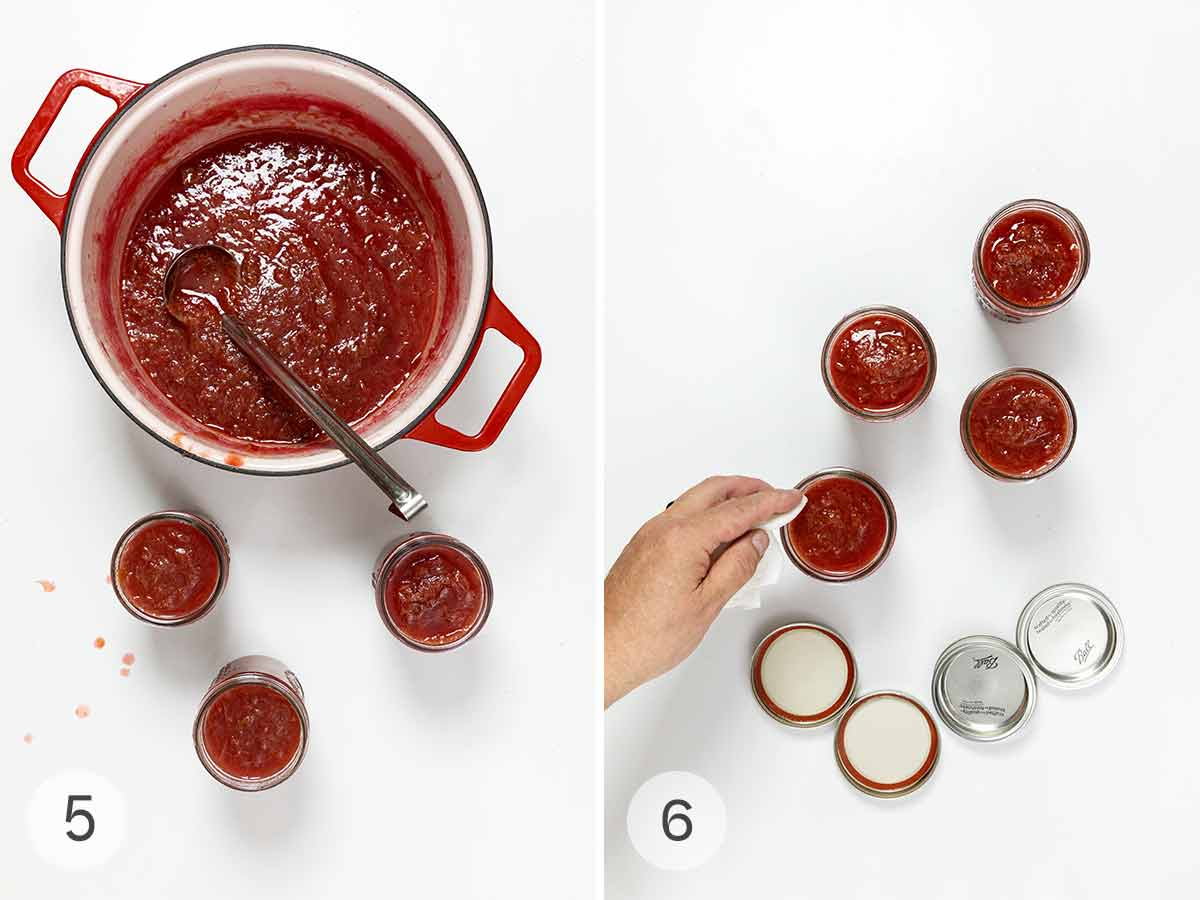
- Remove the lemon seeds and halves. Ladle the jam into the sterilized jars.
- If canning the jam, process it in boiling water, and let cool completely before storing it. If refrigerating, seal the jars, and store them in the fridge for up to 1 week.
Your rhubarb jam questions, answered
Rhubarb season runs from April to July, and at its peak, you don’t need to peel rhubarb for jam, strawberry-rhubarb crumbles, rhubarb pies, or crisps. The stalks are tender-ish and crunchy. Later in the season, in July, the stalks tend to get fibrous and tough. Peeling the stalks will make for a more pleasant mouthful.
Rhubarb, which is a vegetable (yes, vegetable!), is low in pectin. But all isn’t lost. While there’s no added pectin in this recipe, aside from what comes from the lemon, it’s created to give you a soft, luscious preserve without the hassle of pectin.
In case you want to whip up a small batch of rhubarb jam, or size things up, there are 4 cups of cut rhubarb to a pound
Rhubarb preserves can be spooned into mini jam tarts, spread between layers of Victoria sponge, swirled into cream cheese pound cake, dolloped onto pavlovas, or added to petit fours.
Pro tips & troubleshooting
- Canned jam can be stored in a cool, dark place for up to 1 year. If any of the seals break during storage, toss out the jam, as it’s not safe to eat.
- The jam can also be frozen in jars or resealable bags for up to 6 months. If you choose to freeze it, you do not need to process it in a water bath. Thaw in the refrigerator and use within 1 week.
- The recipe can be halved or quartered. Reduce the ingredient amounts and follow the recipe as directed.
More great preserve recipes & guides
Concord Grape Jam
1 hr 30 mins
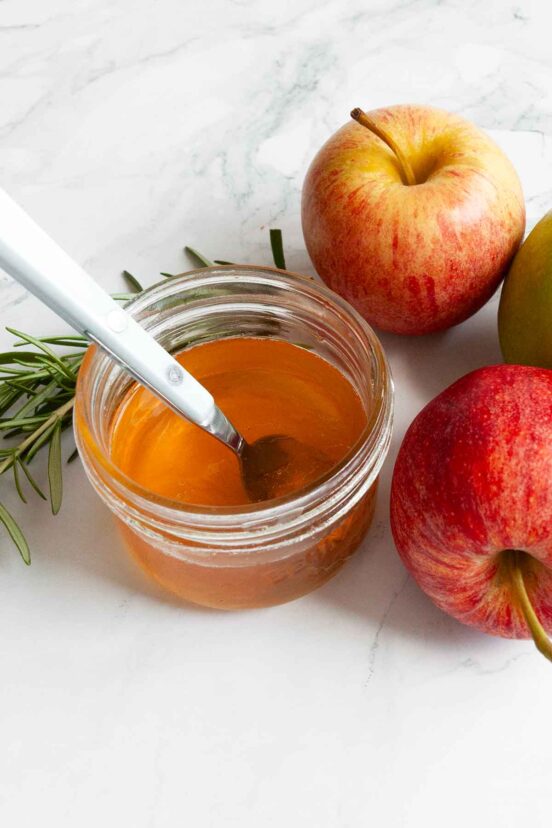
Apple Jelly
5 hrs 15 mins
Peach Salsa
50 mins
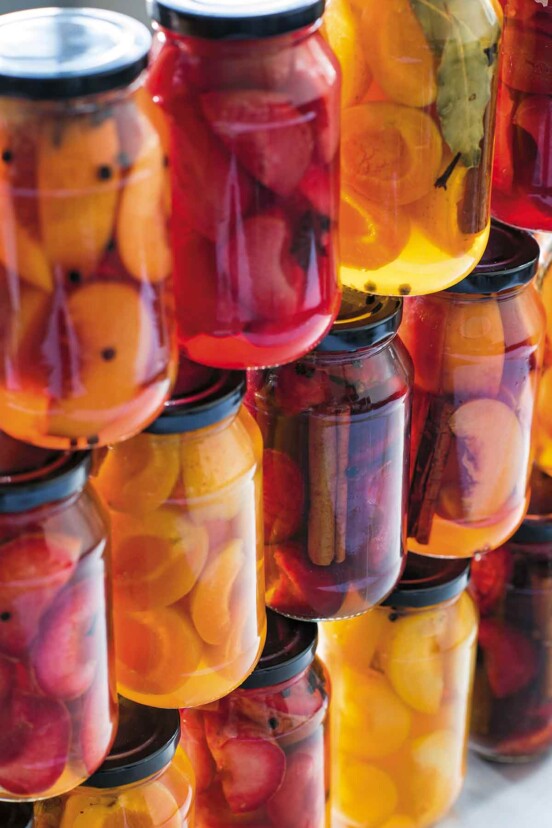
How to Preserve Stone Fruits
45 mins
Write a review
If you make this recipe, or any dish on LC, consider leaving a review, a star rating, and your best photo in the comments below. I love hearing from you.–David
Featured Review
This easy rhubarb jam recipe was very simple and straightforward. If you can cut fruit, boil water, and juice a lemon, there’s not much more you need to do. The recipe was just right on the sweetness level—there wasn’t a lot of sugar, so the rhubarb kept its tart, fresh, distinctive flavor.
We enjoyed eating it on toast, as well as on vanilla bean ice cream. It’s really very easy and a lovely recipe overall.
kelly
Easy Rhubarb Jam
Equipment
- Canning jars and lids
Ingredients
- 4 pounds rhubarb, preferably red, trimmed, rinsed, and cut into small chunks (about 16 cups)
- 4 cups granulated sugar
- 1 1/2 cups cold water
- 1 lemon, halved and juiced, seeds reserved
Instructions
Prepare the jars
- Sterilize the jars and lids for canning by boiling them in a large pot of water. Place a small plate in the freezer.
Make the jam
- In a large bowl, place the rhubarb, sugar, water, lemon juice, spent lemon halves, and lemon seeds (which provide the necessary pectin for thickening), and let rest on the counter for 1 hour. (If you want to make your life easier later on, tuck the lemon seeds in a tea ball or tie them in cheesecloth to make for simple retrieval.)
- After 1 hour, dump the rhubarb mixture into a pot and bring to a boil over medium-high heat. Continue to cook, stirring the jam constantly, for about 15 minutes. Skim any foam from the surface of the jam as it arises.
- After 15 minutes, reduce the heat to medium to keep the jam at a constant simmer, stirring frequently, to make sure the jam isn't scorched at the bottom of the pot.
- After a total of 30 minutes simmering, check to see if your jam has set by taking the plate from the freezer and dolloping a small spoonful of the jam on the plate. The jam is set when it holds its shape on the cool plate rather than turning into a blob. If it seems a little runny, continue cooking over medium-low heat until set.
- Remove the lemon halves and seed bag and toss them in the compost or trash.
Store the jam
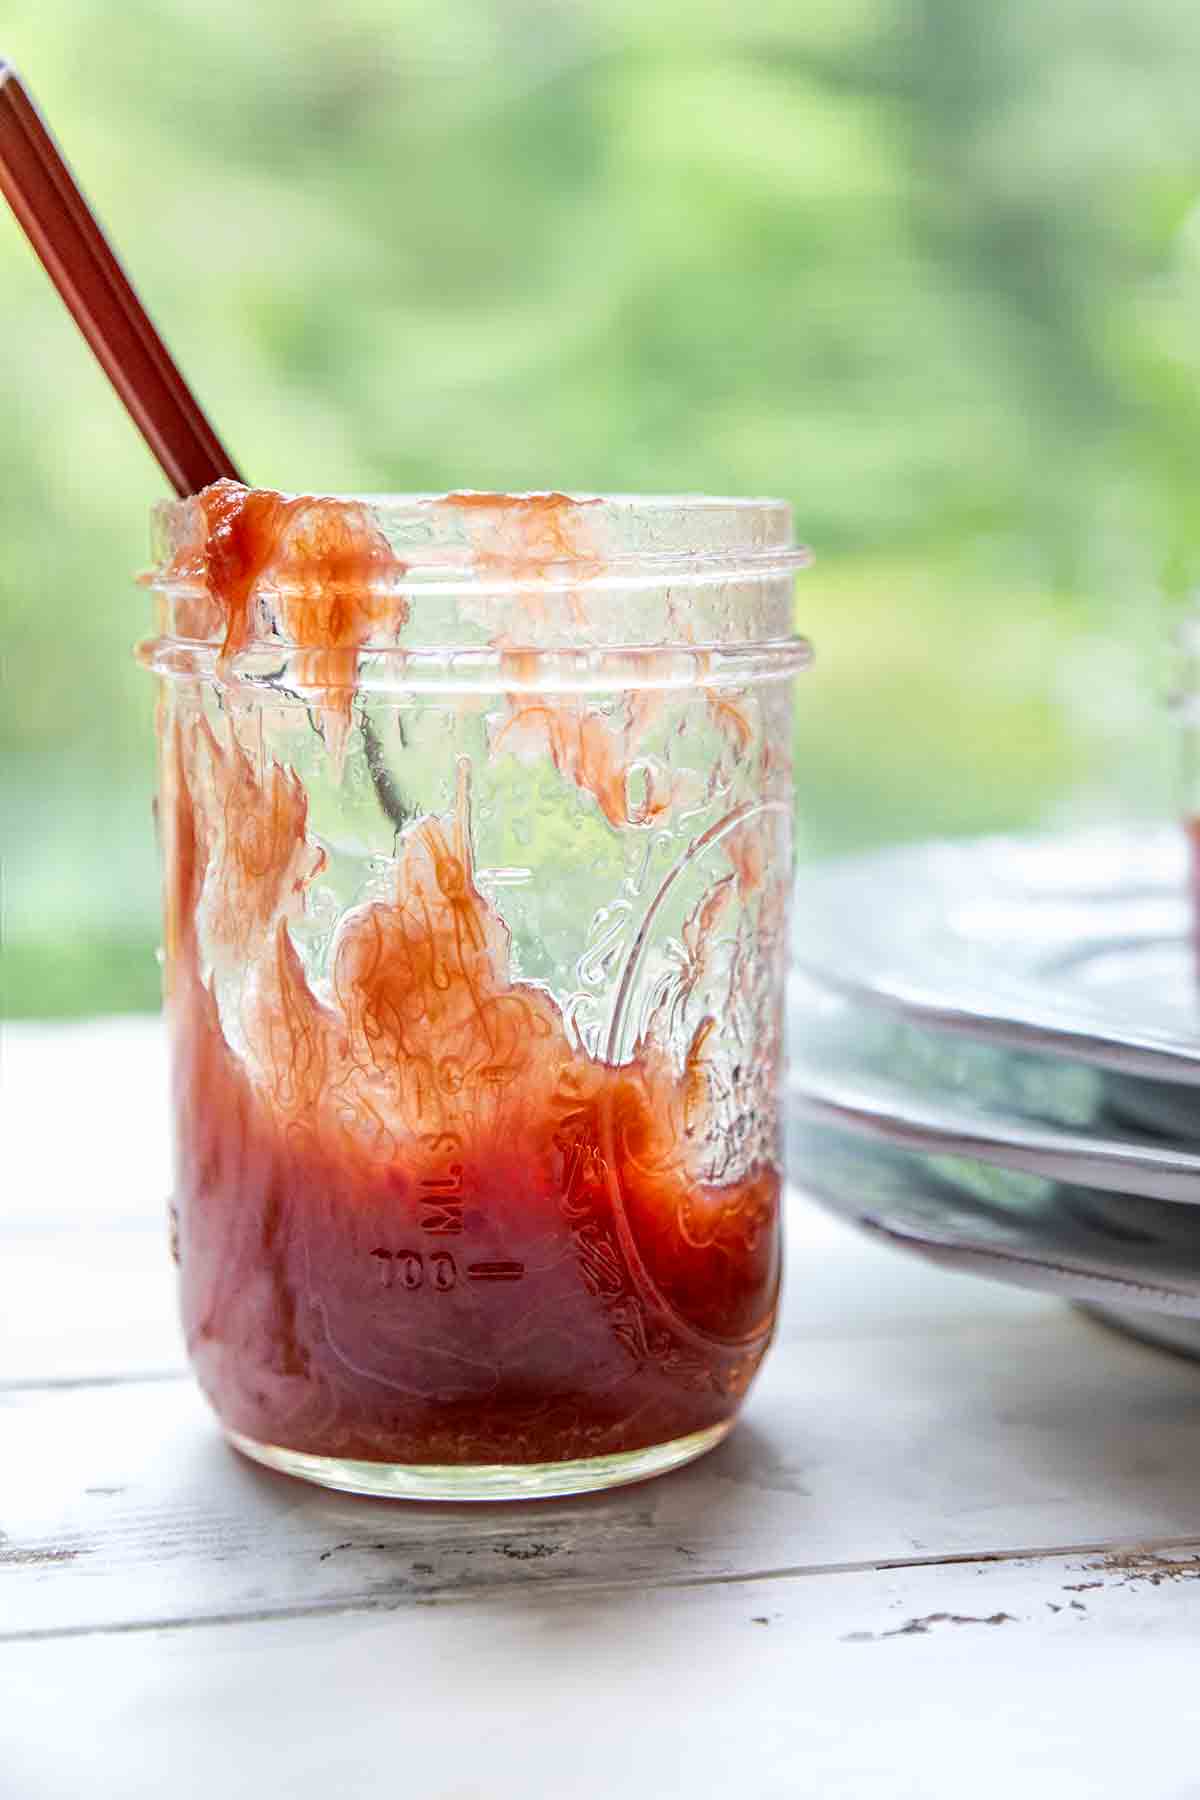
- If using the rhubarb jam within a week or two, ladle the jam into the sterilized jars, filling them to the bottom-most ring at the top of the jar. Gently tap the bottom of each jar on the counter to release any air bubbles. Using a damp clean towel, wipe the rims of the jars and secure the lids and rings. Place in the refrigerator and use to your heart's content.
- If canning the rhubarb jam and using it over the next year, ladle the jam into the sterilized jars, filling them to the bottom-most ring at the top of the jar. Gently tap the bottom of each jar on the counter to release any air bubbles. Using a damp clean towel, wipe the rims of the jars and secure the lids and rings. Continue with the following steps.
- Process the jars of rhubarb jam in a water bath for 5 minutes if using pint jars, 10 minutes if using quart jars. [For more information on canning, see our handy Guide to Canning below.] Use tongs to remove the jars from the pot and let them cool on the counter.
- When the jam is room temperature, remove the metal rings, check for proper seals, and label with the date and contents. Store in a cool, dark pantry for up to 1 year.
Notes
-
- Storage—Canned jam can be stored in a cool, dark place for up to 1 year. If any of the seals break during storage, toss out the jam, as it’s not safe to eat.
- Freezing—The jam can also be frozen in jars or resealable bags for up to 6 months. If you choose to freeze it, you do not need to process it in a water bath. Thaw in the refrigerator and use within 1 week.
- Scaling—The recipe can be halved or quartered. Reduce the ingredient amounts and follow the recipe as directed.
Explore More with AI
Nutrition
Nutrition information is automatically calculated, so should only be used as an approximation.
Our Guide to Canning Rhubarb Jam and Other Preserves
1. Prepare the canning jars
Be sure to set up your jars and workspace before making the jam. Wash your jars and lids in hot soapy water and set them to dry completely on a rack or on a clean dish towel.
Sterilize jars by placing them in a canning pot, filling it with water, and bringing it to a simmer. Hold jars in water or in a 225° F (107°C) oven until ready to use. (This latter oven trick is not recommended by the USDA, but I’m still alive to give you the option.)
2. Fill the jars
All canned goods need headspace to allow for expansion of the food and to create a vacuum in cooling jars. As a general rule, leave 1/4 inch of headspace on all jams and jellies.
When placing lids and rings on canning jars, do not overtighten the rings. Secure just until rings have tension and feel snug. Overtightening will not allow for air to vent from the jars—a crucial step in canning.
3. Process the jars
Fill a canning pot or a deep stockpot half full of water and bring to a low boil. Hold the liquid at a very low boil until ready to use.
If using a canning pot, place prepared jars of food on the rack in the canner.
If using a deep stockpot, best only for small-batch preserving, line the bottom of the pot with a dish towel and place jars on top. This helps them from clanging around on the bottom of the pot or tumbling over onto their sides. This form of canning is not universally recommended or endorsed by the USDA, although I have seen plenty of farmers and European country folk use this old-school technique, and I’ve adapted their laissez-faire ways.
Do not stack the jars, as you need to allow for the circulation of water for proper sealing. Lower jars into the pot and add enough hot water to cover the jar tops by an inch or more.
Cover the pot and return to a boil. Processing times begin once the canning pot water is brought back to the boil. This can take as long as 15 minutes, so be sure to keep an eye on your pot and a timer nearby.
4. Remove the jars
Using a jar lifter or a set of kitchen tongs, remove jars from the canner when the processing time has elapsed. Set them aside on a folded towel to cool. Make sure you do not press on the tops and create an artificial seal.
5. Know when the canning jars are properly sealed
You’ll hear the sound of can tops popping shortly—a sign that a secure seal has been made. Once the jars are cool, check the seal by removing the outer ring and lifting the jar by holding only the lid. If it stays intact, you have successfully canned your food. If the seal is loose or broken, you may reprocess it in the water bath within 24 hours.
Be sure to replace the lid and check the jar rim for cracks or nicks and replace it if necessary. Alternatively, you can refrigerate the jar immediately and use it within 1 week.
Recipe Testers’ Reviews
Did you know only 68% of the recipes we test make it onto the site? This recipe survived our rigorous blind testing process by multiple home cooks. It earned the Leite’s Culinaria stamp of approval—and the testers’ reviews below prove it.

I must confess, I didn’t go through all of the canning steps for this recipe. I’m storing it in the fridge because I don’t expect it to last long.
I love the addition of the lemon. I even snacked on the “candied” lemon peels after I fished them out of the jar. Tastes just like an old-fashioned rhubarb jam.
This was a delicious jam. It was tart and sweet with good consistency. It came together quickly and easily, and the longest part of the process was waiting for the rhubarb to macerate with the sugar.
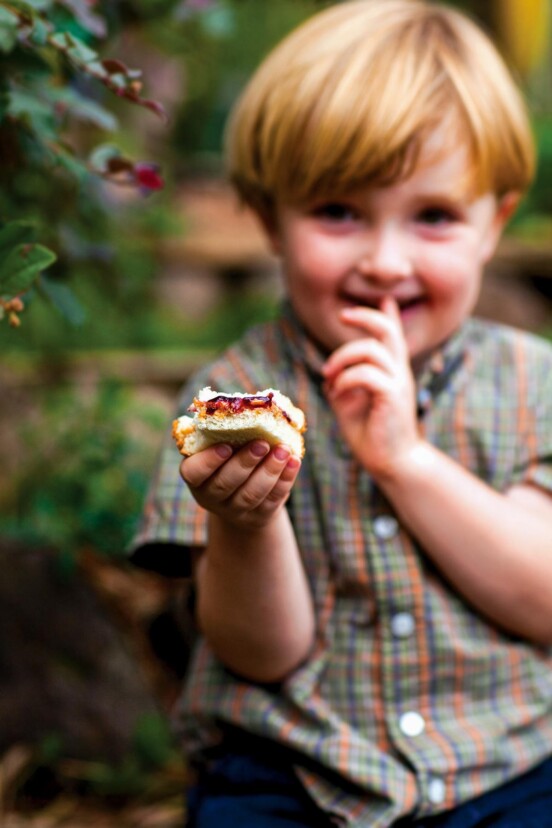
I worried that a rhubarb jam without pectin wouldn’t set up well, but it was fine. The recipe also scales down very well, as I made only a quarter without any problems. I also didn’t can it but instead made a “refrigerator” jam that I ate within a week. It was delicious on biscuits—and made one of the best peanut butter and jelly sandwiches I’ve ever had.
There is such beautiful color, tart flavor, and a hint of lemon in this recipe for rhubarb jam.
I cut the recipe in half for a smaller portion of jam—kind of a small batch rhubarb jam—and was quite happy with the results. The jam set up easily on the frozen plate.
The easy rhubarb jam worked very well, even though I made only a quarter of the amount. My only variation from the recipe was that after mixing all of the ingredients, I didn’t have a chance to cook it immediately, so the mixture was left on the stove overnight.
Personally, I found this to be very sweet. Later I used 1 pound of rhubarb with 3/4 cup sugar. This was a better ratio for me, but I’d still like to adjust the sugar so that the sour and sweet tastes are in just the correct balance.


How many 1/2-pint jars should I have ready?
Hey, Carol! This makes 5 pints, so you’d need ten 1-cup jars.
I haven’t made this recipe yet, but I grow tons of raspberries and was wondering if I could mix them in as well. Has anyone tried that?
We haven’t tried adding raspberries, Kynda, but we’d love to hear from anyone who has.