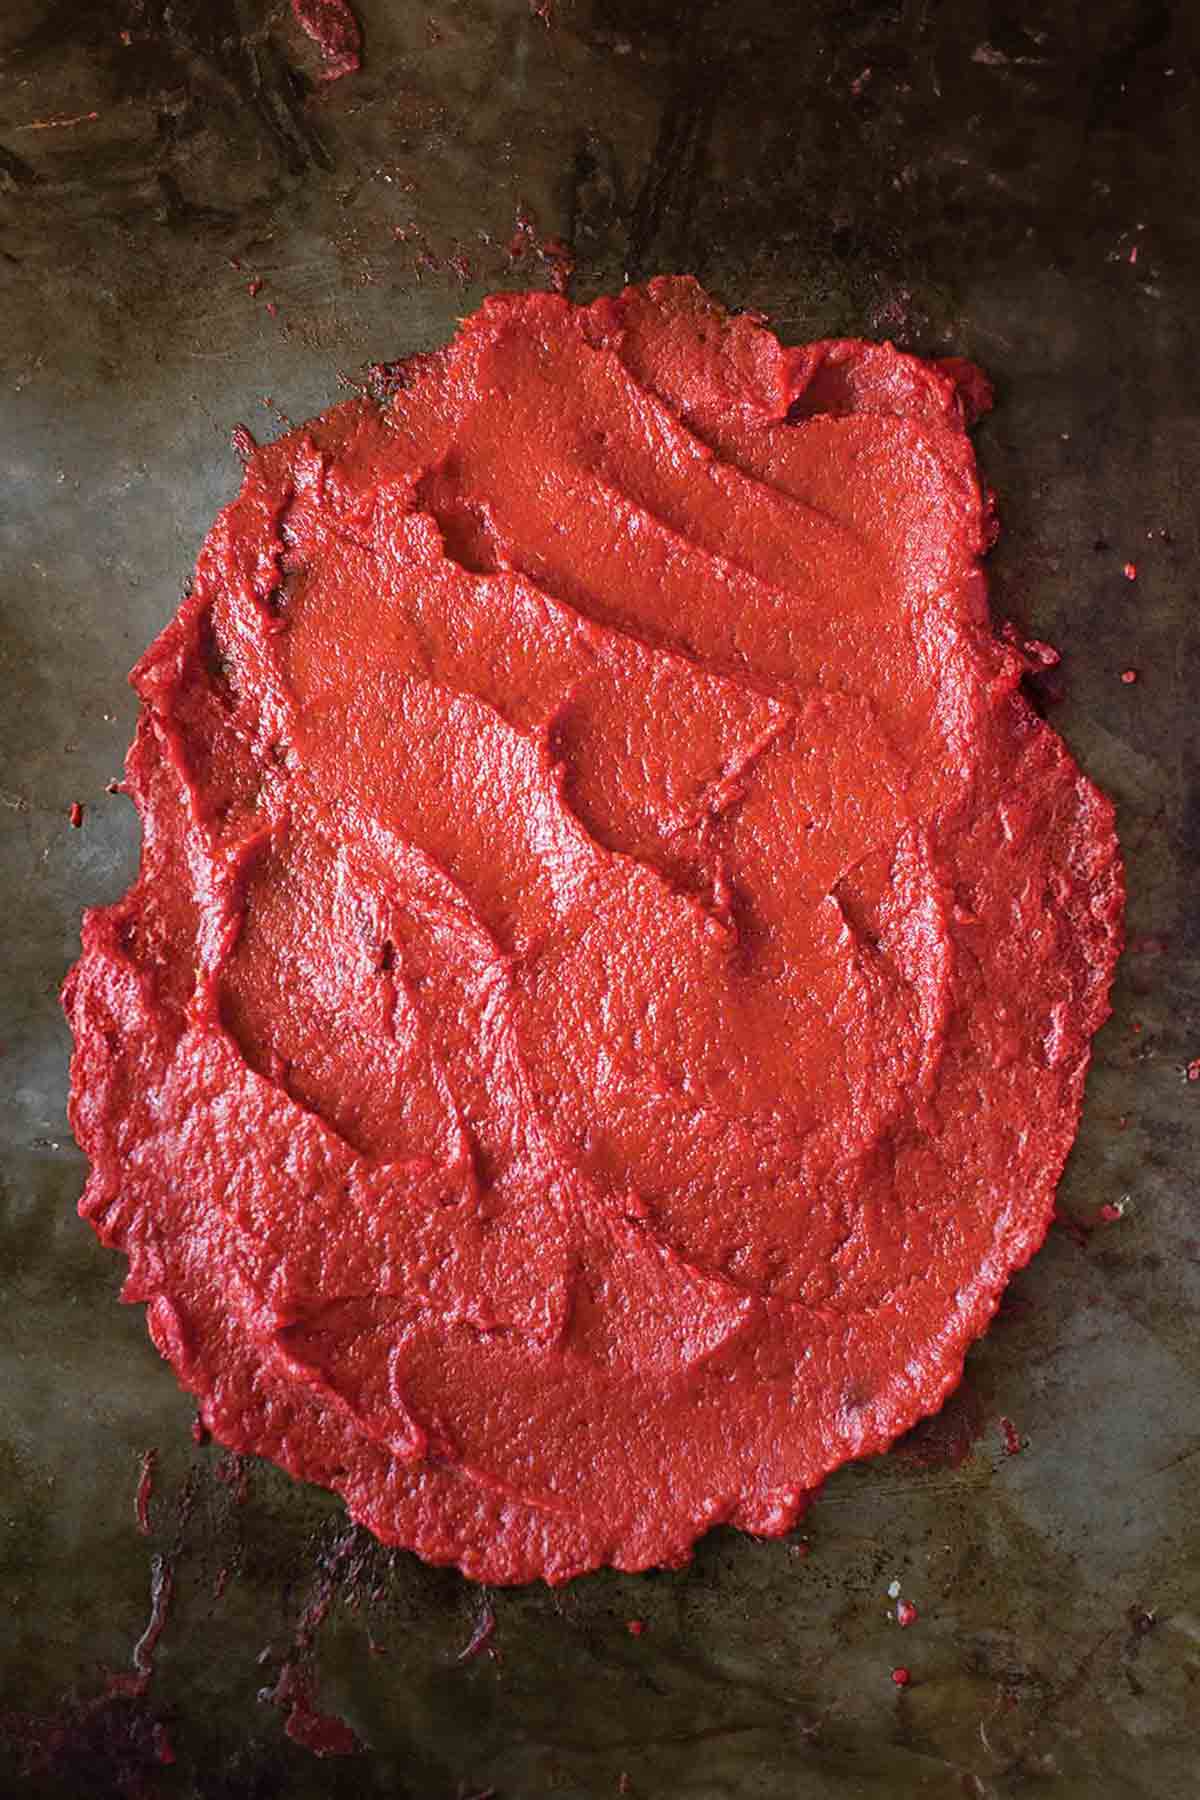
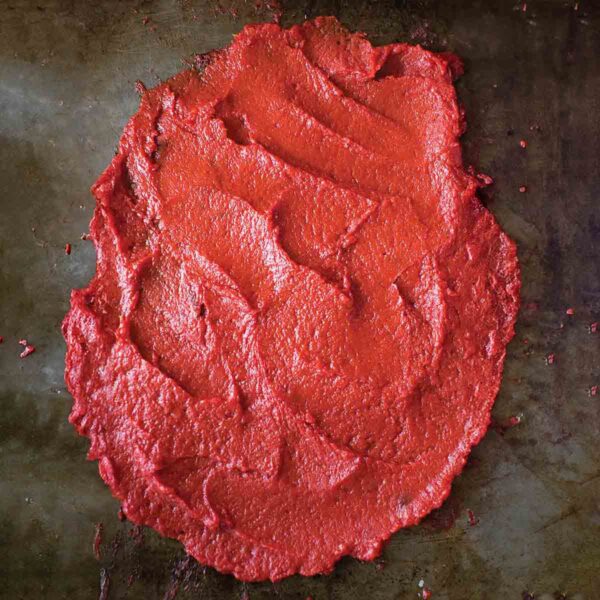
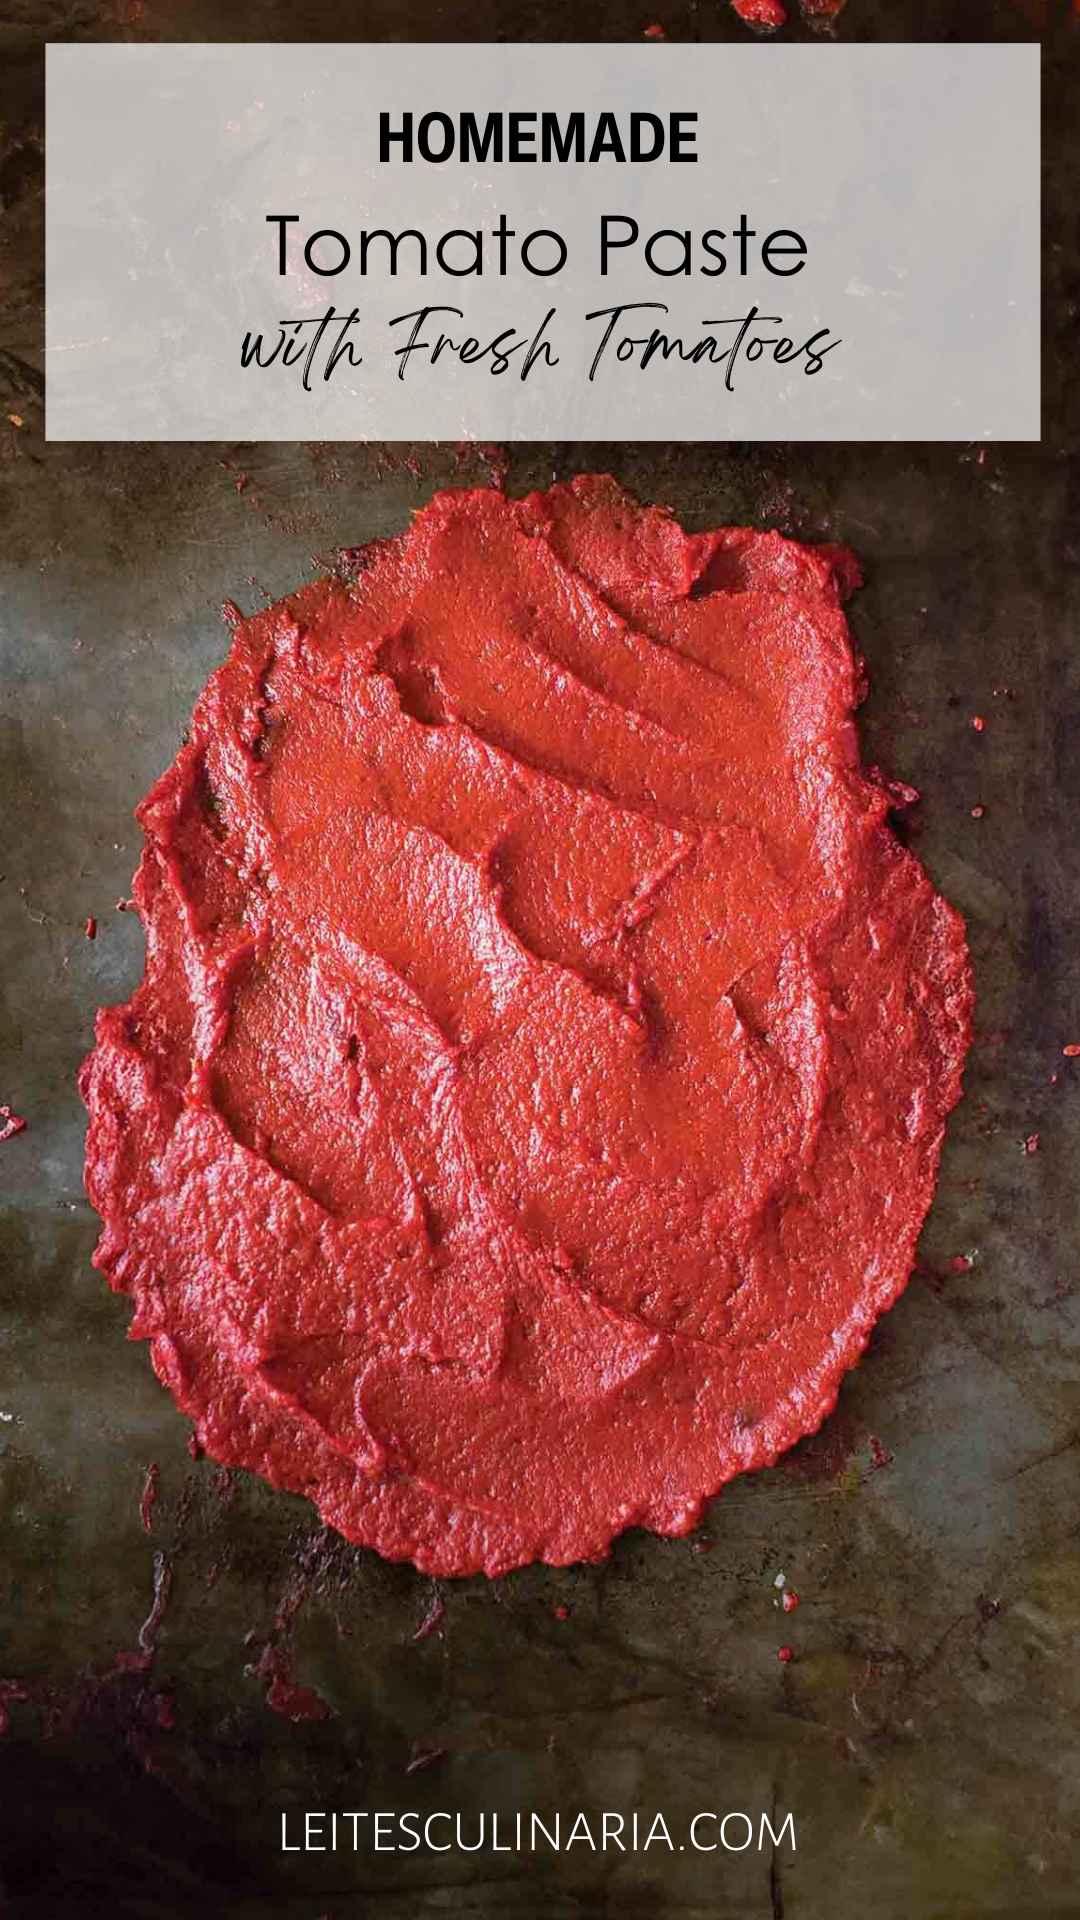
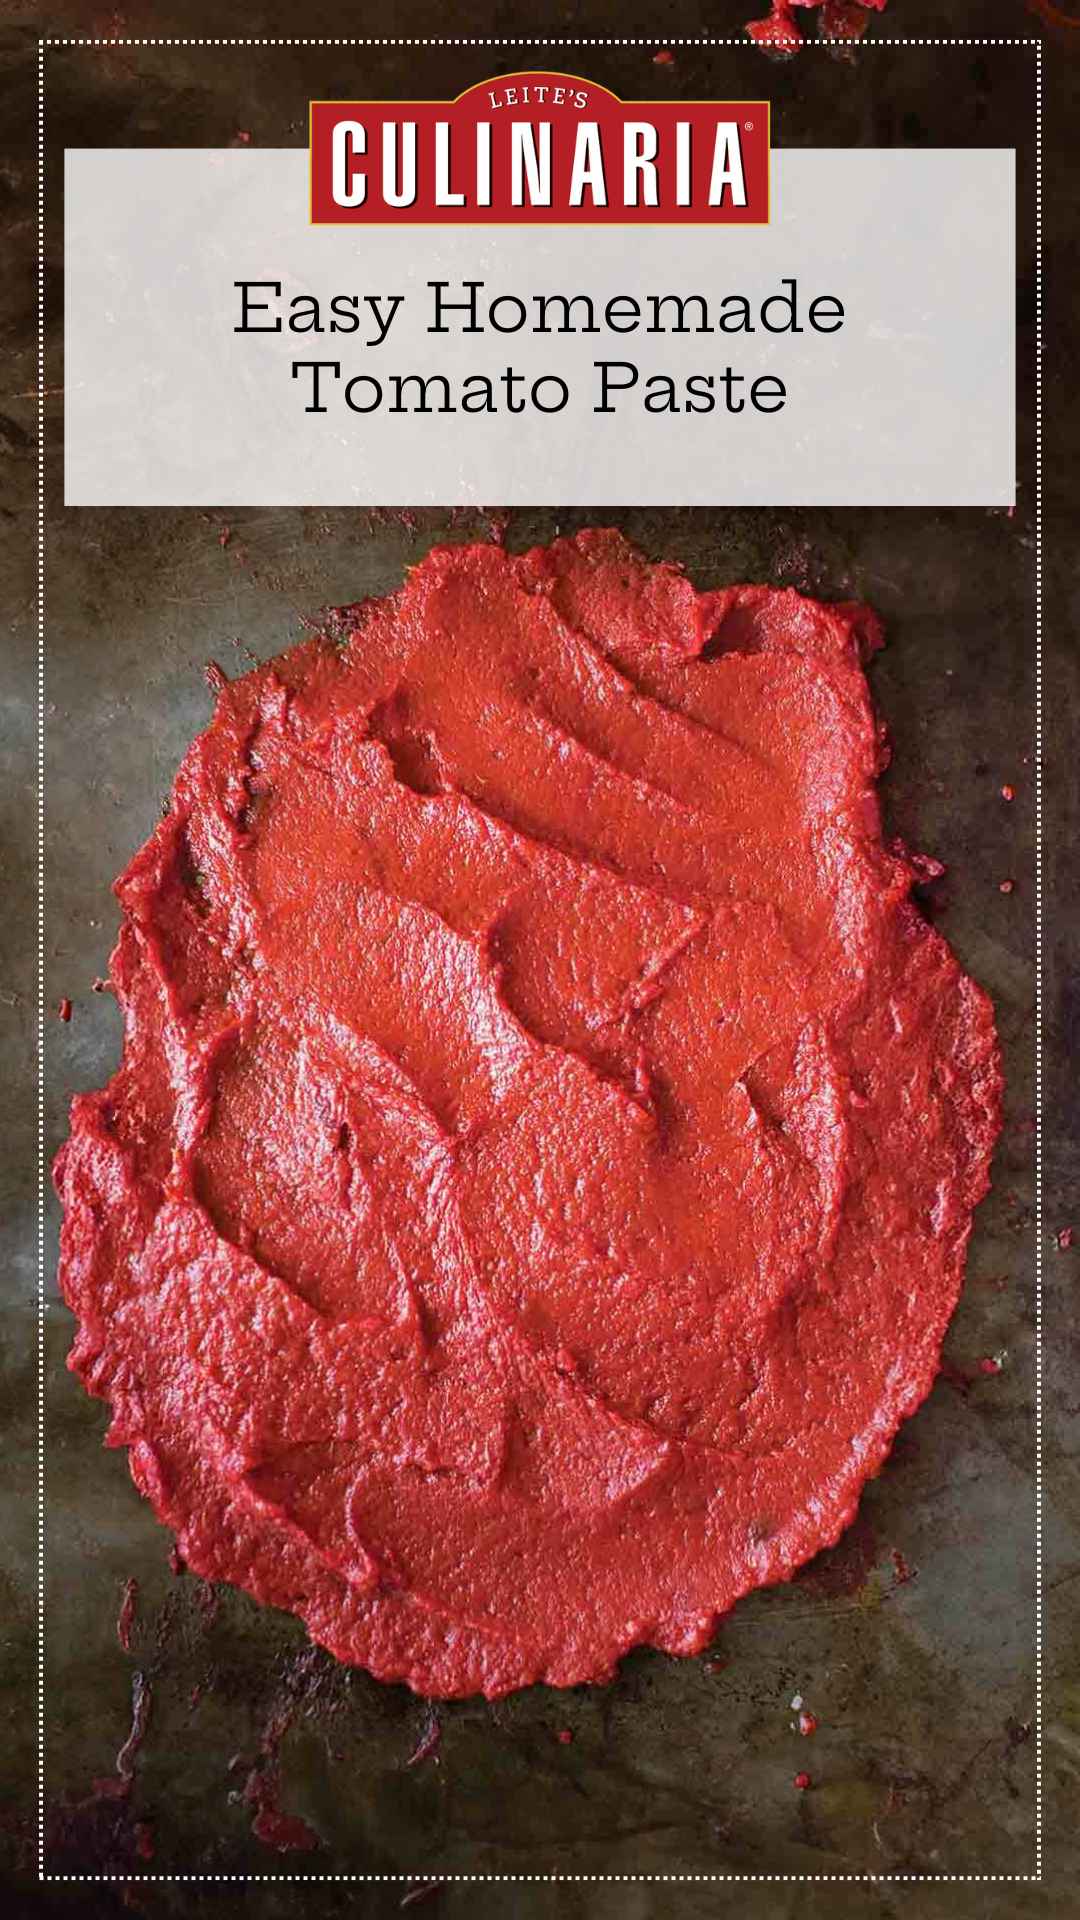
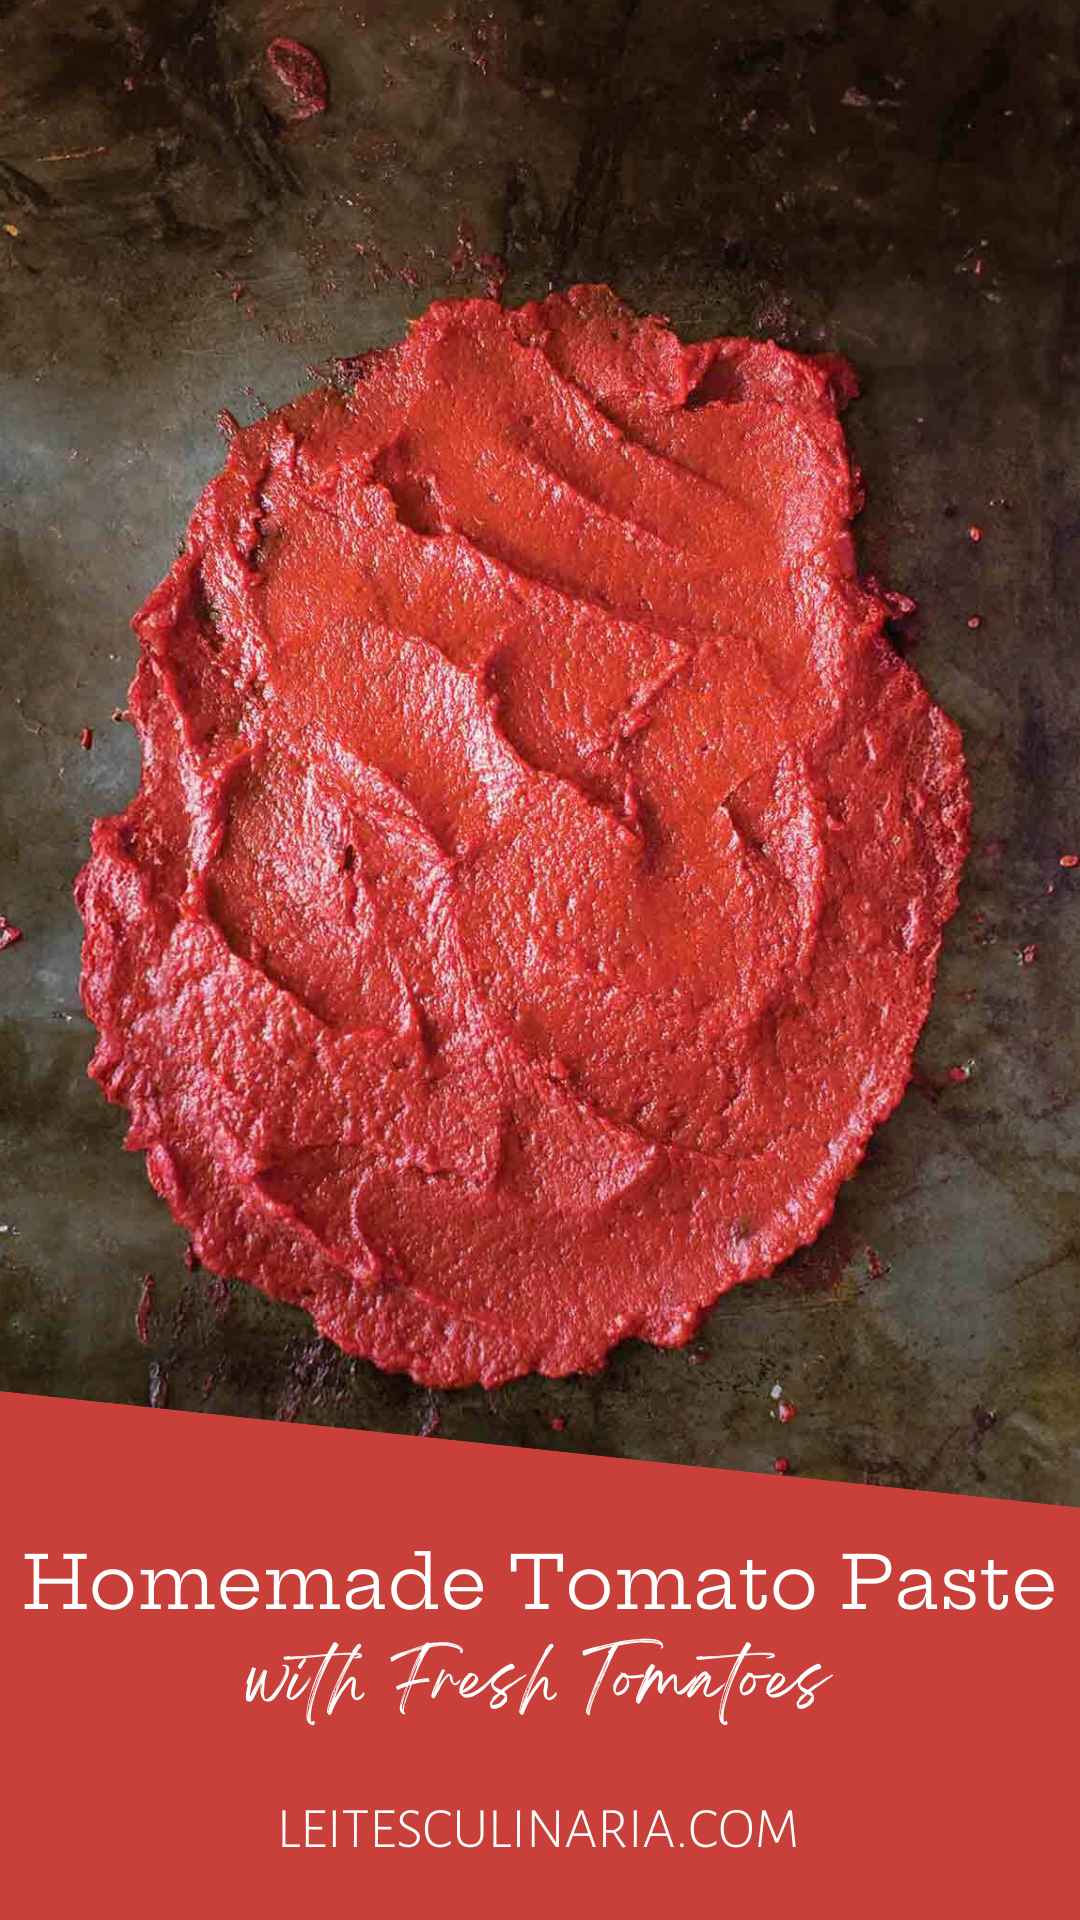
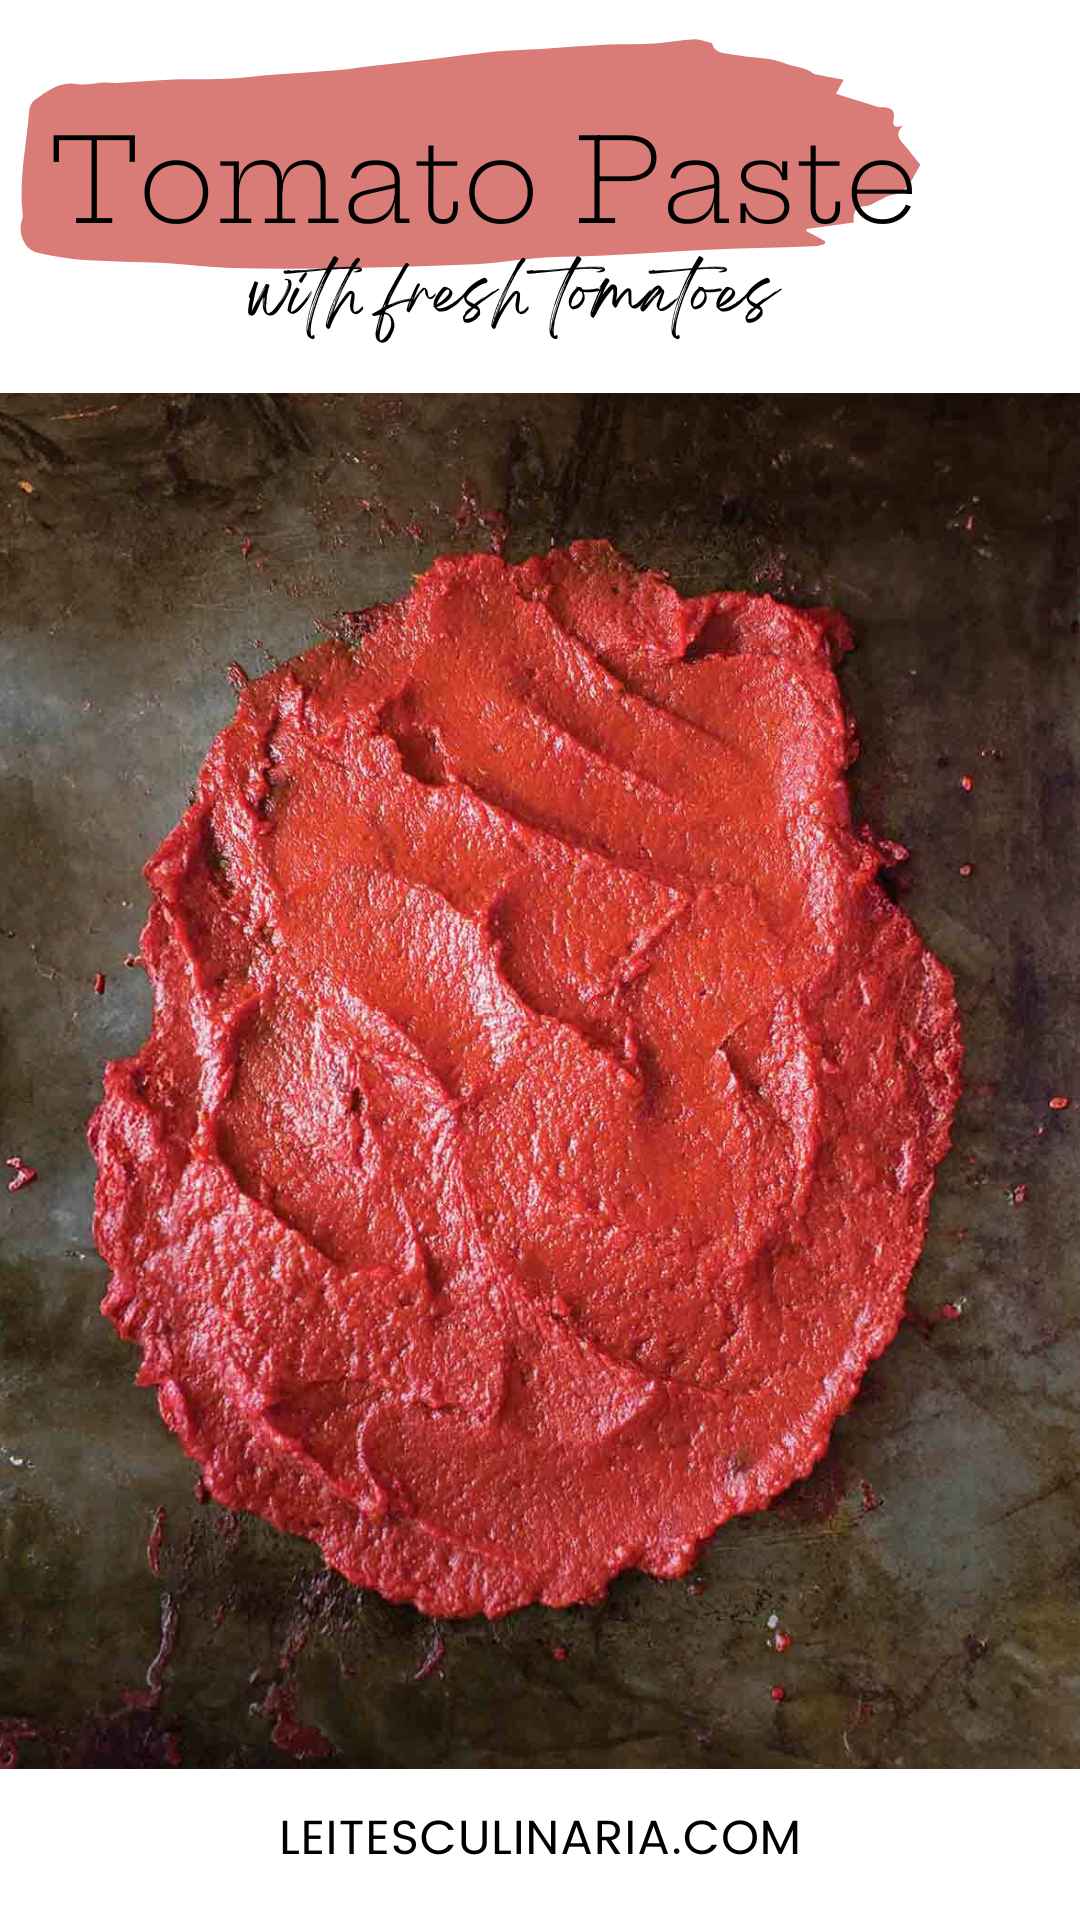
As well as the luscious Marmande variety, I also grow the Roma tomato so with these two varieties I make my paste. Homemade tomato paste has a deep, mellow, caramelized flavor quite unlike the acidity of store-bought tomato paste. It makes the world of difference when added to your favorite dishes. I core and quarter my tomatoes, depending on the variety but you can just quarter and remove the stem end.–Rosetta Costantino
Want to Save This?
Homemade Tomato Paste
Equipment
- 1-pint canning jar
Ingredients
- 10 pounds very ripe plum or regular tomatoes, cored
- 1 to 4 tablespoons kosher salt, depending on personal preference
- 1 tablespoon extra-virgin olive oil for the baking sheet, plus more for topping off the jar
Instructions
- If you're using plum tomatoes, cut them in half lengthwise. If you're using round tomatoes, cut them into quarters.
- Remove the seeds with your fingers. Place all the tomatoes in an 8-quart stainless steel pot and bring to a boil, stirring occasionally, until the tomatoes release their juices. Boil briskly for 30 minutes until the tomatoes soften and the juices reduce.
- Pass the tomatoes through a food mill fitted with a fine disk to remove the skins and any remaining seeds.
- Return the tomato purée to the same pot and place it over high heat. Stir in the salt, reduce the heat to medium-ish, and simmer, stirring frequently, until the purée has reduced to about 1 quart (4 cups), 45 to 55 minutes. You'll need to turn the heat down as the purée thickens to prevent it from furiously bubbling and splattering.
- Lightly slick a 12-by-17-inch rimmed nonaluminum baking sheet with oil. Using a rubber spatula, spread the thick tomato purée in an even layer. It should cover the entire baking sheet.
- Preheat the oven to 200ºF (93ºC) and turn on the convection fan if you have one. Position a rack in the center.
- Place the baking sheet in the oven and bake for 30 minutes.
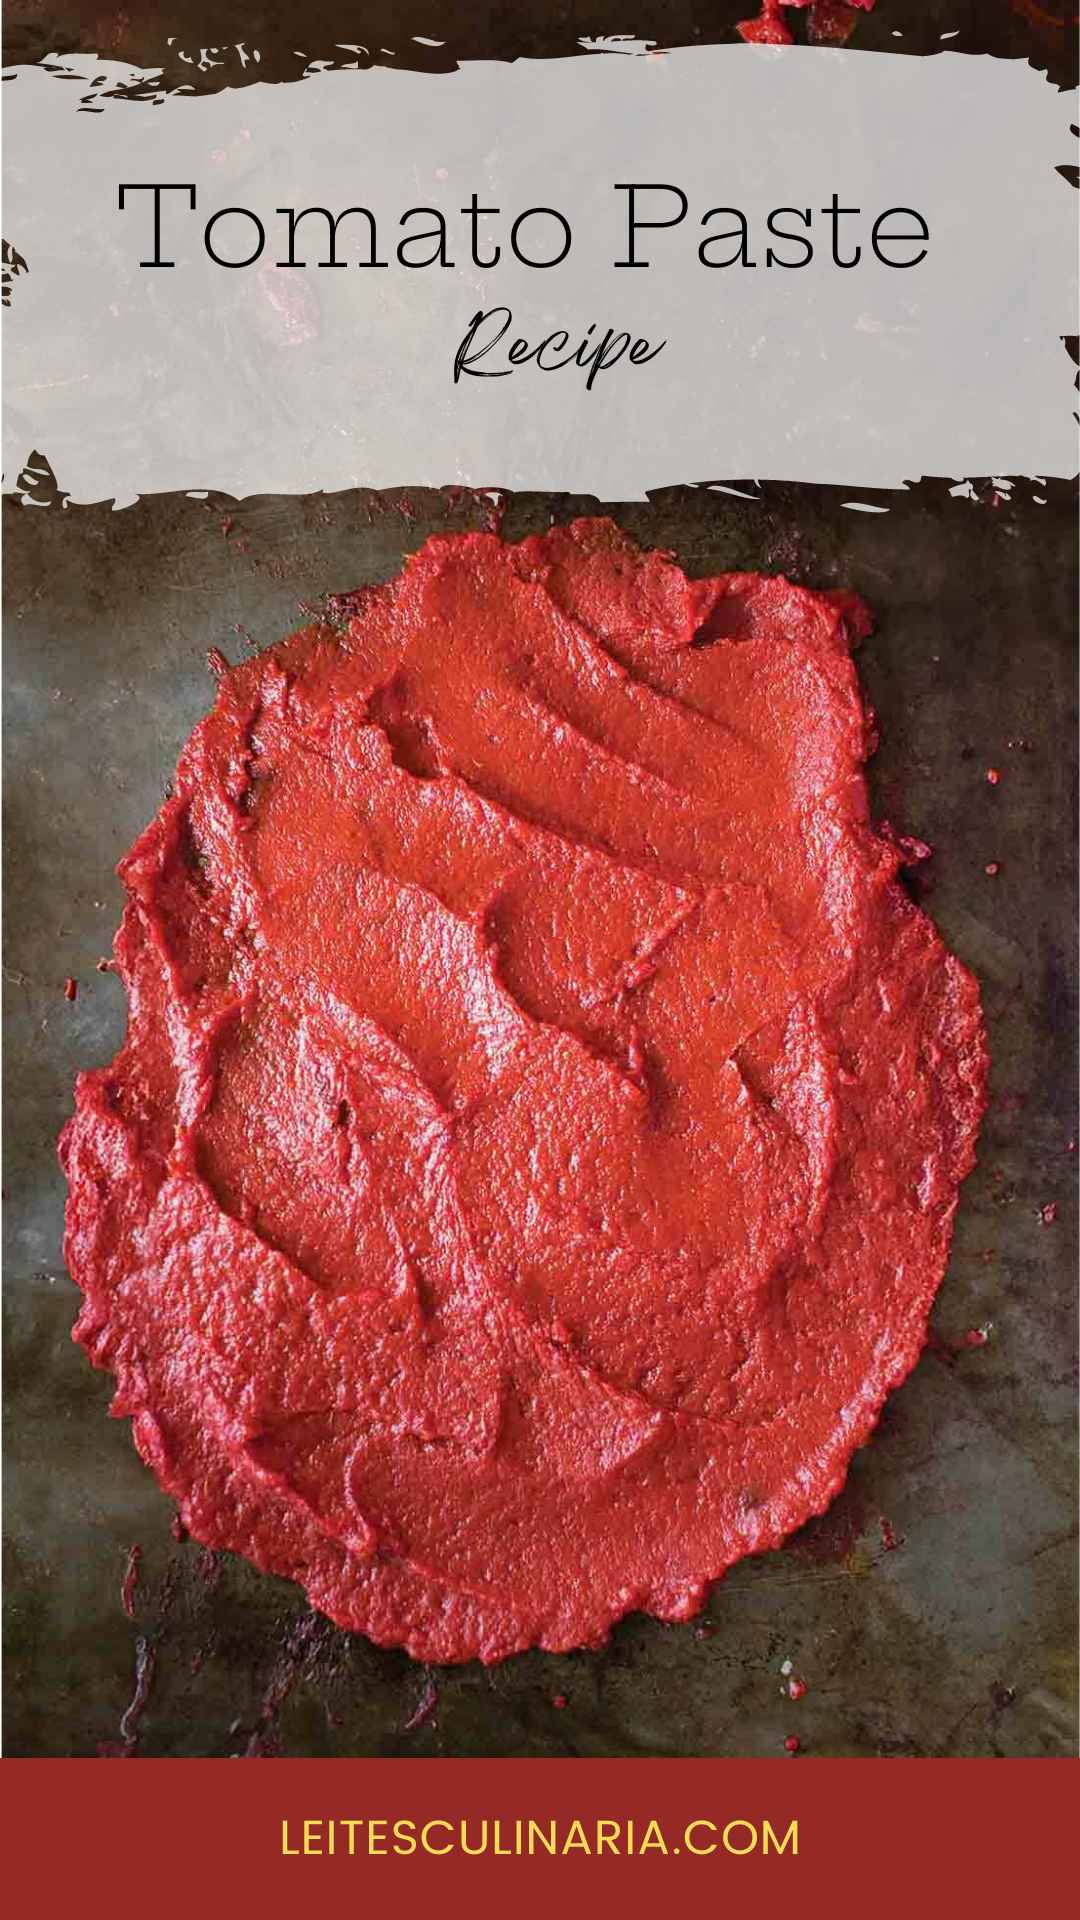
- Remove from the heat (keep the oven on) and stir the purée with the rubber spatula so that it dries evenly and doesn’t form a crust. Respread the purée with the spatula into a rectangle about 1/8 inch thick. Be fanatical about spreading it evenly; if any part is too thin, it may burn. Because of evaporation, the purée will no longer cover the baking sheet. With a paper towel, remove any bits of tomato that cling to the edges or exposed bottom of the baking sheet.
- Return the baking sheet to the oven and continue baking until the tomato purée is no longer saucelike but very thick, stiff, and a little sticky, about 3 more hours. Every 20 minutes, stir and carefully respread the purée as before. The rectangle will become progressively smaller as the remaining water evaporates. Taste and, if desired, add more salt.
- Let the tomato paste cool to room temperature.
- Use a spoon and move the paste to a clean jar, tamping it down to make sure there are no air pockets. Level the surface with the back of the spoon. Cover the surface completely with olive oil so that the paste isn't exposed. Screw the lid on the jar and refrigerate. It will keep in the refrigerator for at least a year.
- When using this homemade tomato paste, dole it out by the teaspoon to add depth to dishes. Always wait to salt the dish until after you've added the tomato paste as it will bring quite a lot of concentrated saltiness. Each time you scoop out some tomato paste from your jar, level the surface of the paste and top it with more oil so the remaining tomato paste is completely submerged.
Notes
Sun-Dried Tomato Paste variation
In Calabria, even today, conserva, or tomato paste, is dried under the hot Mediterranean sun. The tomato purée is simply spread on a large wooden slab and brought inside at night. It dries to a thick paste in 3 to 4 days. If you’re expecting several consecutive days of 100ºF (38ºC) weather, you can dry the tomato purée under the sun instead of in the oven. Follow the recipe in every other respect, and set the baking sheets out in the sun at step 4. Be sure to bring the baking sheet in at night to protect the tomatoes from getting damp.
Explore More with AI
Nutrition
Nutrition information is automatically calculated, so should only be used as an approximation.
Recipe Testers’ Reviews
Finally, something new to do with summer’s bounty of tomatoes. The instructions for this homemade tomato paste recipe look daunting but its simplicity itself to make providing you set aside the time.
As it was too early for my tomatoes when I tested this recipe, I cut a deal with the local farmers’ market for overripe tomatoes. Coring and seeding the tomatoes was a simple matter, as was cooking them down until the juice was released. I think a food mill was the best choice to remove the skins from the cooked tomatoes, as it did a bang-up job providing me with a smooth purée with nothing extra in it.
I used a slotted spoon to remove the tomatoes from the pot to avoid excess liquid going through the mill. The recipe didn’t specify whether or not to add the excess juice back to cook down with the purée, so I left most of it in. I let it cook down for a full hour because it was so runny. The timing was spot-on, baking it low and slow with no burning. For all that work, I got three 125-milliliter jars of tomato conserva.
I used the full amount of salt and they’re not kidding when they say it’s salty. I’ll definitely be making this again when tomato season is here, but I might cut down on the salt a little, as 1 heaping teaspoon paste seasoned an entire large pot of lamb ragu such that I didn’t need to use any additional salt. I can’t wait to use this in more dishes.
It’s time-consuming but very satisfying to make your own tomato paste and so much better than store-bought! Now I know why my Calabrese grandmother took the time to do this, even though she single-handedly raised seven children who each had different food preferences and each received a personalized meal every evening. She never really left her kitchen except to sleep or garden or tend the chickens, so I guess she didn’t mind the time it took to make her tomato paste from scratch.
Of course, she dried her purée under the sun, never in the oven as I did. And she used her own homegrown Jersey tomatoes, which are full of flavor and taste like actual tomatoes.
I was fortunate enough to have a few pounds left in my freezer from my harvest last season, and so I used them, prorating the recipe based on the number of tomatoes I had on hand, which was about 3 pounds. This produced a fairly small amount of paste, but at least I was able to experience the process and know I can be successful with larger amounts in the future.
The only suggestion I have is to use an offset spatula when spreading and respreading the paste on the baking sheet. This tool will give you a nice even layer, just like spreading icing on a cake, which is important for the paste to develop evenly in the oven.
Every year come late summer, a delivery truck would arrive at our neighbor’s, and bushel after bushel of Roma tomatoes would be unloaded and carried down the narrow urban driveway into their backyard. A peek between the webbing of our rear fence revealed a stunning sea of shiny, plump red jewels nestled in straw-colored wooden-slat baskets arranged in neat rows at their basement kitchen door.
This is where Signora Catania’s annual canning assembly line began. In her cool, dark basement with the red custom terrazzo floor were oversized kettles and tools, most of which I’d never seen in my own mother’s kitchen. I’d ask my mother, “Why do they need so many tomatoes?” She answered that they were “putting up the sauce.”
Not until I was older did I understand that she was preserving the fleeting fruit for use during winter when no self-respecting Italian homemaker would use the pink, mealy hothouse tomatoes that came in cellophane-wrapped green plastic baskets.
I now practice my own scaled-down version of the preservation ritual, but it never occurred to me, being an apartment dweller and all, that perhaps making conserva di pomodori (homemade tomato paste) would be more efficient and versatile given my limited storage space. This recipe sparked a new approach in my household.
Since this was an experiment, I halved the recipe and used the best plum tomatoes I could find at the market. To speed production, I used an apple corer to spear the tomatoes, deftly removing the stems and cores in neat cylinders. The times were accurate, even for half the recipe. I used a 1/4 sheet pan (9 by 13 inches) rather than a 12-by-17-inch one and evaporated the purée on a rack in the bottom third of the oven. After it was cooled, the final product fit in a sterilized half-pint Ball jar. This is the perfect amount for me to use until late summer ushers in the stars of the crops.
The final conserva is indeed salty (I used the full amount of salt) but it has a wonderfully rich, sweet, and complex tomato flavor when compared to store-bought versions of tomato paste. I love learning new techniques and this is a very valuable recipe when endeavoring to preserve summertime.


Turned out great, but Is 4 tablespoons of salt correct? It seems so salty? I have never made paste before, so just checking.
Judy, glad you liked it. Recipe calls for 1 to 4 tablespoons of kosher salt, depending upon your preference. Is that clear in the recipe? Let meknow so I can figure out a way to make it clearer. Thanks.
Had way too many tomatoes from the garden . Prepared as instructed to the point of taking off the stove. I then froze is 4 cup containers until ready to make tomatoe paste. Put the oven on 200 degrees and placed the frozen contents on the pan to defrost. What i am excited about is as the tomatoe puree defrosted, the water came out first so after 20 minutes it was mostly water on the pan. I then drained the water/juice and had a cold thick chunk of all tomatoes that was no longer watery. This drastically cut down the oven time and i processed as described. One 4 cup container made about 8 oz of tomatoe puree. Which is just about what i needed.
That’s great, kjow. Thank you so much for sharing your method.
I’ve never made tomato paste, but had a bumper crop of San marzano tomatoes this year. I struggle buying tomato paste because I use a tablespoon and the rest always goes bad, so when I found this recipe I decided to try it. I’m so glad I did!! It was so simple, and though it does take time, most of the time was hands off. It was perfect for a rainy fall day. The final product is absolutely amazing, and I love that I won’t have to worry about wasting it anymore! And I just blended the skins and any remaining seeds into the paste instead of using a food mill with no problem. I will use this recipe every year.
Wonderful, Danielle! I’m so pleased that you love it.