TL;DR (Quick-Answer Box)
- What it is: A traditional, deeply spiced pumpkin pie with a flaky pâte brisée crust, uniquely sweetened with a rich, dark amber maple syrup.
- Why you’ll love it: It’s the ultimate autumnal dessert, less cloyingly sweet than usual, letting the pure, comforting pumpkin and spice flavors shine.
- How to make it: Cook the pumpkin purée until thick, mix with the spices, then stir in the cream, vanilla, and maple syrup, and finally whisk in the eggs thoroughly, one at a time. Pour into a partially-baked (blind-baked) crust and bake until just set.

Jump To
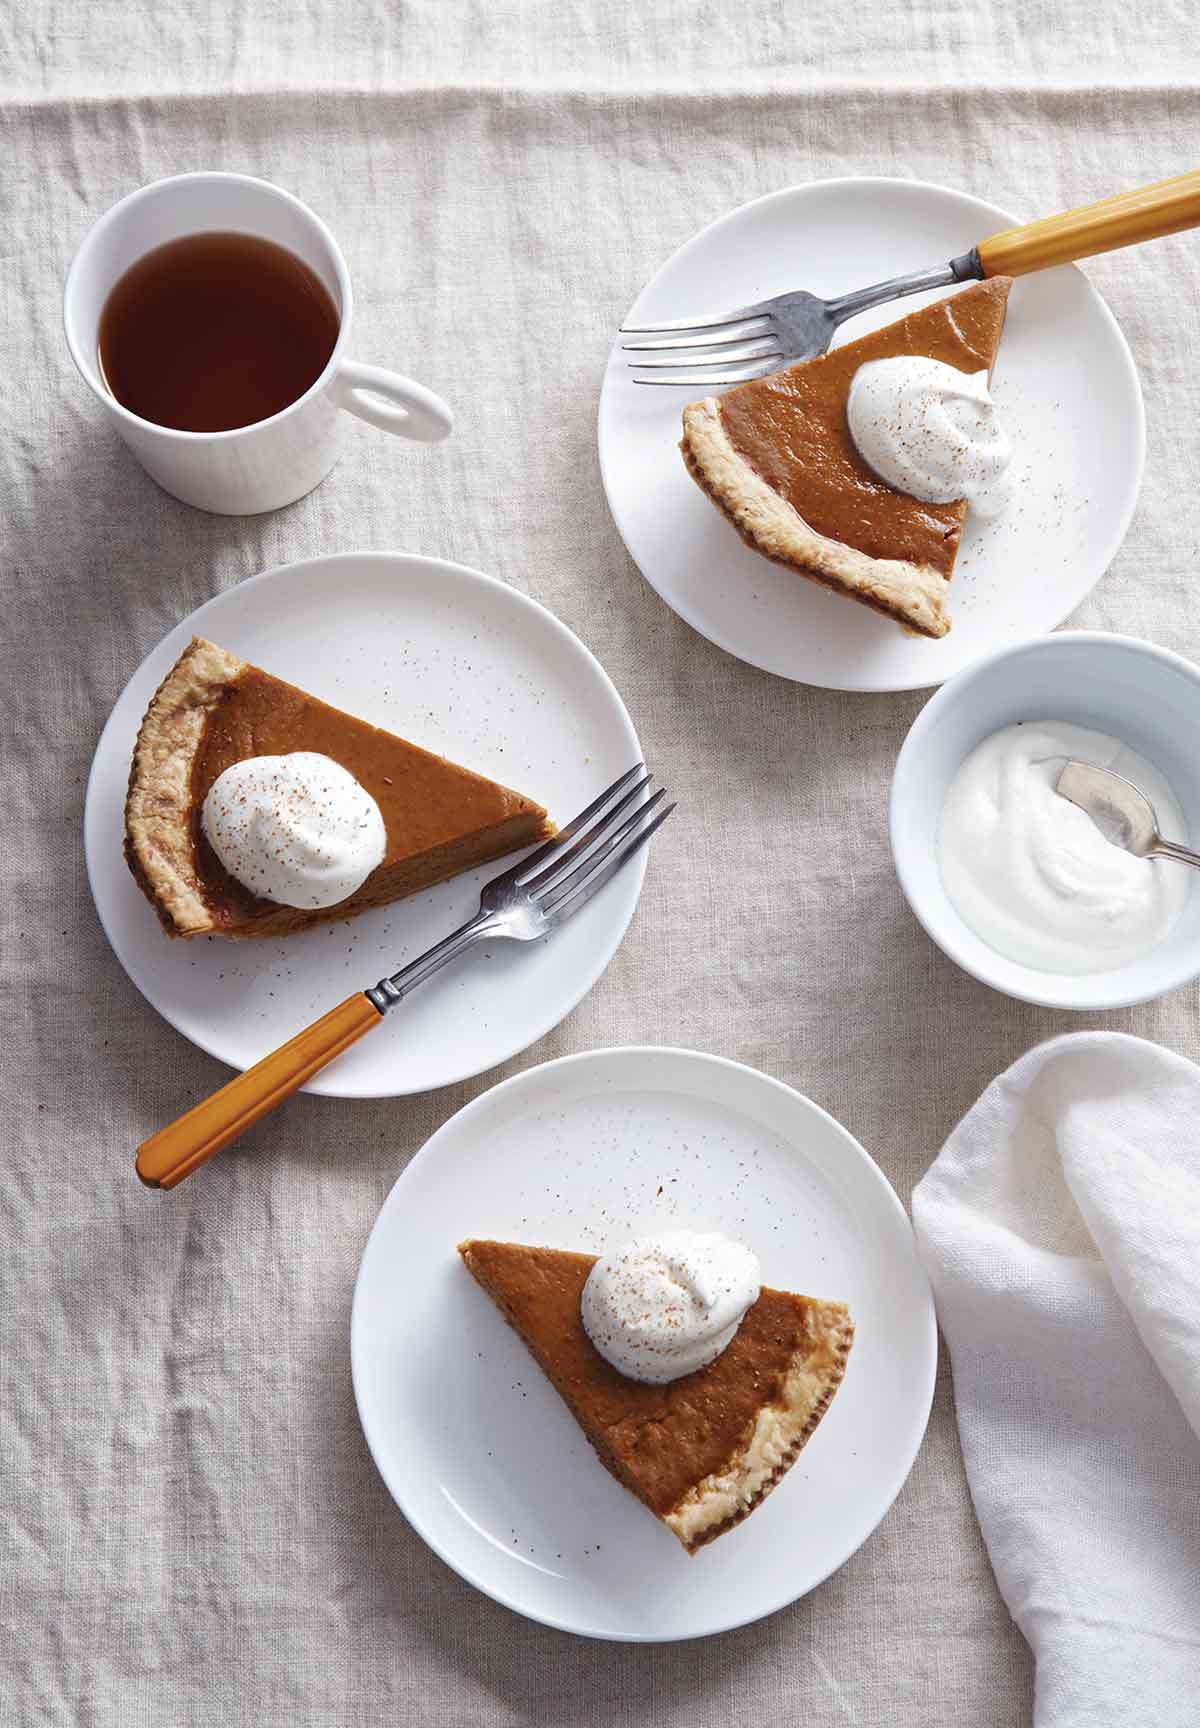
Pumpkin schmumpkin. It’s easy to fall into a rut with the Thanksgiving tradition. This version lends a slightly different lilt to creamy, velvety pumpkin custard by sweetening it with maple syrup instead of sugar. And the oh-so-flaky crust is gonna make you wanna put down your fork and sigh. Trust us. Everyone who tried this was begging for the recipe.
Featured Review
Like some of the other bakers, I, too, was intrigued by the maple syrup component to this recipe, and I loved it! It was sweet enough and the spices were able to shine through. So yummy and I indulged with a little whip cream too.
I have tried MANY pumpkin pie recipes and techniques over the years. For this Thanksgiving, I decided to try a new one all together, and I think we may see this one at the table next year. Thank you for the delicious recipe!
Shauna Duncan
Your Pumpkin Pie Questions, Answered
When you’re shopping for ingredients for this scrumptious pie, take note that you’re looking for pumpkin purée vs. pumpkin pie filling. Pie filling is already flavored and spiced, which sort of means that you’re just plopping premade filling into a crust. Pumpkin purée, on the other hand, is just the pumpkin. You’re in charge of everything else that goes into it to make it taste like the creamy, gently spiced, maple-tinged dreamboat that it is. You can also make your own purée, as long as you’re using pumpkins grown for pies–a typical jack o’lantern pumpkin won’t do.
More Spiced Pumpkin Dessert Recipes
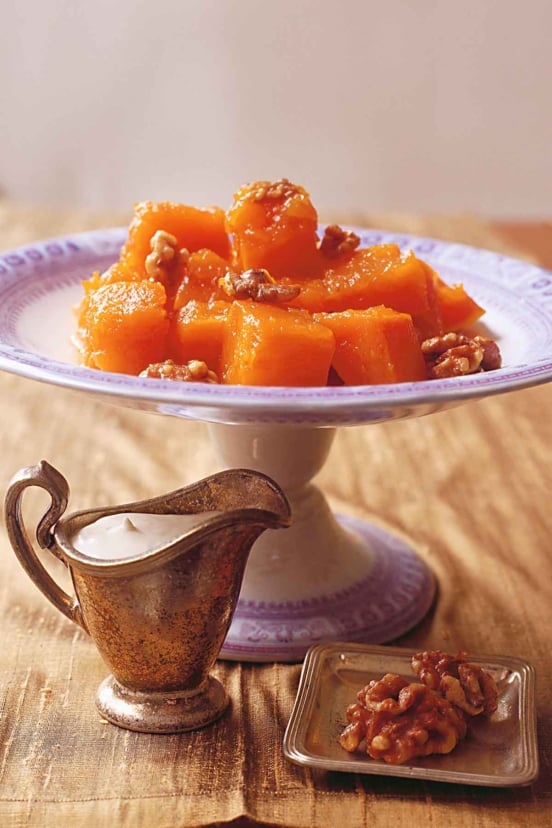
Turkish Pumpkin with Walnuts ~ Kabak Tatlisi
2 hrs 15 mins
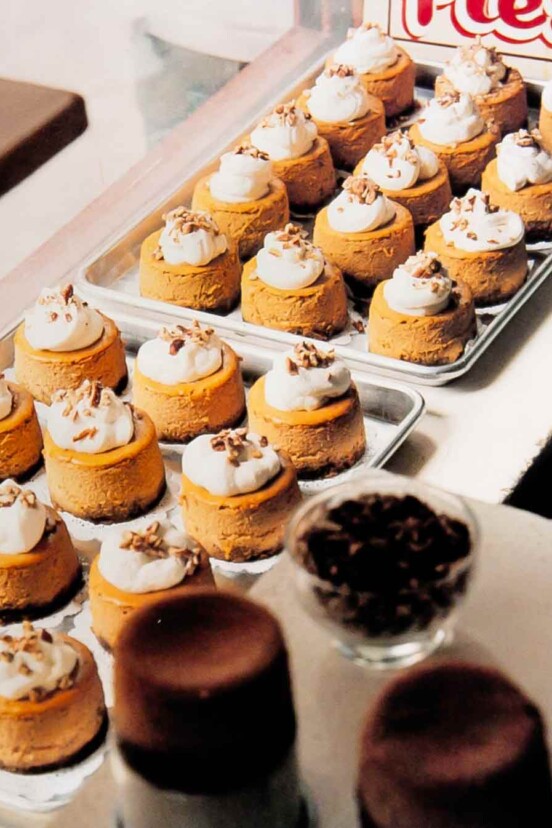
Pumpkin Cheesecake with Gingersnap Pecan Crust
2 hrs 35 mins
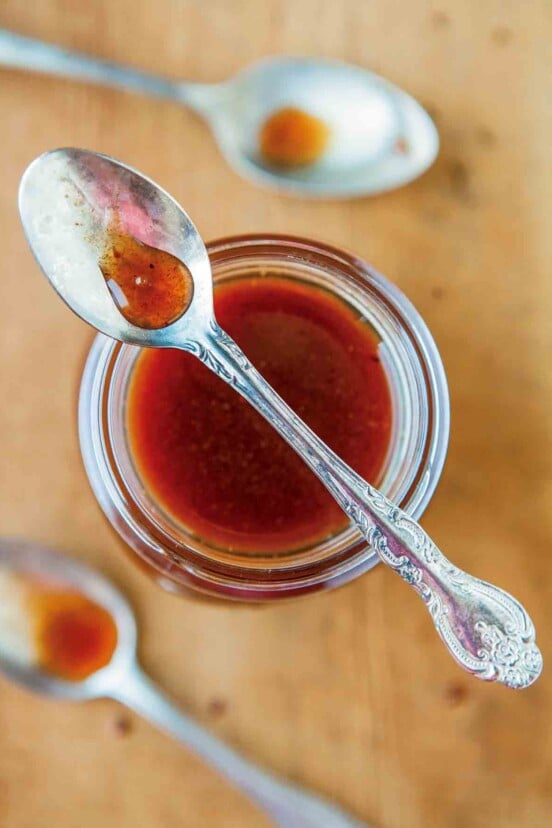
Pumpkin Spice Syrup
30 mins
Write a Review
If you make this recipe, or any dish on LC, consider leaving a review, a star rating, and your best photo in the comments below. I love hearing from you.–David
Featured Review
With all the fall talk about pumpkin spice flavors, I was ready to treat myself (and family, of course) to pumpkin pie. Looking for something other than my usual recipe, this pie with maple syrup caught my eye. The flavor is a little less sweet and the custard is softer than my usual recipe but the finished pie was very sliceable. We enjoyed it tremendously!
Deb L.

Maple Pumpkin Pie
Ingredients
For the pâte brisée
- 1 cup all-purpose flour
- 1/4 teaspoon kosher salt
- 9 tablespoons (4 1/2 oz) cold unsalted butter, cut into 9 pieces
- 1 large egg yolk
- 2 tablespoons cold whole milk
For the pumpkin filling
- 15 ounces pumpkin purée
- 1 teaspoon ground ginger
- 1 teaspoon ground cinnamon
- 1/2 teaspoon freshly grated nutmeg, plus more for garnish
- 1/8 teaspoon ground cloves
- 1/2 teaspoon kosher salt
- 1 cup heavy cream
- 2 teaspoons vanilla extract
- 1/2 cup maple syrup, preferably dark amber
- 3 large eggs
- Whipped cream, to serve
Instructions
Make the pâte brisée
- Using a stand mixer fitted with the paddle attachment, beat the flour and salt until mixed, 10 to 15 seconds. Add the butter and beat slowly until the flour is no longer bright white, holds together when you clump it, and there are still lumps of butter about the size of a pecan throughout the mixture, 45 to 60 seconds.
- In a small bowl, whisk together the egg yolk and milk. Add it all at once to the flour-butter mixture. Beat very briefly on low speed just until it barely comes together, 15 to 30 seconds. It will look really shaggy and more like a mess than a dough. Using your hands, shape the shaggy dough into a disk, wrap in plastic wrap, and refrigerate until ready to use.
- Remove the dough from the refrigerator and lightly knead it to make it malleable if it feels stiff. Using a rolling pin, press the dough to flatten it into disk about 1/2 inch (12 mm) thick. Generously flour your work surface as well as the dough. Carefully roll out the disk into a circle about 12 inches (30 cm) in diameter. You may need to incrementally add a little more flour to the work surface and the rolling pin to make sure the dough remains floured well enough to keep your rolling pin from sticking to it. Roll from the center of the disk outward and gently rotate the disk a quarter turn after each roll to ensure that the disk gets stretched out evenly into a nice circle. Don’t worry if the dough breaks a bit, especially towards the edges. You can easily patch these tears up once you’ve lined your pie plate.
- Once the dough circle is about 12 inches (30 cm) in diameter, gently roll it around the rolling pin and then unfurl it on top of a 9-inch (23-cm) aluminum or glass pie plate. Press the dough gently into the bottom and sides of the plate. Either fold the overhanging dough and crimp with your fingers evenly all around for a more dramatic edge, or use scissors to trim the overhang, leaving a 1/2-inch (12-mm) lip around the edge to allow for shrinkage in the oven. Use any scraps or odd pieces to patch up any tears or missing bits.
- Refrigerate the pie crust for at least 30 minutes. (The gluten needs a little time to relax so it doesn’t shrink as much in the oven). You can refrigerate the unbaked pie crust, tightly wrapped in plastic wrap, for up to 3 days or in the freezer for up to 4 weeks. If frozen, the pie shell can be baked directly from the freezer.
Make the pumpkin filling
- Meanwhile, scrape the pumpkin purée into a medium saucepan. Cook over medium-low heat, stirring occasionally with a wooden spoon, or until the pumpkin reduces into a somewhat-thick paste and darkens in color, 25 to 30 minutes. Remove from the heat and whisk in the ginger, cinnamon, nutmeg, cloves, and salt. Stir in the cream, vanilla, and maple syrup until well combined. Whisk in the eggs thoroughly, one at a time.
Assemble the maple pumpkin pie
- When you’re ready to make the pie, place a rack in the center of the oven and preheat to 350°F (175°C).
- Line the crust with parchment paper or a large coffee filter and then fill it with pie weights, uncooked beans, uncooked rice, or even well-washed marble-size rocks. Press down slightly on the weights to make sure the shell is entirely filled and place it in the oven. Bake until the crust is brown on the edges and pale and matte when you lift the parchment and peek at the surface of the shell, 30 to 35 minutes. (If the edges brown too quickly, cover the shell with foil.) It doesn’t need to color at this point. You’re just giving the crust a chance to partially bake. Let the pastry cool on a wire rack, leaving the weights and parchment in place.
- Remove the parchment paper and pie weights from the crust and pour the pumpkin custard into the crust. Bake until the custard is just set, 45 to 55 minutes. The edges of the custard will puff up a little and the center should still have a little wiggle in it. Remove the pie from the oven and let cool on a wire rack for at least 1 hour.
- Serve at room temperature or chilled, topped with the whipped cream, if desired. The pie can be stored, wrapped in plastic wrap, in the refrigerator for up to 3 days.
Explore More with AI
Nutrition
Nutrition information is automatically calculated, so should only be used as an approximation.
Recipe Testers’ Reviews
Did you know only 68% of the recipes we test make it onto the site? This recipe survived our rigorous blind testing process by multiple home cooks. It earned the Leite’s Culinaria stamp of approval—and the testers’ reviews below prove it.

Pumpkin pie perfected! The maple pumpkin filling is creamy and smooth, slices beautifully, and the maple syrup and spices have just enough presence, allowing the flavor of the pie to be authentic to the main star, the pumpkin.
The pie kept very well for a few days in the refrigerator. On the third day, the filling was just as delicious, had the same great texture, and the crust was light and flaky and not moist and stale. But don’t think the pie will linger untouched for that long; I’m just hinting that it’s a great make-ahead pie.
Also, when a recipe calls for “1 cup heavy cream,” I typically buy 1/2 pint carton and use all of it. It’s not super precisely 1 cup, but it’s darn close enough.
I served the pie plain, without whipped cream. It was part of our Thanksgiving dinner, so I thought I could skip the extra calories.

“This maple pumpkin pie a winner!” were the words out of my husband’s mouth after he took the first bite. Creamy, not-too-sweet, and, as promised in the description, it delivered a great pumpkin and maple flavor. This one will be returning to my Thanksgiving table next year.
The pate brisée was also really easy to put together and to roll out. I chilled the pie overnight and served it with whipped cream. It sliced beautifully, with no cracking or oozing, and tasted absolutely fantastic.
The filling for this maple pumpkin pie was nicely spiced and creamy, not overly sweet. Pumpkin pie perfection!


The best pumpkin pie I’ve made; and I’ll be making it again this year. Maybe a bourbon barrel-aged syrup to give it more depth. Maybe chai-spiced whipped cream to gild the lily!
Thank you, Judith! Those all sound like amazing additions to the pie.
Like some of the other bakers, I too was intrigued by the maple syrup component to this recipe and I loved it! It was sweet enough and the spices were able to shine through. So yummy and I indulged with a little whip cream too.
I have tried MANY Pumpkin pie recipes and techniques over the years. For this Thanksgiving, I decided to try a new one all together and I think we may see this one at the table next year. Thank you for the delicious recipe!
You’re welcome, Shauna. Thanks for taking the time to comment.