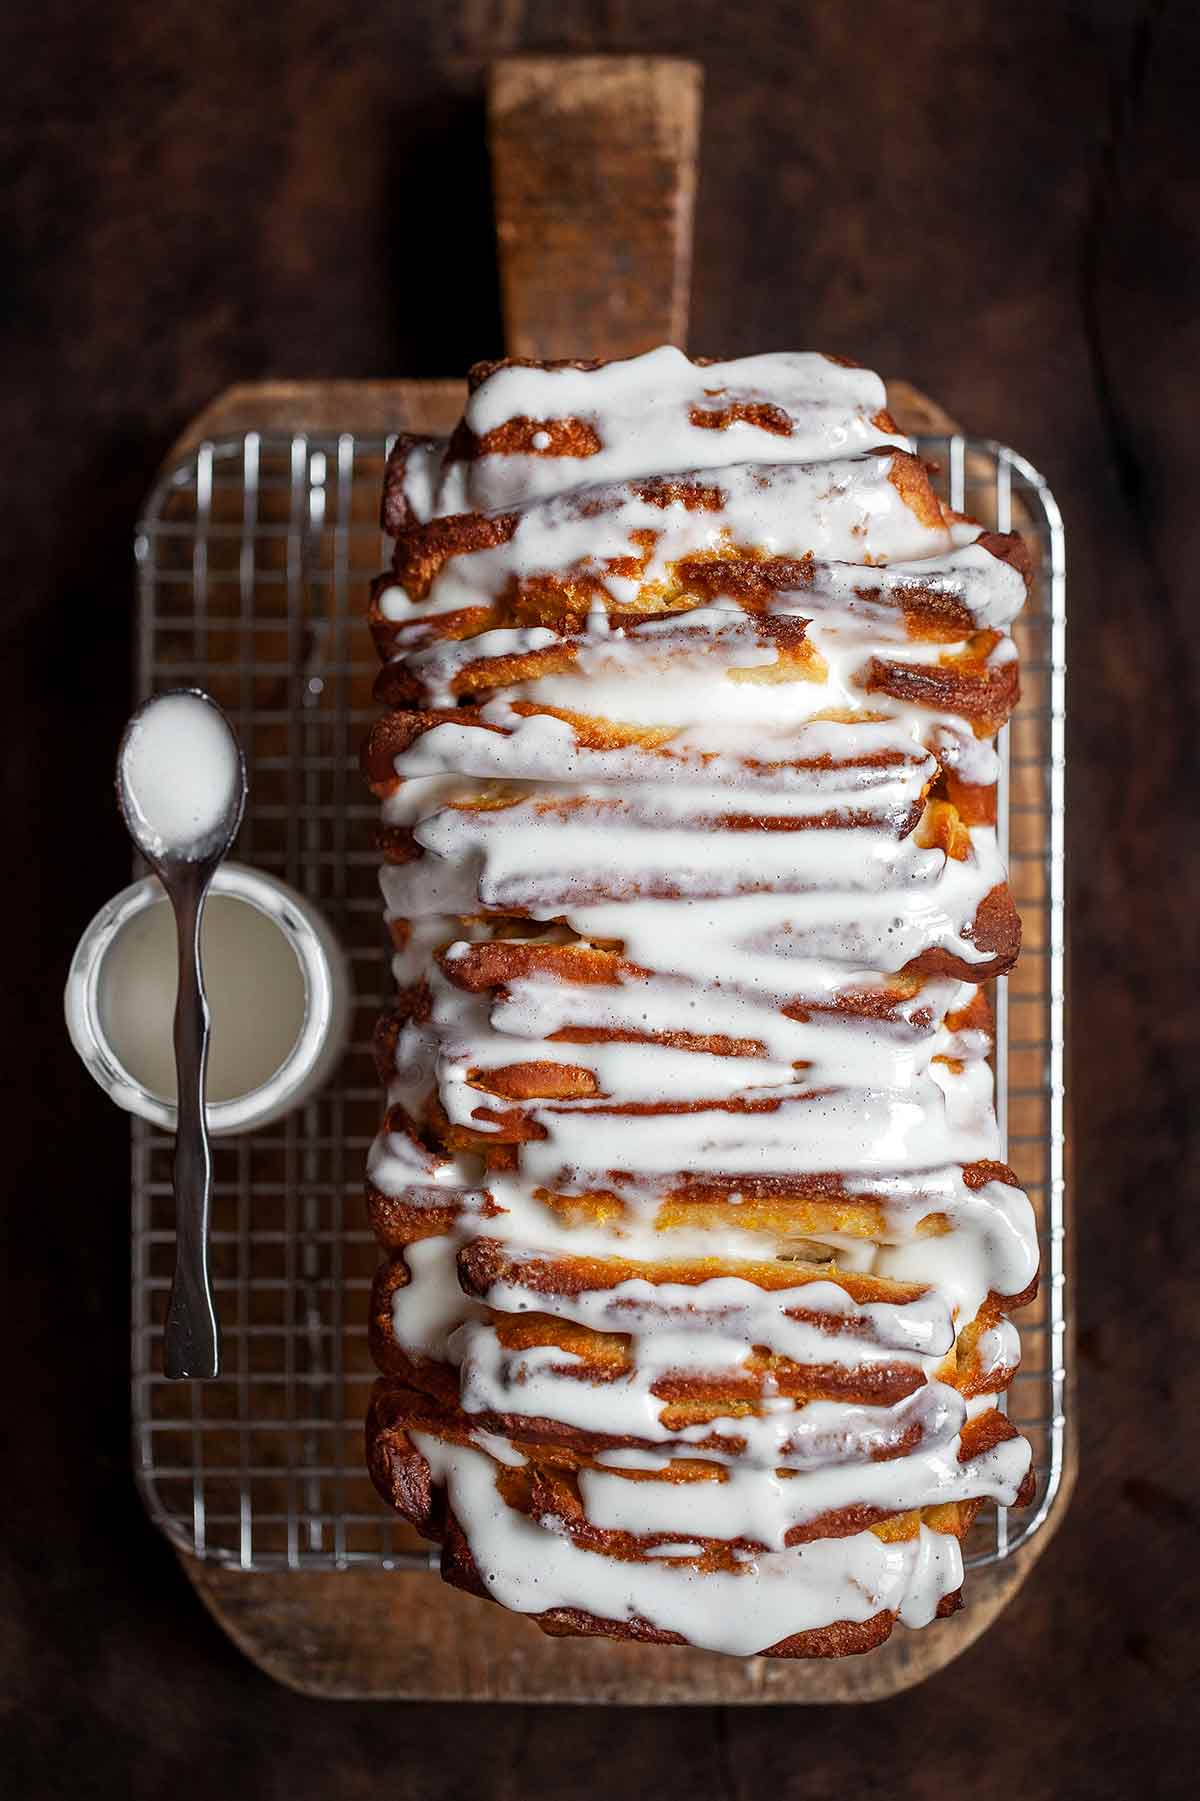
Lemon and cream cheese have long been classic companions in American baking, and this fun-to-assemble, sweet-tart filled coffee cake makes it easy to see why. Showcasing the lively flavors of fresh citrus, the sweet, buttery filling is made with fluffy, fragrant lemon and orange zest. The warm loaf is brushed with a cream cheese icing, whose tangy flavor marries marvelously with the citrus.–Flo Braker

Lemon Pull-Apart Coffee Cake
Ingredients
For the pull-apart sweet dough
- About 2 3/4 cups all-purpose flour, plus more for kneading
- 1/4 cup granulated sugar
- 2 1/4 teaspoons instant yeast (1 envelope)
- 1/2 teaspoon salt
- 1/3 cup whole milk
- 4 tablespoons (2 oz) unsalted butter
- 1/4 cup water
- 1 1/2 teaspoons vanilla extract
- 2 large eggs, at room temperature
For the lemon filling
- 1/2 cup granulated sugar
- 3 tablespoons finely grated lemon zest, (from 4 to 6 lemons), preferably organic)
- 1 tablespoon finely grated orange zest, preferably organic
- 2 ounces unsalted butter, melted
For the cream cheese icing
- 3 ounces cream cheese, softened
- 1/3 cup confectioners’ sugar
- 1 tablespoon whole milk
- 1 tablespoon fresh lemon juice
Instructions
Make the pull-apart sweet dough
- In the bowl of a stand mixer, stir together 2 cups (9 ounces) of the flour, the sugar, yeast, and salt.
- In a small saucepan, heat the milk and butter over low heat just until the butter is melted. Remove from the heat, add the water, and set aside until warm (120 to 130°F [49 to 54°C]), about 1 minute. Add the vanilla extract.
- Pour the milk mixture over the flour-yeast mixture and, using a rubber spatula, mix until the dry ingredients are evenly moistened. Attach the bowl to the mixer, and fit the mixer with the paddle attachment. With the mixer on low speed, add the eggs, 1 at a time, mixing just until incorporated after each addition. Stop the mixer, add 1/2 cup (2 1/4 ounces) flour, and resume mixing on low speed until the dough is smooth, 30 to 45 seconds. Add 2 more tablespoons flour and mix on medium speed until the dough is smooth, soft, and slightly sticky, about 45 seconds.
- Sprinkle a work surface with 1 tablespoon flour and turn the dough onto the flour. Knead gently until the dough is smooth and no longer sticky, about 1 minute, adding an additional 1 to 2 tablespoons flour only if the dough is unworkably sticky. Place the dough in a large bowl, cover the bowl tightly with plastic wrap, and let the dough rise in a warm place (about 70°F [21°C]) until doubled in size, 45 to 60 minutes. Press the dough gently with a fingertip. If the indentation remains, the dough is ready for the next step.
Make the lemon filling
- While the dough is rising, in a small bowl, mix together the sugar, lemon zest, and orange zest. Set aside. (The sugar draws out moisture from the zests to create a sandy-wet consistency, so don’t be alarmed when you see this.)
Assemble the coffee cake
- Adjust the oven rack to the center position and preheat the oven to 350°F (175°C). Lightly butter a 9-by-5-by-3-inch loaf pan.
- Gently deflate the dough. On a lightly floured work surface, roll the dough into a 20-by-12-inch rectangle with a short edge facing you. Using a pastry brush, spread the melted butter generously over the dough. Cut the dough crosswise into 5 strips, each about 12 by 4 inches. (A pizza cutter is helpful here.) Sprinkle 1 1/2 tablespoons of the zest-sugar mixture over 1 of these buttered strips. Top with a second strip and sprinkle it with 1 1/2 tablespoons of the zest-sugar mixture. Repeat with the remaining strips and zest-sugar mixture, ending with a stack of 5 rectangles. Work carefully when adding the crumbly zest filling, or it will fall off when you have to lift the stacked pastry later.
- Slice the stack crosswise through the 5 layers to create 6 equal strips, each about 4 by 2 inches. Fit these layered strips into the prepared loaf pan, cut edges up and side by side. (While there is plenty of space on either side of the 6 strips widthwise in the pan, fitting the strips lengthwise is tight. But that’s fine because the spaces between the dough and the sides of the pan fill in during baking.) Loosely cover the pan with plastic wrap and let the dough rise in a warm place (70 °F [21°C]) until puffy and almost doubled in size, 30 to 50 minutes. Press the dough gently with a fingertip. If the indentation remains, the dough is ready for baking.
- Bake the coffee cake until the top is golden brown, 30 to 35 minutes. Place on a wire rack and let cool in the pan for 10 to 15 minutes.
Make the cream cheese icing
- In a medium bowl with a rubber spatula, vigorously mix the cream cheese and sugar until smooth. Beat in the milk and lemon juice until the mixture is creamy and smooth.
- Tilt and rotate the pan while gently tapping it on the counter to release the cake sides or simply slip a thin knife or spatula between the coffee cake and the pan. Invert a wire rack on top of the coffee cake, invert the cake onto the rack, and carefully lift off the pan. Invert another rack on top, invert the cake so it is right side up, and remove the original rack.
- Slip a sheet of waxed paper under the rack to catch any drips from the icing. Using a pastry brush, coat the top of the warm cake with the icing to glaze it. (Cover and refrigerate the leftover icing for another use. It will keep for up to 2 days.)
- To serve, you can pull apart the layers, or you can cut the cake into 1-inch-thick slices on a slight diagonal with a long, serrated knife. If you decide to cut the cake rather than pull it apart, don’t attempt to cut it until it’s almost completely cool.
Explore More with AI
Nutrition
Nutrition information is automatically calculated, so should only be used as an approximation.
Recipe Testers’ Reviews
GOOD GRAVY! THIS RECIPE IS DANGEROUS! I made this yesterday on a whim. I didn’t have any expectations. I like lemon desserts but don’t love them. I’m great at making enriched dough, but it isn’t my favorite to make. But I had an abundance of lemons and needed something sweet.
I initially missed the part in the recipe where you only put 270g of flour in the dough first. So I had to start over. No biggie, that was on me. The directions were clear (especially when you take the time to read them thoroughly). And really the only thing resembling a criticism that I may have was that it took 6 lemons to get the required 3 tablespoons of zest. And less zest than that wouldn’t give it the gorgeous punch of flavor that this recipe has.
After my earlier flour mishap, I made certain to review all of the directions. They were all completely accurate. The timing was perfect! And while I wouldn’t describe this as an easy recipe, if you follow the instructions, it is very straightforward and well written.
When this came out of the oven, it took all of my inner discipline to not try to start eating it right away. I managed to wait the hour or so needed to avoid burning the heck out of myself. And then came the real danger…NOT eating the whole thing in one sitting. My husband and I finished our portions and both said aloud, we really shouldn’t have any more. I didn’t listen to either of our better judgments and did devour a bit more, with no regrets! He has declared this a perfect 10, and you will hear no argument from me. I think I am in love!
I did need extra flour. This is a sticky, sticky dough, but wonderful. The assembly instructions were a little intimidating. But if you read them twice (at least I needed to) and go step by step, it comes together well.
This is the perfect not-too-sweet coffee cake for afternoon tea or even breakfast, especially if served warm! The flavor of the citrus comes through nicely, and the overall appearance is impressive. Although there are many steps, the recipe is straightforward and manageable.
A few suggestions to streamline things: Be sure to read the entire recipe ahead of time, especially the rolling and cutting directions. For the icing, be sure your cream cheese is fully softened before proceeding. I needed a generous extra squeeze of lemon juice in order to thin it out. When rolling out the dough, my rectangle was not very precisely measured. As a result, my strips of dough were not exactly to size. This did not seem to matter at all in the end as the rising dough filled in the gaps. It was a challenge to use all 4 tablespoons of the butter for spreading over the dough, and I ended up using most of the leftover spooned over the top just before baking. I would not bother preheating the oven until 15 minutes before the end of the second rise, which for me took 45 minutes.
I baked it in a glass Pyrex pan for 30 minutes. In order to release the cake from the pan, I used a small spatula to loosen the sides. This worked great, and did not require me to bang a glass pan on the counter! Mixing the icing was straightforward. It was easily mixed with a spatula, though a wooden spoon would probably have been easier. I added a bit more lemon juice as it appeared rather thick. Rather than making extra icing, I wonder if the recipe could be more exact so as not to produce any leftover. Also, I do not usually use instant yeast, and would like to see directions if using active dry.
Although I may not yet be ready for the Great British Bake Off, this recipe gave me a great opportunity to up my game!
This soft, sweet bread is delicious, and very easy and enjoyable to put together. It is perfect in the morning with coffee, or as an afternoon snack—or both! Like the cheese danish recipe on the site, It has some lovely, sugary, crispy bits, but the inside is pillowy and light. A great addition to your sweet bread recipes.
When first adding the eggs, the mixture looked soupy and sloppy, but after a few turns of the paddle, the eggs incorporated nicely. It took 30 seconds to yield smooth dough, then 45 seconds as listed.
I did read the rolling and slicing directions a few times before I started, to try to visualize the process. It worked fine. It ended up that without looking at the picture and only reading the instructions, I placed the dough slices into the pan the opposite way as intended. The instructions state “Fit these layered strips into the prepared loaf pan, cut edges up and side by side”, and I put them in crosswise instead of horizontally—so 2 strips of 5 on one half, and 2 strips of 5 in the second half of the pan. Looking at the picture, it’s obvious that all strips of 5 should be placed crosswise in a row in the entire pan. So I’m not sure if the instructions were not clear or I just read it differently than intended.
Applying the frosting with a pastry brush was strange, maybe because of the consistency of the frosting. It was a thick enough consistency that it stayed on the pastry brush from bowl to bread, but once I spread it on the bread, it left “tracks”, so it probably should have been a little thinner. The “tracks” remained even on the warm bread, and the result was not as attractive as it could have been. This is a completely personal preference, but the bread was really beautiful out of the oven, with the slightly uneven puffy top, and sugar peeking through. If I were to make it again, I would thin the frosting and drizzle it over the top.
I really liked this recipe. It was very easy to put together, it all worked as the instructions stated. The bread had a wonderful consistency, the perfect amount of sweetness, and the zests added great flavor. I consider this bread more of a sweet bread rather than a coffee cake. The bread was also delicious the next day.
Baking with citrus can be delicious. This Lemon-Scented Pull-Apart Coffee Cake is a must-have for Easter or any springtime breakfast or brunch. It has all the elements of a prized sweet bread, with drizzles of cream cheese frosting over a buttery rich interior. Each bite has flecks of fragrant lemon and orange zest in it, uniting all the flavors of the bread perfectly. Be patient with this recipe, though. Cutting and stacking layers of dough is a technique that departs from forming it into a traditional loaf. But the look is unique, and the taste…simply lemonlicious! Who can resist?
This yeast-based coffee cake reminds me of some specialty rolls I made–using a recipe from a Betty Crocker cookbook–called Butter Fluffs (aka Fan Tans), which are made in much the same way this coffee cake is created and assembled. In this recipe, however, the yeast is proofed directly with the dry ingredients. This is a technique that works very well and allows the yeast to thrive in the warm (120°F) liquid and carbohydrate-rich batter.
The lemon-paste filling helps liven up the bread with its fresh flavors, the zest in particular picking up the sweet tang in the cream-cheese frosting and bringing all the flavors of the bread into harmony. The amount of sugar in the recipe also creates a comforting balance of sweetness. Much of the sweetness comes from the sugar in the dough, which helps produce a striking golden-colored loaf. However, added sugar from the paste also melts into the bread as it bakes.
As the recipe states, the dough had a slightly sticky, tacky feel after I first made it, and even after it doubled in size. Therefore, I added 6 extra tablespoons of flour to help compensate for the extra moisture lingering in the dough.
Once I relearned the technique of cutting and stacking dough into layers (as instructed in the Fan Tan recipe), the assembly process went together rather smoothly. Within 30 minutes of proofing, the layers of dough had squeezed together and rose above the rim of the pan to produce staggered peaks and valleys. When baked, the bread turned an eye-fetching golden color and set off the white-colored frosting so well.
When I ran a knife around the bread to loosen it, it slid right out of the pan without struggle. It pulled apart easily and made for an unforgettable treat.
This is an advanced recipe in terms of construction. Is it worth it? Yes. Because the bread dough is made with milk and butter, it retains a very soft, beautiful texture. The pull-apart aspect is a lot of fun and the resulting bread, with and without the cream cheese glaze, is lovely. The smell throughout my house was fantastic. I love the citrus tones.
Want to Save This?
I might skip the cream cheese frosting in the future in favor of a lighter one. In spite of how good the bread is, I do have a few baking notes:
1. Read the recipe all the way through so that you understand all the steps before starting. (Mise en place helps, too.) The construction phase is a bit more complicated than a simple monkey bread or even a simple cinnamon roll.
2. Make sure you have really fresh yeast, otherwise you may have trouble. The recipe does not contain a proofing period before adding all the other ingredients.
3. I used more flour because the texture was too sticky. So, you may need more flour (or you may need only what’s in the recipe). If you don’t include enough flour, though, there won’t be enough structure for later.
4. I had to draw a diagram of the cutting in order to have it make sense. You may want to draw a rectangle with the cutting in order to see the dimensions more clearly. The resulting smaller rectangles (4-by-2 inches) are delicate, especially with the filling. I turned my loaf pan on its side (short side down) and stacked gently.
5. When I repeat this recipe, I’ll likely line the pan with parchment. The bread took a bit of coaxing to remove from the pan. (I ran a knife around the sides and then used a spatula to coax it.)
6. The recipe asks you to remove the cake/bread when it is golden. This does not necessarily mean that the inside has completed cooking. The minimum internal temperature for breads is 185°F but 190°F for this bread would be better. (The maximum would be around 199°F to 200°F.)
This recipe turned out well but might not necessarily be for someone who hasn’t made a lot of bread before. This is more like a sweet bread recipe rather than a traditional cake. The flavor was really good.
When making this bread, I kneaded for longer and ended up adding 1 tablespoon more flour. I worried that it might get too far from the actual texture that the author wanted but had trouble knowing what too sticky might mean. Anyway, the dough rose and tasted good.
Where the recipe describes how the dough is rolled, cut, and assembled, I drew a rectangle and then made the lines to resemble the cuts. This made it easier for me to visualize without cutting the dough itself.
I tried to keep the sugar mixture in the middle of the strips and away from the edges because the author warned about losing a lot. I also had trouble stacking the strips because they were so tender and stretched as I lifted them up.
I baked it for 35 minutes. The frosting was easy to mix using the spatula because I made sure the cream cheese was very soft (microwaved it just a tiny bit). I actually didn’t have to go to the lengths of getting the bread out because I had buttered the pan before placing the pieces. While the frosting tasted good, it seemed like extra.
I’m not sure whether I’d make this again unless I planned ahead and made the dough the day before (fridge rise). However, the recipe definitely works and might be fun for a party.
“Lemon,” “pull-apart,” “coffee cake,” and “cream cheese icing”—really, there is no bad there. This bread-like cake is tender and moist, full of bright citrus flavor both in the cake and the icing, and just darn fun to eat. It’ll delight you all day long, from breakfast to midnight snack, I promise. Since it’s going to take almost 4 hours of your time to make it, I tested this recipe twice in order to work out all the kinks before writing this review. (Oh please. The pleasure was all mine and my tasters’.)
Here are some pointers:
If the dough seems too sticky at first, be patient and keep working the mixer, and the dough does come around.
When kneading the dough I had to add 4 tablespoons of flour for it to be workable, but the cake was still tender, not dry and stiff.
Giving the dough plenty of time to rise (60 minutes for the first rise and 50 minutes for the second rise) improved the texture of the finished cake significantly.
Be sure to use up all of the butter and lemon filling between the layers to make the cake a true pull-apart.
Mine baked in 35 minutes. What you’re looking for is the internal temperature of 190°F.
Line the long sides of pan with parchment paper to create a sling so that you can lift the cake. Getting the warm cake out of the pan as instructed was tricky—the layers felt too fragile for handling. I used a fork to mix the cream cheese and sugar. It took less than 1 minute to become smooth (has the consistency of loose custard). There was about 1/4 cup of the cream cheese icing left. We enjoyed it as a dip for fruit.
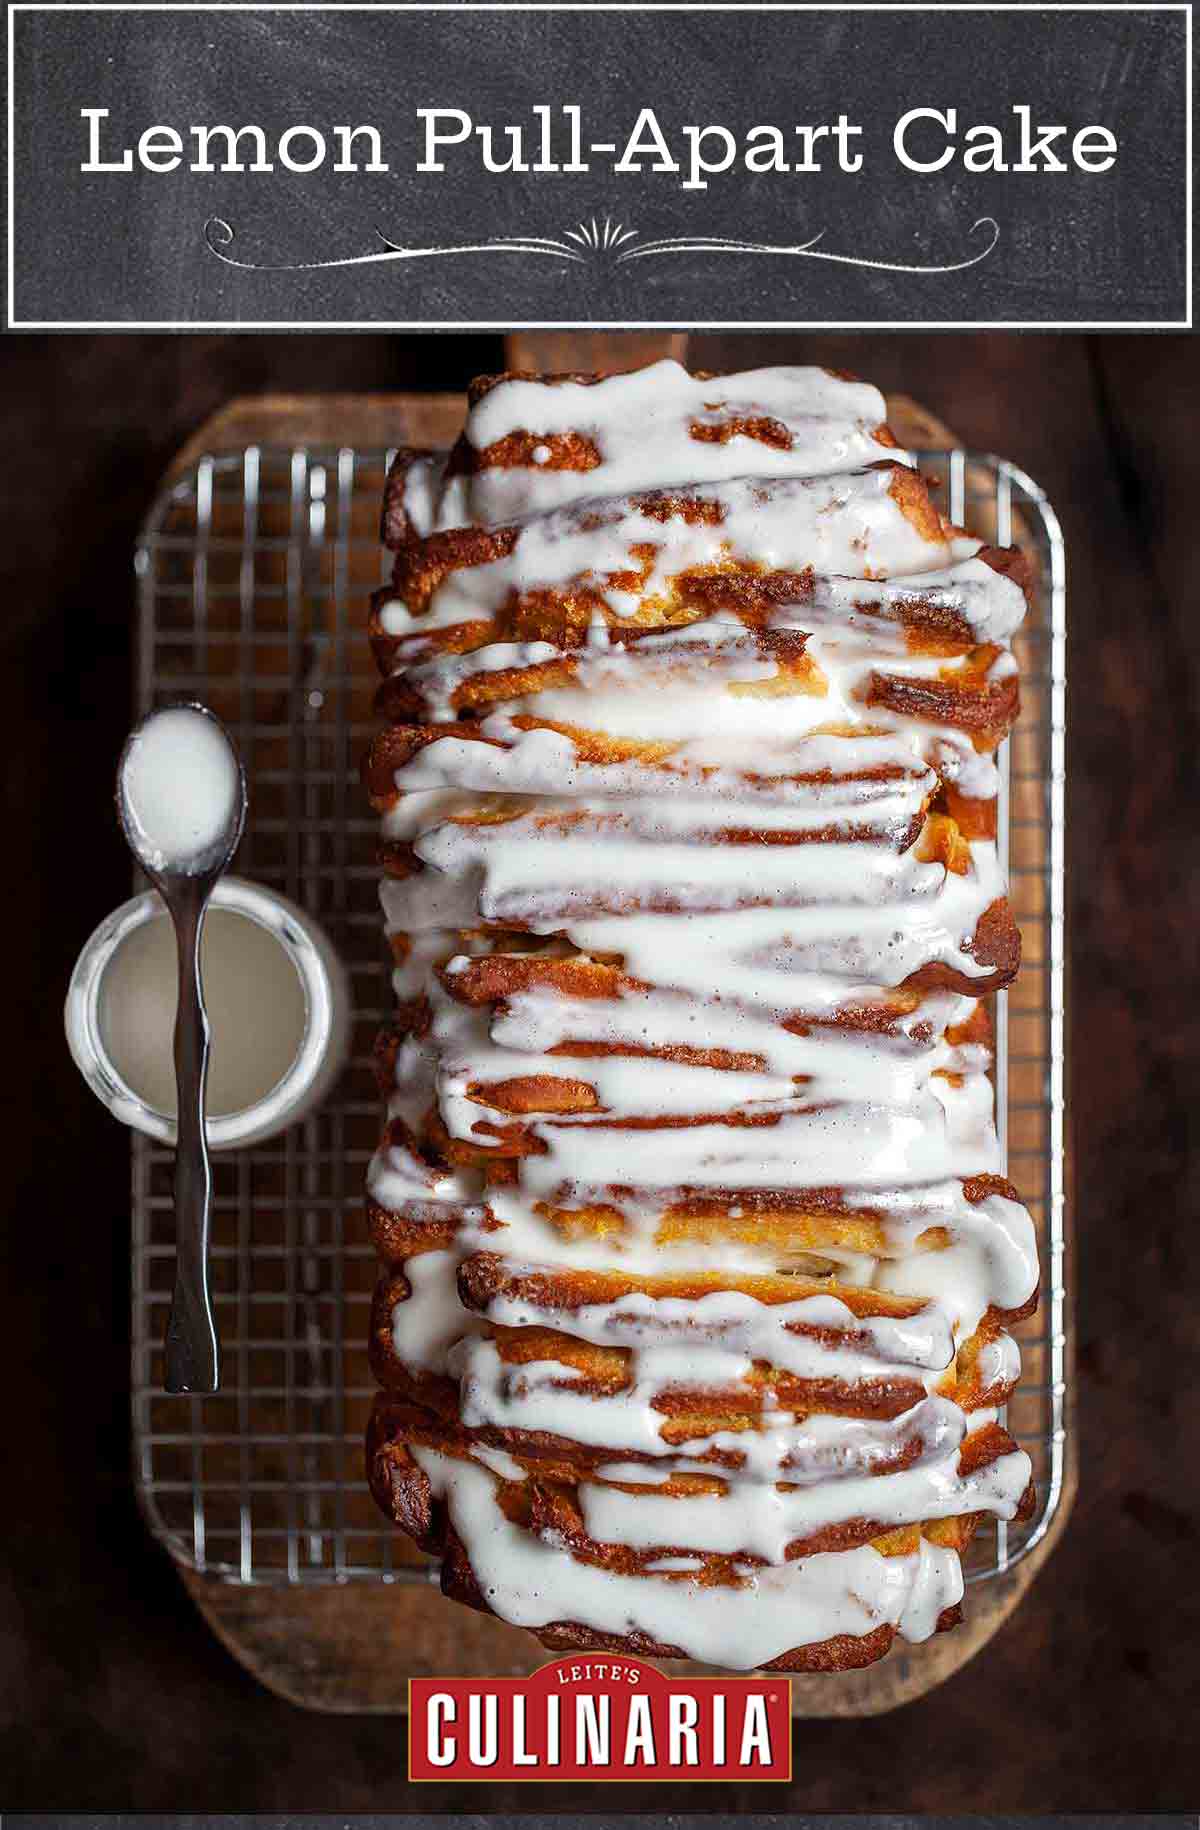




I am currently making this… because I love all things lemon!!!! My biggest hurdle is. I am a visual learner and also new to baking so when in can down to the nitty gritty of cutting and placing and cutting again I am lost ??♀️ it’s not because of the directions, they are very thorough which I appreciate. I just wish there was a video or pictures. Super excited to eat this!
Brittney, we are thrilled you are making this for the first time. If you have a ruler or tape measure close by, that may help visualize how to cut and shape the dough. Please let us know how it turns out.
As lemons and bread are my two favorite foods, this recipe is a winner. I only made half the recipe, which actually worked beautifully (I tucked a glass custard dish in the
empty space). I appreciated the testers’ tips on how to pay attention to the two sets of slicing of the dough. I didn’t make the icing because I prefer less sweet and didn’t miss it at all. Many thanks.
You’re welcome, Jude. I’m so glad that you enjoyed it. Thanks so much for taking the time to comment.