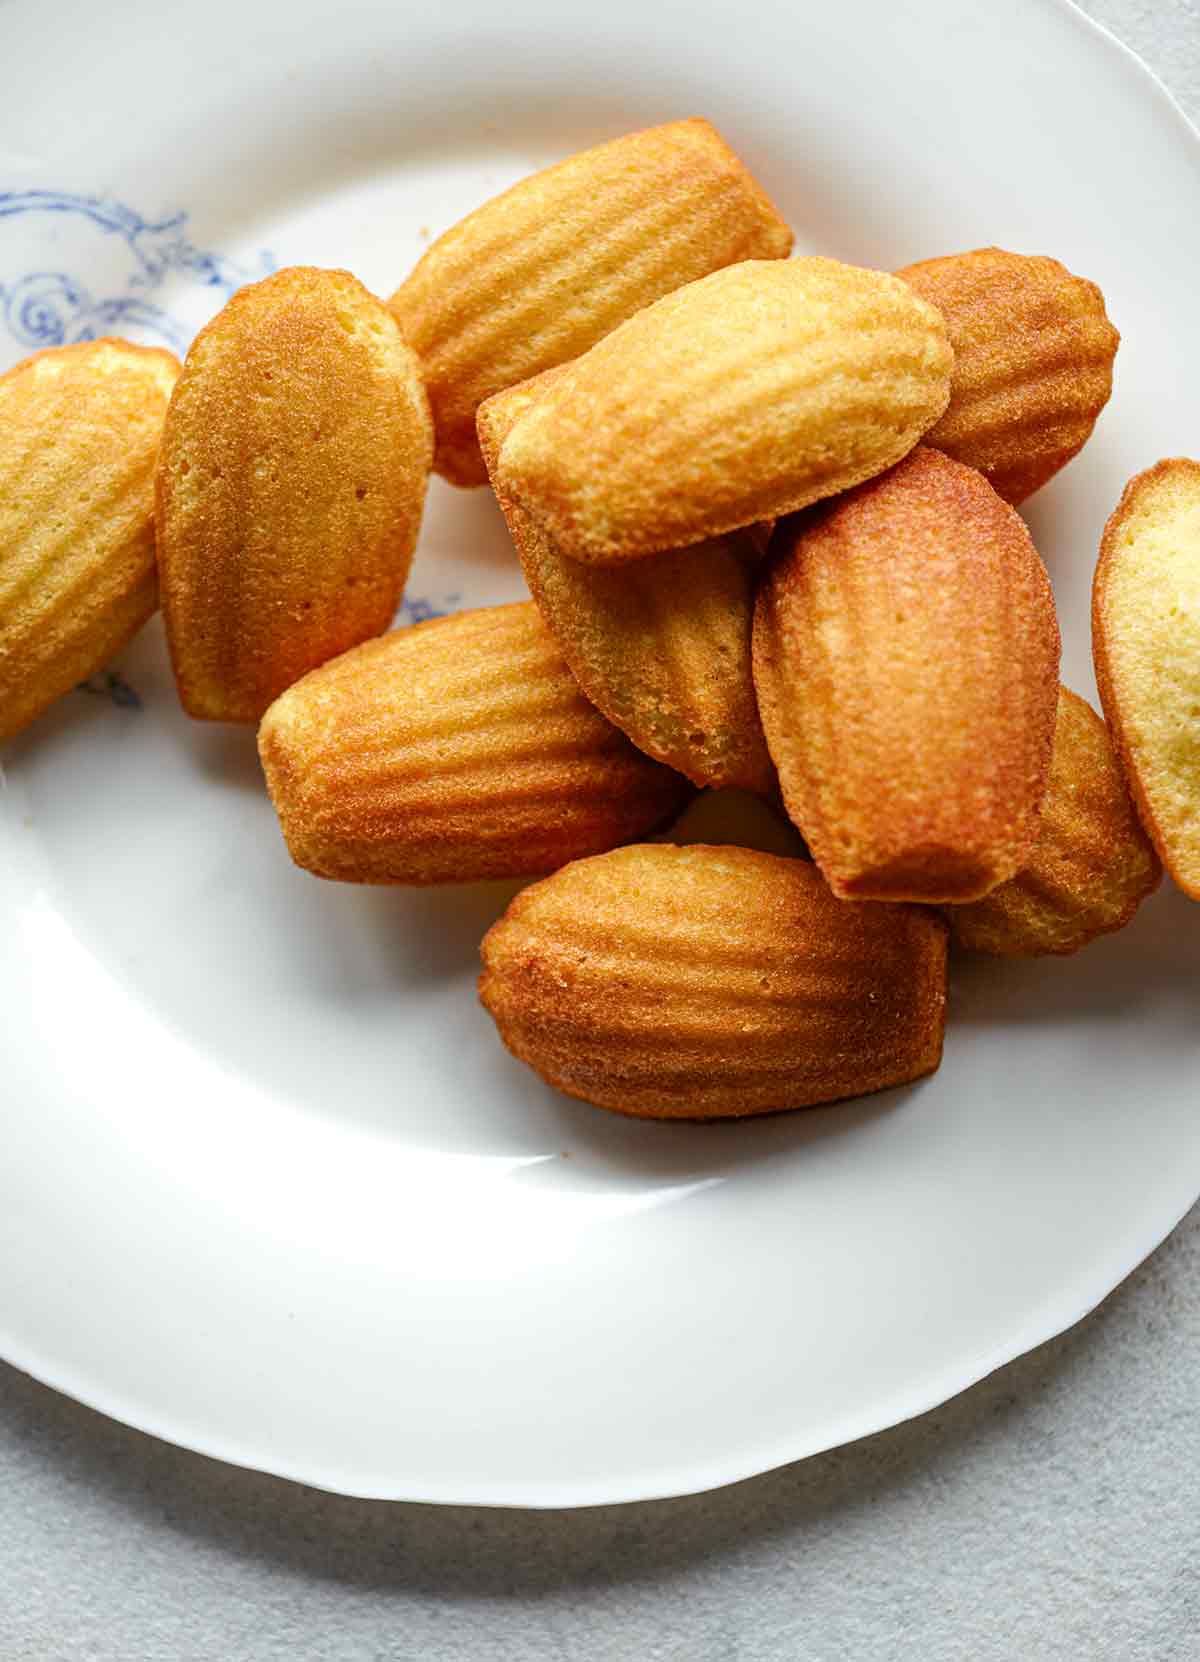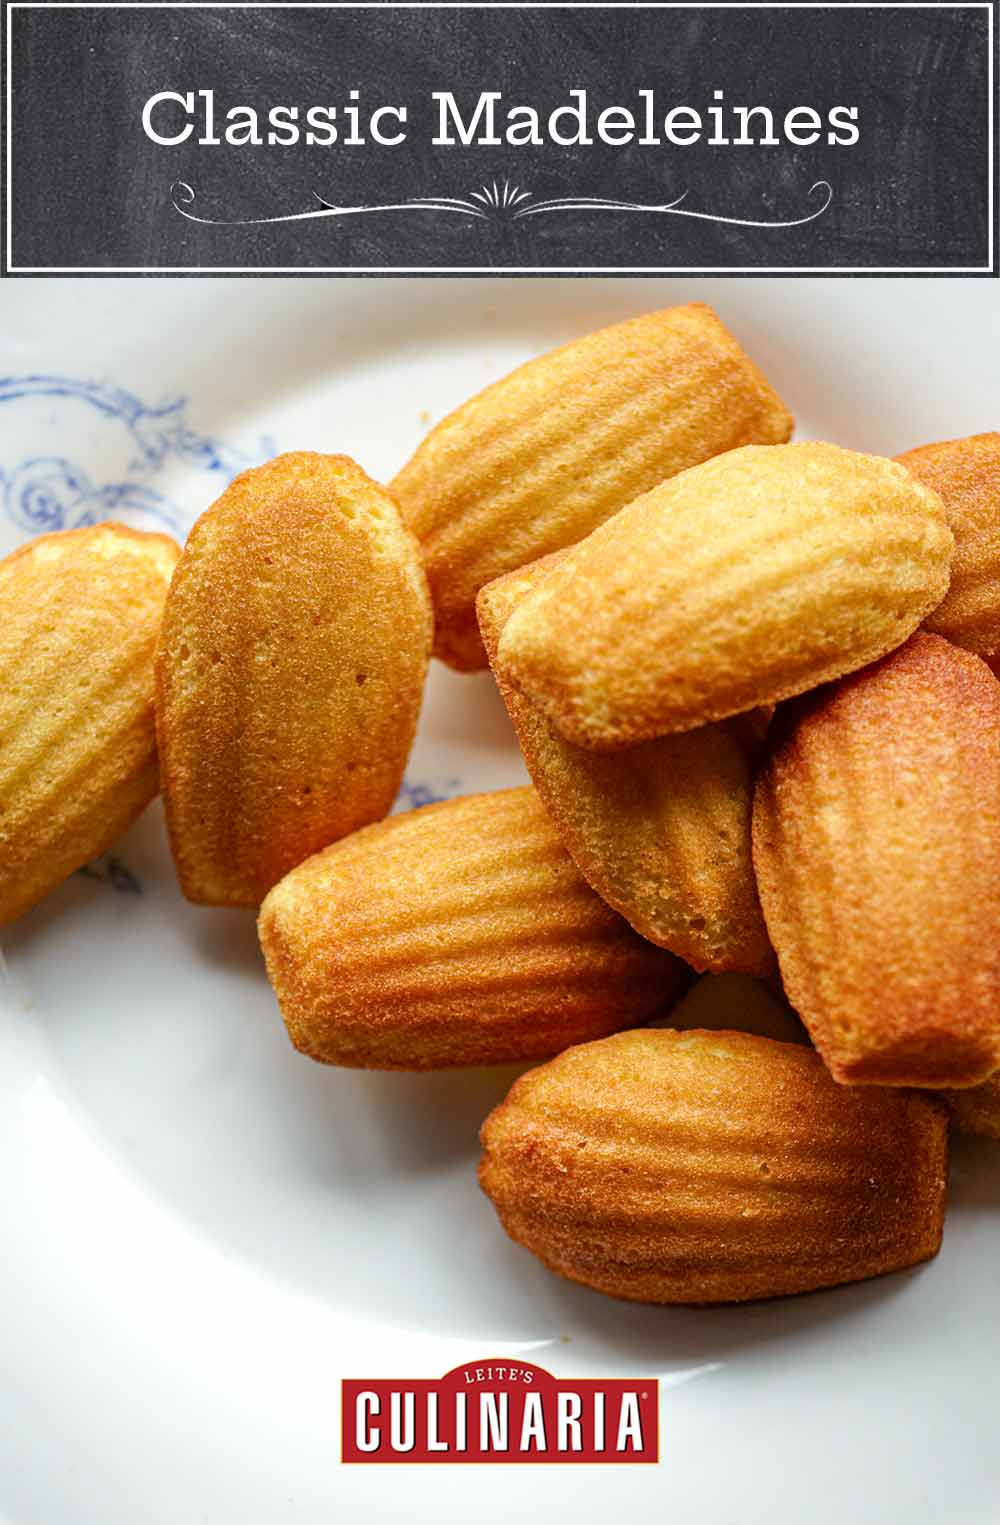
These meltingly tender little madeleines are essentially made using a génoise batter, in which melted butter is stirred into a whisked egg, sugar, and flour base. It’s the bosse, or dome, that defines whether a cake is indeed a madeleine or simply a plain old sponge cake. [Editor’s Note: We once read an article about pie whose very existence had prompted the writer to expound, impassioned, upon the topic. The essay ended somewhat eloquently, with the words, “Everyone has their [sic] madeleine.” Or something like that. (Referring, of course to Marcel Proust and his prose. But you knew that.) And yet, for some of us, our madeleine is a madeleine. For those of you whom that applies to, this recipe’s for you.]–Annie Bell

French Madeleines
Equipment
- 2 madeleine pans (scallop-shaped is traditional) or 2 nonstick mini-muffin pans
Ingredients
- 2 large eggs, at room temperature
- 1/2 cup superfine sugar, (or just blitz granulated sugar in a blender until finely ground but not powdery)
- 1 tablespoon honey
- 1/2 teaspoon vanilla extract
- Pinch fine sea salt
- 3/4 cup all-purpose flour
- 1 level teaspoon baking powder
- 5 3/4 tablespoons unsalted butter, melted, plus more for the pans
- Confectioners’ sugar, for dusting (optional)
Instructions
- Using an electric mixer on medium-high speed, whisk the eggs, sugar, honey, vanilla, and salt in a large bowl until very pale and at least doubled in volume, 5 to 8 minutes.
- In a small bowl, sift together the flour and baking powder. Fold it into the egg mixture, followed by the melted butter. Cover the bowl with plastic wrap and refrigerate for at least an hour and up to overnight.
- Preheat the oven to 475°F (246°C). Butter 2 madeleine pans or 2 nonstick mini-muffin pans. Place the pans in the freezer.
- Give the refrigerated cake batter a good stir and fill the molds 3/4 full using a teaspoon. Place the trays in the oven, immediately turn the temperature down to 425°F (218°C), and bake for 4 minutes, during which time a dip will form in the center of the cakes. This dip is the beginning of the domed bump.
- Now turn the oven down to 375°F (191°C) and bake for another 3 to 5 minutes, until you have a beautiful dome in the center of each one, the mixture is set, and the edges of the cakes are golden. Remove from the oven.
- As soon as the pans come out of the oven, run a knife around the edge of each cake and let them cool in the pan. Madeleines are at their loveliest eaten slightly warm, but they are also good for dipping into tea, Proustian fashion, for a couple of days thereafter. Dust with confectioners’ sugar before serving, if desired. Store any leftover madeleines in an airtight container.
Notes
*What You Need To Know About Creating Nicely Domed Madeleines
The secret to the bosse is partly the temperature differential achieved by placing chilled batter in a very hot oven. I suppose in a way it’s the opposite of baking an ordinary cake, which can unfortunately bolt upward in the center—normally because of the oven being too hot—whereas here that’s part of the plan. The batter needs an hour or so to rest in the fridge. I like to make it the night beforehand.
Explore More with AI
Nutrition
Nutrition information is automatically calculated, so should only be used as an approximation.
Recipe Testers’ Reviews
Warm, buttery, airy, delicate little cakes. Who knew madeleines were so simple to make..and so delicious?
I specifically bought a pan for this recipe so I could make the authentic madeleine-shaped little cakes. The pan wasn’t nonstick or silicone but steel. The directions were perfect. I gently slid a knife around the edges of the cakes before cooling and once again after they’d cooled, and the madeleines came right out of the pan.
Use eggs at room temperature, as they whip up easier. If pressed for time, warm whole eggs straight from the fridge in a bowl with warm tap water for 5 minutes to speed up the process.
I used regular sugar since I didn’t have superfine and the madeleines were still delicious and I couldn’t detect any sugar crystals.
My batch puffed up beautifully as the batter and pan were both very cold. I refrigerated the batter in a stainless steel mixing bowl and it was ready to used in 2 1/2 hours. Freezing the mold before baking is a great tip to ensure a great rise out of the madeleines.
I’ve always thought of a génoise cake batter as too complex to make, but in fact it’s quite the opposite.
I would definitely make this recipe again. Let these get to a nice golden brown. I didn’t want to overbake them, so I pulled my first batch when the edges started brown. Next time I’ll let them get really golden brown on the edges so the scallop shape comes out browned rather than pale. I think 11 minutes total baking time instead of 9 minutes in my oven would have done the trick.
This madeleines recipe came together in no time and made wonderful and VERY addictive little cakes with cute bumps. There are no frills here, just basic vanilla-flavored madeleines. They deliver exactly what they promise— sweet but not cloying, redolent with vanilla, tender, and buttery. They are crazy addictive, so watch out, a batch can be gone in no time between two people.
I used a pan for regular (not mini) madeleines, and the recipe made 12 perfect cakes. I haven’t buttered a pan in years; I always use Pam for Baking spray, and I used that for these as well. They came out of the pan with no effort.
Our favorite way to enjoy them is to let them cool completely and dunk them in black coffee.
I own a madeleine pan, so I love finding new recipes for these pretty little treats. As one of my boys said, they’re not the main attraction dessert, but they’re great because they’re so light. They’re perfect for a baby or bridal shower or to have a friend over for tea. I made the batter in the afternoon, and when I put the batter in the refrigerator, it was thin, but when I took it out a few hours later, it was so thick it kept its shape when I scooped it into the pan. I spread it out a little with a spatula in each mold before putting the tray in the oven.
The molds were a little more than half full, as I was trying to have enough batter to make all 24 treats and did not want the molds to overflow. The batter puffed up very full with a dip in the middle in just a minute or two. After 4 minutes, I reduced the baking temperature again. The treats filled the molds and were already starting to brown around the edges, and they looked done after another 2 minutes (my oven may be a little hot). I took them out and ran the knife around the edges as told, and the cakes almost slid out with just this movement. They were cool enough to eat in just a few minutes.
I think they would also be great with almond extract in place of the vanilla or a little lemon zest or maybe a drizzle of chocolate? So many possibilities, but definitely a good base. My husband never likes them because he always wants more texture, preferring a cookie to anything with a sponge cake bite, but if you like a simple cake-like treat, these are lovely.
These madeleines are delightful, moist, tender little morsels of cake-y heaven. This recipe uses an interesting technique with the oven temperature, and it did produce a better madeleine than I have been able to create in the past. I was quite proud to produce that lovely little dome that has previously eluded me!
Being gluten-free, I used my own GF flour blend, which adapted well, and because I am most fond of these flavored with lemon zest, I added this in as well. I do think the chocolate version will be outstanding, and it’s next on the list. And there will definitely be more than one next time with these little gems. Overnight worked perfectly for letting the batter rest and chill, and there isn’t much worry about leftovers for dipping in tea the next day—immediate inhalation is imminent!
This is a simple, nice madeleines recipe. It works perfectly. I used a mini-muffin pan and these tasty little cakes disappeared quickly. The cakes are not very sweet, which makes them the perfect partner for my always sweet coffee. I think this would also make a nice, simple nine-inch cake with a dusting of confectioners’ sugar.
I’ve been making madeleines for more than 20 years now, and it’s a breakfast staple in our home. Hence I am always looking for madeleine recipes to add to my repertoire. I was terribly excited to see this one come through.
I will give this a TC with one caveat. The baker needs to adjust the temperature of his/her oven. In my oven, they were a bit too brown and a bit crisp around the edges. So I would either lower the temp, or adjust amount of time it remains in the oven at a very high temperature.
I chilled the dough for over 6 hours and baked it according to instructions. The madeleines achieved a fabulous dome and the flavor of the honey came through beautifully. This recipe is a keeper; however, I will play with the oven temp to get a golden brown color as opposed to a dark brown color.
The batter for these madeleines was delicious and came together very easily. I made a lemon zest version that was light and moist. This is a definite go-to for having folks over. My only complaint is that they get hard if they are sitting out for more than a couple hours. (I set mine out midway through the Super Bowl, and by after-dinner they were better for dunking in tea than snacking).
I’ve been making madeleines for years from a recipe I learned while studying at Le Cordon Bleu in Paris, and using stainless molds I bought at Dehillerin while living there. I’m happy to say that this recipe stood up quite well to my tried-and-true recipe, thank you very much.
Given that I use standard (as in not nonstick) molds, I buttered AND floured them before using, and I urge any of you using standard molds to do the same. This allowed me to simply invert the mold over a clean kitchen towel upon removing it from the oven and have the cakes tumble out prior to placing them on a rack to cool slightly—but only very slightly, as madeleines are best eaten warm from the oven.
Like the author of this recipe, I, too, like to make my batter the night before and bake the madeleines off to accompany my morning coffee. Before putting the batter in the fridge to rest for the night, I place it in a disposable piping bag; in the morning, I simply snip the end off the bag and pipe the batter into the molds—much easier and neater than spooning.
The flavor and texture of these madeleines were superb—light on the palate with a delicate crumb and just a hint of honeyed sweetness. I must say that I was a little disappointed in the bosse, or dome, achieved on my first batch of cakes. While they browned nicely, they didn’t peak in the middle as they should have, but instead turned out rather flat. Interestingly, the second batch I popped into the oven turned out perfectly under the exact same temperature conditions. Why the difference? I can’t be 100% sure, but my guess is that the batter having warmed closer to room temperature for the second batch made all the difference. Accordingly, in the future I’ll allow the batter to warm on the counter for about half an hour before baking once I’ve pulled it from the fridge.
I also think I’ll add a little lemon zest next time, as that little hint of citrus adds a nice touch to these classic cakes.
Having never made madeleines before, I was surprised by how easy they were!
A friend had an idea to serve these on Christmas morning and brought along 2 madeleine pans for the holiday festivities. One was what I consider to be the traditional long scallop shape and the other a more shell-like shape and the batter perfectly filled all 20 of the indentations. I had been very careful in the buttering and flouring of the pan, and they were easy to remove.
Being somewhat of a purist, I had to try them unadorned, without the confectioners’ sugar, first. My preference would be to always have them that way. However, they did look festive dusted with the confectioners’ sugar and when we didn’t finish them all that morning, the sugar dusting remained visually appealing as they waited to be eaten over the course of the next day.
Because we are tea drinkers, we were able to follow through on Ruth Reichl’s suggestion to, “Enjoy a madeleine with tea, just as the narrator did in Swann’s Way.” And we all loved the little bit of lemony goodness from the zest in the batter—despite the fact that maybe this runs counter to my purist tendencies.


Great recipe. Easy to make. Not too sweet like the store bought ones.
Thanks, Raphael. We’re delighted that you love them as much as we do.