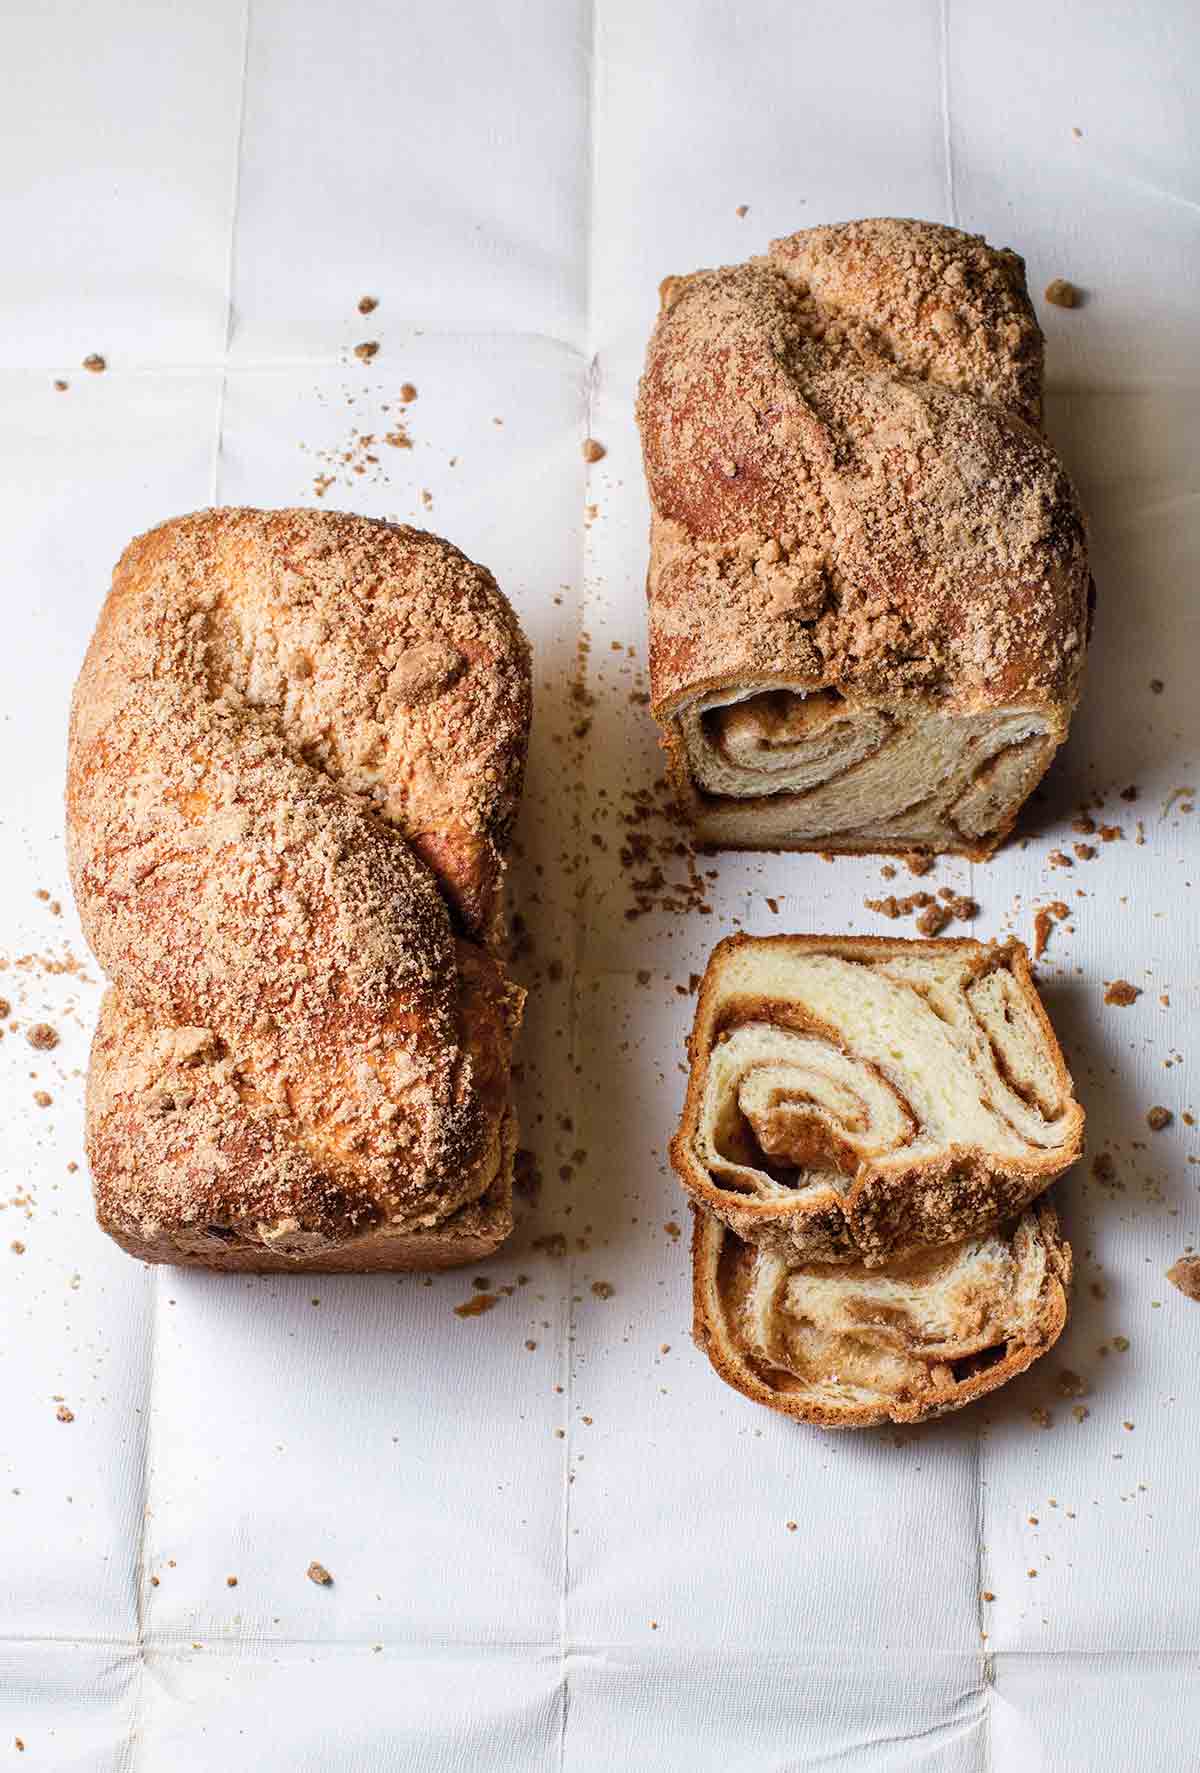
The name “Hungarian coffee cake” may seem a touch of a misnomer given that this lovely classic is actually made with a light, airy, yeast dough recipe. But what it shares in common with a more conventional coffee cake is a cinnamon swirl, an irresistibly crumbly streusel, and kids and adults always clamoring for seconds. We like to think of it as equal parts cake, bread, and pastry.–Renee Schettler
Hungarian Coffee Cake
Ingredients
For the streusel
- 1/3 cup unbleached all-purpose flour
- 1 tablespoon superfine sugar, (or blitz granulated sugar in a blender until finely ground but not powdery)
- 1 tablespoon packed light brown sugar
- 1/8 teaspoon ground cinnamon
- Pinch fine sea salt
- 2 tablespoons (1 oz) unsalted butter, melted and cooled
For the coffee cake
- 1/3 cup packed light brown sugar
- 2 tablespoons superfine sugar
- 1 1/2 teaspoons ground cinnamon
- Unbleached all-purpose flour, for rolling the dough
- 1/2 recipe Yeasted Sour Cream Dough
- 4 tablespoons (2 oz) unsalted butter, well softened
- 1 large egg, well beaten
- Unsalted butter, softened, for the pan and brushing the dough
Instructions
Make the streusel
- In a small bowl, mix the flour, superfine sugar, brown sugar, cinnamon, salt, and butter with your fingers until combined and crumbly.
Make the coffee cake
- In another small bowl, mix the brown sugar, superfine sugar, and cinnamon.
- Lightly dust a work surface with flour. Place the dough on the work surface and dust lightly with flour. Roll out the dough into an 18-by-10-inch rectangle, with a long side facing you. Brush the well-softened butter over the surface, leaving a 1-inch border on all sides. Sprinkle the sugar mixture over the butter.
- Starting at the top of the rectangle, tightly roll up the dough, leaving an empty border along the edge. Brush the empty border of dough with the beaten egg and pinch the seam closed. Gently roll the dough back and forth underneath your palms to seal the seam securely.
- Push the ends in on each side and roll again to stretch the log to 18 inches. Fold the dough roughly in half to form a U-shaped curve, with one side 3 inches longer than the other.
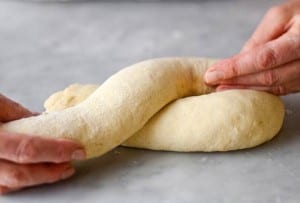
- Using the side of your hand, press a dent into the dough at its bend. Fold the longer length of dough over and around the shorter length twice to make 2 humps.
- Twist the dough lengths to create a third hump and tuck the two ends under the loaf. You should have a loaf about 9 inches long with 3 humps.
- Generously butter a 9-by-5-by-3-inch loaf pan. Transfer the dough to the pan, making sure that the ends are secured under it. Gently brush some butter all over the top of the dough. Sprinkle the streusel over the top, patting it gently so it adheres. (Don’t worry if some of the streusel falls into the corners or sides of the pan.) Place the loaf pan on a half-sheet pan or rimmed baking sheet.
- Choose a warm spot in the kitchen for proofing. Slip the pan with the loaf pan into a tall kitchen plastic bag. Place a tall glass of hot water on either side of the loaf pan to keep the bag from touching the dough. Wave the bag to inflate it and tightly close it, trapping air in the bag. Let stand until the loaf rises 2 inches above the rim of the pan, about 45 minutes.
- Meanwhile, position an oven rack in the center of the oven and preheat it to 350°F (177°C).
- Carefully remove the glasses from the bag, then remove the pan. Bake the coffee cake on the half-sheet pan until the top is deep golden brown, the dough in the crevices looks fully baked, and an instant-read thermometer inserted into the center of the cake reads at least 195°F (91°C), 45 to 60 minutes. (It’s sorta tricky to tell when the loaf is done just by visual cues alone, so we encourage the use of a thermometer.) If the loaf threatens to darken too much, cover the top loosely with foil.
- Cool in the pan on a wire rack for 10 minutes. Carefully unmold the cake onto the rack and let cool completely, right side up.
- To serve, reach for a serrated knife to cut the cake into slices.

Explore More with AI
Nutrition
Nutrition information is automatically calculated, so should only be used as an approximation.
Recipe Testers’ Reviews
Did you know only 68% of the recipes we test make it onto the site? This recipe survived our rigorous blind testing process by multiple home cooks. It earned the Leite’s Culinaria stamp of approval—and the testers’ reviews below prove it.
This recipe is easy to follow and gives you a rich, buttery coffee cake in a few hours. The shaping instructions were easy to follow and resulted in a loaf with perfect swirls of streusel throughout. The crumb topping adds some crunch and also contributes to the buttery flavor.
I’m not sure that the process of proofing in a tall kitchen plastic bag is all that crucial, and it seems a little fussy to me. The standard proofing technique of resting the dough in the loaf pan lightly covered with a buttered piece of plastic wrap in a warm spot in the kitchen would probably work just as well.
Everything about this Hungarian coffee cake recipe is comforting: the ingredients are in your pantry, the instructions are gentle but firm, that yeasty smell of dough on the rise, that doughy texture. And that’s before anything is in the oven!
There are many steps here, yes, but we’re led through them with the confident tone of a Hungarian grandma at our elbow. And what a practical granny, too, giving us 2 yeast dough balls with the effort of one and instructions for freezing and thawing for another, even lazier weekend.
Practicality, too, is in the title: though this looks like a cinnamon streusel loaf, the word “cake” reminds me that I should resist the impulse to eat one tender, luxurious slice after another. (Grandma would be proud to know that it has kept, well wrapped, at room temperature, for 4 days, only slightly less wonderful than the day it was made.)
I didn’t have a bag big enough for the proofing as described. So I upended our biggest pot in the house directly over the loaf.
Put this on your to-do list for a day when the warmth of the kitchen draws you to that nostalgic place…the one where YOUR Grandma (or your Pop or Mom) is at your elbow.
This recipe makes a delicious coffee cake that’s more like a bread and almost like a Danish pastry as opposed to being like a crumb cake.
This really tastes like something that I would get at an authentic Danish bakery, even though it’s Hungarian. It’s moist and rich and not too sweet but still airy, like a Danish pastry, if that makes any sense. Be forewarned, because with mixing and resting, this recipe takes approximately 4 hours total (I started at 10 a.m. and was tasting it at 1 p.m. after running a few errands in between rises).
If you love baking and have the time, this Hungarian coffee cake will be pleasing and rather fun to make. Once the starter dough is made and rising, the rest of the recipe comes together easily. Twisting the dough was sort of confusing, although I for the most part understood.
I didn’t use the egg wash, as my dough sealed perfectly fine without it. I didn’t want to use the plastic bag with cup of hot water for the second rise, so I actually got a large pot with the outside edges of the pot creating a flat level surface when flipped over and used it as a dome for the bread and the hot water. It worked great.
My oven runs hot but my bread baked and browned quickly—it reached 208°F at the 40-minute mark, and even at 208°F, the middle was still somewhat dense and moist. I would recommend checking for doneness at the 35-minute mark just to be safe. The middle of my loaf had a “sinkhole” in it after I checked the temperature, although when it cooled, I was still able to slice it, and it was fine.
I am a die-hard “coffee crumb cake” fan, so while this was a fun project, I’m not sure if I would attempt it again since I prefer cake-style coffee cake to this version, although my teenager couldn’t get enough of it and gave it a 10/10.
You know when you stumble across a recipe that you know is going to be perfect even before you begin to bake it? This is it! From the easy-to-make-and-use dough to the wonderful aromas that filled the house while it baked to the final sweet, chewy product, this Hungarian coffee cake recipe was perfect and will be repeated many times in this household.
The term “coffee cake” in the title is a bit misleading, but the description is true—this is much more like a bread and not really anything like a cake. The dough was easy to make and took a total of 30 minutes to put together, plus another 45 minutes rising time to double in size. The consistency was as described and was very easy to manage and roll out, as it didn’t stick to everything. I’ve never taken the internal temperature of a baked good before, but I can see why it works. I checked the temperature at 43 minutes, and it was at 177°F but by all other indications, it looked done, having a nicely browned crust on the outside and pulling away slightly from the edge of the pan. I put it back in for 7 more minutes, at which time the temperature was 197°F. The final result had a crunchy exterior and a perfectly baked, chewy, bread-y interior. So delicious.
This is a delicious, indulgent, adult- and kid-pleasing cake/bread that really flies off the cutting board in no time. Do yourself a favor and go ahead and make a couple of these (since you will have enough sour cream dough for a couple loaves). My two boys almost polished the whole thing off by themselves. We will be making this a regular in our breakfast and snack rotation. The recipe is well-written, clear, and gives very helpful weight measures for everything. So glad I have the other half of the dough in the freezer for the near future.
Superfine sugar isn’t really a must-have here. I had none and didn’t feel like blitzing any granulated sugar. I used regular granulated with zero problem. So don’t let that stop you from making the recipe.
The proofing time was longer than specified for me, possibly because I did not use compressed yeast. It took closer to 75 minutes for the initial rise. I had no problem with the shaping instructions for the cake. Basically, it’s a twist starting with one side shorter than the other.
I needed this cake for breakfast Sunday morning. I did what I do with all yeast-risen doughs (like cinnamon rolls) that I’m prepping for breakfast—since I had no intention of waking before sunrise to get it going, I proceeded all the way up to shaping the dough, putting it in a loaf pan, and topping it with streusel. I covered it with plastic wrap and put it in the fridge right away. I took it out of the fridge early in the a.m. and let it sit for 2 hours at room temperature before baking. Worked perfectly. And the slower proofing possibly improved the flavor. It was tough to judge doneness by look and timing alone. That is why I love the precision of this recipe. I took the temperature with a thermometer and only took it out when it hit about 195°F. This took about an hour.
The taste and look of this Hungarian coffee cake is great. For a bread of this complexity, the recipe list is not long or complicated. Itʻs similar to making cinnamon buns.
One issue is that you need to make a dough thatʻs in a separate recipe to make this bread. I made half the dough recipe and it turned out well. I know the author said that you could freeze the dough, but in reality, itʻs hard to remember whatʻs in my freezer. So you can definitely halve the dough recipe.
Another issue is the shaping. The description is correct as written but could maybe use a diagram. I drew a diagram so that while I was making the dough, I could just look at the diagram when I got to the correct part.
I liked the way it tasted, and if I have the time, I could see myself throwing it together again. However, there are a lot of other recipes out there, and I could see just using my favorite cinnamon roll recipe and throwing streusel on top.




An absolutely delicious recipe! I froze the other half of the dough and made my second coffee cake yesterday. I let the dough defrost overnight; when I was ready to use, I let the defrosted dough rest on the countertop for about 20 minutes.
That is amazing looking, Christine!
This cake is not Hungarian but it’s actually Romanian. The filling can be made with not only cinnamon but also walnuts, pecans, turkish delight or raisins. The recipe originates from Romania way before Mongolians (under the great Genghis Khan), Tatar and Hun nomadic tribes settled in what is today known as Hungary. This is the same thing as baklavah is being claimed to be Turkish when it’s actually Greek. History doesn’t lie.
Edith, many thanks for your time and insight. When we first happened upon this recipe in Sarabeth’s cookbook and saw the title she’d given it, we did a little research and found that there were some varying accounts as to its origins, as is the case with so many food things. We’re all for full disclosure and we look forward to hearing from others who’ve had this cake and may know a little more about how it came to be. Again, thank you!
Under the claim of accuracy you should add that Hungarian Gulash is too falsely claimed, the recipe is actually Austrian.
Another disputed recipe. Many thanks, Edith G.