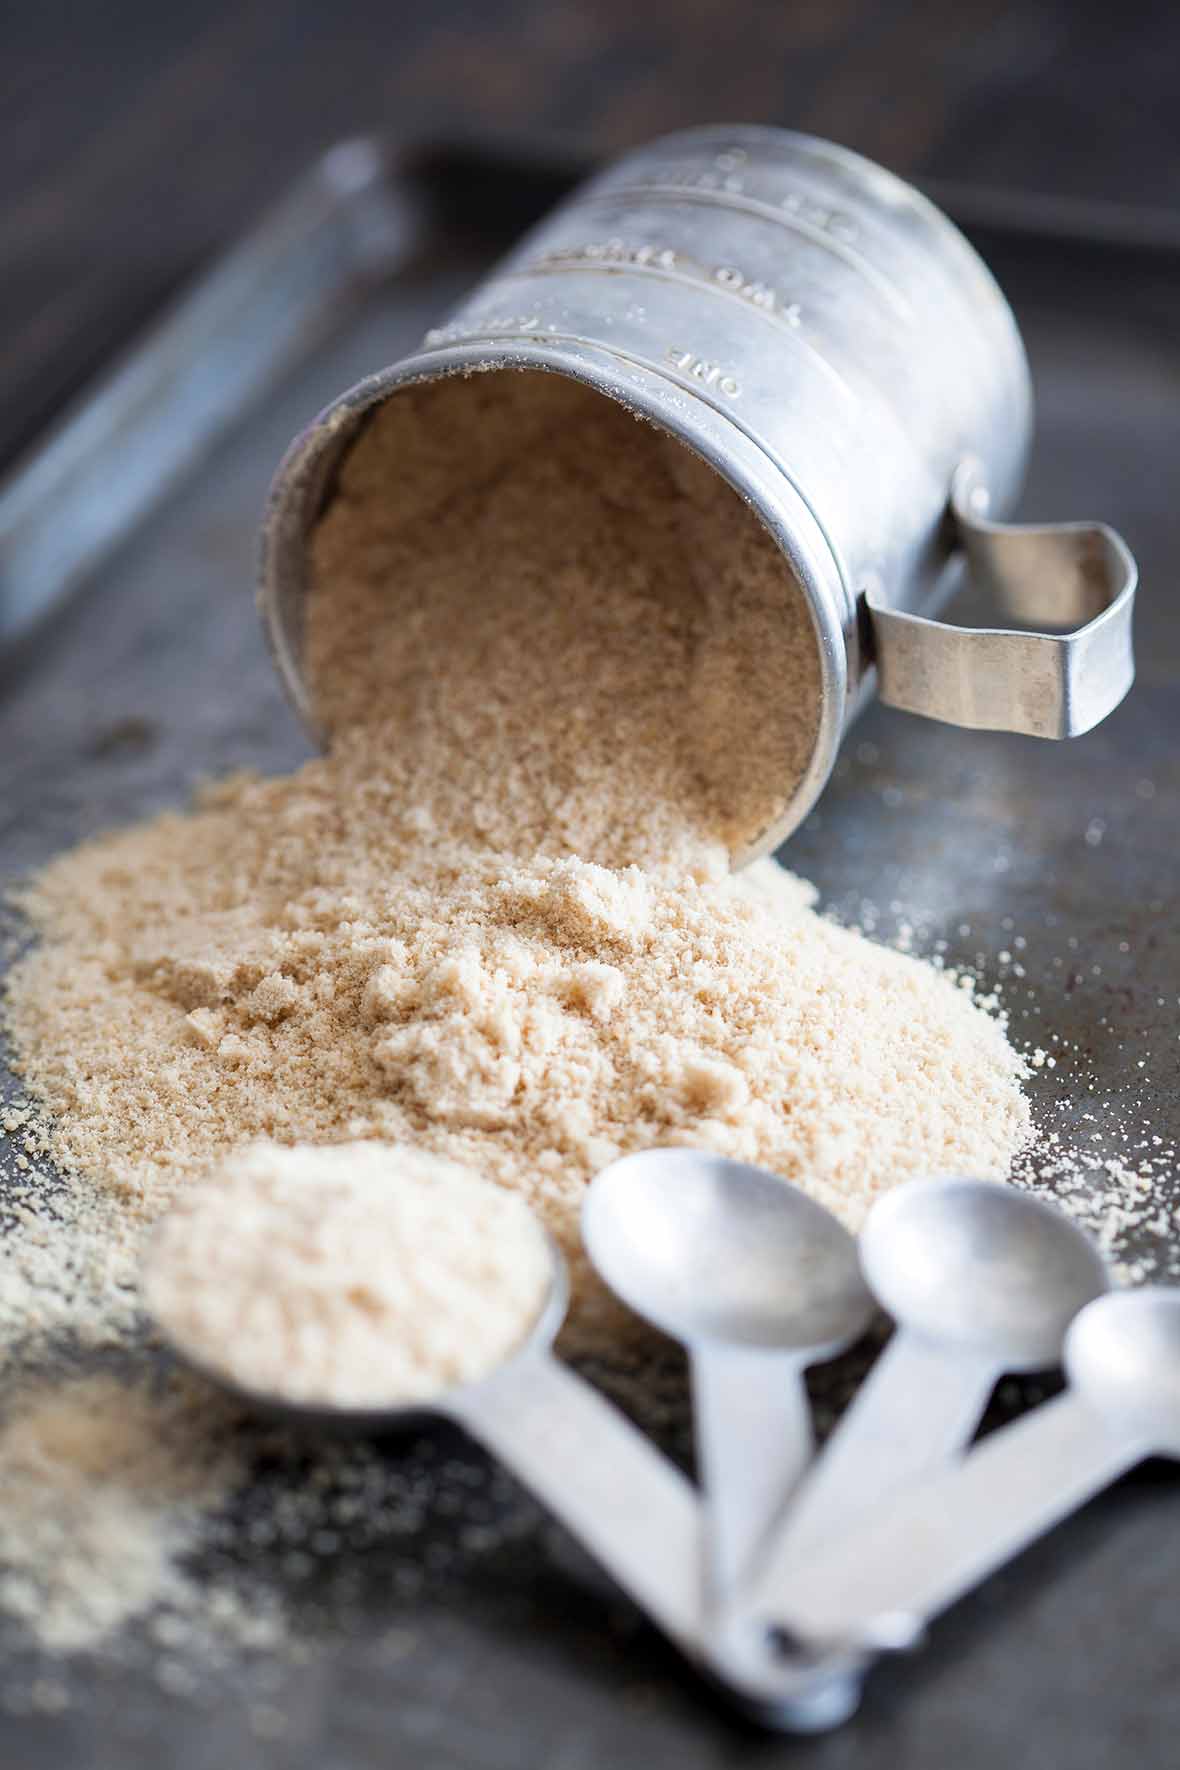
Ever stared at the price tag for maple sugar at the store in disbelief and shook your head? Us, too. Then this simple recipe for how to make maple sugar at home is for you. Making it’s not difficult or tricky or fearsome in any way. It’s ridiculously simple. All you need is maple syrup, a pan, and some patience. It’s still paleo-friendly. And it still bears those maple and caramel undertones.
Featured Review
Fantastic recipe, THANK YOU!!! I did this with 36oz of maple syrup to make maple sugar and maple candy as gifts for this fall season. It took closer to 40 mins to reach the heat threshold, and when it came to mixing after about ten mins I gave up on hand mixing and transferred to the kitchenaid which worked great. It became sugar within 30 seconds. There were no lumps which I attribute to whisking the heated syrup at a very high speed. To make the candies, I just poured some of the heated syrup into the small silicone candy molds before mixing the rest of it to make it sugar. Tastes great, I used Costco grade a amber syrup.
Ru
Want to save this?
How Do I Use Maple Sugar?
You can swap maple sugar for granulated sugar 1:1 in just about any recipe. As to why you should make your own maple sugar as opposed to simply buying it, well, it’s been argued that while store-bought maple sugar is pretty pricey, so is the maple syrup that’s necessary to make it. There’s some truth in that.
And yet we see the value of this recipe not just in financial terms. (Although we still find that making it ourselves to be cheaper.) Part of the beauty is you can customize the maple sugar, using your favorite grade of syrup.
Another part of its beauty is that maple sugar isn’t that accessible as many grocery stores don’t carry it, which means when you have this recipe in your arsenal, you still make recipes that call for maple sugar. The other part of the beauty? The simple satisfaction derived from doing it because you can.
More Sweet & Savory Maple Recipes
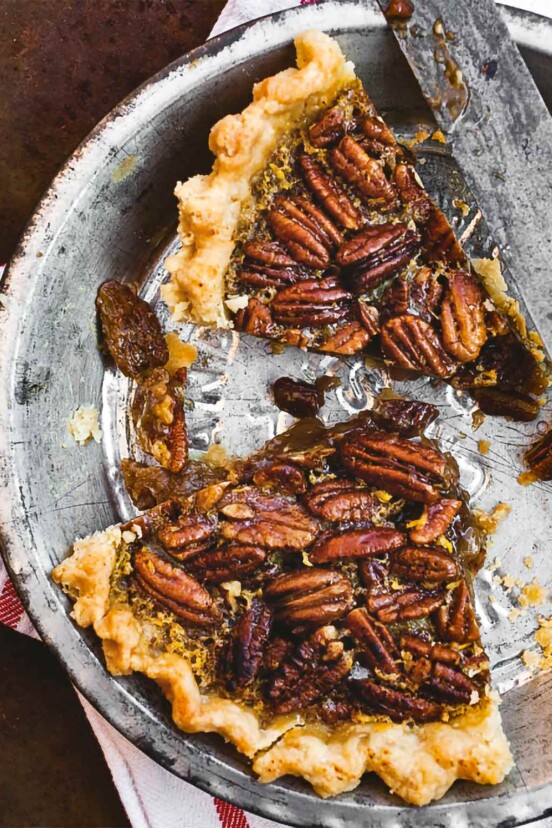
Spiced Maple Pecan Pie with Star Anise
4 hrs 20 mins
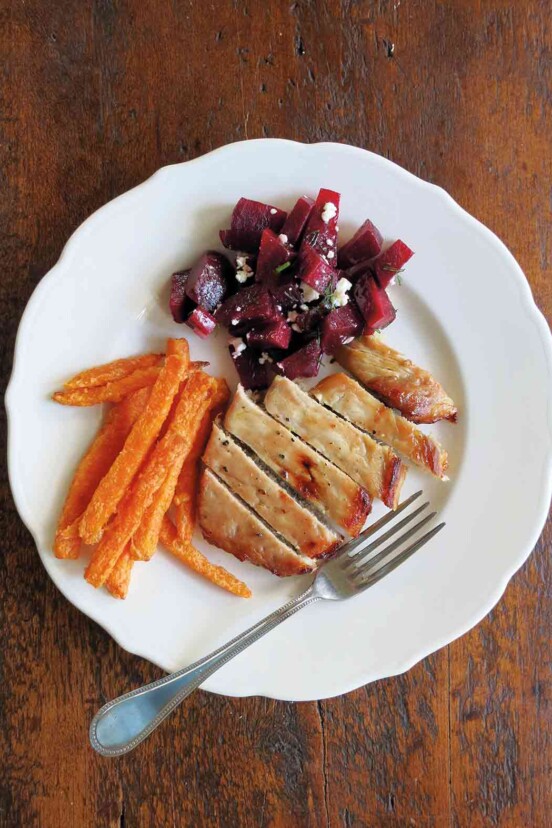
Maple Pork Chops
30 mins
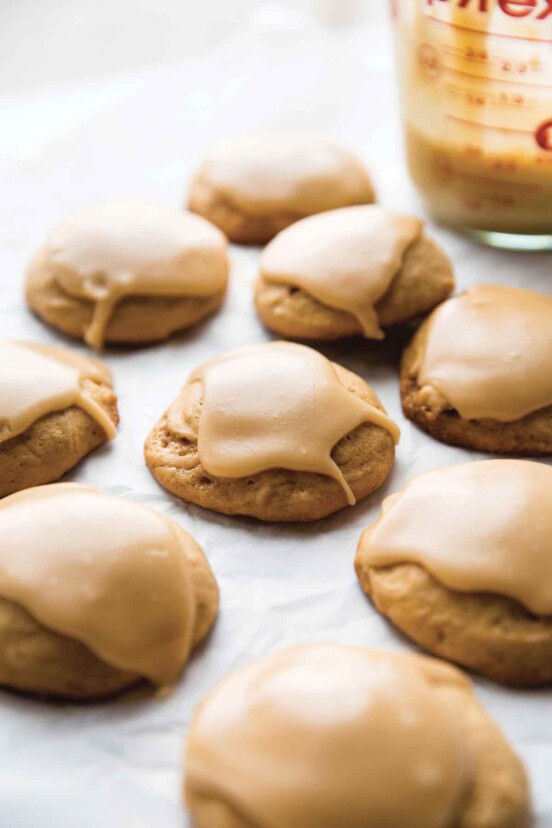
Glazed Soft Maple Cookies
1 hr 30 mins
Write a Review
If you make this recipe, or any dish on LC, consider leaving a review, a star rating, and your best photo in the comments below. I love hearing from you.–David
How To Make Maple Sugar
Equipment
Ingredients
- 2 cups pure maple syrup, (opt for a light, not dark, maple syrup)
Instructions
- Pour the maple syrup into a sorta high-sided, heavy-bottomed saucepan and crank the heat to medium-high. As the syrup heats, it will begin to bubble vigorously. Don’t stir it unless the hot, sticky, bubbling syrup rises perilously close to the top edge of the pan, then you can use a long-handled wooden spoon to stir it and the bubbling will subside.
- Boil until the syrup reduces to about half its original volume and turns darker in color and thicker in consistency and reaches 257°F to 262°F (125°C to 128°C) on a candy thermometer or deep-fry thermometer, which is the hard ball stage in candy making. This should take about 20 minutes. As the syrup cooks, watch it carefully so it doesn’t boil over. You may need to reduce the heat occasionally to keep the reducing syrup from scorching.
☞ TESTER TIP: To make it easier to get an accurate temperature reading, you can tilt the pan so the syrup collects at one side of the pan so you can better immerse the bulb of your thermometer in the syrup.
- Once the syrup reaches the requisite temperature, remove the pan from the heat and start stirring vigorously with a wooden spoon. Continue to stir until the syrup lightens and thickens in texture and eventually becomes granulated and similar in look and feel to light brown sugar, about 5 minutes. The transformation from liquid to granulated sugar happens really quite quickly. (You could opt to use your stand mixer or a hand mixer, but it goes surprisingly quickly when you beat it by hand. Trust us. Though you’ll probably need to switch back and forth between right and left hands.)
- Sift the maple sugar through a strainer to remove the larger clumps and then toss those larger clumps into your food processor and whir until they become granulated. Then mix this back into the other maple sugar. Store the maple sugar in an airtight container at room temperature and use it 1:1 in place of granulated white sugar in almost any baking recipe.
☞ TESTER TIP: Because we know you're staring at the dirty pot and dreading having to wash it, here's an easy technique for cleaning up. Simply fill the pan with water and set it over medium heat. The warm water will turn the sugar back into its liquid state, making cleanup a cinch.
Explore More with AI
Nutrition
Nutrition information is automatically calculated, so should only be used as an approximation.
Recipe Testers’ Reviews
I’ve been intrigued by maple sugar since I read Laura Ingalls Wilder’s Little House in the Big Woods as a child. I reread the book often—obsessively—as a child and loved the chapters about making maple syrup and maple sugar. After using my modern stove, I marvel that they made maple syrup over an open fire and then cooked the syrup down to sugar on a wood stove. We are so spoiled by modern conveniences! After making maple sugar once, I won’t hesitate to make it again.
I boiled the syrup while I was making dinner. It only required a stir every so often and an eye on the thermometer. Most of the time was really hands-off while the syrup boiled away. But it had to be attentive hands-off time to make sure the syrup didn’t burn, or boil over. It took 35 minutes to get the syrup to my target temperature. I probably could have had the heat higher in the beginning to bring the syrup to a boil faster, but I was afraid of burning it. I started out at just under medium-high and lowered the heat gradually as the syrup boiled down. I’m not sure if I had to reduce the heat, but the syrup was getting darker, and I wasn’t sure if it was starting to burn (it wasn’t). Probably a less hesitant cook (or one more experienced with candymaking and hot sugar syrup) would’ve used higher heat and reached the target temperature sooner than I did.
Once it reached the proper temperature, it took just about 5 minutes to stir the hot syrup until it granulated. The syrup filled the kitchen with luscious, toasty maple scents while it was boiling. And the maple sugar tastes just like it smelled—darker and more concentrated than its parent syrup. I am busy thinking of ways to use my stash of maple sugar. For now I am settling for eating a lump every time I walk by the bowl—I have not taken the time to grind the sugar in the food processor yet. I’m enjoying the lumps too much to change them in any way!
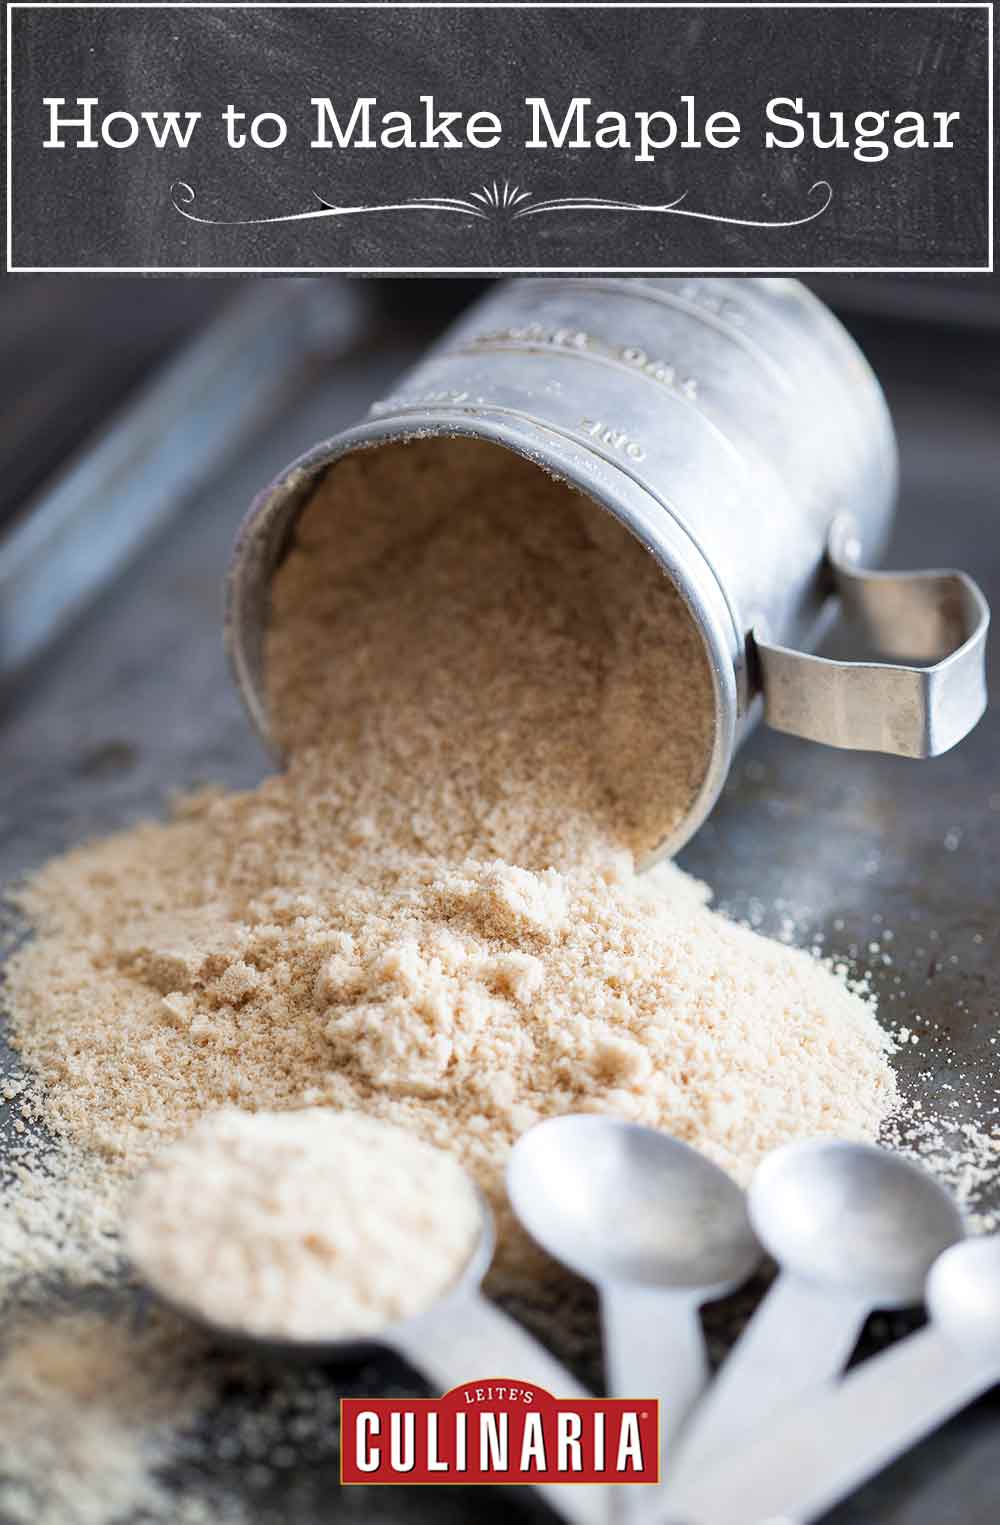
This recipe works. First, I really was able to get the maple syrup to become maple sugar. Second, it looked just like the maple sugar in the bag I purchased.
The timing for when it becomes sugar was about 5 minutes. As you stir, it looks like nothing is happening, then suddenly it gets thicker and changes color. As with all sugar work, don’t leave the kitchen once you start this recipe. It will get bubbly up to the top of the pan, and if you stir immediately when you see it, it will go down. But if you aren’t watching, you might have a mess. (I learned my lesson a long time ago.)
A lot of the granules were too large. I put the larger clumps in the food processor twice and then ground some using a mortar and pestle.
Would I make it again? Yes, if I’m in a pinch and can’t make it to the store because I always have maple syrup around.


After reading the comments and almost drooling while reading the recipe, I am making this sugar. TODAY!
Jacob, how did it turn out?!!!
Fantastic recipe, THANK YOU!!! I did this with 36oz of maple syrup to make maple sugar and maple candy as gifts for this fall season. It took closer to 40 mins to reach the heat threshold, and when it came to mixing after about ten mins I gave up on hand mixing and transferred to the kitchenaid which worked great. It became sugar within 30 seconds. There were no lumps which I attribute to whisking the heated syrup at a very high speed. To make the candies, I just poured some of the heated syrup into the small silicone candy molds before mixing the rest of it to make it sugar. Tastes great, I used Costco grade a amber syrup.
Ru, are you kidding me? This is maple mastery! I love how you turned this into fall gifts—brilliant idea—and that KitchenAid trick is nothing short of genius. My arms are envious. And the candy mold note is just the kind of tip that turns readers into heroes at holiday time. Thanks so much for the detailed play-by-play. You absolutely made my day!
This is my second time making this recipe. First I used Costco Grade A maple syrup. It was perfect! This time I used what is formerly known as Grade B maple syrup. “Dark and robust,” now a days. I looked away at about minute 6-7 and I had the syrup spill over so definitely keep an eye on it! I use my mixer rather than hand mixing and it makes it so easy! Roll cookies in this or sprinkle it over some bacon and cook! Or use it in a pancake/waffle recipe!! Uses are ENDLESS!
You had me at “sprinkle it over bacon”, Savannah. Those are all excellent suggestions!