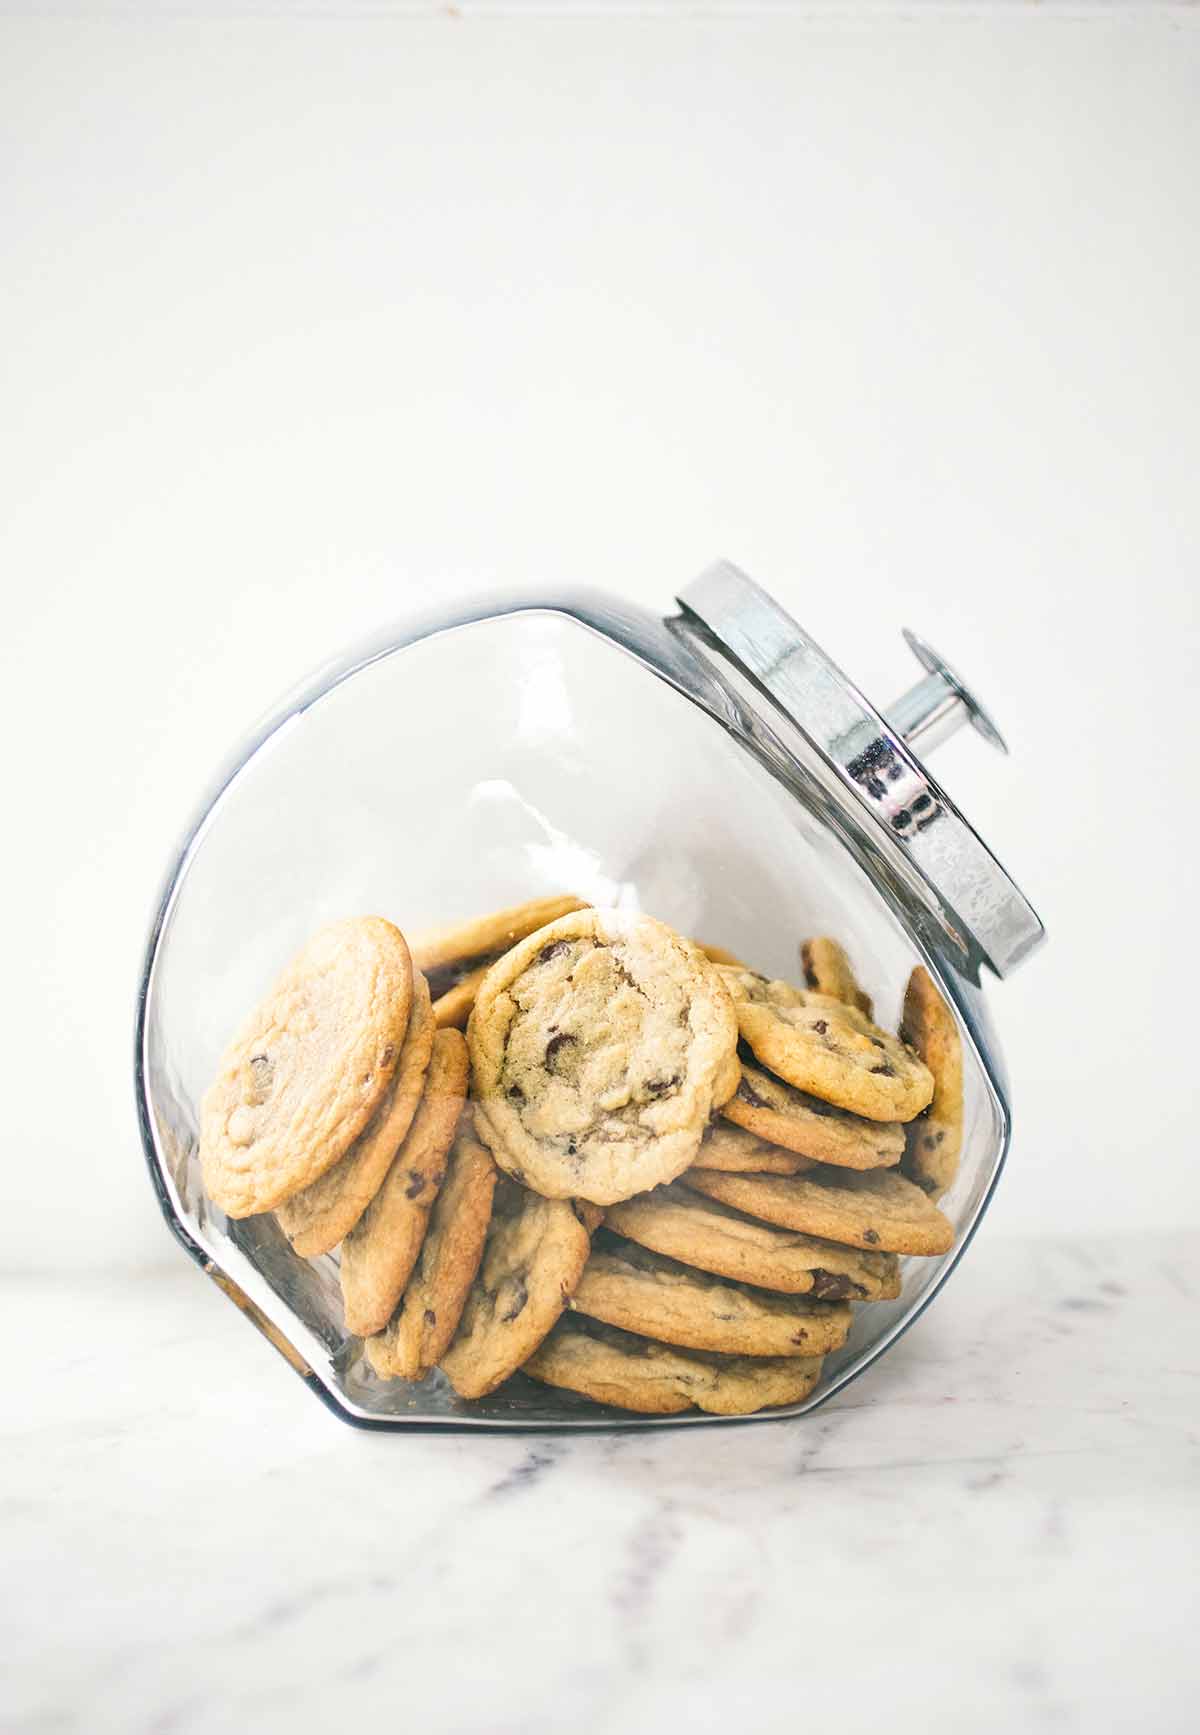
As much as I like crisp, rich, adult cookies packed with chopped dark chocolate and sprinkled with sea salt, I’m convinced there’s still a need for a basic soft chocolate chip cookie that doesn’t require much work or pretention. At least, that’s what my kids tell me on a weekly basis.
After trying countless chocolate chip cookie recipes, they’ve declared this simple one to be their very favorite. And each time I make them, I have to agree.–Sarah Kieffer

Why Our Testers Loved This
There’s a whole bunch of reasons our recipe testers devoured these soft and chewy cookies. They loved that the recipe “uses common pantry ingredients and takes minimal time to make and bake.”
K. Fox joined in with her comment, “It’s the chocolate chip cookie I’ve been dreaming about for years! The cookies were soft, had the perfect thickness, weren’t too sweet, and had just the right amount of chocolate chips (I prefer an equal amount of chocolate and dough in my cookies).”
Notes on ingredients
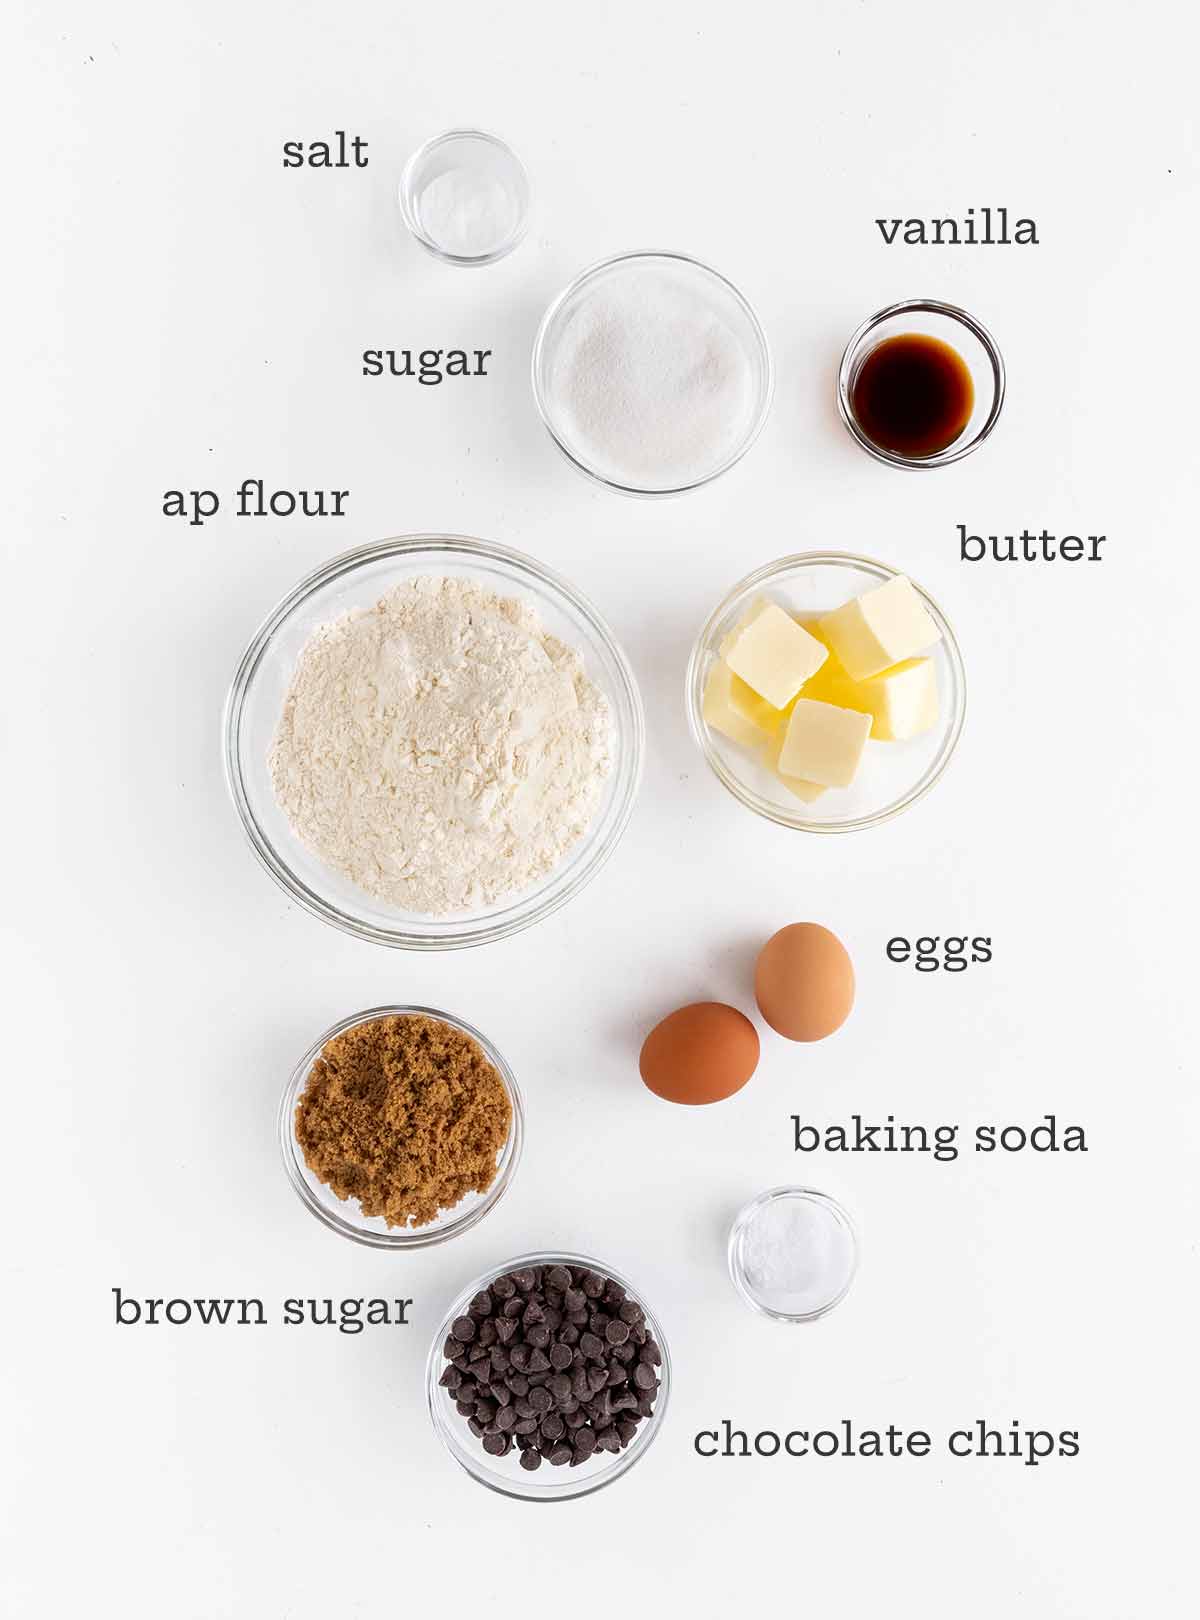
- Baking soda–Make sure that your baking soda is fresh and active so that your cookies puff up during baking. To test it, place a small scoop in a bowl and add a few drops of lemon juice or vinegar. If it fizzes right away, the baking soda is still fresh.
- Butter–Use room-temperature butter. It should be cool to the touch and when poked gently, your finger should leave a slight indentation. If substituting salted butter, don’t add the 3/4 teaspoon salt to the batter.
- Chocolate–You can use chocolate chips or chopped chocolate in the cookies. Chocolate chips will make for a puffier cookie.
Step-by-step instructions
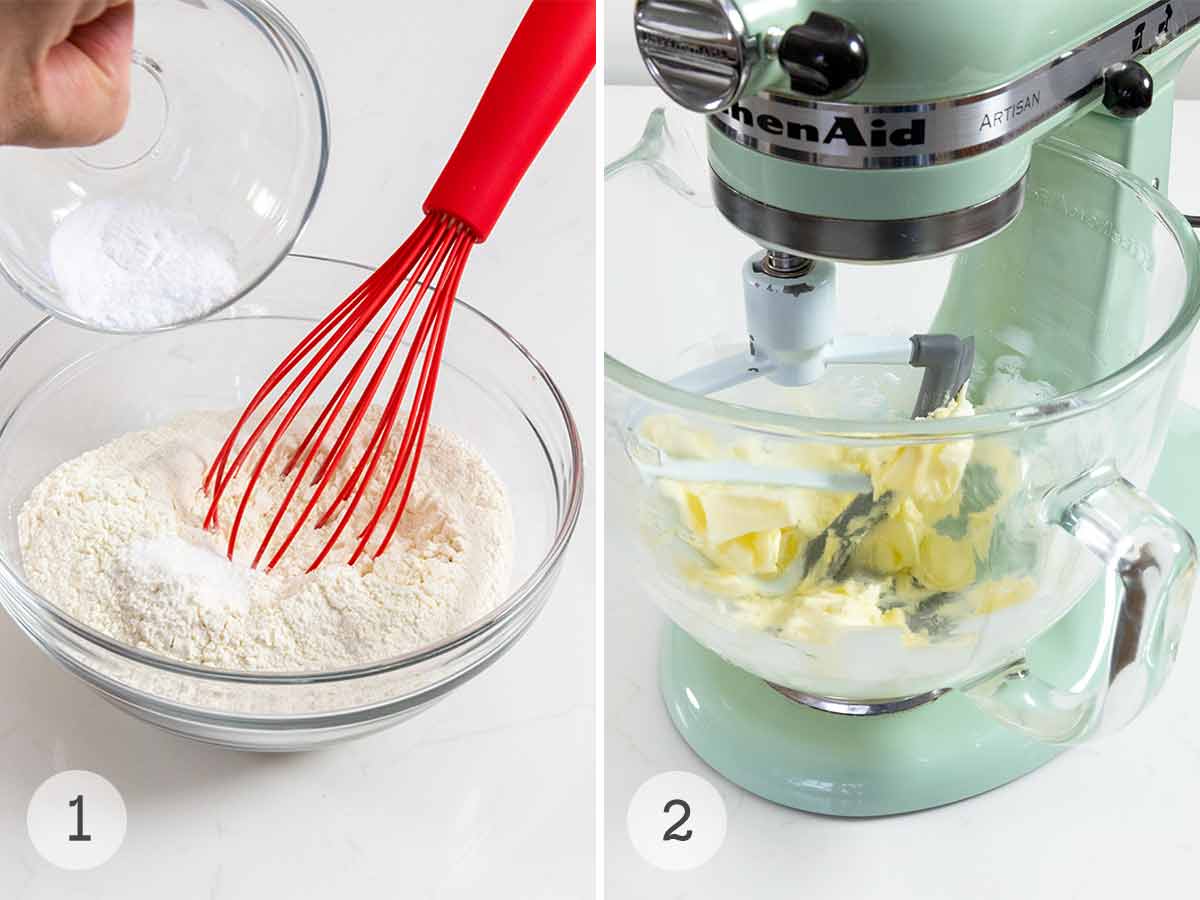
- Heat the oven to 350°F. Line 3 rimmed baking sheets with parchment paper. Whisk the flour, baking soda, and salt together in a medium bowl.
- Beat the butter in a mixer on medium speed until creamy.
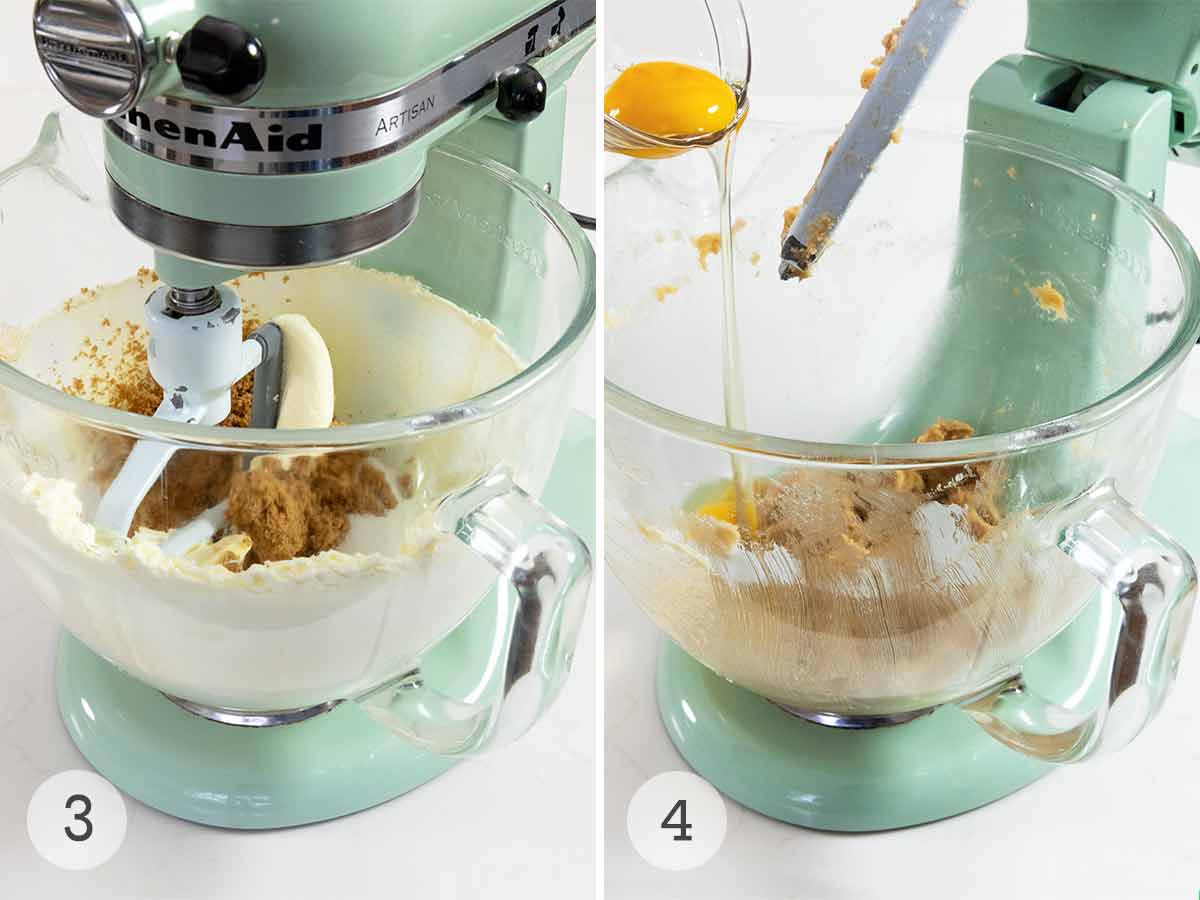
- Add the sugars and continue to beat until light and fluffy.
- Add the eggs and vanilla. Beat until smooth.
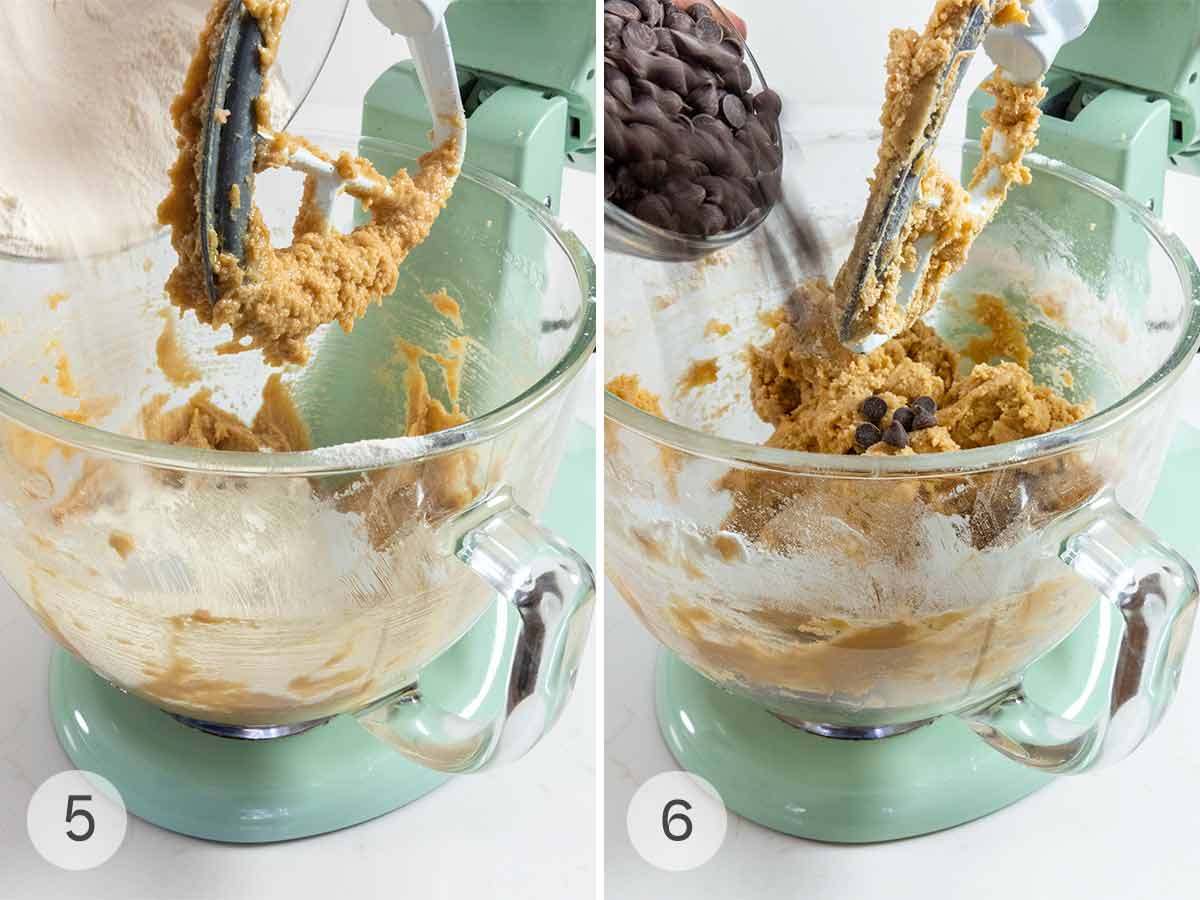
- Reduce the mixer speed, add the flour mixture, and beat until combined.
- Mix in the chocolate.
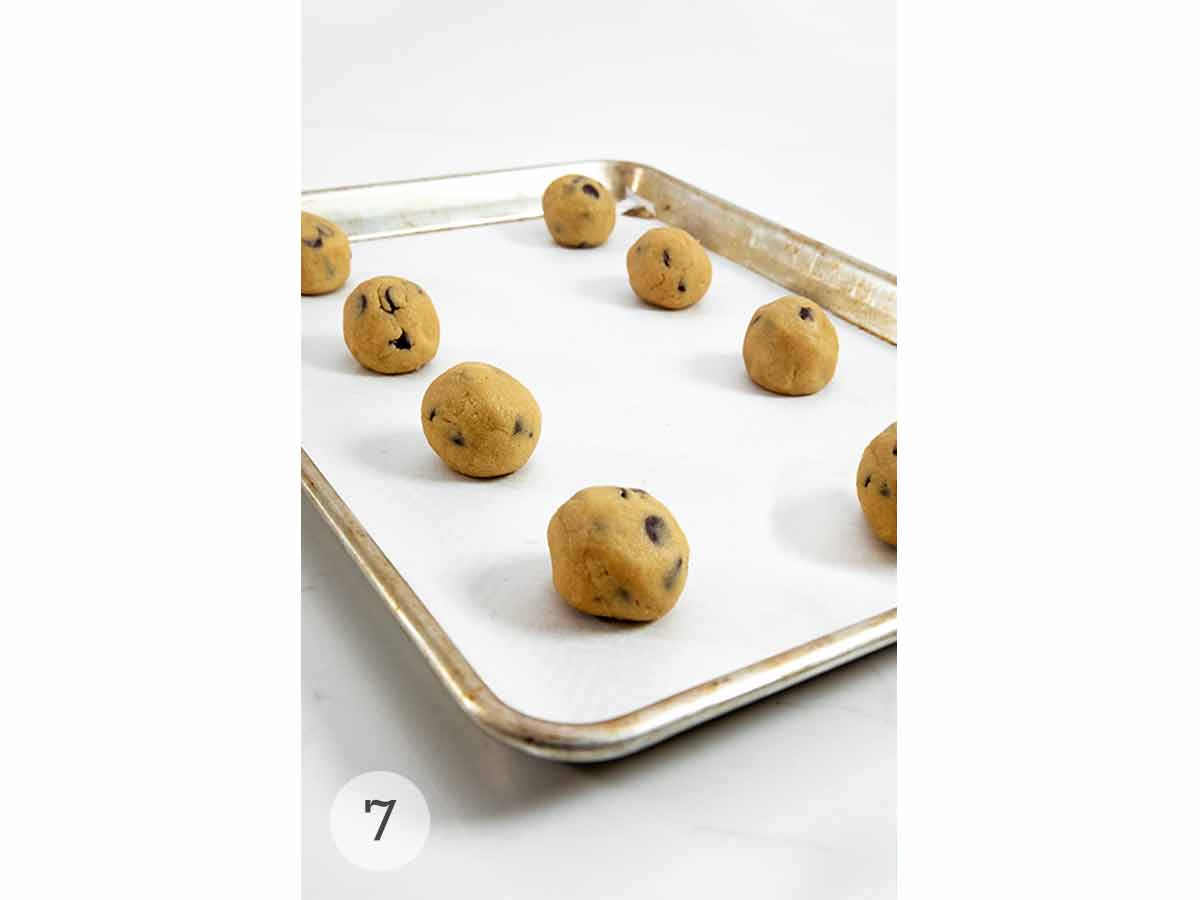
- Shape the dough into two tablespoon-sized balls. Bake until the cookies are slightly puffed. Rotate the baking sheet and continue to cook until the cookies are golden brown.
- Cool completely before removing from the baking sheet.
Common Questions
Yes. Our testers successfully used a hand mixer instead of a stand mixer.
Absolutely. After scooping, freeze the cookie dough balls on a baking sheet, and once frozen, pop them into a freezer bag and store them in the freezer for up to 3 months. Cook from frozen, adding a few extra minutes to the baking time.
You can use semi-sweet or bittersweet chocolate for these cookies, depending on your preference. Semi-sweet will give you a classic chocolate chip cookie flavor, while bittersweet will give you a less sweet cookie.
Sarah Kieffer instructs bakers to drop baking sheets of partially baked cookies onto the oven rack to achieve her famous “pan-banging” cookie style.
Tapping the baking sheets onto the rack several times during baking causes the cookies to spread and form ripples and crinkles on the edges while still remaining thick and chewy in the center.
Pro tips & troubleshooting
- For best results, weigh your ingredients. If you don’t have a scale, we recommend aerating your flour before gently dipping and sweeping.
- Use a 1 1/2-ounce ice cream scoop to scoop and shape your cookie dough balls easily.
- The cookies can be stored in an airtight container at room temperature for up to 5 days or frozen for up to 3 months.
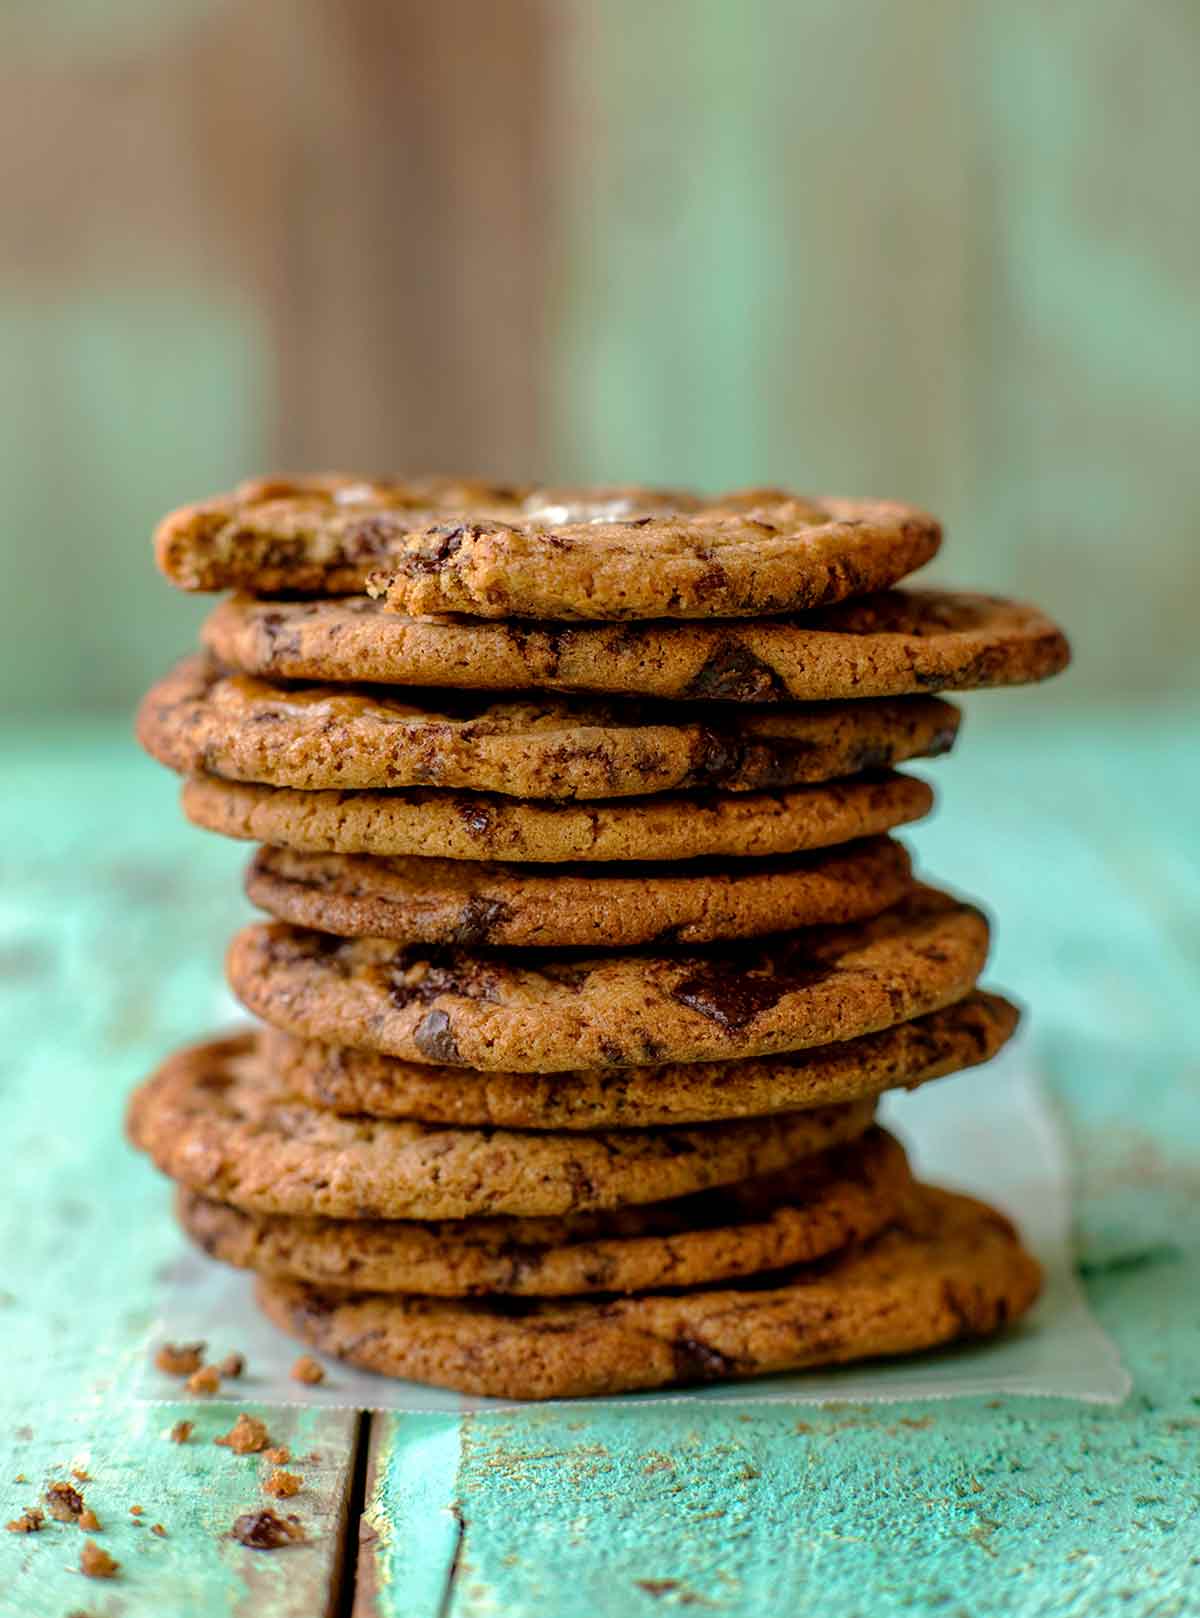
More Great Chocolate Chip Cookie Recipes
Write a review
If you make this recipe, or any dish on LC, consider leaving a review, a star rating, and your best photo in the comments below. I love hearing from you.–David
These brought me right back to my childhood! They’re the chocolate chip cookies kids dream of – soft, chewy, and nothing fussy about them. Just pure cookie goodness.
Daniela t.

Soft Chocolate Chip Cookies
Ingredients
- 2 1/2 cups all-purpose flour
- 1 teaspoon baking soda
- 3/4 teaspoon salt
- 1 1/2 sticks (6 oz) unsalted butter, room temperature
- 3/4 cup granulated sugar
- 3/4 cup light or dark brown sugar
- 2 large eggs
- 1 1/2 teaspoons vanilla extract
- 1 1/4 cups semisweet chocolate chips* or 7 oz semisweet or bittersweet chocolate (198 g), chopped into chunks (*NOTE: Using chocolate chips instead of chopped chocolate will make for a puffier cookie.)
Instructions
- Preheat the oven to 350°F (180°C). Adjust an oven rack to the middle of the oven and line 3 rimmed baking sheets with parchment paper.
- In a medium bowl, whisk together the flour, baking soda, and salt.
- In the bowl of a stand mixer fitted with the paddle, beat the butter on medium speed until creamy, about 1 minute. Add the granulated and brown sugars and continue to beat on medium speed until light and fluffy, 2 to 3 minutes.
- Scrape down the sides of the bowl, add the eggs and vanilla, and beat until smooth. Reduce the speed to low, add the flour mixture, and beat until just combined. Add the chocolate and mix to combine.
- Portion the dough into 1 1/2 ounce (45 g) balls (about 2 tablespoons of dough) and arrange on rimmed baking sheets. You should be able to fit up to 8 balls on each rimmed baking sheet.
- One baking sheet at a time, bake until the cookies are slightly puffed in the center, about 8 minutes. Give the baking sheet a slight tap in the oven, dropping it from about 1 inch (3 cm) above the rack to deflate the cookies. Rotate the baking sheet 180 degrees.
- Continue to bake until the edges of the cookies are just turning golden brown but the center is still soft, 4 to 6 minutes more or 12 to 14 minutes total.
- Give the baking sheet one final tap in the oven and then transfer the sheet to a wire rack. Let the cookies cool completely before removing from the baking sheet.
☞ TESTER TIP: When pulled from the oven, the cookies will look puffed and light in color but they’ll slowly flatten as they cool.
- Devour as desired.
Notes
- Measuring flour–For best results, weigh your ingredients. If you don’t have a scale, we recommend aerating your flour before gently dipping and sweeping.
- Scooping cookie dough–Use a 1 1/2-ounce ice cream scoop to scoop and shape your cookie dough balls easily.
- Storage–The cookies can be stored in an airtight container at room temperature for up to 5 days.
- Freezing–Baked cookies can be frozen for up to 3 months. Unbaked cookie dough balls can also be frozen for up to 3 months. Bake from frozen, adding a few minutes to the baking time.

Explore More with AI
Nutrition
Nutrition information is automatically calculated, so should only be used as an approximation.
Recipe Testers’ Reviews
Did you know only 68% of the recipes we test make it onto the site? This recipe survived our rigorous blind testing process by multiple home cooks. It earned the Leite’s Culinaria stamp of approval—and the testers’ reviews below prove it.
When it comes to cookies, I live in a divided household. My husband prefers a crisp, crumbly cookie while I adore a chewy, soft cookie similar to the ones my sisters and I adored as kids—you know the ones, they came from a red bag with hard-working elves pictured on it?
I was excited to try this recipe which uses common pantry ingredients and takes minimal time to make and bake. The results? Let’s just say these are what cookie dreams are made of. And they managed to sway the crispy cookie lover in my house to have a second!
I used a 1 1/2-ounce ice cream scoop to place the cookies on the pans. I ended up cooking my cookies for an additional 5 minutes, to achieve golden brown edges. I got 22 cookies out of this amount of dough, and they’re in an airtight container on the kitchen counter for now…but I doubt they will last up to 5 days.
These truly were extraordinary chocolate chip cookies. I’m dog-earring the recipe and putting it in my favorites folder!
Who’s ever not in the mood for chocolate chip cookies? The recipe looked to be very similar to most standard chocolate chip cookie recipes except for the very curious instruction to tap the baking sheet while the cookies were baking, and then again just before taking them out of the oven. I’m always concerned about losing oven heat every time the door is open while baking, so I wanted to see what this accomplished. I baked them in 3 batches.
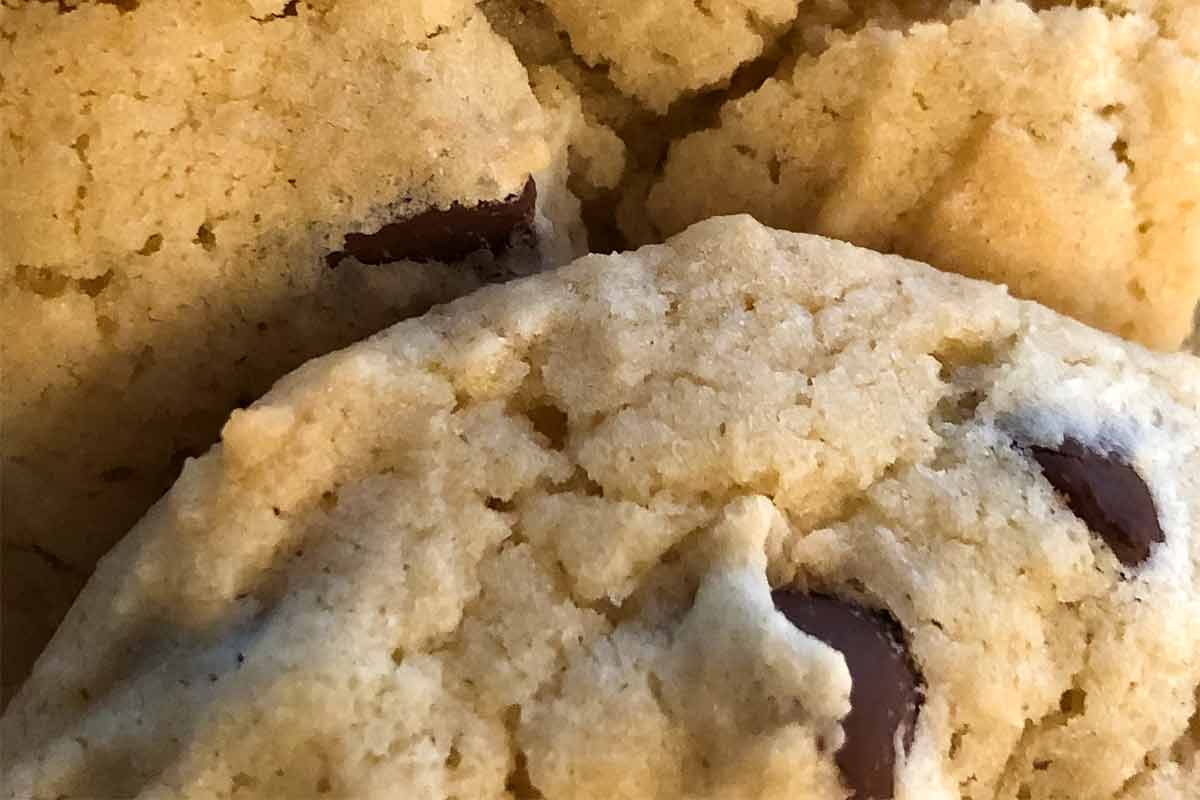
Well, these cookies were indeed the classic soft chewy chocolate-y chip goodness we can’t get enough of. I used Ghirardelli semi-sweet chocolate chips in my cookies so they baked up thicker than those in the photo as was noted for this option.
It also couldn’t be easier to whip up this cookie dough, even with a hand mixer since I don’t have a stand mixer.
However, I’m puzzled about the cookie sheet tapping since I saw no obvious outcome from it. I will definitely make these cookies again, but will opt to leave out this additional tapping step.
This soft chocolate chip cookie is excellent. I always prefer a soft cookie–and these do not disappoint. They’re a little on the rich side, but I think a decadent chocolate chip cookie is a good thing to have once in a while.
These cookies come together very quickly. The ingredients are likely to already be on hand. I like larger cookies, and these are on the larger size. I got 17 cookies. (Well, 17 came out of the oven, but there weren’t 17 cookies for very long.)
The recipe recommends storing the cookies in an airtight container at room temperature for up to 5 days. The cookies will not be around in 5 days.
These are definitely soft cookies. They are also filled with chocolate chips—a definite plus. The flavor is good, and they aren’t hard to throw together. I could see making these for someone who really prefers the soft kind of cookie.
This cookie was exactly as described. This basic, soft (delicious) chocolate chip cookie was mixed, baked, and cooled in under an hour, ready to be backed in a hybrid-learning lunch bag. Great little cookie.
I used semi-sweet chocolate chips because that’s what my kids love.
When the introduction to this recipe mentioned the key words “doesn’t require much work or pretention,” I knew this would be right up my alley. I have 2 kids who are always in need of a chocolate chip cookie, and let’s not forget the adults who need a pick-me-up during this endless COVID-19 summer at home.
This recipe totally lived up to its promise. The cookie dough was easy to assemble and the timing was accurate.
I used chocolate chips but it might be nice to try a mix of chopped chocolate and chips. Cooking 1 pan at a time did ensure that the cookies were baked pretty consistently. They were just brown at the edges and puffed up, as the recipe promised, at 12 minutes in my oven. I let them cool on the pan.
The cookies did slowly deflate and transformed to look more like your typical chocolate chip cookie.
Everyone in my house enjoyed the cookies, especially while they were still warm and a little gooey with the melted chocolate. Luckily we ended up with an even number of cookies so there were no fights about who would get the last cookie.
Bottom line is these are simple but classic chocolate chip cookies that won’t disappoint you if you need to quickly satisfy your cravings. There are a million different variations based on one’s cookie or chocolate preferences, but this is a solid one to add to your repertoire of easy desserts.
A soft chocolate chip cookie is a wonderful change up to the crisp ones I typically make. I used a small scoop and did 9 cookies per pan as I wasn’t sure if they were going to spread a lot or not. I was planning to gift many of them so I wanted a nice looking cookie.
The cookies were very good. I thought they were a little too sweet for my taste even with less than the full amount of chocolate. The butter dough was nice and fluffy.
I froze 9 and baked those last night to see how they did after a freeze. They took a couple of minutes longer but no noticeable change in texture or taste.
After many years of baking, one would think you had enough cookie recipes with numerous variations, but to dismiss this one would be a huge mistake no matter how many you have. These were perfect—if you’re the sort of person who’s sometimes looking for a soft chocolate chip cookie! It’s easy, basic, and delicious.
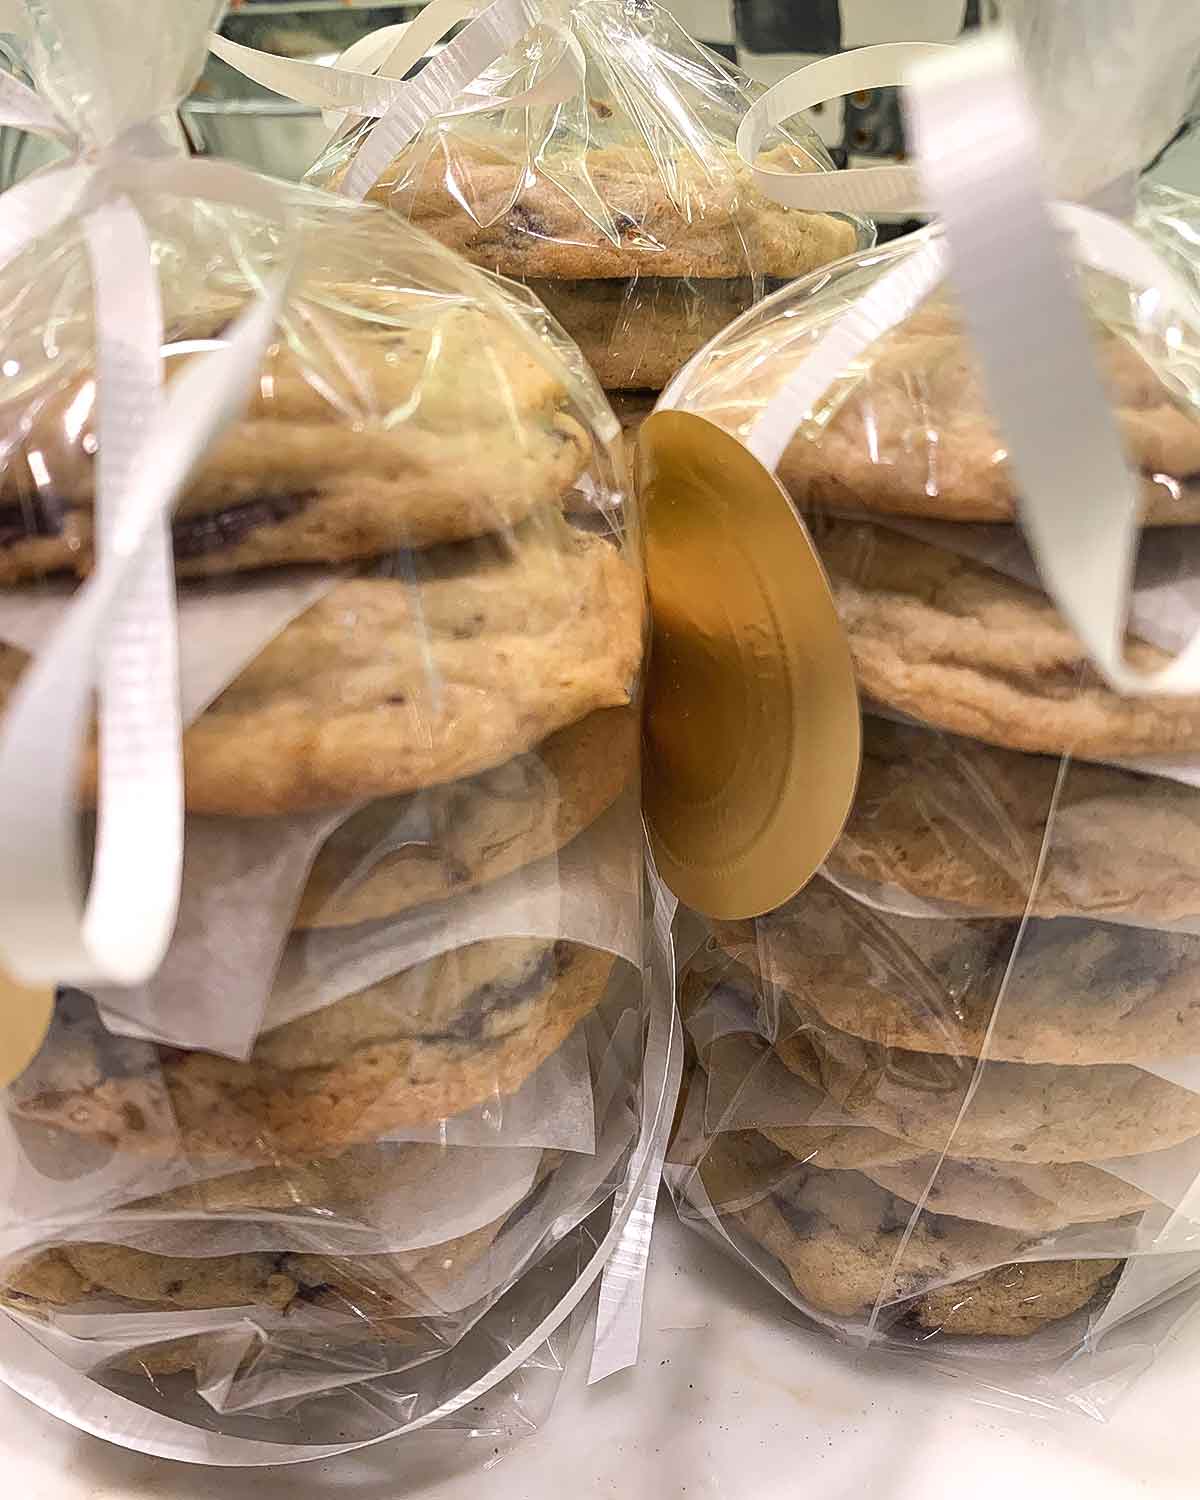
Once you’ve left your butter out to come to room temperature, this recipe is quick and easy. I used semisweet discs which I chopped up a bit.
I measured the dough balls on my scale and got 24 even balls. I thought the cookies needed more like 13 minutes and at that they were still a little anemic looking for my preferences. I pulled them out as directed but I think next time I will let them get a bit more color on top. I was afraid they would really flatten as they cooled as the recipe talked about deflating but they just sank a bit and were outstanding.
I’m a self-proclaimed chocolate chip cookie snob. Meaning I haven’t found a chocolate chip cookie recipe that I actually like. That is, until this one. It’s the chocolate chip cookie I’ve been dreaming about for years! The cookies were soft, had the perfect thickness, weren’t too sweet, and had just the right amount of chocolate chips (I prefer an equal amount of chocolate and dough in my cookies).
I love how detailed this recipe is! It’s evident that the author really pays attention to detail. I didn’t understand the tapping. I’ve never done this before but my cookies came out perfect, so I didn’t mess with it. The instructions didn’t mention using parchment paper, but I did use it.
After I made the dough, it looked too wet. I was convinced that the cookies were going to flatten in the oven. To my delight, they didn’t! I had almost sworn off making chocolate chip cookies, never able to find my “perfect” cookie, but I’m glad I gave it one more shot.
Tester’s Tip: Shauna Sever’s food styling tip for cookies is a gold mine! She scoops the dough on a cookie sheet, breaks the dough ball in half, and then puts the two pieces back together with the perfectly round part of one half smushed with the broken part of the other half (the broken part should be facing up on the cookie sheet).
This provides the highly sought after ripple effect on the top of your cookies! Shauna also has a video on Instagram on how to do this if my instructions make your tilt your head a little bit!
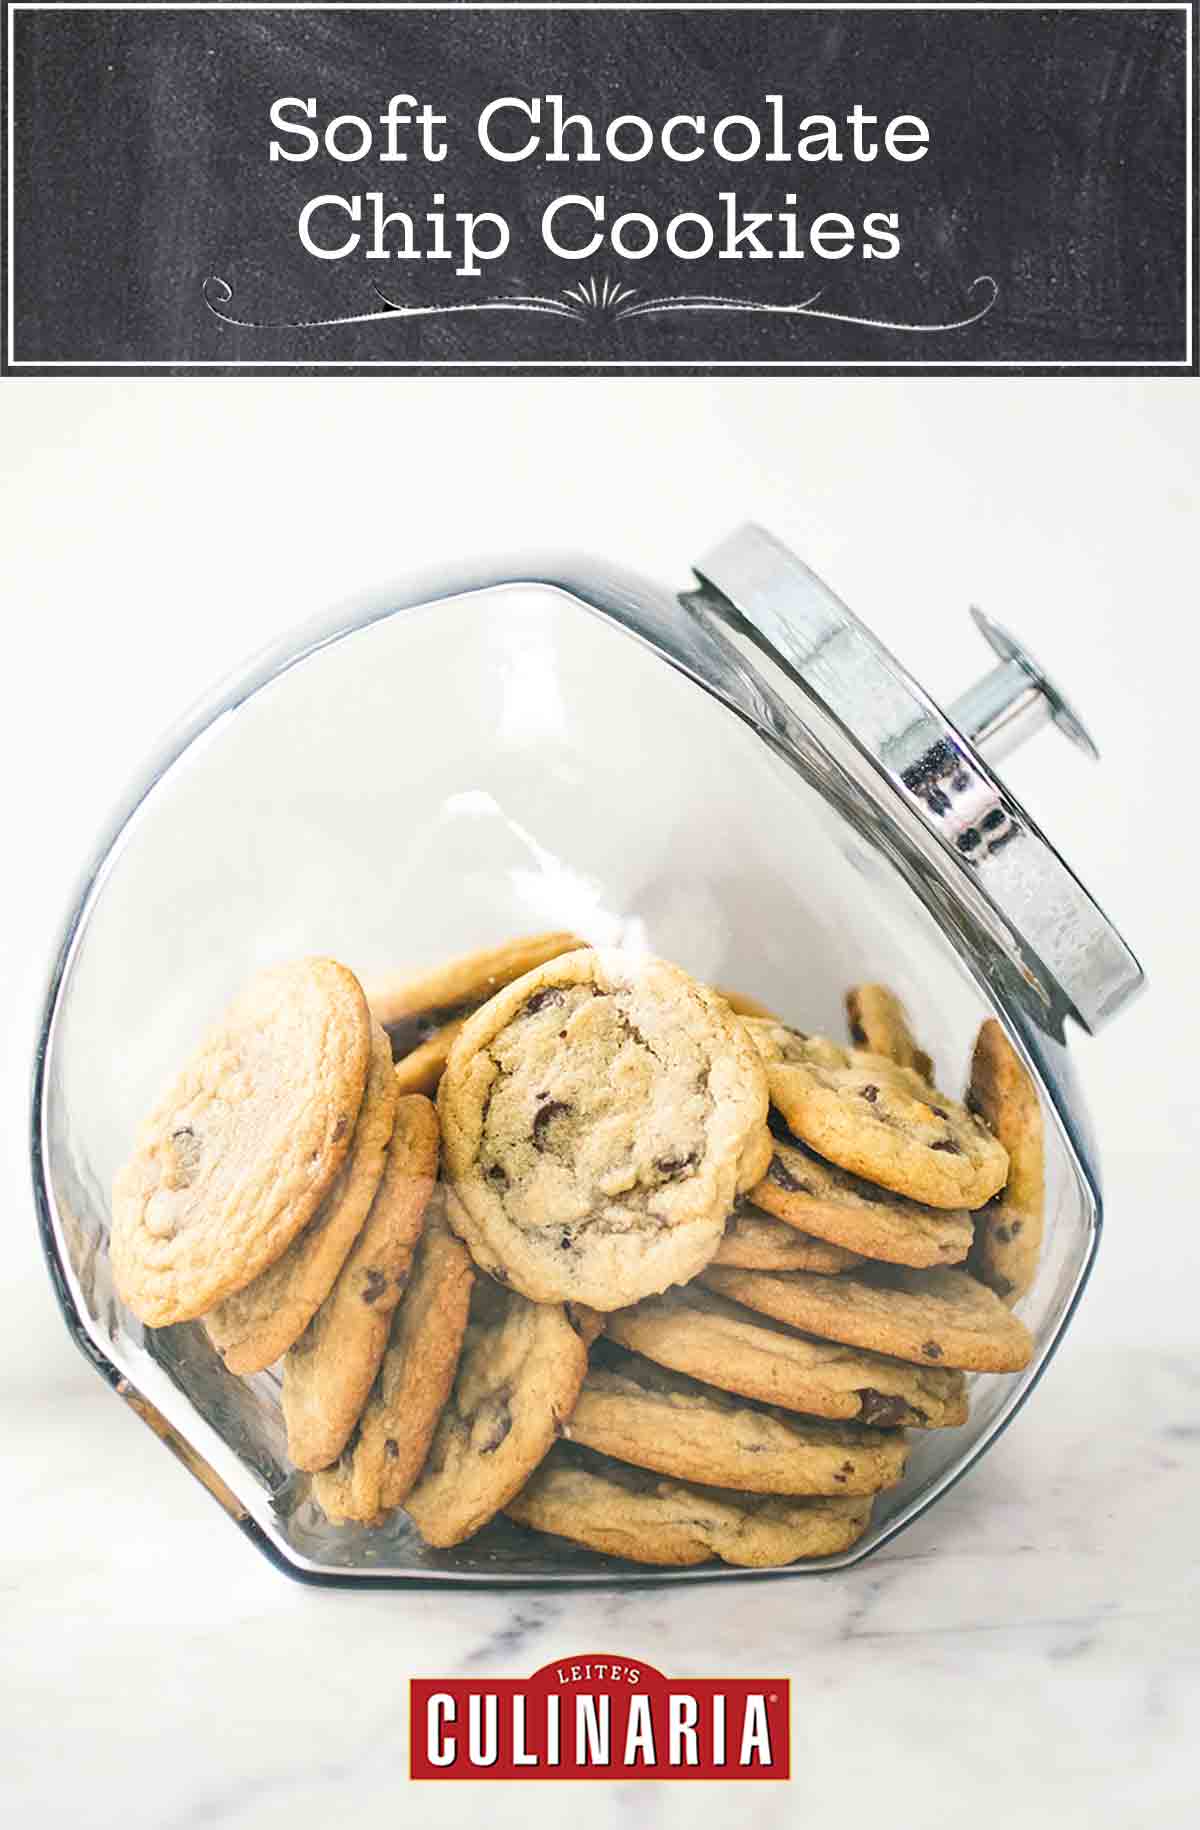


Great recipe-easy to make and eat!
Fantastic, Annie! Thank you for taking the time to comment.
The recipe was easy to follow and understand. I enjoyed the act of dropping the cookies during the baking process which made the cookies flatter and knocked out extra air. I would serve this recipe with a scoop of ice cream as a cookie sandwich and serve as a dessert. I completed this recipe in 70 minutes and completed this on my own. The flavour of the cookies was good and I could taste the brown sugar. The hands on time was accurate and did not take long. Overall, I enjoyed these cookies, they were soft and gooey which is everything I expected from this recipe.
Wonderful, Mikayla! We’re delighted you enjoyed these and that they turned out so well. Please let us know what you try next.
This recipe is great for any baking beginners with little to no culinarily experience, and even for experts it’s a joy to make. The recipe creates a melt in your mouth cookie that will be eaten up in a matter minutes from how good they are. This recipe is a great snack to have when your craving something sweet and delicious.
Roan S., we love a good sweet craving and are so glad these were just the right amount of delicious!