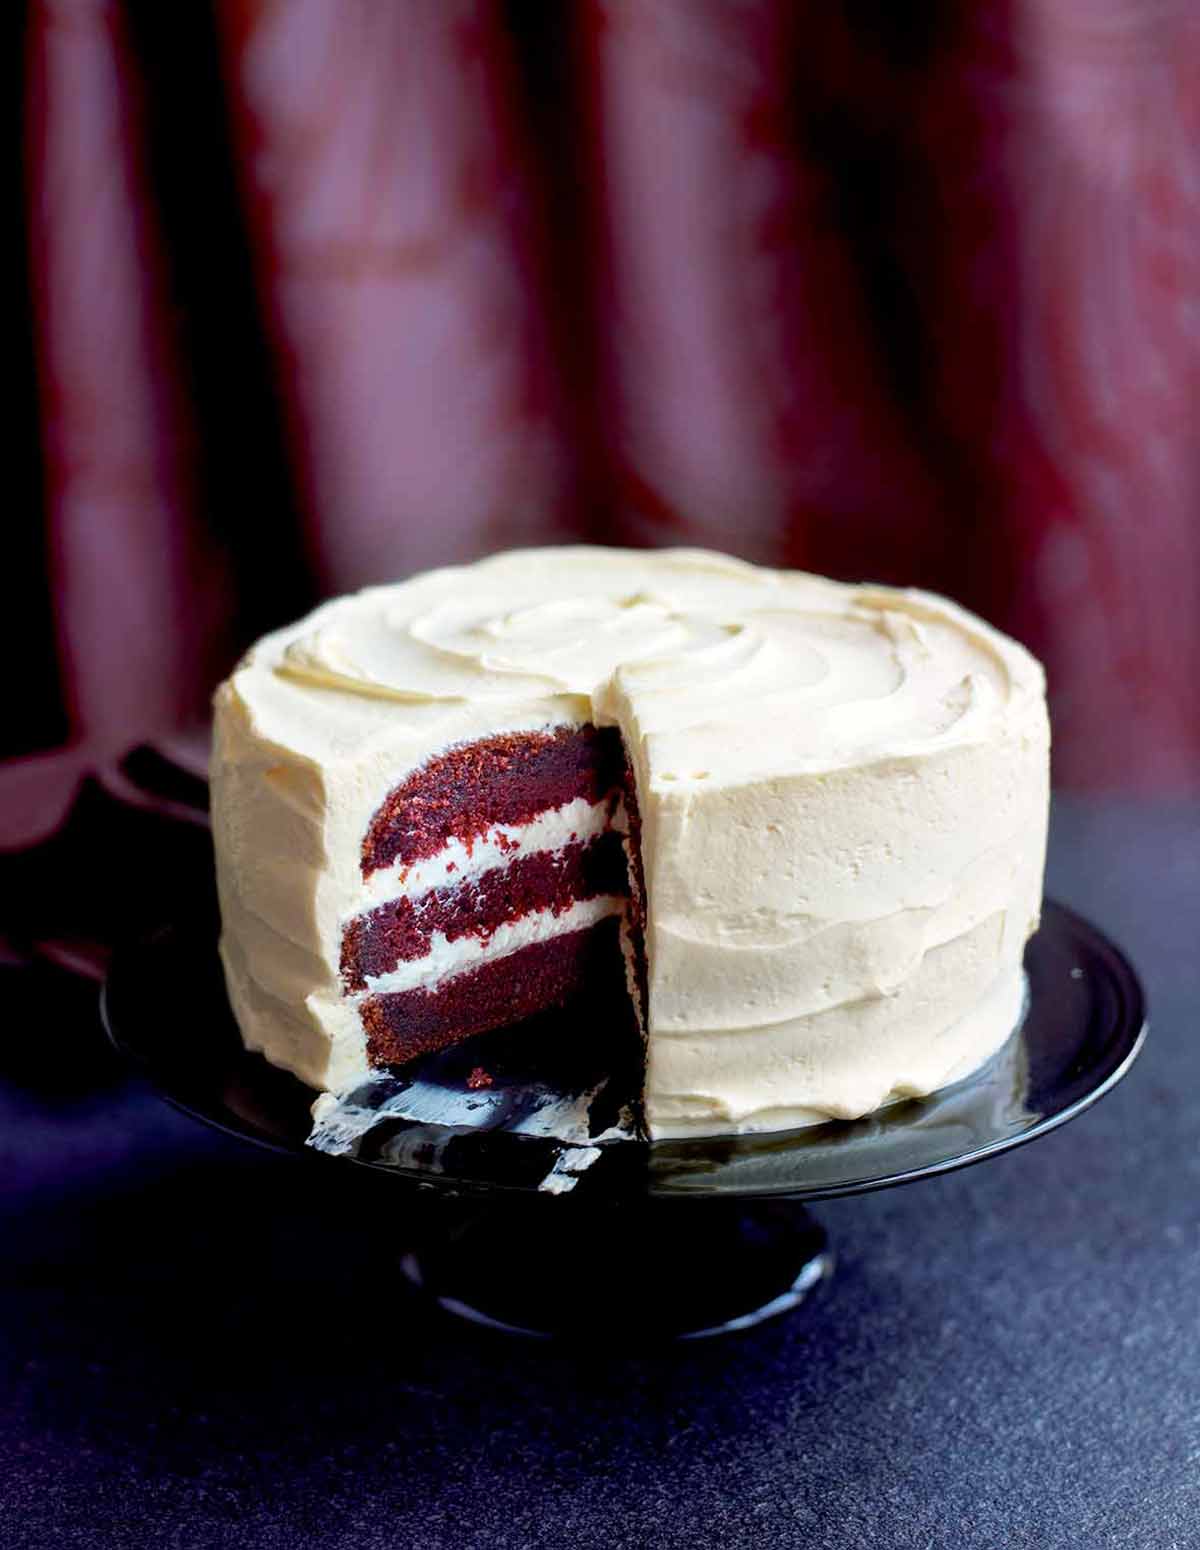
The frosting for this ever-popular red velvet cake recipe is very different from most other cream cheese frostings because it’s lightened with mascarpone and whipped cream. If you prefer a sturdier frosting, simply omit the whipped cream. [Editor’s Note: The frosting on this cake isn’t the only thing folks are waxing poetic about. It’s sheer red velvet voluptuousness through and through.]–Bea Vo
*What kind of red dye should I use?
We’re not really into artificial coloring. We’re also not passing judgment or inciting ire, mind you. We’re simply saying that if you’d prefer not to use an artificial tint yet still want to have your red velvet cake and eat it, too, there’s an increasing array of natural food colorings nowadays at natural food stores as well as online. They’re all minus the multisyllabic ingredients and frighteningly numbered names like Red No. 40. Some of the ones we’ve encountered most frequently are India Tree and Watkins brand. Don’t worry, you’ll still be seeing red when you slice into this cake.

Red Velvet Cake
Ingredients
For the cake
- Butter for the pan
- 2 large eggs
- 1 1/4 cups superfine sugar, (or just blitz granulated sugar in a blender until finely ground but not powdery)
- 1 1/4 teaspoons salt
- 1 cup sunflower oil, plus more for the pan
- 1 1/2 teaspoons vanilla extract
- 2/3 cup buttermilk , (either low-fat or full-fat)
- 2 teaspoons baking soda
- 2 1/2 teaspoons apple cider vinegar or red wine vinegar
- 1 2/3 cups all-purpose flour
- 1 1/2 tablespoons natural cocoa powder, (or Dutch process, if that’s what you happen to have on hand)
- 1 1/2 tablespoons red food coloring* or 3/4 teaspoon red food coloring paste, (see *Note above)
- 1 recipe cream cheese frosting
Instructions
Make the cake
- Preheat the oven to 350°F (176°C). Butter or oil an 8-inch round cake pan and line it with parchment paper.
- In a large bowl, whisk together the eggs, sugar, and salt. Still whisking, slowly add the oil in a steady stream until completely combined and the mixture has thickened slightly. Stir in the vanilla extract.
- In a smaller, separate bowl, mix the buttermilk, baking soda, and vinegar. The mixture should bubble quite a lot at the beginning and then settle down.
- In another bowl, combine the flour and cocoa powder and sift to combine.
- Stir 1/3 of the flour mixture into the egg mixture and mix until well incorporated.
- Add half of the bubbly buttermilk mixture to the batter and mix until just combined. Repeat with 1/2 of the remaining flour mixture, then the rest of the bubbly buttermilk mixture, and, finally, the last of the flour mixture. Mix until thoroughly combined.
- Add the food coloring and stir until thoroughly incorporated. Spoon the mixture into the prepared cake pan.
- Bake the cake for 35 to 45 minutes, until a toothpick or wooden skewer inserted in the middle comes out with almost no crumbs attached and the surface of the cake, when gently pressed with your fingertips, springs back instead of remaining indented.
- Let the cake cool in the pan on a wire rack for about 10 minutes. Then invert the cake onto the rack and turn it right side up to cool completely.
Assemble the red velvet cake
- Cut the cooled cake horizontally into 2 or 3 equal layers. Place the bottom cake layer on a cake stand or platter.
- Using a spatula or a knife, slather a little of the cream cheese frosting evenly over the bottom layer. Top with the remaining layer(s) of cake, spreading a little more frosting over the the top and the remaining frosting along the sides of the cake.
- Slice and serve. Originally published April 13, 2012.

Nutrition
Nutrition information is automatically calculated, so should only be used as an approximation.
Recipe Testers’ Reviews
The flavors of this rich, moist red velvet cake— slightly chocolatey, not too sweet, with a creamy, cream-cheesy frosting—are what make it a Tester’s Choice.
Making the batter wasn’t complicated, although I did buzz regular granulated sugar to get fine sugar and it’s always tricky knowing how much to buzz to get fine but now powdered sugar. Where I struggled was with the baking. After the first 35 minutes, the batter in the middle was still very wet, so I did another 5 minutes. Then I did at least four 2-minute additions. I was worried that the edges would come out dry and overdone. Since I was giving the cake away, I don’t know the answer to that question. My tasting notes are based on a couple cupcakes I made with some of the batter as I absolutely had to try it.
It looked like a marvelous cake (despite my poor frosting capabilities) and I definitely need to try it again. It traveled quite well in a 10-by-10-by-10 cake box.
This red velvet cake is wonderful and easily outshines other similar cakes that I’ve had, including red velvet in cupcake form. Plus the frosting is awesome. I’m not a frosting person, but I was eating this straight with a spoon!
I made a couple of adjustments to the recipe. Since my grocery store ran out of buttermilk, I made my own by letting 2/3 cup whole milk and 2/3 tablespoon of lemon juice sit for 10 minutes or so. I also couldn’t find red food coloring paste so instead, I used 1 1/2 tablespoons of red food coloring liquid, and the amount resulted in the perfect shade of red velvet cake. I baked the cake for a total of 45 minutes. In the future, I would only cut the cake in half rather than into thirds, as it can get messy and the layers are thin.
This red velvet cake is as easy as can be. Simple steps and easy to put together. The frosting is just sweet enough, though I didn’t add the heavy cream as I prefer a thicker frosting.
I would definitely make this cake again—and maybe turn it into cupcakes!


Is there a reason it can’t be baked in 2x 8″ pans instead of 1 pan and cutting into layers? Thank you in advance.
Barbara, we haven’t tried it this way, so we can’t say how dividing the batter would affect the bake time and moisture of the finished cake, although we’d certainly agree that it would be easier for assembling! If you do try it, you’ll need to watch the cake closely for doneness and expect the baking time to be shorter.
yes, I’d think it would be shorter cooking time. Will let you know if I try it this way. Thank you!
You’re welcome, Barbara.
Just made this cake for my daughter’s birthday and it was A-M-A-Z-I-N-G!!! Every year for each of my 3 kids birthdays I make a homemade cake and red velvet is usually the cake of choice. I’ve been trying different recipes for years and this is my favorite one to date. The crumb on the cake is perfectly moist, spongy and the perfect density for a red velvet cake. You can even see where the little bubbles formed from the vinegar and baking soda mixture in the batter. It’s incredibly flavorful with not too much or little cocoa. The only thing I changed was the icing because I didn’t have the mascarpone and cream so I just made a traditional cream cheese buttercream icing…but I will be trying your icing recipe next time. BRAVO and thank you!
Christina, you have made my MONTH by sharing your experience and kind words with us! We live for this kind of feedback, so thank you! Really pleased to hear you love this cake as much as all of us do and that the experience will be part of your family’s birthdays. Food is about so much more than just food, isn’t it? Memories and emotions, too. Wish your daughter a happy birthday from me!
Oh, I love red velvet cakes! They are a mixture of tastiness and creaminess! Glad to have found your exquisite recipe. Will try making this tomorrow! 🙂
Superb, Vincent. Looking forward to hearing what you think.