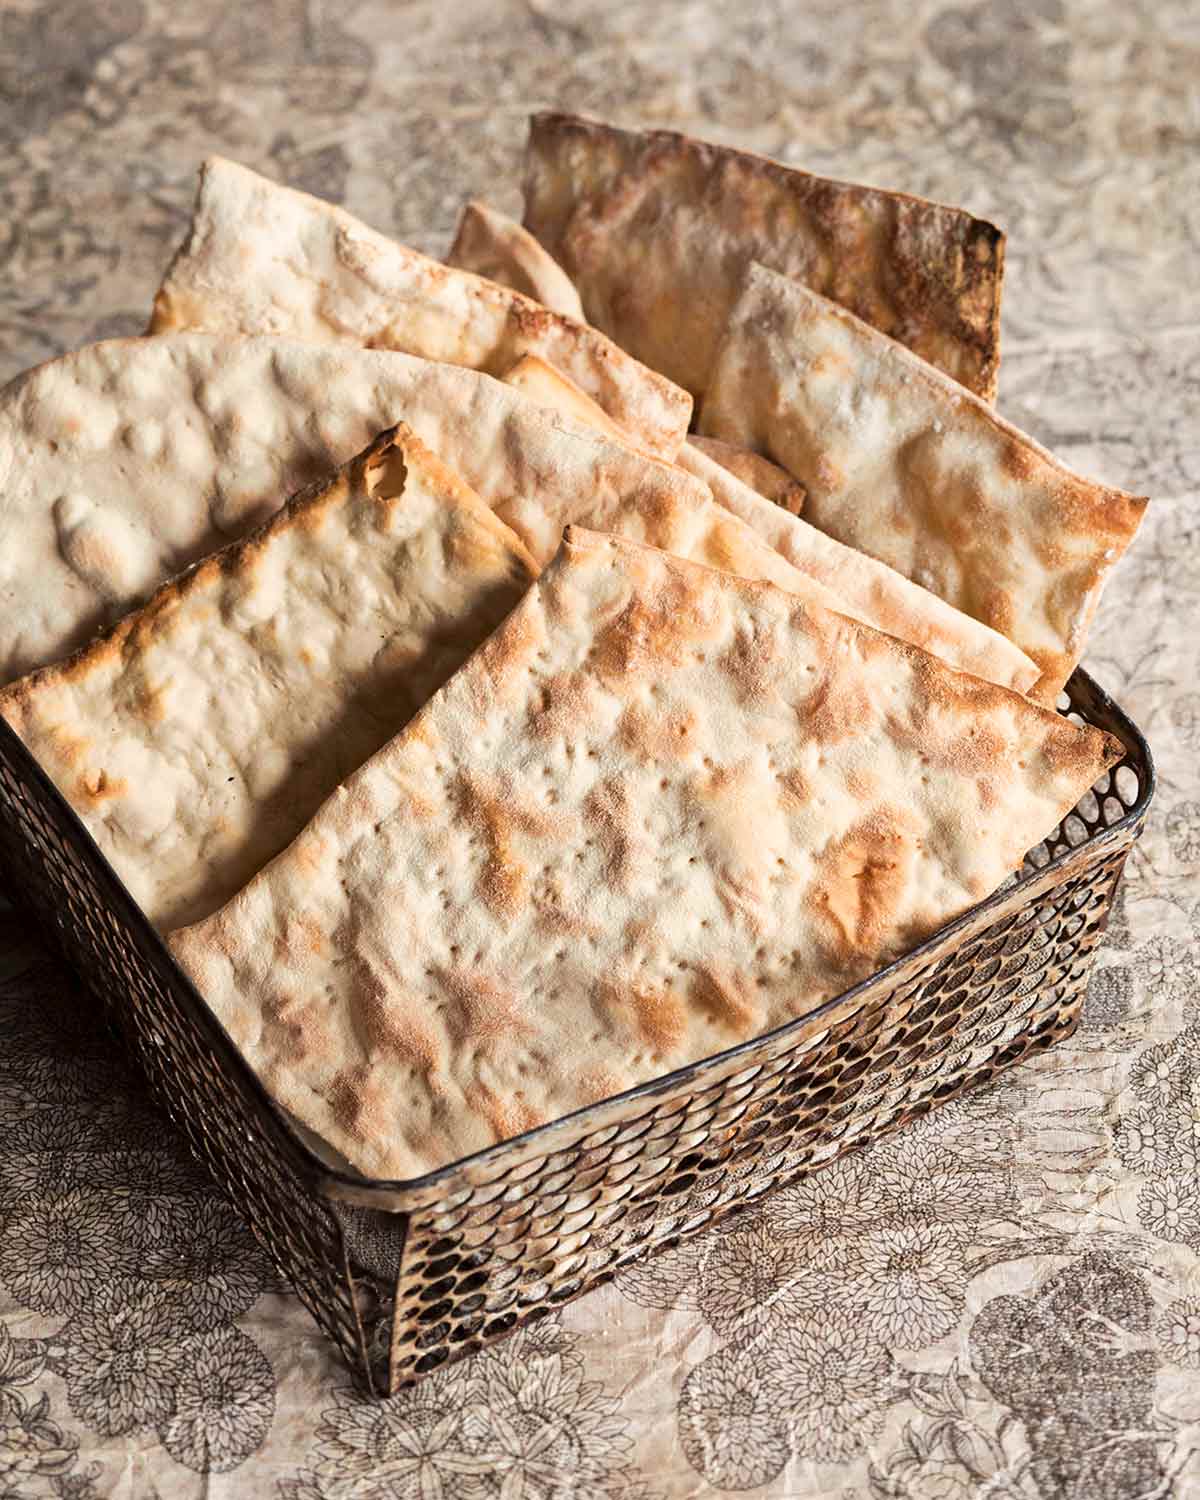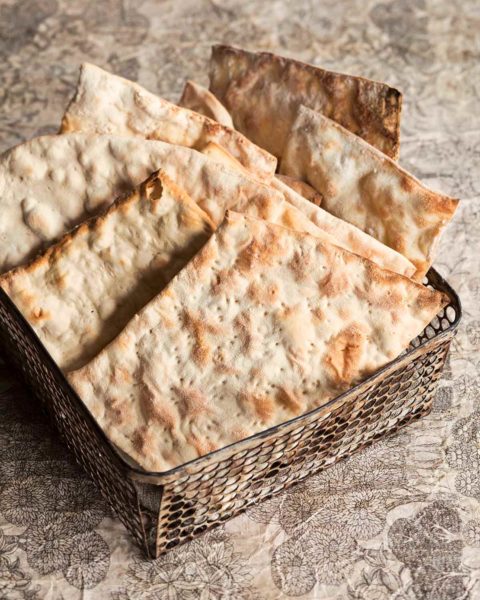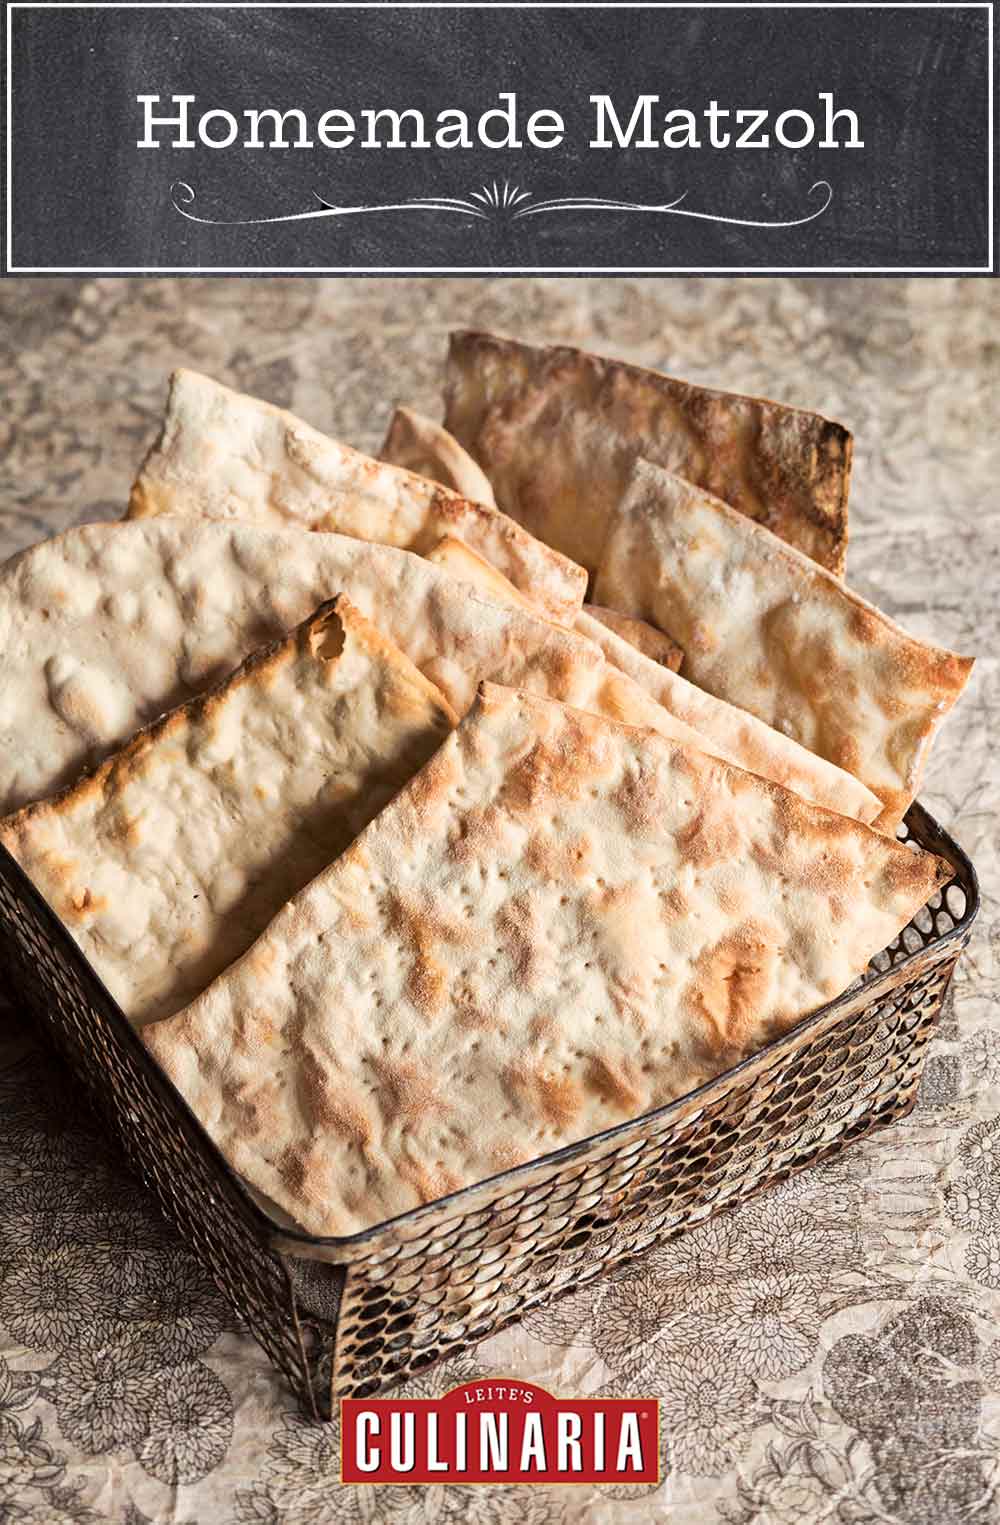
Homemade matzoh? It’s actually quite easy to make. A pasta roller helps tremendously in terms of both ease and time. As for what to schmear on that homemade matzoh, we can help with that, too. Just click your heels three times and then check out our Matzohpaloozah. –David Leite
Homemade Matzoh FAQs
No, neither in the historical nor religious definition of the term. Matzoh has only ever contained two ingredients: flour and water. The authors of this recipe, which comes from the Mile End Cookbook, added salt for flavor and oil for ease of rolling for home cooks. Perhaps it’s better to think of them as matzoh-style crackers. But even the word “crackers” isn’t exactly correct because crackers contain leavening agents, either baking soda or yeast.
So this is a kind of hybrid. Not sparse enough to be matzoh, not robust enough to be crackers. Perhaps look upon these as an ecumenical food….
In order for matzoh to be technically unleavened and appropriate for Passover, according to Jewish tradition, it must be started and completed within 18 minutes. This is because fermentation is believed to happen after 18 minutes of ground grain being in contact with water, and Jewish law requires only unleavened foods be eaten during the duration of Passover.
Matzoh can be pretty bland on its own, but the options for serving it are endless. If you’re not strictly observant to Passover law, go ahead and schmear with cream cheese or sour cream and top with smoked salmon, dollop on hummus, or serve as you would your favorite cracker. Alternatively, you could grind up the homemade matzoh to make matzoh meal for matzoh ball soup or Passover brownies.

Homemade Matzoh
Equipment
- Pasta machine (optional)
Ingredients
- 4 1/2 cups sifted all-purpose flour, plus more for rolling
- 1 teaspoon Diamond Crystal kosher salt, plus more for sprinkling
- 2 tablespoons mild olive oil
- 3/4 cup plus up to 1/2 cup warm water
Instructions
- Preheat the oven to 500°F (260°C). Ideally you would place a pizza stone on the bottom oven rack, but realistically a 10-by-15-inch baking sheet will work just dandy.
- In a large bowl, mix together all the ingredients, starting with just 3/4 cup water, until everything comes together to form a dough. If the dough seems dry, add a little more water, just a few drops at a time. Be sparing with the water and do not add so much that the dough becomes sticky.
- Let the dough rest for 10 to 15 minutes.
- Divide the dough into 8 pieces. Flatten a piece slightly and pass it repeatedly through a pasta maker, reducing the thickness each time until you eventually reach the thinnest or minimum setting on your pasta machine. Alternately, you can simply roll the dough as thinly as possible with a rolling pin on a lightly floured surface. Repeat with the remaining dough pieces.
- Trim the rolled-out dough pieces into rectangles. (How many pieces of matzoh you get depends on how thinly you rolled the dough.) Use a fork to prick holes in the surface of the dough. lf salted matzoh are desired, brush or spray the dough surface lightly with water and sprinkle with salt to taste.
- Carefully place some of the rectangles onto the pizza stone or baking sheet. They should fit snugly but should not touch. Bake until the surface of the matzoh is golden brown and bubbly, 30 to 90 seconds.
- Using tongs, carefully flip the matzoh pieces and continue to bake until the other side is golden browned and lightly blistered, 15 to 30 seconds. Keep careful and constant watch to keep the matzoh from burning; the exact baking time will vary from oven to oven and will get longer with subsequent batches. You want to let the matzoh get a few dots of light brown but don’t let the matzoh turn completely brown or it will taste burnt.
- Let the matzoh cool before serving. (When our testers made this, they devoured it within hours—and sometimes minutes—of pulling it from the oven, but typically with this sort of baked good you can keep it in an airtight container or resealable plastic bag at room temperature for up to a couple days.)

Nutrition
Nutrition information is automatically calculated, so should only be used as an approximation.
Recipe Testers’ Reviews
Making these homemade matzoh crackers left me with the same sense of wonder I had the first time I made pasta. The dough was a snap to put together with only 4 ingredients. I rolled it out by hand, and the resulting crackers reminded me of cream crackers—they were creamy and complete with golden blisters. They were also devoured within minutes of exiting the oven, gladly embraced by peanut butter and Nutella!
The homemade matzoh isn’t only fun to make, it tastes just like store-bought but fresher. And it’s more authentic-looking.
Although it was difficult to get the dough to the right consistency for rolling out, once I did, the results were wonderful. My dough was way too dry with 3/4 cup plus 1 tablespoon water. l kept adding water (approximately another 1/4 to 1/2 cup) until the dough came together. It didn’t feel right, so I made another batch, thinking I added too much flour to the first batch. Same thing happened. So I went back to the first batch (about 10 to 15 minutes later), and voilà, the dough felt perfect for rolling out. I rolled the dough out in the pasta maker. This amount was easy to handle and made for a good-size piece of matzoh. I baked it on a hot pizza stone, and it took 1 1/2 minutes on the first side and a quick 15 seconds on the second side at 500°F. Be sure not to let the matzoh get golden brown, as it starts to taste burnt.
Just let the matzoh get a few dots of light brown and you’re good to go. Think of the possibilities: flavoring the dough with different spices, cutting it into fun shapes, etc. I can’t wait for Passover!
Simple ingredients, some mixing and rolling, and I made delicious homemade matzoh. Well, maybe more like delicious homemade crackers. Mixing is easy, but rolling and trimming take some time. A quick bake in the oven resulted in a delicious cracker that somewhat resembled matzoh.
I used my pasta machine to roll the dough and felt that it was best at the second-to-last setting on the roller. Using my pasta maker resulted in sheets of dough that were about 36 inches by 5 inches when rolled at the thinnest setting. (And then there were 7 more to go.) Frankly there was so much dough I actually threw out the last ball because I was tired of making them. I was able to make my fork marks, cut the dough into rectangles, and transfer the sheets easily to a preheated baking sheet. I imagine that rolling by hand would yield a very different product. Using the pasta machine makes them fun to make and a consistent thickness. I could imagine these with butter, cheeses, tuna salad, or as a nice addition to a bread basket. I might even consider using them for Passover.
I think that next time I’d salt some of them. My preference was for the ones that I made a bit on the thicker side. Watch the oven carefully, as the brown blisters can cross over into burnt in minutes.
I must admit that I don’t care much for matzoh but with Passover not too far off I thought it’d be fun to make this with my grandkids. I don’t have a pasta maker and rolled the dough out with a rolling pin. We rolled the dough out onto a lightly floured board and had to add a little more flour a time or two.
The timing of 30 seconds was right on, but I’m sure it depends on your oven. Be careful and watch closely; they burn quickly.
Since my “assistants” were rolling them out, the shapes weren’t exactly consistent, but they were approximately 4 by 4 inches in size. The taste wasn’t marvelous, but matzoh is a pretty bland cracker. They were pretty good for matzoh and a wonderful thing to do with kids!


Hi, most flour on the market is tempered with water and so the matzo you make at home can’t be kosher for passover even if it’s mixed and baked in under eighteen minutes. there are fifty one other weeks in the year, however, to eat homebaked matzo
ja, making matzo is pretty easy but making it so that it is kosher for Passover is somewhat more complicated for a variety of reasons. Non-Passover matzo can be made from regular flour. The matzo that is used for Passover is made from “Watched Flour” (“Shmurah” in Hebrew), so if it’s important to have kosher for Passover matzo, purchase it rather than home-baking it. This recipe is delicious however for the remainder of the year (from someone who doesn’t care much for matzo) and a really fun project to do with kids.
Hi Sue, thanks for the insight. I have to admit, my favorite way to eat matzo is covered in caramel and chocolate.
The matzo was a big hit! Delicious and pretty easy, and it came out fine without resting the dough. The use of the pasta maker is a genius technique for light and super-thin matzo. However, we didn’t even come close to hitting the 18-minute goal. The recipe made so much dough that even if I had been able to get it all rolled out and docked before the timer went off, there’s no way I could have fit it all in my oven at once! Working as fast as I could (which admittedly was slower than an adult working alone, with my 2 munchkins assisting me), we got through about 1/3 of the dough, which was enough to fill the pizza stone plus one baking sheet, by the 18 minute mark. Thankfully we did this as a pre-passover project so it didn’t matter that some of our finished product was not officially kosher for Passover. I think next year I’ll just make the recipe 1/3 at a time.
Lovely to hear, Robin! And yes, this does make a rather big batch, although we’ve found that with practice we’ve gotten quite a lot faster at rolling the dough. Love that you had munchkin helpers, makes the experience all the more memorable….
Perhaps throwing the dough into a freezer after rolling it out negates* the 18-minute rule. (*Negate the rule = suspend the countdown.)
Dan, I like the way you’re thinking! Although I dare say that would make things too easy…
I’ll see how fast we can go… working with 2 and 4 year-old sous chefs here!
Sounds like fun, Robin. I love it when my children are in the kitchen with me, mess and all!