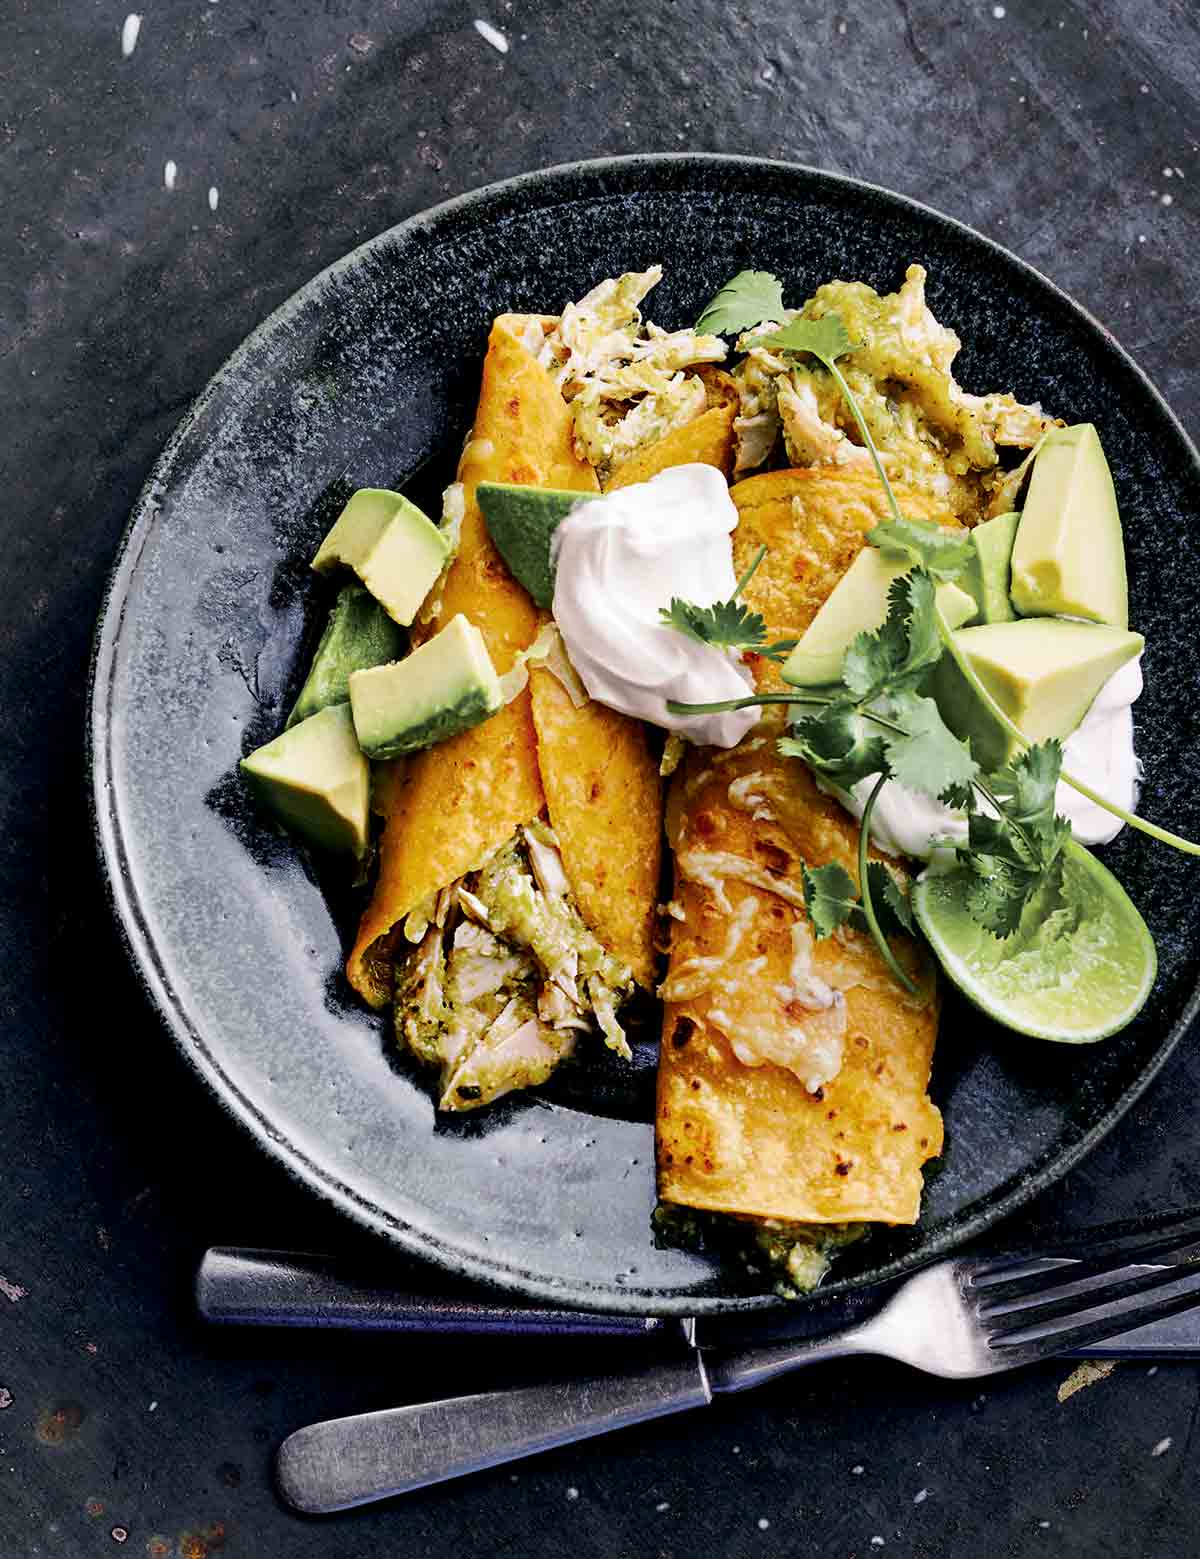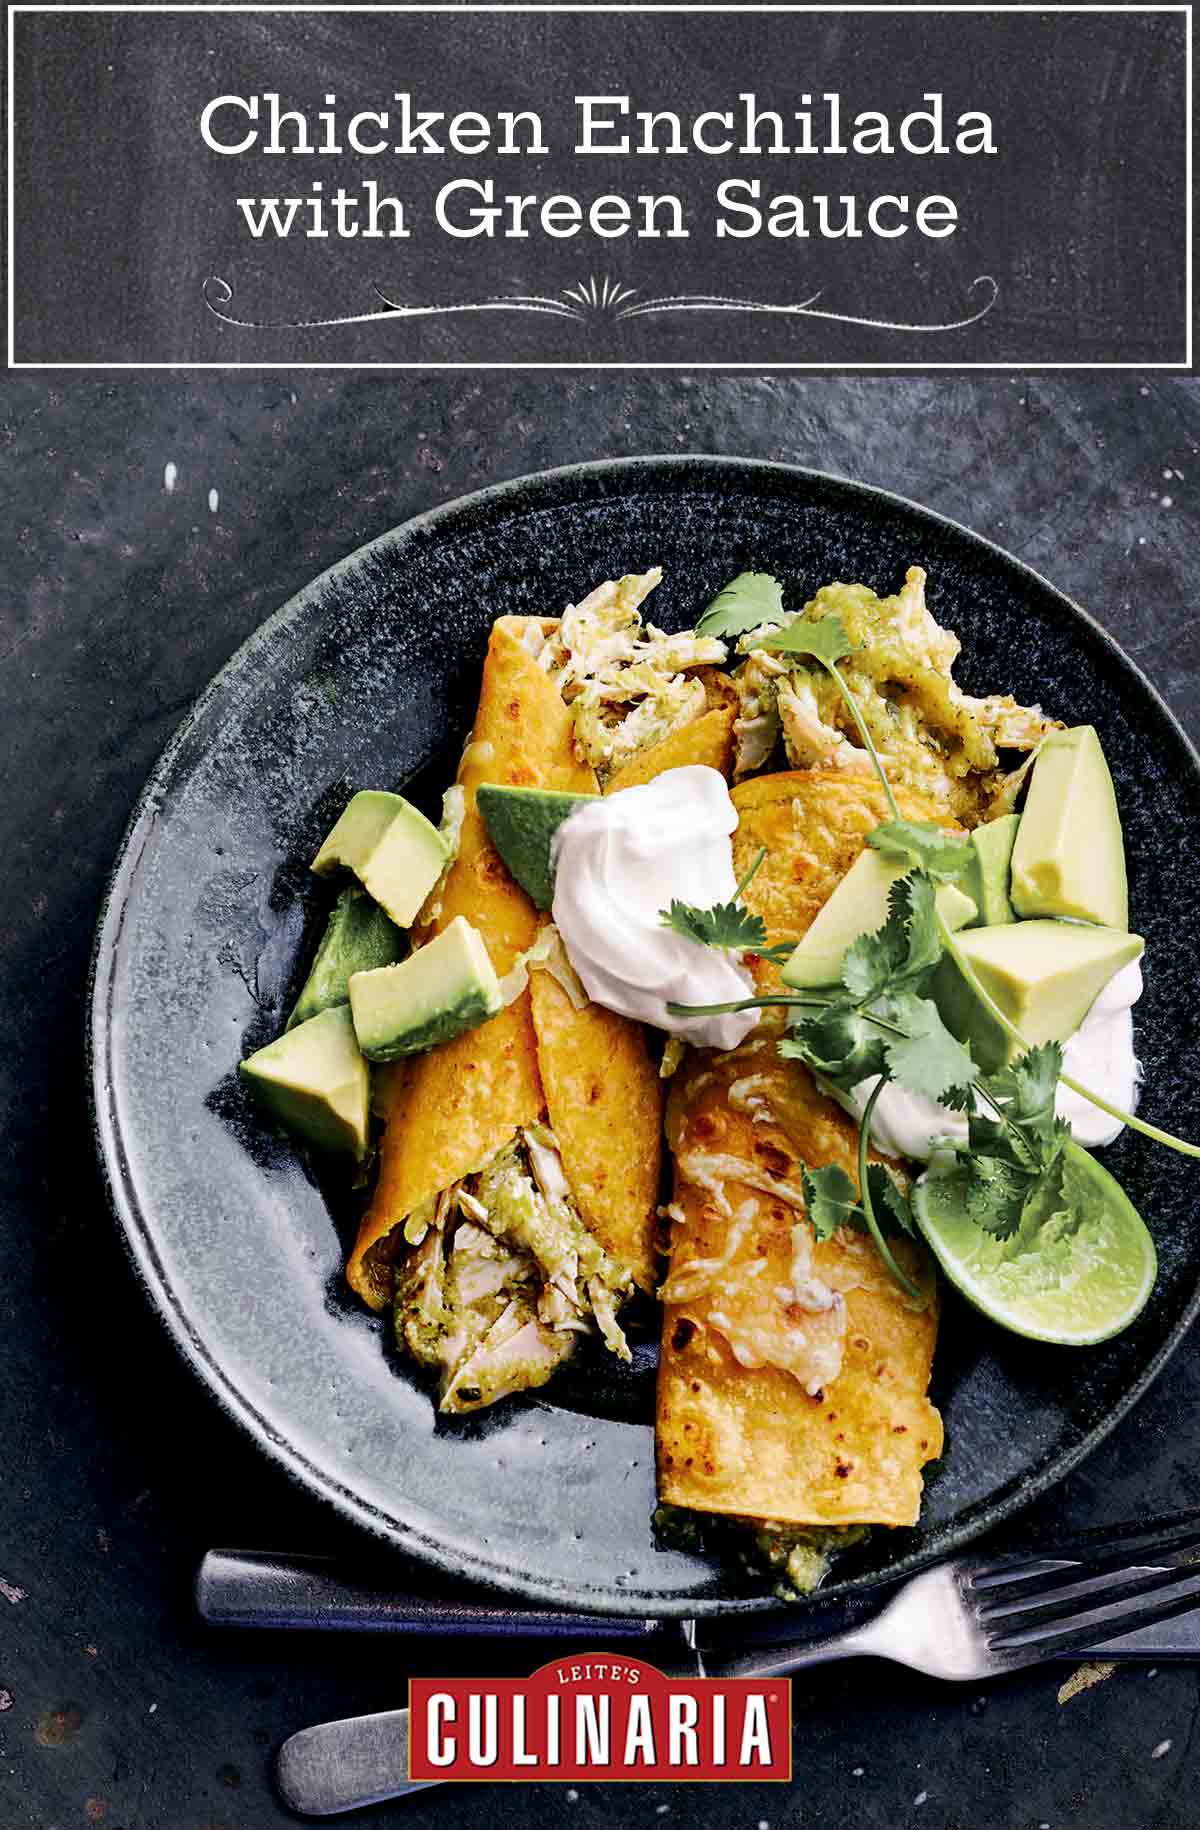
Chicken enchilada with green sauce. It’s a little something we just tossed together for supper that we like to think of as the best thing that ever happened to tomatillos. We think you’ll concur. And there’s no slaving over a stove required. Far from it.–Renee Schettler Rossi

Chicken Enchilada with Green Sauce
Ingredients
For the green sauce (salsa verde)
- 1 1/2 pounds tomatillos, papery husks removed and tomatillos rinsed and patted dry
- 2 poblano chiles
- 3 cloves garlic, unpeeled
- 1 yellow onion, quartered
- 2 teaspoons extra-virgin olive oil
- 1 teaspoon ground cumin
- 1 teaspoon dried oregano
- 1 teaspoon kosher salt
For the chicken enchilada filling
- 1 1/2 pounds bone-in, skin-on chicken breasts
- 2 large cloves garlic, smashed and peeled
- 1 yellow onion, sliced
- 1 teaspoon kosher salt, plus more to taste
- 7 1/2 ounces farmer cheese or Cotija, crumbled
- Freshly ground black pepper
For the assembly
- 1/4 cup canola oil, plus more for the baking dish
- 12 to 16 corn tortillas
- 1 cup shredded Monterey Jack cheese or pepper Jack cheese
- Sour cream, for serving
- 1 ripe avocado, pitted and cut into 1/2-inch (12 mm) dice, for serving
- Cilantro leaves for garnish (optional)
Instructions
Make the green sauce (salsa verde)
- Line a broiler rack or pan with heavy-duty aluminum foil. Position it about 6 inches (15 centimeters) from the heat source and preheat the broiler.
- Place the tomatillos, chiles, and garlic on the broiler rack. Brush the onion quarters with the oil and place them on the rack. Broil the vegetables until they're browned in spots, about 5 minutes. Using tongs, transfer the garlic to a plate. Flip the remaining vegetables and continue broiling until the tomatillos turn sort of a drab olive green, the chiles are blackened and blistered, and the onion is singed and tender, about 5 minutes more. Remove from the broiler and set aside until cool enough to handle.
- Using your fingers, remove the stems, skins, and seeds from the chiles and discard. Peel the garlic. Toss the tomatillos, chiles, onion, garlic, cumin, oregano, and salt in a blender and purée until smooth.
Make the chicken enchilada filling
- Place the chicken in a deep saucepan or a Dutch oven with the smashed garlic and sliced onion. Add the 1 teaspoon salt and enough water to cover. Bring to a boil over high heat. Reduce the heat to medium-low, partially cover the saucepan, and gently simmer for 20 minutes. Remove from the heat and let the chicken cool in the pan for 10 minutes. (The chicken should be cooked through.) Remove the chicken breasts from the saucepan and let them cool completely. If desired, reserve the cooking liquid as chicken stock for use in other recipes.
- Remove the meat from the chicken breasts, discarding the skin and bones. Shred the meat and toss it in a bowl. Stir in the farmer cheese, 1/2 cup green enchilada sauce, and season with salt and pepper to taste.
Assemble the chicken enchilada fixings
- Position a rack in the center of the oven and preheat the oven to 350°F (180°C). Lightly oil a 15-by-10-by-2-inch (38-by-25-by-5-cm) baking dish or roasting pan. Spread 1/2 cup green enchilada sauce on the bottom of the dish.
- Heat the 1/4 cup oil in a large skillet over medium heat. One at a time, fry the tortillas, turning to warm each side, just until softened, about 10 seconds per side. Place each tortilla on a paper towel to drain the excess oil, then stack the warmed tortillas on a plate and cover with a clean towel to keep warm. [Editor's Note: Looking to save a few calories? Use half as much oil.]
- To assemble each chicken enchilada, spoon 2 heaping tablespoons chicken filling on the bottom third of a tortilla, roll it up, and arrange it, seam side down, in the baking dish. Assemble all the enchiladas. They should fit snuggly in the baking dish. Spoon the remaining green enchilada sauce over the top and sprinkle with the Monterey Jack or pepper Jack cheese. Bake until the sauce is bubbling and the cheese is melted and golden, 30 to 35 minutes. Let stand 5 minutes. Serve at once, topping each serving with a dollop of sour cream, some diced avocado, and if desired, sprigs of cilantro.
Notes
Chicken Enchilada With Green Sauce Variation
Cheater’s Chicken Enchilada With Green Sauce Substitute 2 to 3 cups cooked, cooled, shredded cooked chicken (leftover grilled or rotisserie chicken works spectacularly!) for the freshly simmered chicken breast and mix it with the farmer or Cotija cheese, green enchilada sauce, and salt and pepper to taste and continue as instructed in the recipe. You can use leftover roast chicken, a rotisserie chicken you grabbed from the grocery store, grilled chicken—whatever you’ve got, it’ll work like a charm.
Explore More with AI
Nutrition
Nutrition information is automatically calculated, so should only be used as an approximation.
Recipe Testers’ Reviews
This chicken enchilada recipe was my first time cooking with tomatillos, and it was sooo easy. The green sauce was incredible—both because it was so easy and because it tasted great. The house smelled amazing while I was roasting the tomatillos, too. I couldn’t find poblanos at the store, so I used a few large jalapeños instead, which worked just fine. The tomatillos took about 10 minutes total on the rack closest to the broiler, while the jalapeño and onions took a total of 15 minutes. Also, I looked up some suggestions for roasting tomatillos online, and decided to slice them in half horizontally, to maximize the surface exposed to the broiler, which worked great. I peeled the garlic after roasting but not the tomatillos and jalapeño, as it didn’t make sense to me to lose all the nice roasted flavor, and it worked out fine. We doubled the recipe so we could have extra sauce, which was an excellent idea. The recipe makes for a really tasty salsa that only gets better after a day in the fridge. We used leftover chicken, so we only had enough chicken to assemble 6 enchiladas using taco-sized tortillas. They fit fine in our 11-by-7-inch glass baking dish. Being health-conscious, we didn’t fry the tortillas but rather warmed and softened them on a griddle for about 30 seconds before using them. Warming the enchiladas for 30 minutes in the oven worked for us. Dinner was the highlight of the week, and it was the green sauce that really made this recipe a winner. We have plans to make bulk batches of it to eat with chips, over scrambled eggs, with grilled chicken and fish. The recipe is flexible enough that my goal will be to broil as many tomatillos, onion, garlic, and peppers that will fit on a half-sheet pan, and that should make about 2 quarts of tomatillo sauce. The salsa verde freezes well, so if we have extra, I’ll just pop it in the freezer for a lazy day.
This chicken enchilada recipe tasted great and was moist and wonderfully creamy. Since I tend to prefer green sauce to red, I’ll be coming back to the salsa verde portion of this recipe for other dishes. I cooked the chicken the previous day by poaching a 3 1/2-pound whole chicken. It does seem, however, that it would make more sense logistically to start cooking the chicken first and then multitask a bit on the broiler portion while that’s cooking. It didn’t take incredibly long (about 10 minutes) for the broiled items to be cool enough to work with. I used 2 cups shredded white meat chicken, and it seemed to be about right. After turning the broiled vegetables over after 5 minutes, they weren’t quite done, so I left them in for another minute and half before taking them out. The tomatillos were getting more than just a few black spots but hadn’t turned (what I would call) olive green. Heating the tortillas for 10 seconds per side was spot-on, though it took a bit longer for the first couple. I thought 1/4 cup was a little too much oil for this, or at least more than I would use on my own. Next time I make this recipe, I think I would try quickly assembling each enchilada and popping it into the pan as the next tortilla is frying. Once I started fitting the tortillas in the pan, it was clear I would have extra space. My corn tortillas were about 5 3/4 inches in diameter. I had enough extra filling for 2 more tortillas (14 total), and that made things fit a little more snugly in the pan. It’s a recipe that can be made in components and then put together later. With both the chicken enchilada filling and the green sauce made in advance and the cheese already shredded, this would be a fairly quick meal for a busy night.
If you’ve never made your own salsa verde, this chicken enchilada recipe is reason enough to try. I may never use store-bought sauce again. For me, it wasn’t difficult to track down tomatillos. I got some at Whole Foods, but I know that I have seen them at more basic grocery stores. The key to this dish is the tang of that salsa, which plays so nicely with the salty bite of the farmer cheese and creaminess of the melted Jack cheese. This dish does require a good amount of preparation, but it’s well worth the effort. A little bit of multitasking makes all the difference. While poaching the chicken, I prepared the salsa. My broiling times were slightly longer—I used 10-minute intervals instead of 5, but really the key here is to check often for color and tenderness, not specific times. Popping everything into a blender couldn’t have been easier (and would have been MUCH easier had I had a blender that was larger than a single-serving smoothie maker.) I ended up with about 1 quart of salsa, all of which was used for this recipe. I might double the recipe for the green sauce next time in order to have some extra to moisten the leftovers and to put on eggs at breakfast. My chicken was cooked through and bordering on dry, so I mixed in some cooking liquid. I would monitor my poaching time a bit better in the future, shaving off 5 minutes or so. The tortillas softened pretty quickly but also absorbed a lot of the oil. I had to refill the pan every two or three batches. I wouldn’t mind finding a way to accomplish this without the excess of oil. I used about twenty 4-inch tortillas to get through all the filling, and I filled a 9×13 plus some of a 8-inch loaf pan. I baked the enchiladas until bubbly, a bit more than 30 minutes. The filling was a touch dryer than I would have liked, but that could be due to the chicken being dry. Either way, I would mix in more salsa next time and maybe a dollop of sour cream. This tastes like every great green enchilada I’ve ever had, and I am so excited to be able to recreate this beloved dish at home.
I don’t know how authentic this chicken enchilada recipe with green sauce is—farmer cheese and Monterey Jack in a true enchilada?—but we sure did enjoy it. The recipe has a number of steps that take some time, but none of them are difficult. The end-product is surprisingly light. We will be enjoying them for a while because we had a lot of leftovers which we packaged, sealed, and froze. I wasn’t able to broil all of the vegetables at the same time. I had to do them in 2 batches. My garlic cloves were really fat so they needed an extra 2 minutes to soften. After the second 5-minute roasting period, my onions were singed, but not tender. I cooked them for another 3 minutes. Perhaps it was because I had a fairly large onion. My tomatillos cooked for 5 minutes on the first side but needed only 3 minutes on the second side to be blackened in spots as well as tender. As advertised, they indeed turned “olive green.” I used a store-bought roast chicken. I could not find farmer cheese at 2 different stores. After doing some research, I bought small-curd, full-fat cottage cheese, put it in a coffee filter placed in a sieve, and let it drain overnight. I found the tortillas to be too greasy after frying, stacking, and covering them with a kitchen towel. I separated the tortillas after taking them out of the oil by placing paper towels between them. I folded the paper towels over to allow for more tortillas per paper towel. For the assembly of my enchiladas, I had enough leftover filling to fill 4 more tortillas, yielding 16 enchiladas in total. I ended up doubling the amount of Monterey Jack cheese, as 1 cup did not come close to covering that large casserole. The casserole took 35 minutes in the oven to get golden and bubbly. I served the enchiladas with homemade pico de gallo and a green rice which I made with coconut milk, cilantro, and Serrano peppers.
My standard chicken enchilada recipe is made with ground beef, refried beans, and a red enchilada sauce. I’ve never made a green sauce for enchiladas until now. They were delicious! The sauce had just enough tartness and cut through the richness of the cheeses. The prep for the green sauce was pretty straightforward. The broiling could have gone another minute or two for a total of 12 to 13 minutes instead of 10 minutes. Once all the vegetables were broiled, cooled, and the peppers were skinned and seeded, the sauce came together easily. The seasoning was just right and had a nice, pourable, sauce-like consistency.
Instead of poaching the chicken, I roasted 2 bone-in, skin-on chicken breasts. I had about 2 1/2 pounds uncooked chicken which was about 1 1/2 pounds cooked, shredded chicken once cooked, skinned and deboned. (To cook the chicken, I place the chicken on a baking sheet, toss with olive oil, salt and pepper, and roast at 375°F for 35 minutes. Once cool, I take the skin off and pull it off the bone and shred.)
When heating the corn tortillas in the oil. I did find that they were very greasy. I had the heat on medium and cooked them 10-12 seconds per side, but they still seemed greasy. I blotted them with a paper towel before filling them which helped. It may have also helped if I put a paper towel in between each tortillas instead of stacking them on top of each other. To be fair, my children are not fans of corn tortillas so I used some flour tortillas as well. I heated them in the microwave to soften them and filled them like I did with the corn.
While filling the tortillas, it seemed like 2 tablespoons would not be enough filling and it was hard to measure with larger pieces of shredded chicken. I’d say I put at least 1/4 cup filling in each tortilla and had exactly enough for 12 tortillas. I baked the enchiladas for 30 minutes but they were not bubbling so I left them in for another 7 minutes and let them stand for 5. I feel that covering the dish in foil for 25 minutes and then taking the foil off for 5 to 7 minutes would have worked better so heat them through and then finish melting the cheese on top.
I served the enchiladas with sour cream and diced avocado. Corn tortillas were definitely better than flour tortillas, but my children have a different opinion. The corn flavor was a nice compliment to the chicken while the flour was just bland and pasty. The flour tortillas absorbed too much of the sauce and became really soft while the corn tortillas stood up nicely to the sauce and complemented its flavors.
I really liked this dish, and I will definitely make it again. The recipe took a bit of time, but it was worth it. I could see cooking the chicken the day before or using a rotisserie chicken if you wanted to make it for a weeknight meal. Overall the hands on time was 41 minutes (sauce prep, shredding chicken, assembling enchiladas), Total time was about 2 hours (roasting chicken, cooking enchiladas and standing).


I’m a big fan of salsa verde and I look forward to trying this.
I just thought I’d add that the chiles are much easer to skin if you place them in a plastic bag for 5 minutes before you go at them.
Swell tip, Rainey, thank you! We do that all the time. Thanks for reminding us!
This recipe is fabulous. Unfortunately, I gave some to my family and now they request them ALL the time. I make a batch for me and one for them to share. The green sauce is fabulous. I add jalapeños to spice it up a bit as another reviewer suggested. Highly recommended. Usually is a quick lunch or dinner.
Zilma, all’s fair in love and food….
I’ve been making almost this identical dish for a long time, having created it when trying to duplicate a beloved restaurant dish called Enchiladas Yolandas. I came up with a variation last autumn that I think your readers might want to explore.
We had a huge glut of English peas in our fall garden, and when making the green sauce, I added two cups of lightly cooked (just softened) peas in with the rest of the veg puree. I know it’s very un-Mexican, but I can hardly express how the sweetness of those peas complimented the tart tomatillos and the sharp chiles. It really took my standard sauce to a whole new level, and I now make it that way all the time. (Out of season, I just use thawed, uncooked frozen peas; the ones marked ‘baby’ or ‘tiny’ peas are the best.)
Terrific, MaggieToo! Many thanks, greatly appreciate you sharing this with us.