
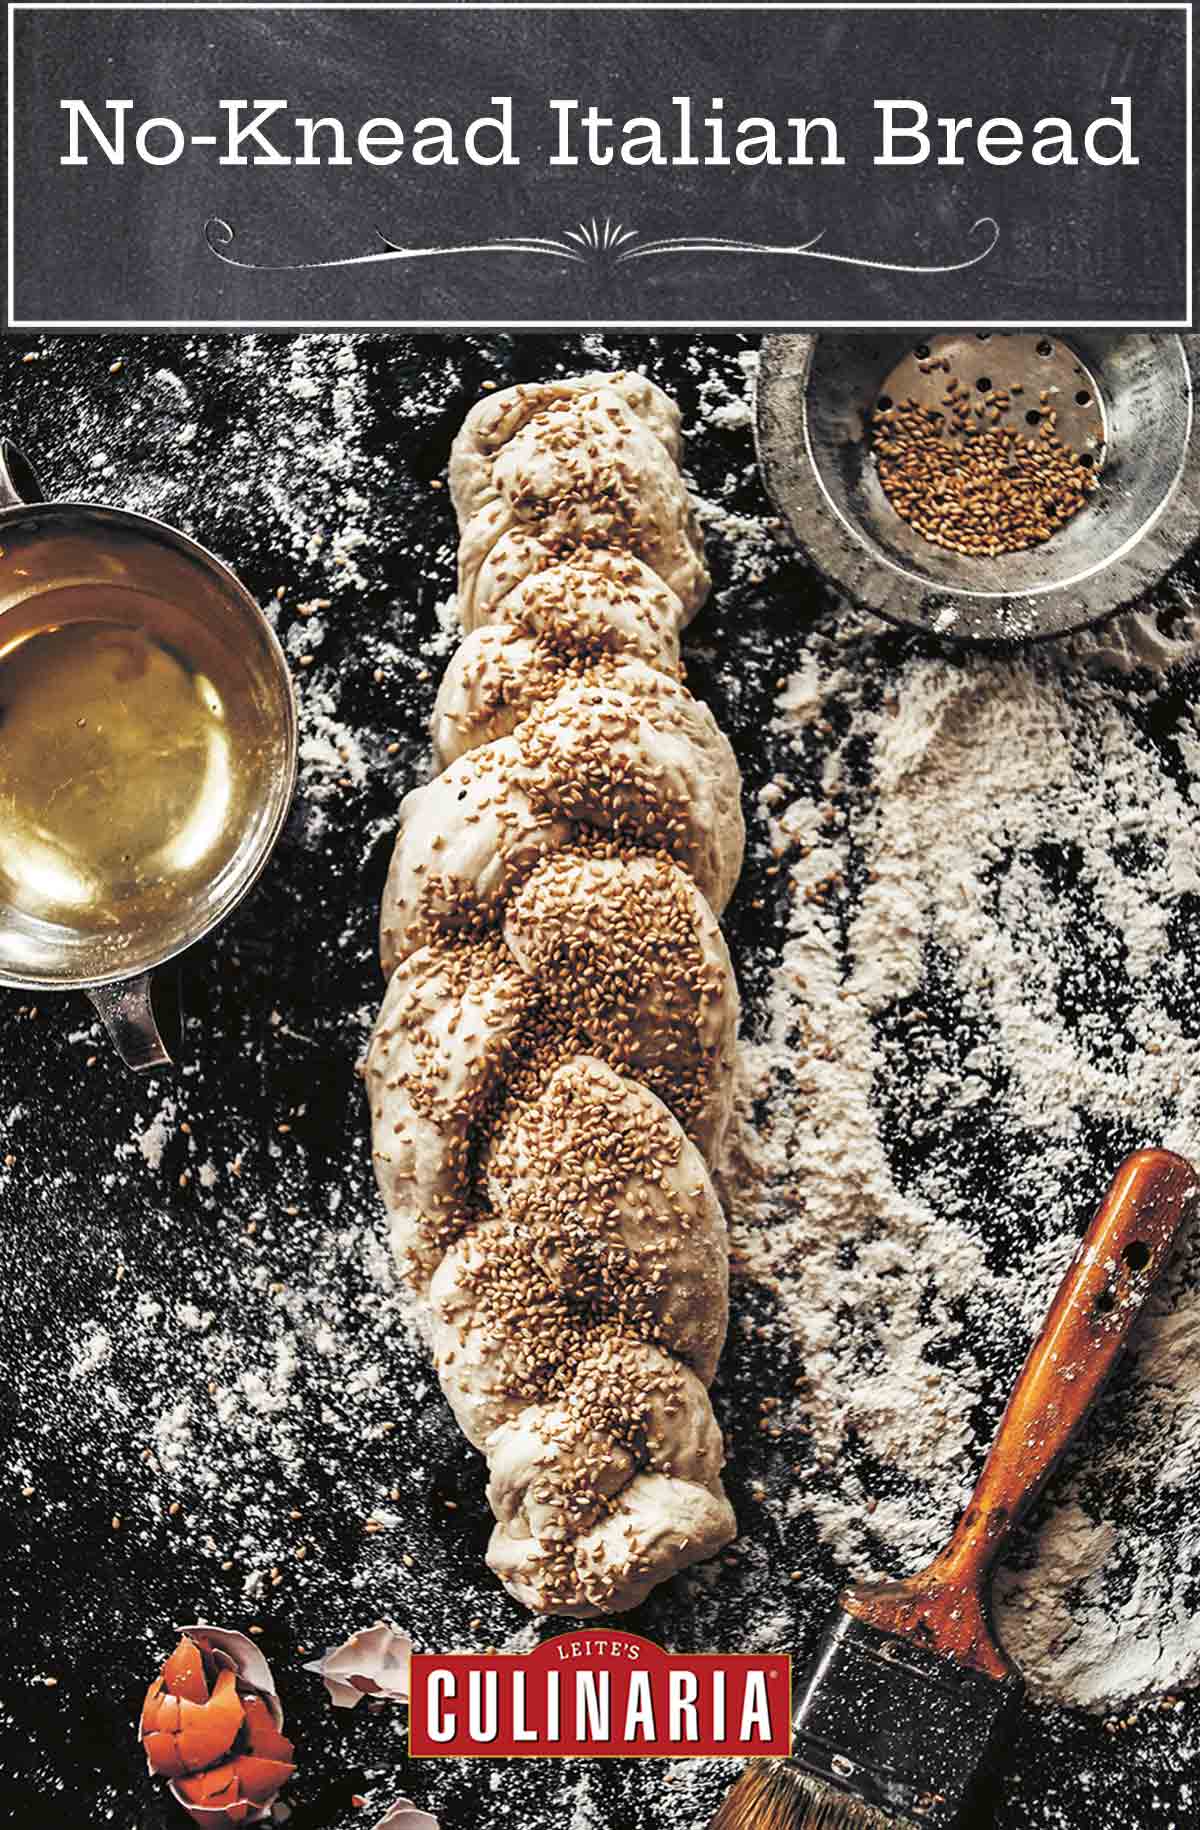
This no-knead Italian bread is every bit as simple to make as the name suggests. Seriously. With only 10 minutes of effort, you can make a loaf of bread that easily rivals one you’d buy at your favorite artisan bakery with a chewy crust and a light crumb. The only catch? You have to remember to start it the night before.–Angie Zoobkoff
How does no-knead bread work?
The reason this recipe works, despite being no-knead, is that the bread has a long rising time of 12 to 18 hours to create a risen texture. The inspiration for this recipe was an article published in the New York Times several years ago that featured a revolutionary no-knead bread by Jim Lahey of Sullivan Street Bakery. In addition to making bread, you can use this recipe to make dough for pizza and focaccia.
Want to save this?
Video: How to Shape No-Knead Bread
No-Knead Italian Bread
Equipment
- A 3-quart (2.8-liter) clay-covered, ceramic, or cast iron pot, or Dutch oven with lid (or a larger pot of the same kind)
Ingredients
- 1 cup semolina flour*, plus more for dusting and coating
- 1 cup 00 flour* (or substitute cake flour)
- 1 cup all-purpose flour*, plus more if you are braiding the bread
- 1 1/2 teaspoons kosher salt
- 1/4 teaspoon instant yeast
- 1 1/4 cups lukewarm water
- Melted butter or lightly beaten egg white (optional)
- Sesame seeds (optional)
Instructions
- In a large bowl, stir together the semolina flour, 00 flour, all-purpose flour, salt, and yeast. Add the lukewarm water and stir until the ingredients form into a slightly dry, shaggy dough, about 1 minute. Cover the bowl with plastic wrap to keep in the moisture and let the dough rise at room temperature (between 65º and 75ºF or 18° to 24°C) for at least 12 hours and up to 18 hours. After this time, the surface of the dough should be covered with small bubbles and the dough should have risen significantly.
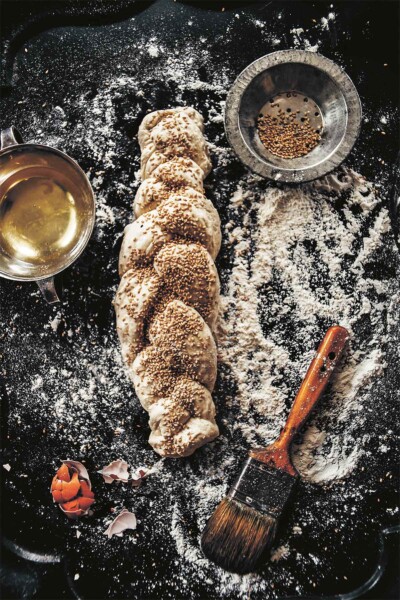
- If you’re making a round or rectangular loaf, gently run a spoon around the bowl to deflate the dough. Use the spoon to gently fold the dough over itself. Let the dough rest for 15 minutes. If you’re making a braided loaf, flour a board or surface with 1/4 cup all-purpose flour and turn the dough out onto it. Deflate the dough by pressing and kneading the flour into the dough until the dough no longer feels quite as sticky. Roll the dough into a long loaf. Cut the loaf into 3 equal pieces and, using your hands, roll each piece evenly into a rope about 12 inches long. Place the ropes on a parchment-lined baking sheet. Braid the bread starting in the middle of the ropes. Take the left rope and cross it over the middle piece. Take the right rope and cross it over the rope that is now in the middle. Repeat crossing left over center, followed by right over center until you reach the end, as if you’re braiding hair. Pinch the bottom ends together and tuck them under the loaf. Repeat for the other side. Cover and let rise until doubled in size.
- If you’re making a round or rectangular loaf, spread about 1/4 cup semolina flour onto a cotton dish towel. Take the dough out of the bowl and use your hands to shape the dough into a rectangle or ball, depending on the shape of your pot or Dutch oven. The dough will be sticky and shaggy. Fold the dough into thirds and place the dough seam-side down on the dishtowel. Sprinkle some more semolina on the bread. Bring the sides of the towel over the bread to cover loosely. Let the dough rise until double its original size, about 2 hours. If you’re making a braided loaf, move on to step 4.
- While the dough is rising, place an oven rack in the middle position and preheat the oven to 450ºF (230°C).
- About 30 minutes before the dough is finished rising, place a heavy clay-covered, ceramic, or cast iron pot or Dutch oven with a minimum size of 3 quarts into the oven and heat the pot while the dough finishes rising.
- If desired, after the dough has risen, lightly brush it with melted butter or lightly beaten egg white and sprinkle with sesame seeds. Remove the pot from the oven, gently lift the dough from the towel, and place it into the pot seam side down. Cover the pot and bake for 30 minutes. Uncover and bake until the bread is brown on the outside, about 10 minutes longer. Remove the loaf from the pot and cool on a wire rack for an hour before slicing.
Notes
*What flours can I use in no-knead bread?
To simplify the recipe, you can substitute King Arthur brand bread flour in place of the semolina, 00, or all-purpose flour. You may need to adjust the rise time for the dough to double in size, so watch carefully
Explore More with AI
Nutrition
Nutrition information is automatically calculated, so should only be used as an approximation.
Recipe Testers’ Reviews
Did you know only 68% of the recipes we test make it onto the site? This recipe survived our rigorous blind testing process by multiple home cooks. It earned the Leite’s Culinaria stamp of approval—and the testers’ reviews below prove it.

I was certain that a loaf of bread this easy to put together wouldn’t turn out okay. Maybe it wouldn’t rise or it would burn or it would be dense or surely something would go wrong. Bread making is supposed to be hard work! But as I pulled it out of the oven, I was truly amazed—and felt like some sort of artisan-bread-making rock star. It looked perfect. Exactly like what you buy in the bakery. And tasted every bit as good. Crispy crust with a light delicate crumb. With only 10 minutes of effort, I may never knead bread again.
Mixing the ingredients together initially took 30 seconds, and resulted in a thick, shaggy mixture. I let rest for 16 hours, after which there were little bubbles over the dough as described. The dough was very easy to work with during the remaining steps. I used a 3-quart ceramic-coated Dutch oven to bake the bread. This was probably the minimum size you could use as my loaf had just touched the lid as I pulled it off after 30 minutes of baking. An additional 10 minutes of baking was perfect to yield a lightly browned loaf.

My very first thought when I took this no-knead Italian bread out of the oven was, “Wow, I made this bread from scratch!” Sounds silly. But the exact same thought reverberated through my mind when I tasted it a few minutes later. How incredibly awesome is it to have a recipe for a no-knead bread that tastes like you just brought it home from an Italian market. No joke—this no-knead bread has the crust of ciabatta and the inside of sliced white bread you would actually enjoy with olive oil at the start of an Italian meal at your favorite trattoria.
I have to admit, it seemed very hard in texture when I took it out of the pan from the oven to let it rest, but when I cut into it after it rested, it was perfectly crusty on the outside and tender on the inside. The best part?! I already had all of its ingredients in-house…and the fact that this tasty bread only has 5 total ingredients makes me happy as well.
So on to the recipe itself. I formed my loaf into a round, similar to a Tuscan boule. In place of the 00 flour, I used King Arthur Cake Flour, organic/unbleached A/P flour, and Bob’s Red Mill Semolina flour. In lieu of instant yeast, I used active dry yeast. (Note that instant yeast is different than active dry yeast. Use the same proportion as instant but it needs to be dissolved in the lukewarm water and allow it to sit before adding it to the flour mixture directly.)
In Step 2, I actually ran a large rubber spatula around the bowl to deflate the dough and used the same spatula to fold the dough over itself. The pan I used for the bread was my trusty enameled-cast iron Dutch oven, size was 6-quart.
I really recommend using the semolina flour if you can find it—in the dough initially and as the extra flour used to sprinkle on the bread. It really gives an incredible coating or crunch on the bread itself. Believe me, I’ll be making this no-knead Italian bread again and again…I might even try adding seeds next time to the coating. Perhaps a blend of flax, poppy, and sunflower. Oh, the possibilities! Buon appetito.

I have made no-knead bread many times before, but I have never used the “00” flour or semolina in the recipe. I think the addition of these flours helps to create that chewy and delicious loaf. It’s perfect to dip in some rich olive oil or to use for your morning toast. The only thing I might change would be to add another 1/2 teaspoon salt.

This is a super easy no-knead Italian bread that makes a nice-size loaf that won’t go stale before you eat it, as many large loaves do. It’s pretty hands-off with only a few tricky steps, including the shaping and folding, and placing the dough in the hot pan or Dutch oven. But once you have those figured out, it’s a cinch.
It’s a great bread for beginner bakers. I used whole wheat flour instead of semolina flour. I needed to add an extra 1/4 cup of water to my dough as it was very dry and not all the flour was incorporated. The dough was super tricky to shape into a ball (so sticky!) and I ended up just patting it into a shape and leaving it in the clean tea towel.
It’s a bit challenging to put the dough into the very hot pot—I held the dough in the palm of my hand (still in its tea towel) and wrapped the dangling ends of the cloth around my wrist and held it there with my other hand, then kind of placed the dough in the hot pot. Worked perfectly.

There’s nothing like the smell of bread baking in the oven, but making bread can be a daunting task, even for longtime bakers. So the idea of making bread that’s nearly as simple as using a bread machine is inviting, but would it really produce a delicious loaf? Yes, indeed! This bread recipe couldn’t be simpler and the fact that there’s flexibility in how long you let it rise makes it that much easier to work into a busy schedule.
After the first rise (I did 16 hours), it was pretty sticky when I took it out of the bowl and so folding it in thirds was kind of tricky. The added semolina on the towel and on top took care of that. It did kind of plop into the clay cooker I used, but that wasn’t a big deal. I thought using the clay cooker might lead to a less-than-crispy crust if the steam wasn’t allowed to escape. My fear was misplaced, however, as it produced the crunchiest crust I’ve ever had on homemade bread. And the inside was perfect.
I didn’t braid the bread but those directions say to add flour to eliminate the stickiness of the dough, so that’s good to keep in mind when using this recipe for pizza or focaccia. This will be my go-to Italian bread recipe. Once you make Italian bread using this recipe, there’s no way you’ll want to eat Italian bread made any other way.
This no-knead Italian bread had a thick, golden crust that was lightly dusted with semolina. The crumb inside was chewy and closely grained without being dense. It was the perfect bread to accompany a quick pasta dinner or any other meal. The recipe required just a few minutes of hands-on time and the rest of the time was totally hands-off.
I make bread often but I haven’t used my clay baker for anything but chicken. Now that I’ve tried it once, I’ll be using my clay pot to bake bread often, both with this recipe and with some of my old favorites. I was unsure about shaping after deflating the dough—it was very wet. After the 15-minute rest, it was a little firmer. I used my Romertopf clay baker to bake the loaf. I wasn’t sure if I should soak the baker or not. The original directions were to soak the baker before using it, so I soaked the top and bottom in cold water for 30 minutes before putting it in the cold oven to preheat.
This is a great bread to start out with if you’re a little afraid of yeast and baking bread. It’s quite easy to make and most of the time is inactive while the dough is doing all the work. It took some planning to figure out a schedule that would work for me, but I found it easiest to make the dough in the evening the day before baking so it could rise overnight while I was sleeping. Then in the morning, I shaped the dough and baked it before we went out to do our weekly errands.
It had a lovely crumb with large air pockets and a crisp exterior crust. We enjoyed it with a lentil soup that was made in the slow cooker. All in all, it was a very easy loaf of bread to make and I am likely to make it again. My husband suggested doubling the ingredients for a larger-size loaf, but this bread didn’t have great keeping qualities. It went stale fairly quickly so it’s probably better to make the amount of the recipe so it is eaten while it is still at its best.
A good bread recipe for those unskilled bread makers like myself. The crust is so crisp and crunchy with a soft, large-holed interior.
I let my bread rise for 14 hours before shaping the loaf. I used fine sea salt and substituted King Arthur bread flour for the semolina and 00 flours, and the dough came together with only about a minute of stirring. The dough was very sticky and shaggy. It remained sticky after the rise time and was difficult to fold and shape. Should I have floured my hands?
I used a ceramic-coated cast iron-covered pot (Le Creuset).
In removing the dough from the towel, the dough stuck to the towel. I had generously coated the towel with (King Arthur bread) flour, and I literally had to cut the dough from the towel. This left some dough stuck to the towel. It was quite a mess. I managed to still have a decent-shaped oval loaf.
The baking time was accurate and rendered a 5- by 10-inch loaf that made satisfying crackling noises when removed from the oven. I let it cool until I no longer heard the crackling, about 15 minutes, before cutting.


I made this bread for a tailgating party. I used the dough after a 14 hr fermentation. I gave my 3 dough balls a 20 minute bench rest. Rolled them to 15 inches and braided. I had a mixture of toasted white & black sesame seeds and nigella seeds that I sprinkled on top after egg washing. I baked it on a steel plate with no steam, no Dutch oven because I forgot (had other breads I was working on). It is dense but had a soft crumb snd crusty exterior. Everyone loved it. I think this is supposed to be a close crumb loaf. I’ll make it again.
Thanks, Jeanette. It looks perfect!
Awwww thanks Angie. Team work makes the dream work. Your recipe is awesome and fun. Thanks.
It sure does, Jeanette!
So little yeast. My dough did not rise significantly. Why is that? Any thoughts would be appreciated.
William, the long rise time compensates for the small amount of yeast. I’m sorry to hear your dough didn’t rise significantly. Was your yeast fresh (ie. purchased recently)?