
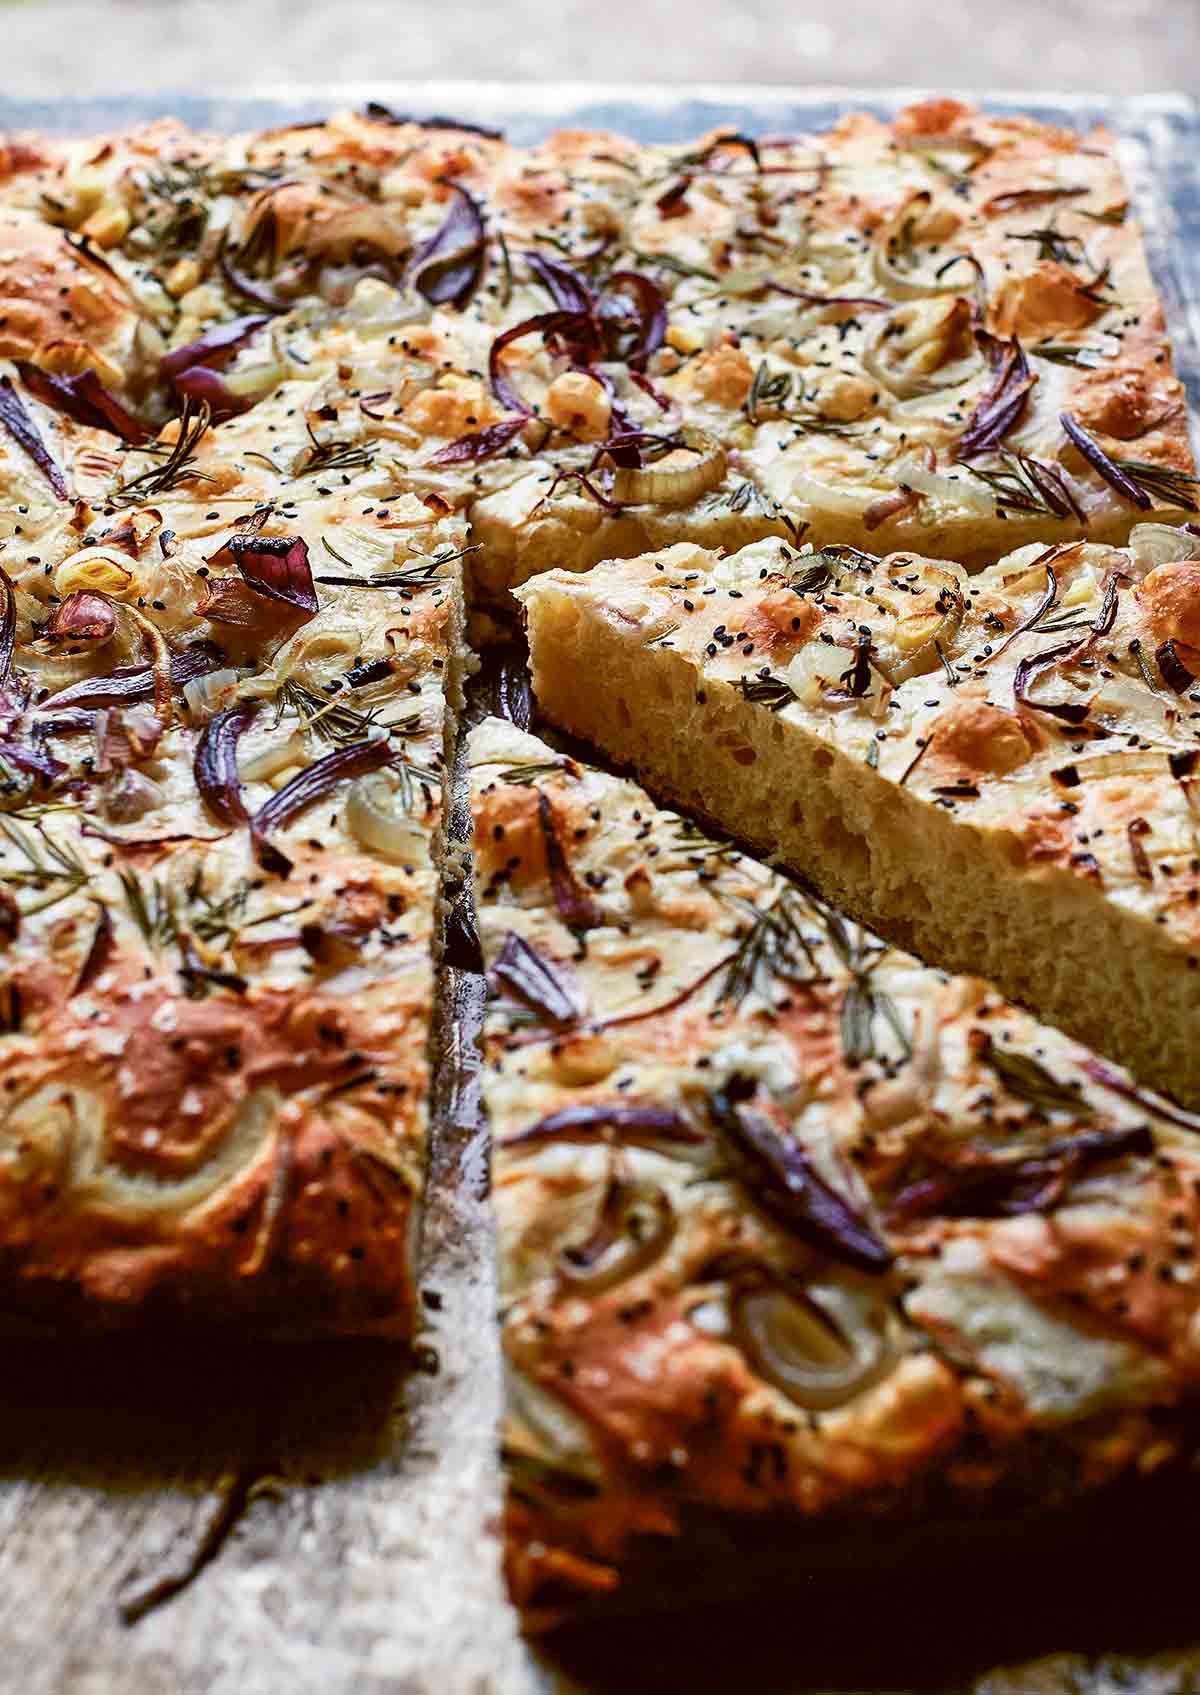
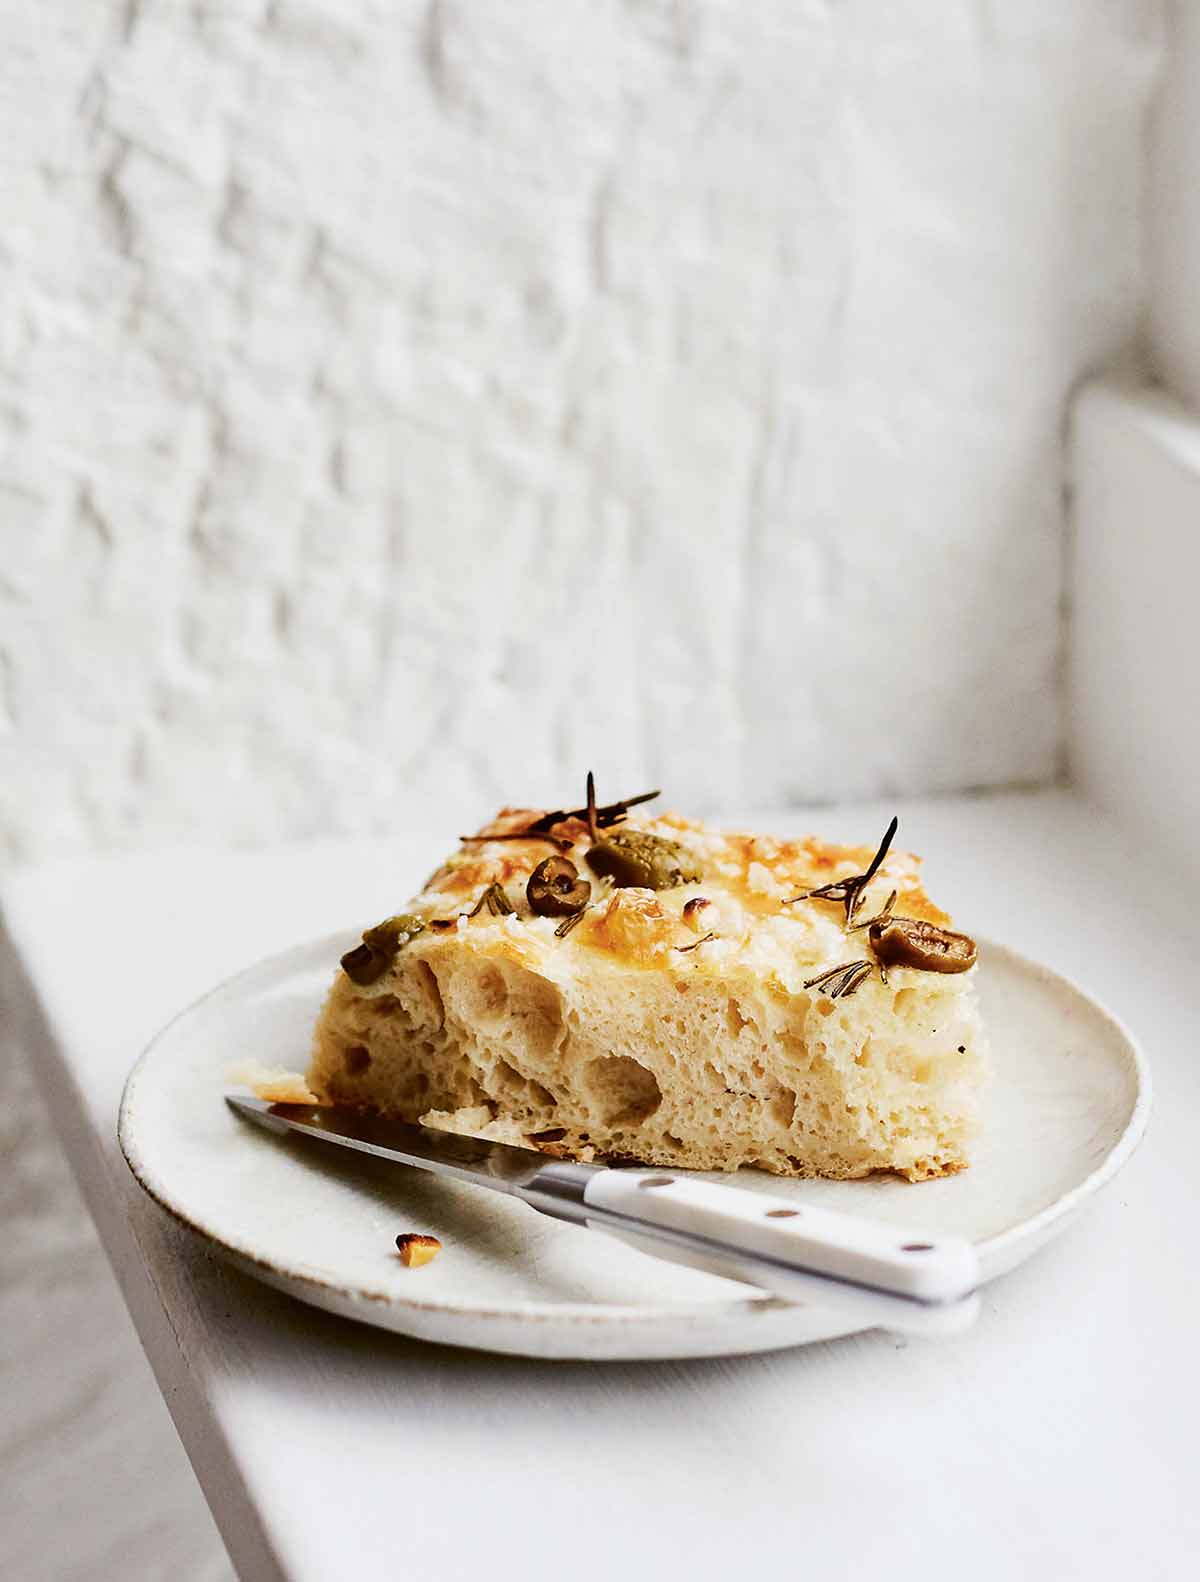
This impressively light and airy Italian focaccia bread has a tender, chewy crumb, thanks to extensive kneading and an overnight rest in the refrigerator. And, natch, it boasts the requisite crunchy surface speckled with coarse salt. It takes a little—actually, a lotta—extra character from the tamed sharpness of red onion and the herbaceousness of rosemary.
Your focaccia questions, answered
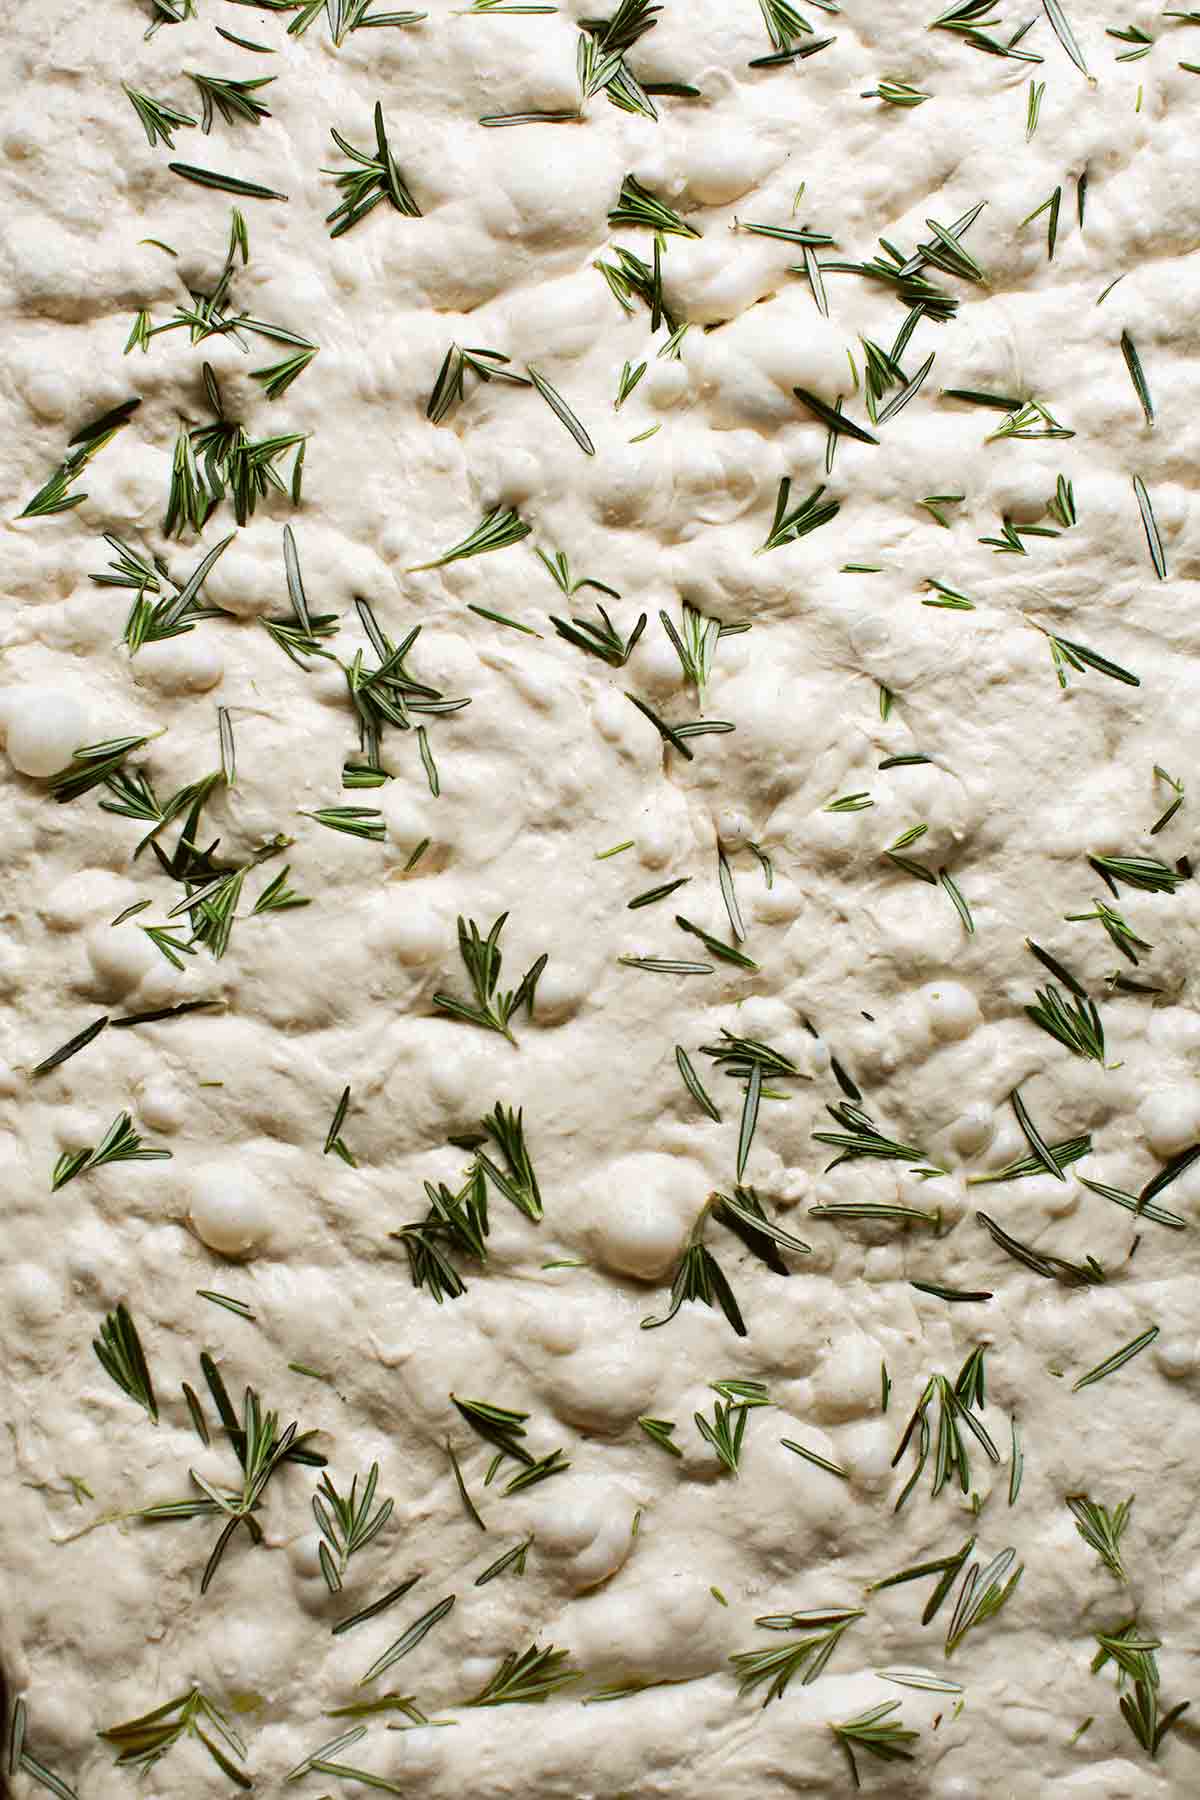
Because this bad boy has a massive 90% hydration rate. Yes, that means the dough is going to look completely wild, sloppy, and wet in your bowl, but trust me—wetter is always better when it comes to focaccia. All that extra water is the secret to creating that moist, soft, bouncy, open honeycomb crumb we all drool over.
Because it’s so sticky, you absolutely cannot rush the kneading process. Let your stand mixer do its thing to build up a stable, elastic gluten network. It takes a little extra time, but it’s the only way to get that perfectly signature, irresistible chew.
If step 3 makes you want to rip my head off, hear me out. PLEASE! Holding back some of the water and adding it later is a classic baking technique called bassinage (double-hydration). If you want to nerd out, you can read up on the science of the bassinage dough method over at The Sourdough School.
Dumping all the water at the start would completely overwhelm the flour—your mixer hook would just spin its wheels in a soupy mess without building an ounce of gluten strength. By starting a little drier, you build a solid gluten network first.
Yes, the second you pour in the rest of the water, the dough will lose its grip, split apart, and look like a slippery disaster. Don’t panic! Keep the mixer chugging on slow. It will suck up the rest of the water and turn into a silky, very wet, elastic dough that delivers on that killer, open honeycomb crumb.
More soft & satisfying focaccia recipes
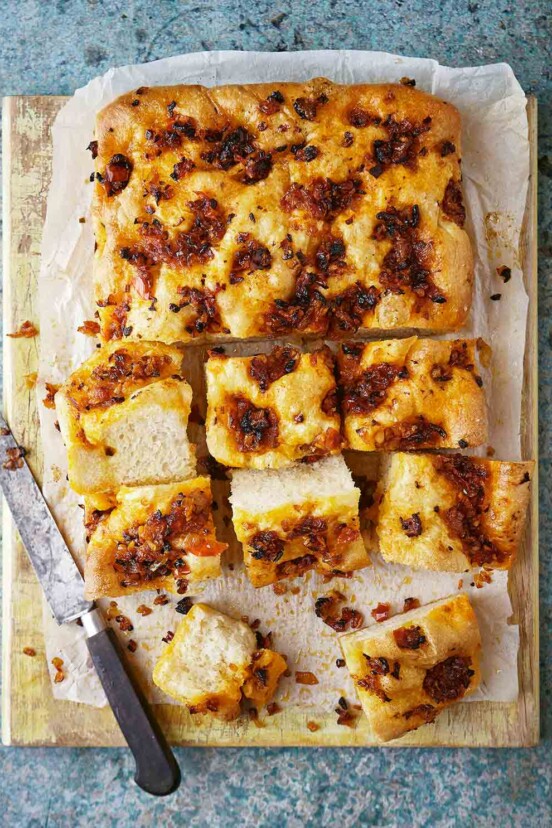
Spicy Tomato Focaccia
3 hrs 15 mins
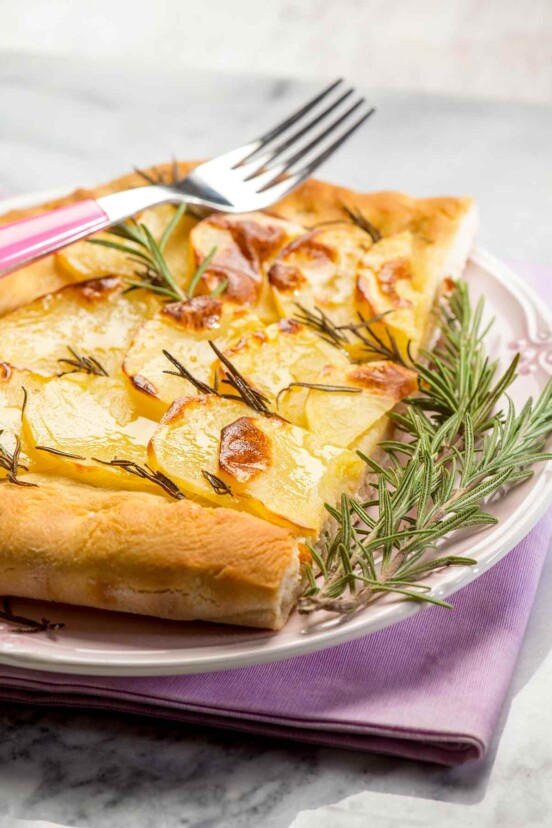
Potato Rosemary Focaccia
18 hrs
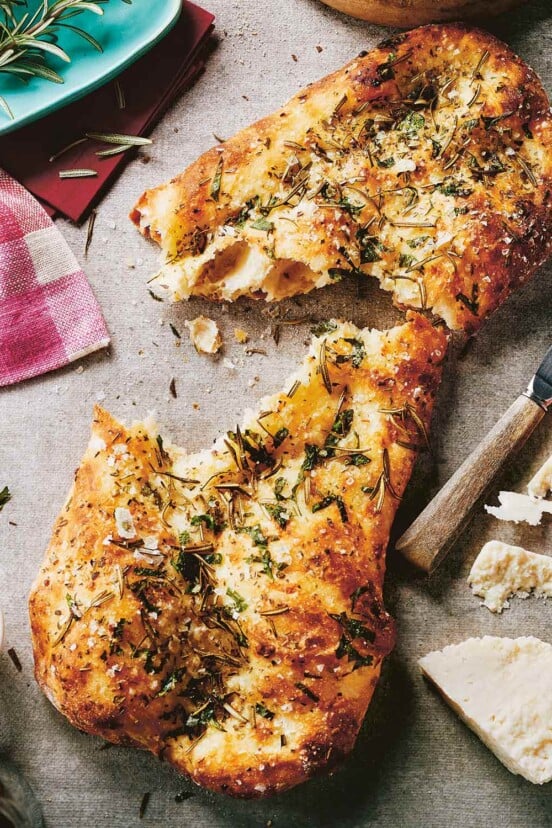
Focaccia
13 hrs
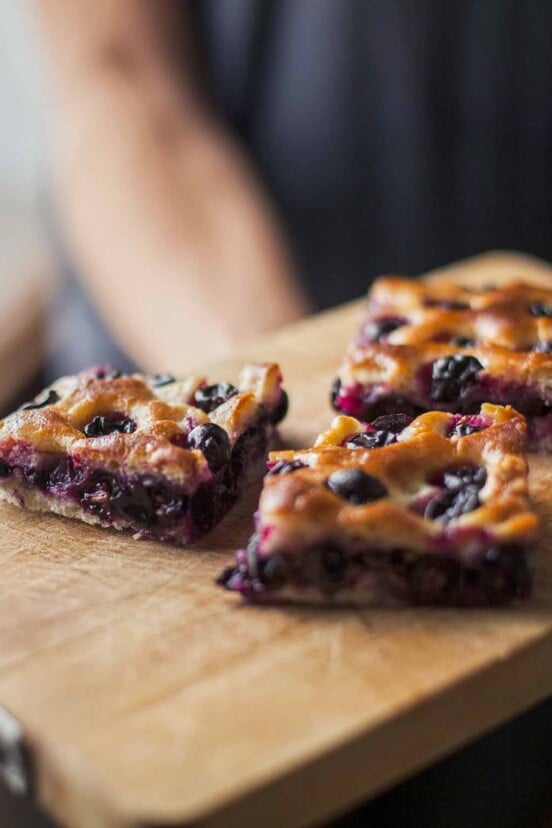
Grape Focaccia
2 hrs 30 mins
Write a review
If you make this rosemary focaccia, or any bread recipe on LC, consider leaving a review, a star rating, and your best photo in the comments below. I love hearing from you.–David
Focaccia with Red Onion and Rosemary
Ingredients
- 4 cups white bread flour
- 1 7/8 cups water
- 2 teaspoons kosher salt
- 1 generous teaspoon instant yeast
- 1 1/2 tablespoons extra virgin olive oil, plus more for the pan and drizzling
- Coarse sea salt, for sprinkling
- Finely chopped fresh rosemary
- Caramelized red onions for topping
Instructions
- In the bowl of a stand mixer fitted with the dough hook, weigh out the flour, 1 2/3 cups water (400 g), salt, yeast, and 1 1/2 tablespoons olive oil.
- Mix on slow speed for 4 minutes, then turn the mixer up and mix on high speed for 6 minutes. Let the dough rest in the mixer for 15 minutes.
☞ TESTER TIP: The dough is very wet and sticky, so you’ll definitely want to let your stand mixer do the kneading as it’s quite difficult to do so by hand. (Don’t ask us how those Italian nonnas did it back in the day.)
- Restart the mixer on slow, add the remaining water, and mix for 4 minutes more.
- Transfer the dough to a container, preferably plastic and with a lid, that’s large enough for the dough to at least double and let rise at warm room temperature, using a spatula to fold the dough (in the container, if you can, without turning it onto a work surface every 15 minutes. Let it rise for about 1 hour, until approximately doubled in size.
- Cover the container and refrigerate overnight.
- Two hours before baking, tip the dough into a lightly oiled 8-by-12-inch or 9-by-13-inch (20- by 30-cm or 23- by 33-cm) baking or sheet pan, and with wet hands stretch out the dough to fit the pan. Let it rest at room temperature for 2 hours, giving the dough a stretch every 30 minutes or so if it begins to shrink back from the sides of the pan.
- Thirty minutes before baking, preheat the oven to 450ºF (230°C).
- Sprinkle the top with salt and scatter with the onions and rosemary. Bake until cooked through and golden on the bottom when you lift a corner and peek, 17 to 20 minutes. Drizzle with extra virgin olive oil and serve.

Nutrition
Nutrition information is automatically calculated, so should only be used as an approximation.
Alternate Focaccia Toppings
If you’re a purist, you can opt to for a simple sprinkling of salt and perhaps a scattering of rosemary (or you could swap that out for thyme). A handful of Sungold cherry tomatoes and/or olives would hold true to the Italian theme. Whereas black sesame seeds could make quite a startling statement. Why limit yourself to convention? We do that enough in our everyday lives.
Recipe Testers’ Reviews
Did you know only 68% of the recipes we test make it onto the site? This recipe survived our rigorous blind testing process by multiple home cooks. It earned the Leite’s Culinaria stamp of approval—and the testers’ reviews below prove it.

This is a tale of two loaves, not the best or the worst of loaves, but the good and the better of loaves (apologies to Dickens). I was drawn to the recipe because I do bake bread at least once a week. I’ve never made focaccia, so this seemed like an ideal time to try this recipe. Spoiler alert: the end results were good and then amazing, but the road there was not easy. At the end of the day, it was worth tweaking and doing twice. Between my husband, myself and my daughter, we almost demolished the entire pan.
Focaccia Version 1
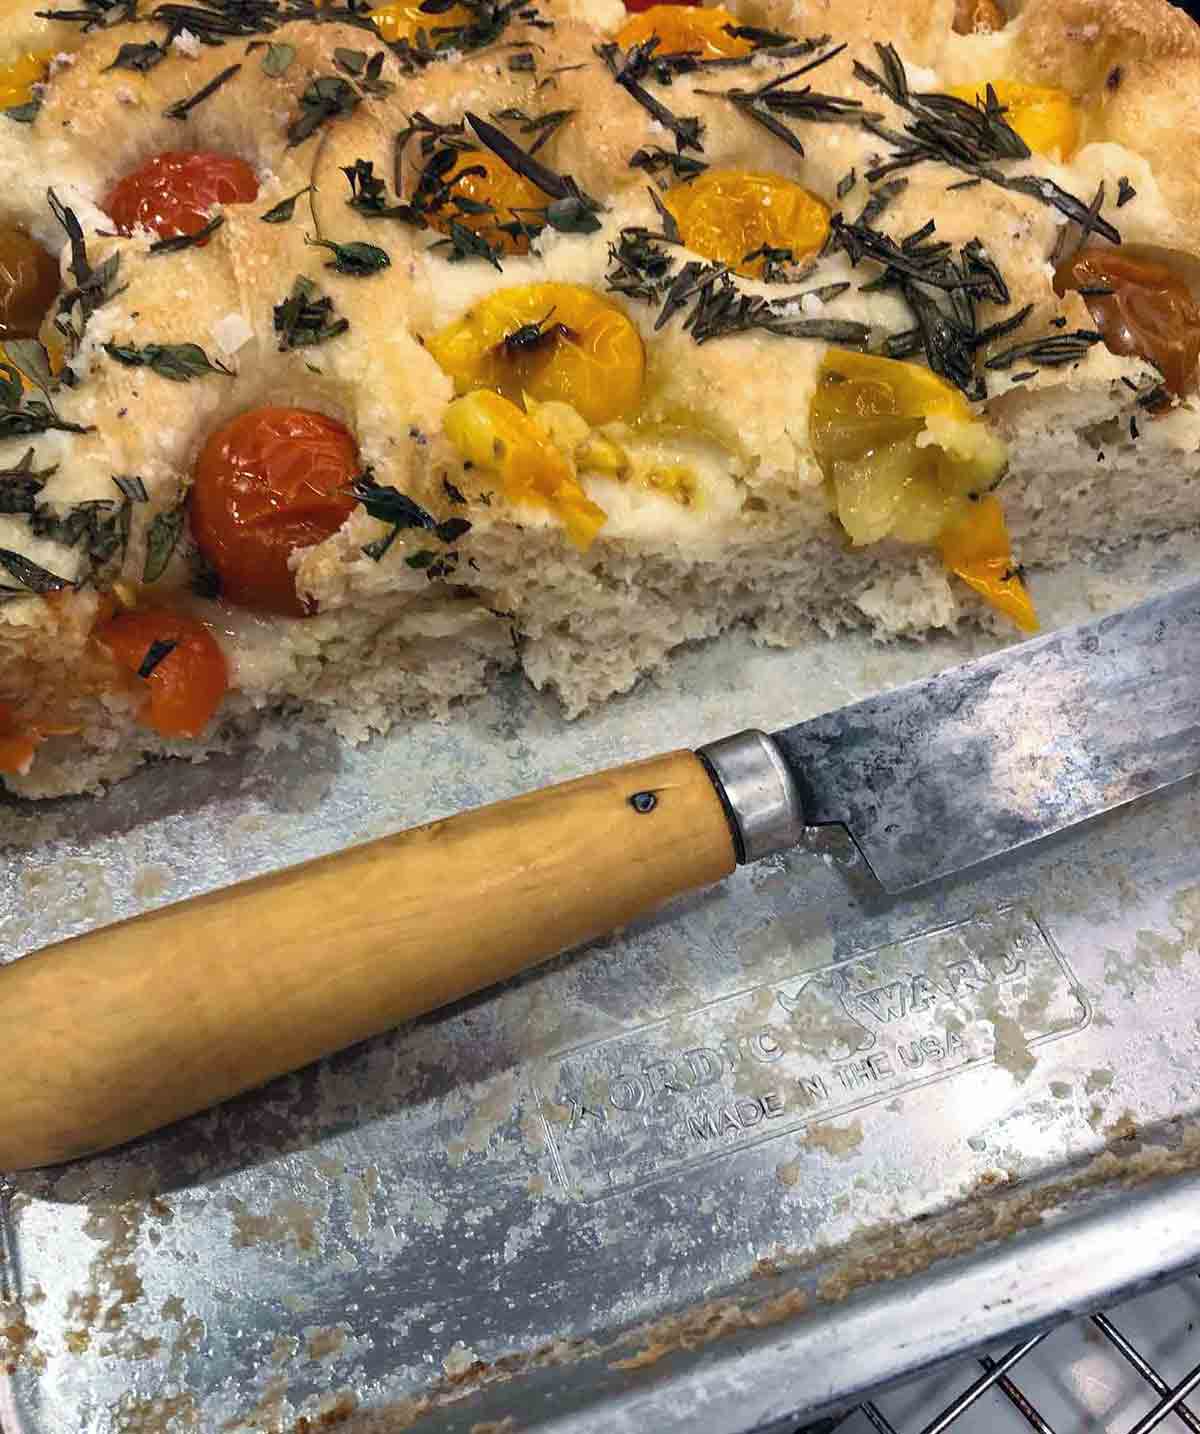
I used SAF Instant Yeast, King Arthur Bread Flour, and Sofine Fine Italian Sea Salt. I topped it with sun gold cherry tomatoes, sea salt, and rosemary.
After the final mix, the dough must proof for an hour with stretching very 15 minutes. The recipe is not clear if the dough should remain in the mixing bowl or be left on work surface. I chose to put it on a silicone mat and attempt to stretch and fold based on the instructions. I just used my regular stretching technique.
The dough did rise but it was hard to measure. After the hour of proofing, I placed it in a plastic container. As it was very warm, I noticed it started rising quickly so I put it in a larger bowl in order to avoid disaster and placed it in the fridge as directed. The next day, the dough had risen quite a lot. The subsequent stretching instructions should be a little clearer as you are really more coaxing the dough into the corners of the pan than stretching. I used a 13-by-9-by-2-inch cake pan to bake.
I baked at 450 degrees as directed. At this temp, in my oven, took a little longer to get brown on top. The recipe calls for the bread to be brown on the bottom, but it is somewhat hard to see in the cake pan.
The end result was a good but somewhat too thick loaf of focaccia. If did not brown particularly well on the bake setting. That being said, it was very flavorful and my family made short work of the pan.
NOTE After making this, I pulled out the manual for my Kitchen Aid and read the bread making section. (circa 1982) There are a couple of really important things that need to be clarified for anyone likely to use a Kitchen Aid to make bread. The first being use the dough hook from the beginning. This seems obvious, but I had a vague recollection of changing to the dough hook mid recipe when making another yeast bread. I was wrong. According to Kitchen Aid, the dry ingredients should be placed in the bowl with the exception of 1or 2 cups of flour. The wet ingredients should be added slowly with the mixer on low speed. There is a caution that if the wet ingredients are add too quickly they will pool in the bottom of the bowl and then slow down the mixing. Additionally the dough should be mixed at a slow speed not on high, as suggested in the recipe, that is unless you want to burn your motor out. I am guessing that new model Kitchen Aids have similar instructions.
Focaccia Version 2
I wanted to take a second crack at this with a few modifications. The recipe mentions that this is a 90% hydration loaf and hard to knead by hand. I wanted to challenge that assumption, at least on the initial mixing of the ingredients. I make sourdough with various hydrations percentages and mix by hand on a regular basis. If the dough is sticky, just use wet hands to knead.
In my second try, I used King Arthur Bread Flour and SAF Instant Yeast. I topped with rosemary, thyme, cherry tomatoes, and fleur de sel.
Here and the modifications I made to the recipe
For the proofing, I left the dough in the mixing bowl and did a simple stretch and fold every 15 minutes as directed. At the end of the hour, I had a much lighter and more pillowy dough. I left the dough in the mixing bowl for its overnight in the fridge.
I used a quarter sheet pan. The dough was much moister and easier to stretch. I used the convection bake setting on my oven. I cooked it at 425°F on the third rack.
The end result was far superior to the first attempt. Baking in the quarter sheet pan on the convection setting allowed for the bread to brown. It was also much moister than the first version. Still a big hit with my family and very little left after tasting.
I would definitely make this focaccia again.

This focaccia bread is perfect. Perfect crumb, perfect moisture, perfect flavor. The dough was definitely very sticky and wet and not at all conducive to handling, but it rose beautifully and the finished loaf had plenty of airy pockets. I topped it with rosemary and sea salt (not red onions) and served it warm. Everyone loved it and I managed to get my kids out of bed before 11 the next day by threatening to eat all the leftovers myself!
The dough was very wet, but mixed up well. The next day, it had risen more in the container, and I tipped it into the oiled baking pan. The recipe says to stretch it every 30 minutes, but after the initial gentle stretch to fit the pan, it didn’t shrink back or need to be stretched. I baked mine in a 9-by-13-inch pan and this worked perfectly.
Probably the most perfect focaccia I have ever made! Best served straight out of the oven. I topped it with artichoke hearts, sage, yellow peppers, and a sprinkle of Parmesan and sea salt and served it with olive oi. I must confess, I made it my main meal!
This is wonderful. A soft, chewy loaf with a golden crispy crust. Perfect on its own but with lots of nooks that happily soak up any sauce or any topping you choose. The dough came together as directed and doubled nicely overnight in the fridge. I scattered some sea salt and fresh rosemary on top, exceptional. Will definitely make this again and try different toppings. I served this with pasta the first night and then again along side a dinner salad the next.
Mixed water in for 10 minutes. Started at lowest spend and then moved speed up 2 notches.
Used sea salt and rosemary on top and then finished with olive oil once it was baked.
Airy but crunchy, this focaccia would be perfect as a pizza crust, a side dish, or a flatbread.
The dough was so wet it stuck to everything. I topped it with chopped fresh rosemary along with sea salt. Baked it for 20 minutes until golden both on top and bottom. The texture was pretty good with nice air pockets but almost seemed undercooked even though exterior was completely done.
The smell of this focaccia baking is amazing and will transform your home into a bakery or pizzeria. The taste of it is just as good and won’t disappoint. The texture is crunchy on the outside soft but chewy on the inside. All around perfect!
The recipe is very easy and fun. I mixed my dough in a mixer. I let it proof for an hour while folding it every 15 minutes. The first 15 minutes it seemed to rise a bit not a ton. After each fold, it seemed to rise about the same amount, which was about 1/4 more than original rise. When I finished all the folding, the dough was drier than when I started, but still moist. I did the windowpane test, which is pretty cool, and it worked. I stuck it in a plastic bowl and put it in the fridge.
This morning when I took it out, it had rose some more. I put it on the roasting pan and stretched it out every 30 minutes. Still being a little short on supplies these days, I only had black olives to top it with. I sprinkled it with sea salt and some herbs de provence. The black olives were great on it, adding a nice touch of saltiness. My focaccia baked for 20 minutes. After the first 15 minutes, I thought it looked too light in color so I left it in. After the next 5 minutes it still didn’t darken up but it was done at that point. I’m anxious to try again when I have more toppings like anchovies! Yes, more saltiness.
My husband and I have been nibbling on the focaccia all morning so serving size depends. Right now I would say 2! If you served it as a snack I say 4, with a meal 6. In this house probably just Would be great with a nice glass of wine!










I don’t understand why we add the additional water at the end. it doesn’t integrate very well into the dough and I’ve got quite a lump of wet muck on the bottom of my mixer. early days still and I’m hoping it’s going to recover. it was a pretty messy add when I turned the mixer on with the additional water at the end.
Carol, deep breath! I know exactly what you’re looking at in that bowl right now, and it does look like a baking hellscape, doesn’t it?
Adding that extra water at the end is a classic baking technique called bassinage. If you dumped all that water in at the very beginning, the flour would metaphorically drown. It’d turn into a soupy puddle, and your mixer hook would just spin its wheels without building any of that crucial gluten strength. By starting with less water, you build a rock-solid foundation first.
And you’re totally right: When you pour in that remaining liquid, the dough completely loses its grip on the bowl and turns into a slippery, messy shredded mess. Don’t panic! Just keep that mixer chugging along on slow speed. Within about 4 minutes or so, it’ll suck up every last drop, pull itself back together.
It’s a bit of a wild ride, but that damp, bouncy crumb is so worth it. Hang in there and keep me posted on how the final bake turns out!
And I want to thank you for bringing this to my attention. I’ve added an FAQ explaining why you add the water in two parts.