It’s so easy to have freshly baked bread when you want it, with only five minutes a day of active effort. First, mix the ingredients into a container all at once, then let them sit for two hours. Now you’re ready to shape and bake the bread, or you can refrigerate the dough and use it over the next couple of weeks. Each recipe makes enough dough for many uses.–Jeff Hertzberg & Zoë François
CRISPY CHEESE STICKS TIPS
First, we applaud your optimism–there won’t be any of these delicious cheese sticks left. But let’s just say, in theory, you wanted to store them. Once they’re cool, place them in an airtight container and store them at room temperature for up to a week. To reheat, preheat your oven to 350ºF and spread your sticks on a cookie sheet. Pop in the oven and let them warm for 3 to 4 minutes.
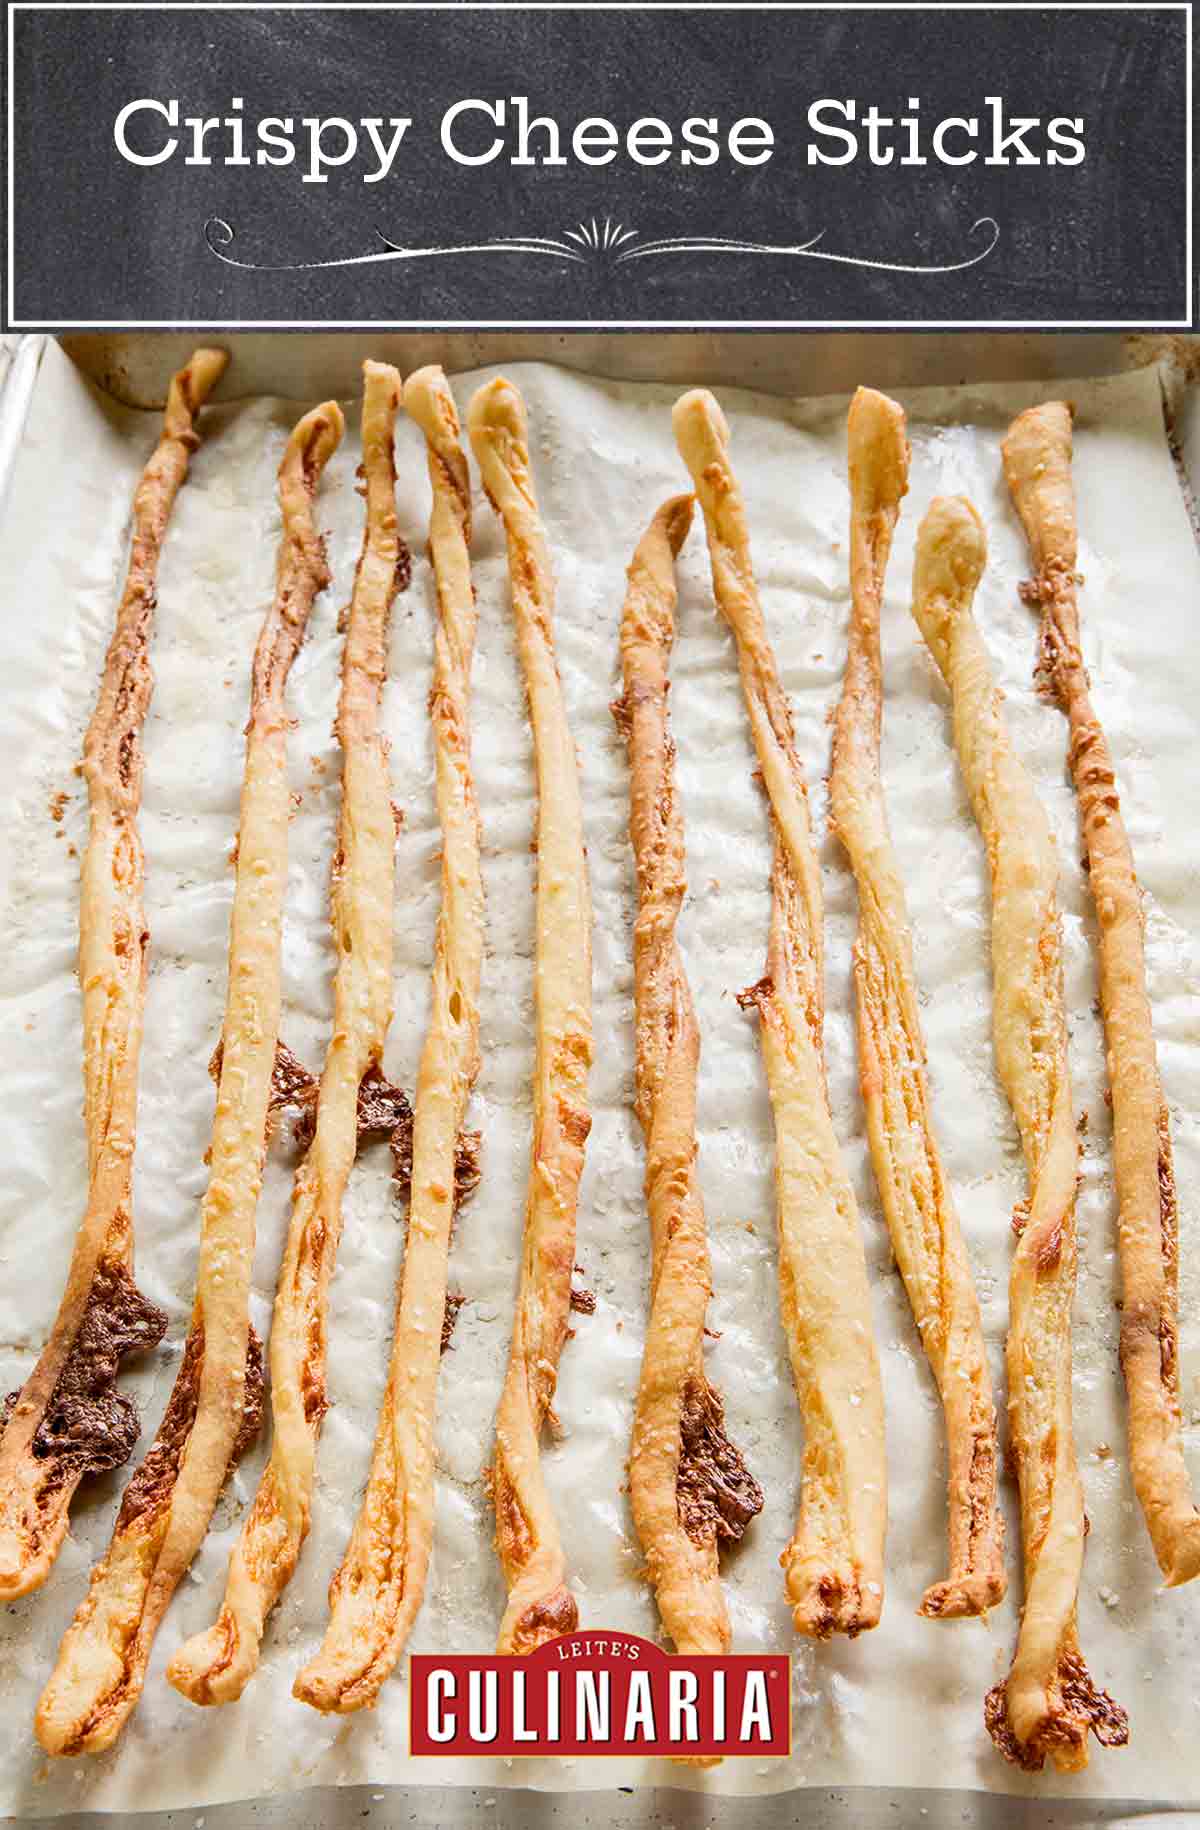
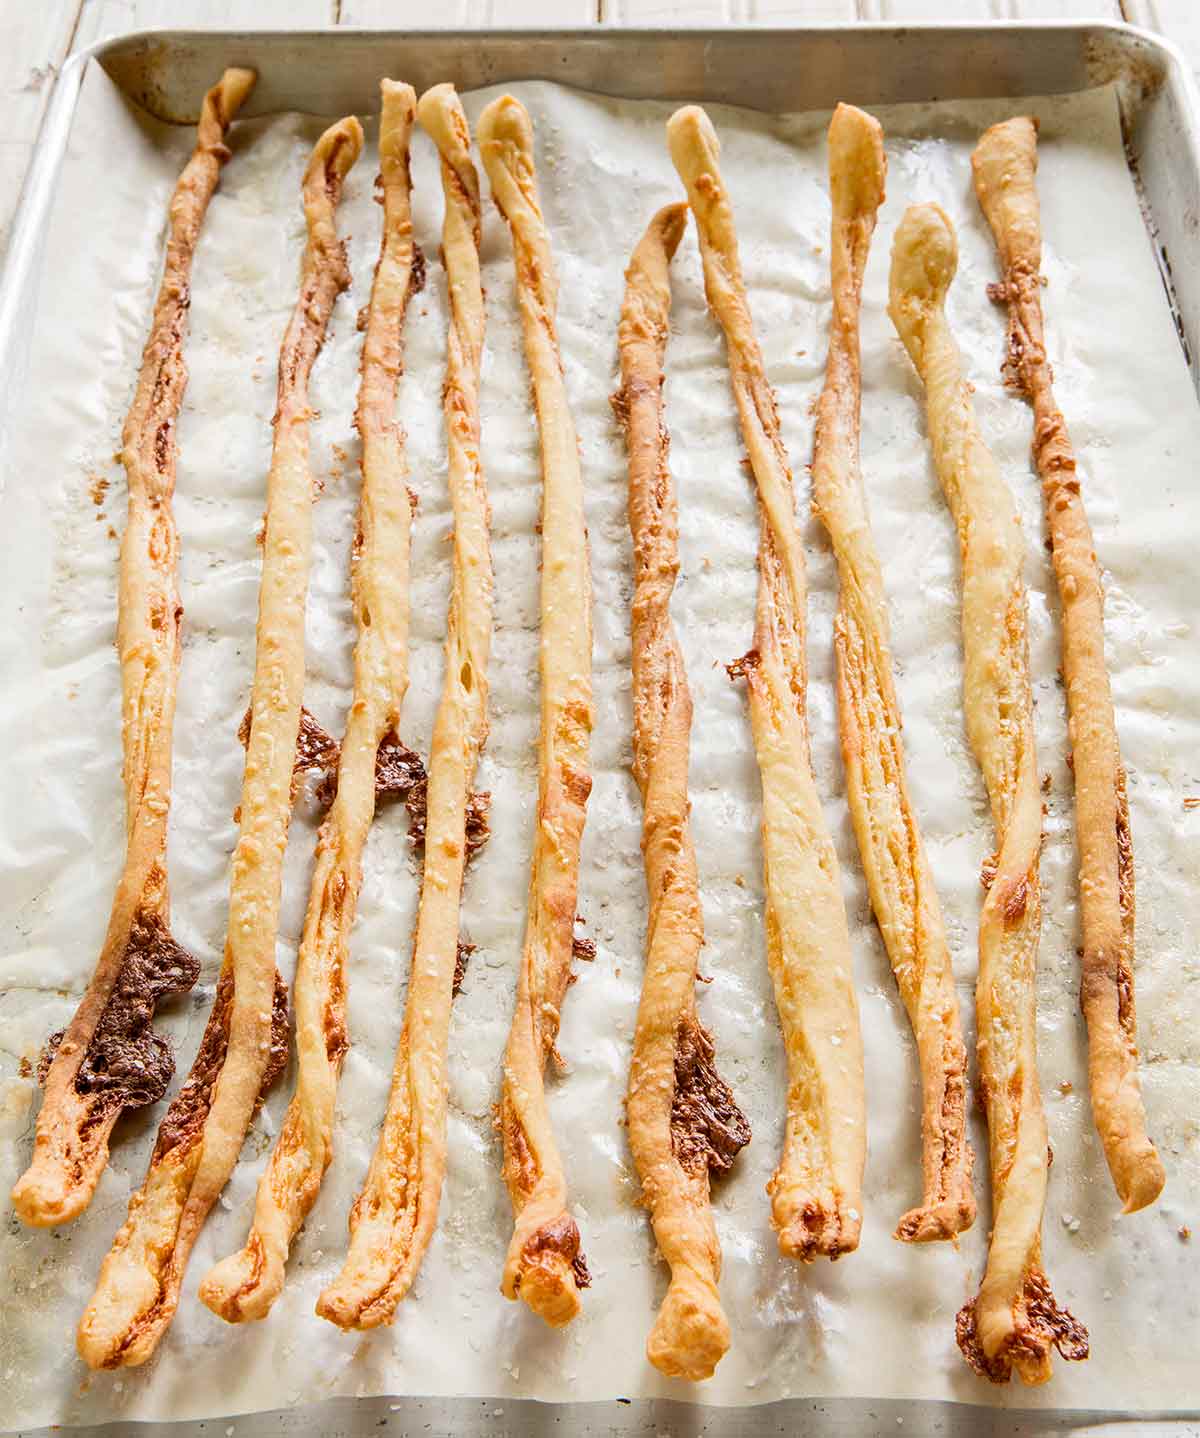
You can put all kinds of dried herbs and spices, curry powders, smoked paprika, and things like that into your breadsticks. Start with this 5-minute Artisan basic formula and adapt it from there. Also, a little tip for texture–the wider the strips, the more bread-like the cheese sticks will be. The tighter you twist them, the more dense and crisp they will be. A loose twist will result in a softer, breadier stick.
Crispy Cheese Sticks
Ingredients
- 1 tablespoon granulated yeast
- 1 to 1 1/2 tablespoons kosher salt
- 1 1/2 tablespoons granulated sugar
- 3 cups lukewarm water at 100°F (38°C) or below
- 6 1/2 cups all-purpose flour, plus more for dusting
- 1 cup Cheddar cheese, grated
- Oil or butter, for greasing
- Olive oil
- Coarse sea salt
Instructions
Mix and store the dough
- In a 6-quart bowl or lidded (not airtight) food container, mix the yeast, salt, and sugar with the water.
- Using a spoon or a fitted with the paddle attachment, mix in the flour and cheese without kneading. If you’re not using a mixer, you may need to use wet hands to incorporate the last bit of flour.
- Cover (not airtight) and allow to rest at room temperature until the dough rises and collapses (or flattens on top), about 2 hours.
- The dough can be used immediately after the initial rise, though it's easier to handle when cold. Refrigerate the container of dough and use it over the next 7 days.
Make the cheese sticks
- Dust the surface of the refrigerated dough with flour then cut it into 1-pound (454 g) (grapefruit-size) pieces. Dust each piece with more flour and quickly shape it into a ball by stretching the surface of the dough around to the bottom on all four sides, rotating the ball a quarter-turn as you go. Allow to rest for 1 hour on a pizza peel that has been covered with cornmeal or parchment paper.
☞ TESTER TIP: This dough can be kept in the fridge for up to a week, so you can bake off as many cheese sticks at a time as you like. The dough can also be frozen for future use.
- Preheat oven to 400°F (205°C).
- Slick a rimmed baking sheet with oil or butter or line with parchment paper.
- Using a rolling pin, roll dough out to a 1/8-inch (3 mm) thick rectangle, about 8-by-13-inches (20-by-33-cm). As you roll the dough, use just enough flour to prevent it from sticking to the work surface. Using a pizza cutter or sharp knife to cut along the long side, cut into 1/8-inch (3 mm) wide strips.
- Lay strips on the prepared baking sheet, spacing them about 1/2-inch (13 mm) apart. Use a pastry brush to dab olive oil over each strip, then sprinkle with coarse salt.
- Bake cheese sticks in the center of the oven until nicely browned and beginning to crisp, 10 to 15 minutes. They will firm up when cool. Repeat with remaining dough.
Nutrition
Nutrition information is automatically calculated, so should only be used as an approximation.
Recipe Testers’ Reviews
While the dough is super-easy to put together, making the crispy cheese sticks takes a bit of time and effort. That said, they are definitely worth making. These sticks would be great alone as an everyday snack or equally at home at an elegant cocktail party or anything in between. A perfect alternative to crackers for your cheese or charcuterie board. Feel free to make a lesser amount of the recipe as the full recipe will yield a very large number of sticks.
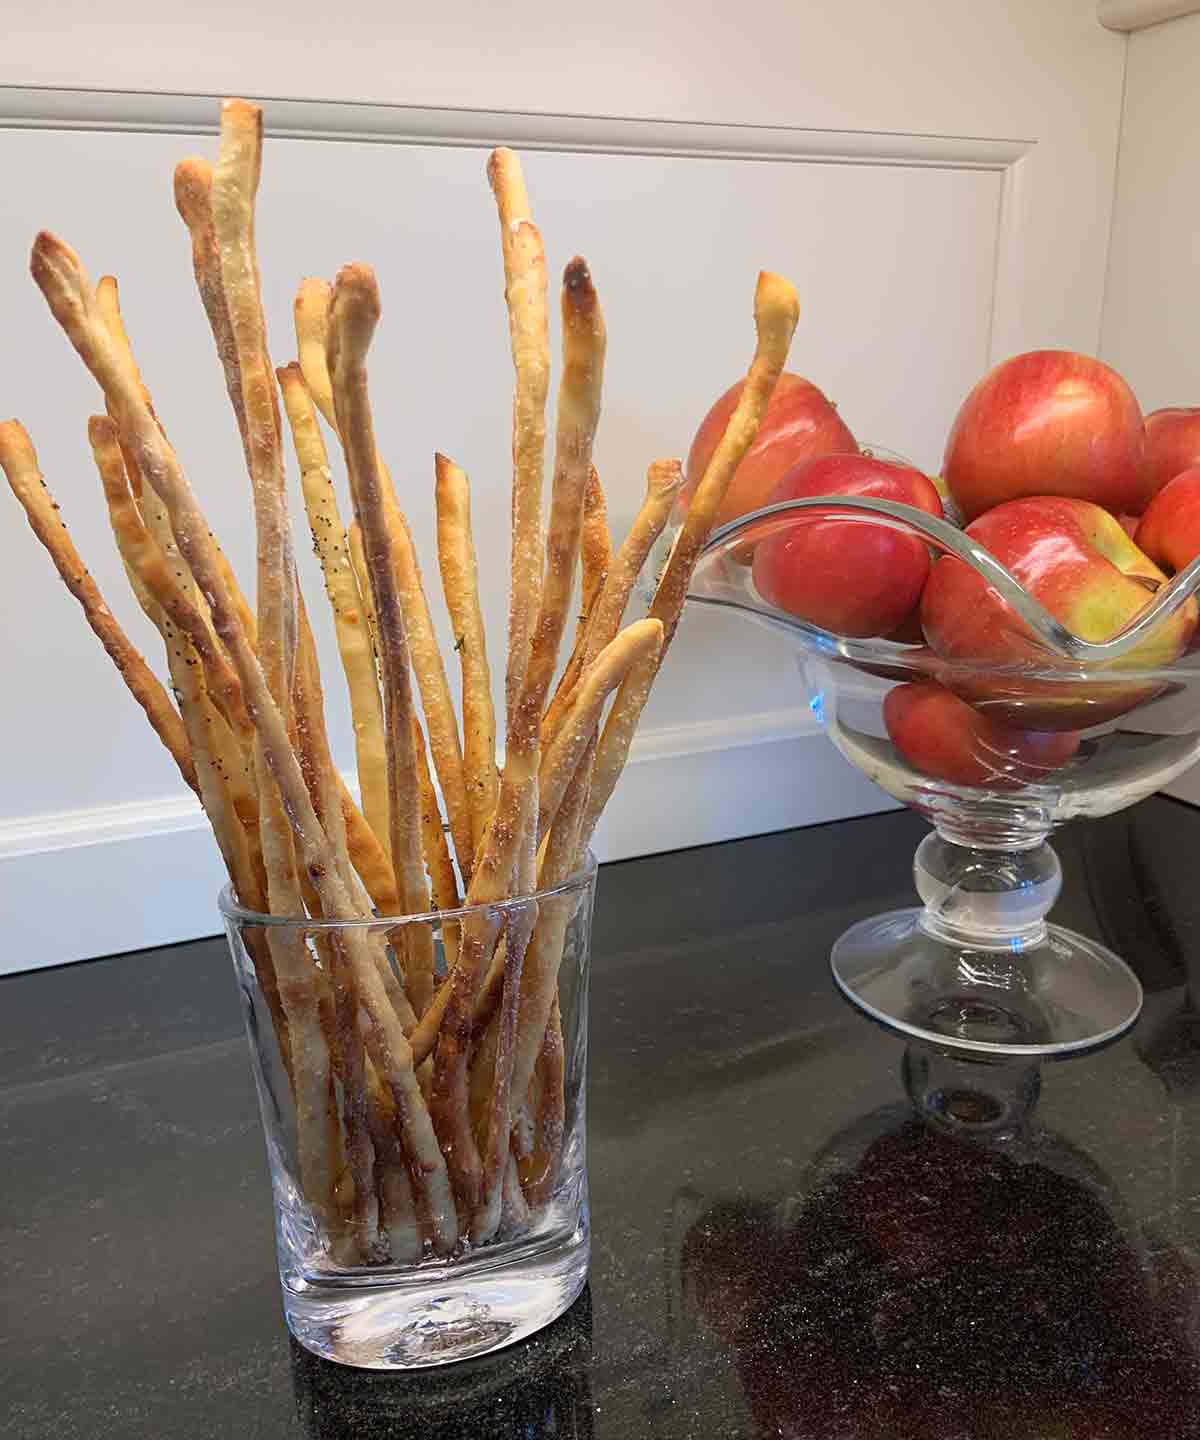
I made the full recipe, divided it into thirds, and only worked with one of the thirds which yielded 4 dozen sticks. I wrapped the other two pieces in plastic wrap and placed them in the freezer for future use. Another recommendation is to use a 5-wheel pastry cutter which will cut down significantly on the time it takes to cut the strips. Please also watch the baking time which is shown with a fairly large spread in the recipe. My first batch took 15 minutes in a pre-heated oven. Because the oven was on for a while and running fairly hot, the next two batches only took 10 minutes. The sticks are quite thin and can easily burn if baked too long.
For flavor, the olive oil and salt worked very well. I did a little experimenting and tried a sprinkling of Everything Bagel Seasoning from the Leite’s Culinaria site on one of my batches, and minced rosemary and sea salt on another, all of which worked well and made a nice variety of flavors for my cheese sticks.
One of my favorite recipes on Leite’s Culinaria is the Pain d’Épi, because the dough is quickly mixed in a storage container, popped into the fridge, and rises, developing flavor as it’s used over a week or so. I pull out only as much each evening as needed and there’s a fresh loaf for dinner. I’ve made it maybe 60 times since I saw it near the beginning of the pandemic, varied the flours between rye, spelt, whole wheat pastry, AP white, added in flavorings (sumac, pepper, cheeses, herbs), changed the shaping and the cutting, and it’s proven a versatile and reliable recipe.
However, I’ve never made breadsticks with it. This crispy cheese sticks recipe mimics that recipe if, in step three, one chooses to skip the rise and just put it in the fridge as directed in step four. There is hardly any dough manipulation other than forming balls until after the second rise, by which time this dough is super easy to handle. Rolling out one grapefruit-sized ball, cutting it into strips, and putting those on a parchment-lined pan, spraying with olive oil spray and sprinkling with sea salt takes only 18 minutes plus 15 to bake. For fresh crispy and chewy, lightly cheesy breadsticks!
