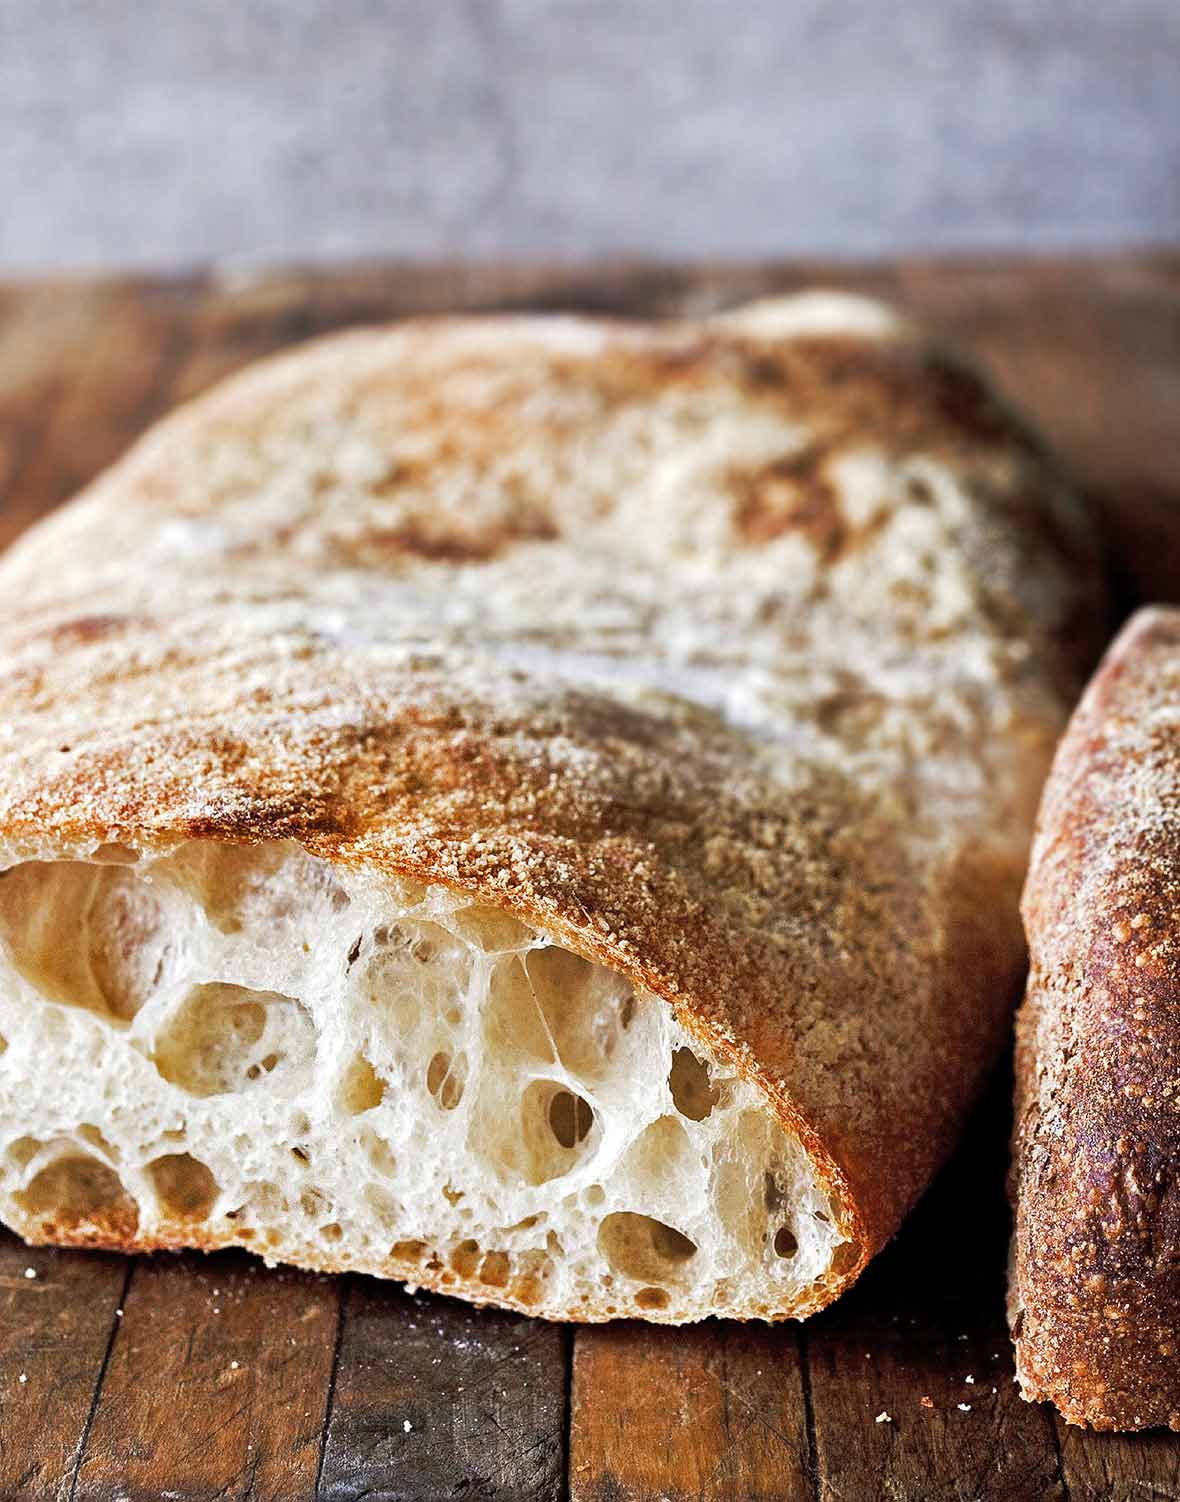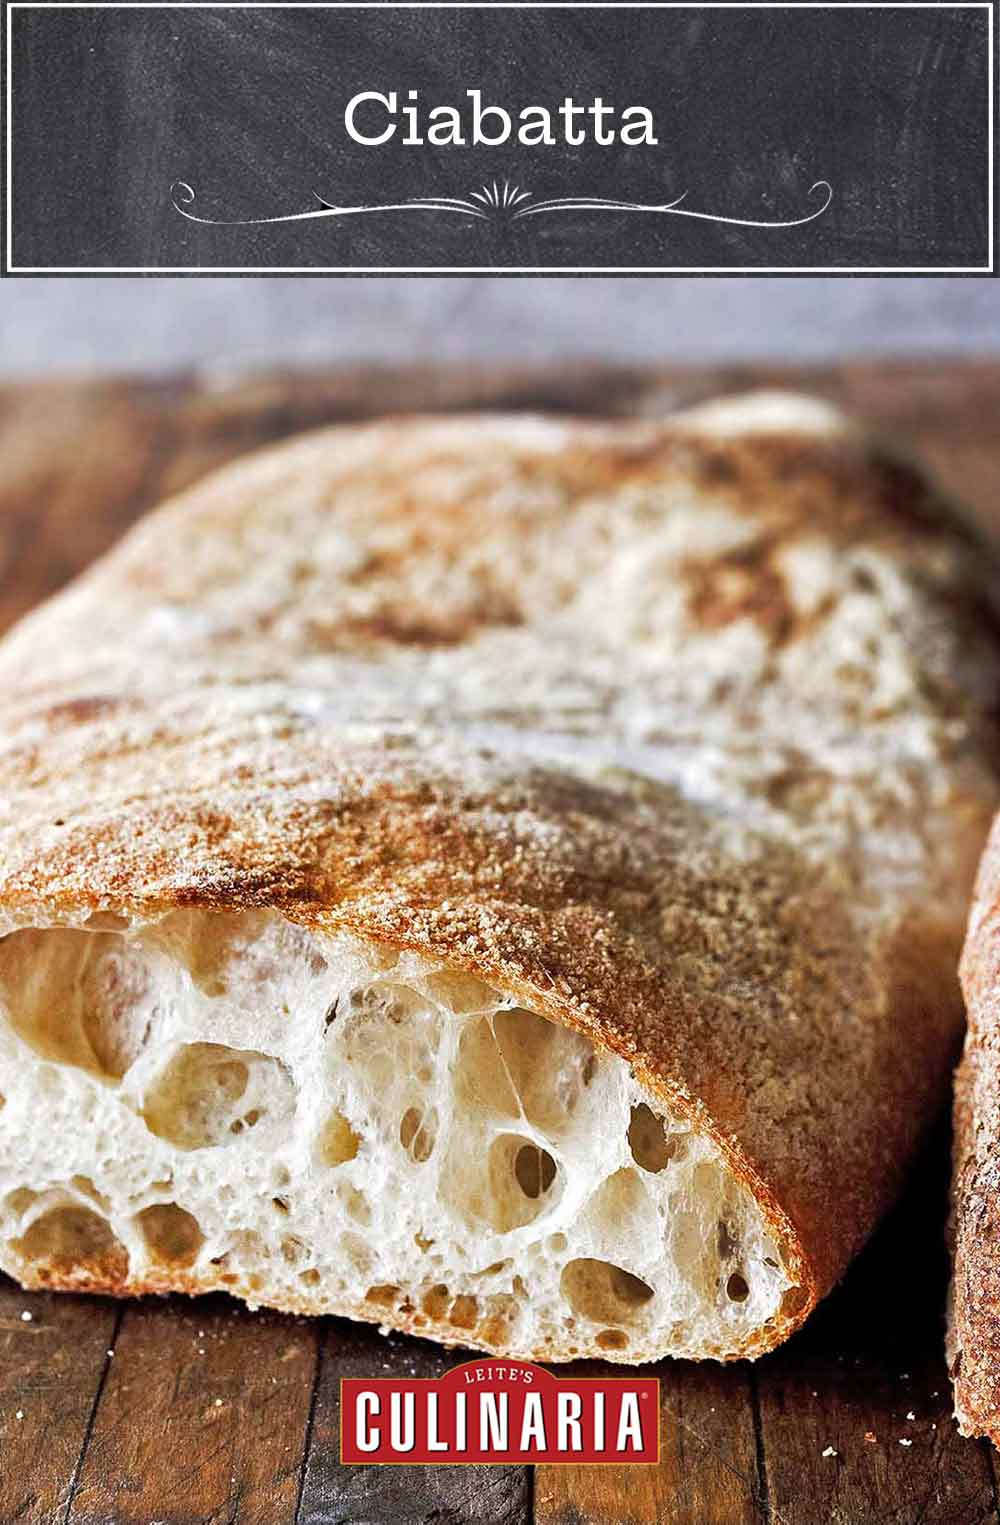
“I did not have ciabatta this good even when I was in Italy. Amazing.” That’s what folks are saying about this Italian bread recipe that’s made by hand with a biga, or starter. And author Carol Field says “Everyone who tries this homemade Italian bread loves it.” It’s literally one of the most popular recipes on our site. With good reason. Ciabatta is, in the words of Field, “a remarkable combination of rustic, country texture and elegant, tantalizing taste. It’s much lighter than its homely shape would indicate, and the porous, chewy interior is enclosed in a slightly crunchy crust.” If you’re wondering how to make it, look no further than the recipe below. Note, it can be tricky to obtain those ginormous air bubbles within the dough, although rest assured, the taste will be the same, regardless of the crumb of your bread. And if you’re wondering how to pronounce it, we were told by a bread-loving Italian that it’s “chah-BAHT-tah,” with the “ah” sound on every syllable.–Renee Schettler Rossi
Ciabatta
Equipment
- 2 baking stones
Ingredients
- 1 teaspoon active dry yeast
- 5 tablespoons (2 1/2 ounces) warm milk
- 1 cup plus 3 tablespoons (9 1/2 ounces) water, at room temperature (if using a food processor, use cold water)
- 1 tablespoon (1/2 ounce) olive oil, plus more for the bowl
- 2 very full cups (17 1/2 ounces) biga, rested for 12 hours
- 3 3/4 cups (17 1/2 ounces) unbleached all-purpose flour, plus more for the work surface
- 1 tablespoon (1/2 ounce) salt
- Cornmeal
Instructions
- If making the bread in a stand mixer: Stir the yeast into the milk in a mixer bowl; let stand until creamy, about 10 minutes. Add the water, oil, and biga (be sure to weigh the biga, don’t just measure it by volume) and mix with the paddle until blended. Mix the flour (be sure to weigh the flour, don’t just measure it by volume) and salt, add to the bowl, and mix for 2 to 3 minutes. Change to the dough hook and knead for 2 minutes at low speed, then 2 minutes at medium speed. The dough will be very sticky. Knead briefly on a well-floured surface, adding as little flour as possible, until the dough is still sticky but beginning to show evidence of being velvety, supple, springy, and moist. (If the dough seems almost impossibly sticky to work with, reread the headnote above from author Carol Field.)
If making the bread in a food processor: Stir the yeast into the milk in a large bowl; let stand until creamy, about 10 minutes. Add 1 cup plus 3 tablespoons of cold water, the oil, and the biga (be sure to weigh the biga, don’t just measure it by volume) and mix, squeezing the biga between your fingers to break it up. Place the flour (be sure to weigh the flour, don’t just measure it by volume) and salt in the food processor fitted with the dough blade and pulse several times to sift the ingredients. With the machine running, pour the biga mixture through the feed tube and process until the dough comes together. The dough will be very sticky. Process about 45 seconds longer to knead. Finish kneading on a well-floured surface until the dough is still sticky but beginning to show signs of being velvety, supple, moist, and springy. (If the dough seems almost impossibly sticky to work with, reread the headnote above from author Carol Field.) - Place the dough in an oiled bowl, cover with plastic wrap, and let rise at room temperature until doubled, about 1 1/4 hours. The dough should be full of air bubbles, supple, elastic, and sticky.
- Turn the dough onto a generously floured surface and cut it into 4 equal portions. Roll each portion into a cylinder, then stretch each cylinder into a rectangle about 10 by 4 inches, pulling with your fingers to get each portion of dough long and wide enough.
- Generously flour 4 pieces of parchment paper placed on peels or upside-down baking sheets. Place each loaf, seam side up, on a piece of parchment. Dimple the loaves vigorously with your fingertips or knuckles so that they won’t rise too much. The dough will look heavily pockmarked, but it is very resilient, so don’t be concerned.
- Cover the loaves loosely with damp towels and let rise until puffy but not doubled in size, 1 1/2 to 2 hours. The loaves will look flat and definitely unpromising, but rest assured that they will rise more in the oven.
- About 30 minutes before baking, preheat the oven to 425°F (220°C) and slide 2 baking stones on the center rack to heat. [Editor’s Note: If, like us, you haven’t yet bought yourself a baking stone, flip some large cast-iron skillets upside down and bake the bread on their bottoms. It ought to do the trick. It has for us.]
- Just before baking the bread, sprinkle the stones with cornmeal. Carefully invert each loaf onto a stone. If the dough sticks a bit to the parchment, just gently work it free from the paper. If you need to, you can leave the paper on and remove it 10 minutes into baking.
- Bake the ciabatta for a total of 20 to 25 minutes, spraying the oven 3 times with water in the first 10 minutes. Transfer the loaves to wire racks to cool.
Notes
Tips for Handling Ciabatta Dough
Before you make this authentic ciabatta recipe, understand that the dough can be tricky to handle correctly. It’s wet. Incredibly wet. It will stick to your hands. It will stick to your work surface. It will stick to everything it comes in contact with. That’s okay. Don’t add extra flour or you’ll get disappointing results. Just rest assured that, as you make the dough again and again, you’ll become practiced in how to handle it. Here, a few tips. Weigh the ingredients. If you pack flour into the measuring cup, it will come out weighing substantially more than what you expect or that the recipe intends. If you must measure it by volume, first pour it into a bowl, stir it to aerate it, and then scoop it into the measuring cup. [Editor’s Note: We understand that the weight-to-volume equivalents in the recipe below are off-kilter compared to what most of us home bakers are accustomed to using. We took these measures directly from the book in which this recipe was printed because they’re the author’s intended cup measures when you use her pour, stir, and scoop method we just outlined.] Have a bowl of water nearby when you’re shaping the dough. Wet dough won’t stick to wet hands, so dip your hands in the water before you scoop up the dough. You can also dip your dough scraper into the water and then use it to cut the dough into 4 portions. Wet your hands before you roll the dough into a cylinder so it won’t stick as much. And then, with those wet hands, pull it into the rectangular shape. Do NOT worry if the loaves look flat and unpromising. Here’s what Field has to say on the topic. “Trust me when I say they will rise on the floured pieces of parchment paper, even though they certainly don’t look as if they will. Let them rise until they’re puffy but not doubled. They still won’t look as if they will be anything you could believe in. If the thought of turning the little loaves over onto the baking stone is too daunting, you can put them still on their parchment paper straight onto the stone without turning them over. You’ll miss the veining of flour that makes the loaves look so attractive, but you might gain confidence this time and then be bold enough to try turning them over the next time.” This recipe should ideally be made in a stand mixer. It can be made in a food processor. And while folks have made it by hand, it’s not recommended. (The natural inclination while kneading it is to add lots of flour to the very sticky dough, and pretty soon you won’t have ciabatta.) So just follow the instructions below. The dough will feel utterly unfamiliar and probably a bit scary. And that’s not the only unusual feature: the shaped loaves are flat and look definitely unpromising. Even when they are puffed after the second rise, you may feel certain you’ve done it all wrong. Don’t give up. The bread rises nicely in the oven. Follow the recipe. It’s written by a baker with untold experience baking bread and seeing home cooks through the inevitable learning curve that comes with handling Italian bread dough, which is much different and wetter to work with than the standard American bread dough. Trust us. When you heed her words, you’ll make it through this recipe with ease and grace—or as close to grace as you can manage when you’ve got flour smudged on your nose and bread dough clinging to your fingers. We also suggest you take a look at the comments beneath the recipe from others who, like you, were curious about trying their hand at this bread so you can learn from their collective experience, tactics, and techniques.
Nutrition
Nutrition information is automatically calculated, so should only be used as an approximation.
Recipe Testers’ Reviews
I absolutely love the crisp crust and large holes common to this Italian “slipper” loaf, so I was most excited to get started on this recipe. As I was making the very sticky “biga,” or sponge, it suddenly seemed familiar and I immediately recognized an old friend in The Italian Baker! This book has remained on my shelf while other books have come and gone several times over during the years.
This bread, because it has relatively little yeast and is a slow riser, is a great Sunday afternoon side project — a Superbowl Sunday idea for those of us not glued to the game? The resulting bread has the much-desired crispy crust and soft and “holey” inside, ready to be eaten warm with some wonderful grassy olive oil or sliced lengthwise for some delicious paninis! Most of the time involved is related to hovering over the rises…and not with the actual ingredients, so it’s perfect for a cold afternoon or game day. The directions were explicit and any questions or issues along the way seem to be addressed. A winner.
This recipe makes 4 wonderful loaves of bread. The instructions are letter-perfect and could be followed by even novice bakers. The dough is “sticky” but not really that difficult to handle. As warned in the recipe, my parchment paper did not release when I placed the loaves in the oven, but after a few minutes the paper pulled off easily.
It was this attention to detail in the recipe that made it so user-friendly. The flavor of this bread is fairly mild because the starter (biga) is not fermented for very long. It’s this delicate flavor, enveloped in a nice chewy crust, that makes ciabatta so appealing. I will definitely be making this bread again. Probably the next time I will have the biga already made in my freezer, allowing me to make the bread all in a single day.
The recipe makes wonderful bread with a crisp, thin crust and an airy crumb. I could easily eat a whole “slipper” by myself with nothing more than olive oil. It’s great to see a baking recipe with weight measurements. That is what I used, and the loaves came out perfect. Note, though, that 4 of these would usually not fit on a baking stone together. I had to bake them 2 at a time, but at 20 minutes or so for the baking time, that is not such a big hassle.
This brad recipe was a delight to make! I loved the feel of the dough when I was briefly kneading it before the first rise. I was initially afraid that I wouldn’t be able to determine when the dough was velvety, springy, and moist, and that I’d add too much flour.
In fact, it was easy to tell when it was ready. I ran out of all-purpose flour and had to add about 150 grams white whole-wheat flour. As far as I can tell, it didn’t make much of a difference in the finished product. The loaf baked up nicely on a regular baking sheet (I don’t have a baking stone). I threw ice cubes onto a pan in the bottom of the oven to get steam. I let 1 pan with 2 loaves rise for about 1 1/2 hours and the other for closer to 2 hours. Both sets of loaves were very nice, but the 2-hour rise resulted in fuller loaves with a chewier crumb. It would be helpful to have weights for all of the ingredients, as in the biga recipe.
It was very satisfying to make this recipe and the results boosted my confidence in baking yeast breads.
I really love this recipe. I love the ritual of bread making, and this recipe has it all. The final product has a dusty, crisp crust and a soft, delicious crumb. Try not to knock the air out as you transfer the loaves to the stone and you will be rewarded with those fabulous holes which make this great bread interesting!
Already had The Italian Baker cookbook from years ago, and I am so happy to have kept it. I have made some sweet breads using its sponge which were just wonderful. This recipe sure didn’t disappoint, either.
I made the biga, which was a snap, and left it to bubble and triple. I refrigerated it until the next morning and used all but a little bit, which I put into another recipe. It’s a really soft, sticky dough, so I put it on parchment and let it rise. I have a pizza stone, and when it was time to bake it does work to slide it off onto the stone. I put ice cubes on the bottom of the oven to create steam instead of misting the loaves. They baked up to a really nice chewy golden brown.
This is a wonderful recipe, and I’m sure we can make some wonderful sandwiches out of these. First, though, I’m going to share with my daughter. Love it!!!
This is a great recipe. I found the instructions very simple to follow. I like ciabatta, though it isn’t my favorite bread to bake. I was a bit surprised that the recipe called for all purpose flour and not bread flour. But it worked.
I made the biga 24 hours prior. It was happy and bubbly when it came time to make the bread. The paddle attachment was not ideal in combining the biga, oil, water, milk, and yeast. So I switched to the dough hook and it came together just fine. Otherwise the only deviation I made from the recipe is I used semolina instead of cornmeal on my baking stone because I grabbed it in error from my pantry. The dough rose in the time suggested. First rise was exactly 1 1/4 hours. Second rise of the shaped loaves was 2 hours. The dough was sticky. But I enjoy working with wet dough so it was fine. Three of my four loaves puffed up beautifully (I am pretty certain I over handled the one that didn’t rise flawlessly).
I honestly am not sure why people seem to struggle with the recipe. I read through the comments, and I think the main issue is that this is a bread maker’s recipe. If you are inexperienced in working with dough, perhaps the texture of the dough could feel “wrong” and you may instinctively add flour and ruin its texture. But otherwise it is a fun simple recipe.


Did I miss something on the biga recipe, or do I use the stand-alone biga recipe from this website? Thank you.
Elaine, the biga recipe on this site is a component of this recipe. So use that!
Do you think I could put the loaves in the fridge for the final rising? and then pull them out 30 min before baking? Or would it better to just leave them on the counter, even if it’s longer than the recommended 2 hours? Let me know by email if you can.
That’s a bit of a tricky question, Marion. We have had readers refrigerate loaves during the final rise and the texture of the finished bread ends up being different than if it had risen at room temperature. That said, if you leave it at room temperature for too long, you run the risk of over-proofing. If it’s only going to be just over 2 hours, I’d stay at room temperature, but if it’s going to be much longer, put it in the fridge, but do know it may not behave the same way as the recipe suggests.
Follow up – They came out perfectly, crusty outside, airholes inside, and taste amazing! They were in the fridge for 5 hours, then on the counter for about another hour and a half. I brushed with olive oil, then sprinkled salt and rosemary.
Wonderful, Marion. I’m glad this was so successful and your loaves look amazing!
I have tried this a number of times and followed all the instructions exactly and found it almost impossible to make. So many things are wrong with this recipe. The dough is so sticky that you really can’t put anything in it. Don’t cover it with a damp towel for an hour and a half it will ruin it. So many annoying instructions. Go make sourdough. So much easier and better tasting.
Chris, so sorry that this didn’t work for you. I love this recipe. Are you weighing your ingredients? This is always the best way when it comes to baked goods. Also, what are you referring to when you say “can’t put anything in it”? Ciabatta doesn’t have any additions.