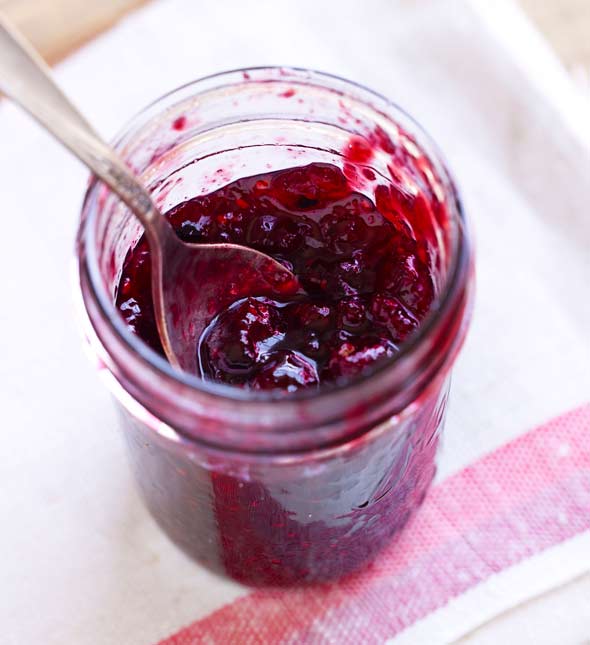
…the kids from eating the berries before you get them home from the market. They can each have fun taking a turn at stirring the fruit and sugar before cooking. They can also pick over and rinse the berries, measure the fruit and sugar, and squeeze and measure the lemon juice. With so many berry varieties to choose from, your kids will have fun mixing and matching their favorites.–Leslie Jonath and Ethel Brennan
LC Instant Gratification Note
We’re all for the sense of accomplishment that comes with patiently tending a process and awaiting the eventual outcome. That said, we’re also all for instant gratification if it doesn’t compromise the integrity of the recipe. Enter this lovely little number….
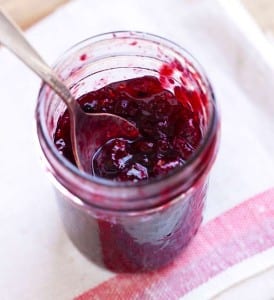
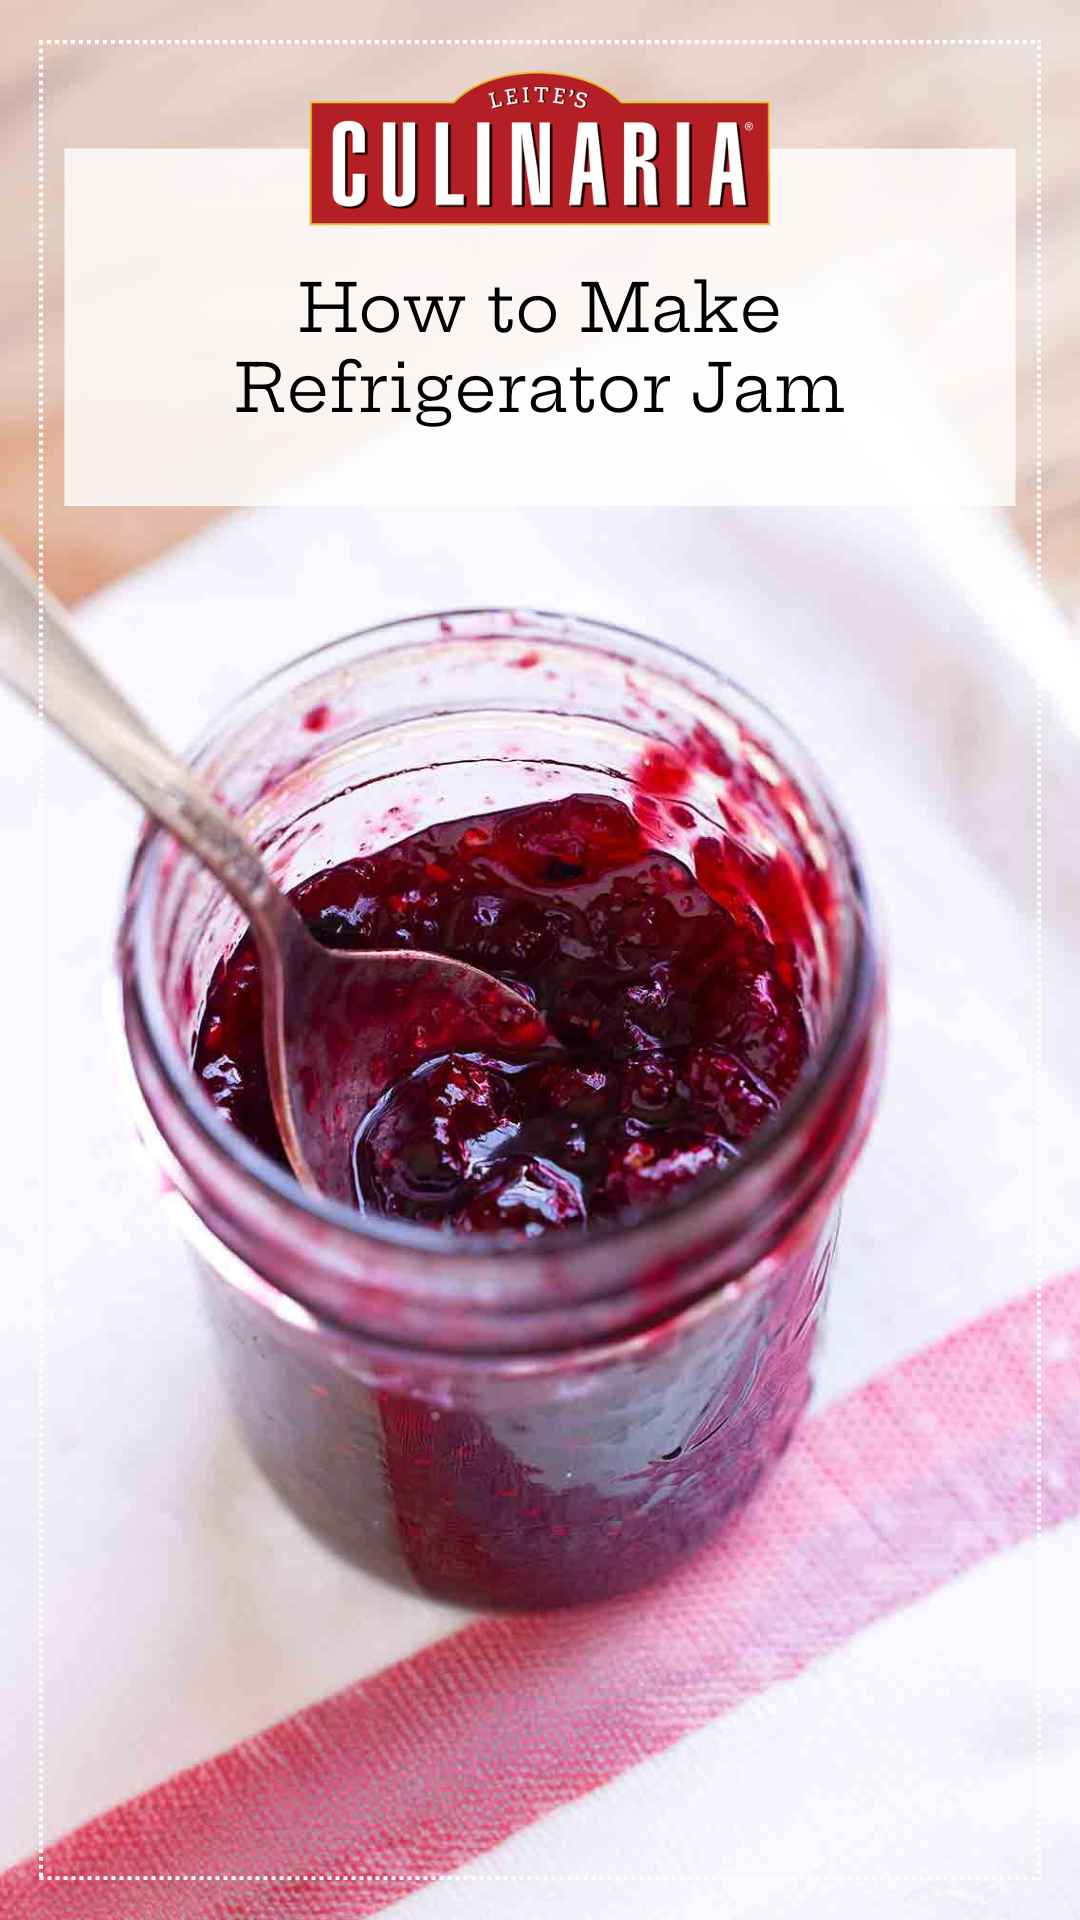
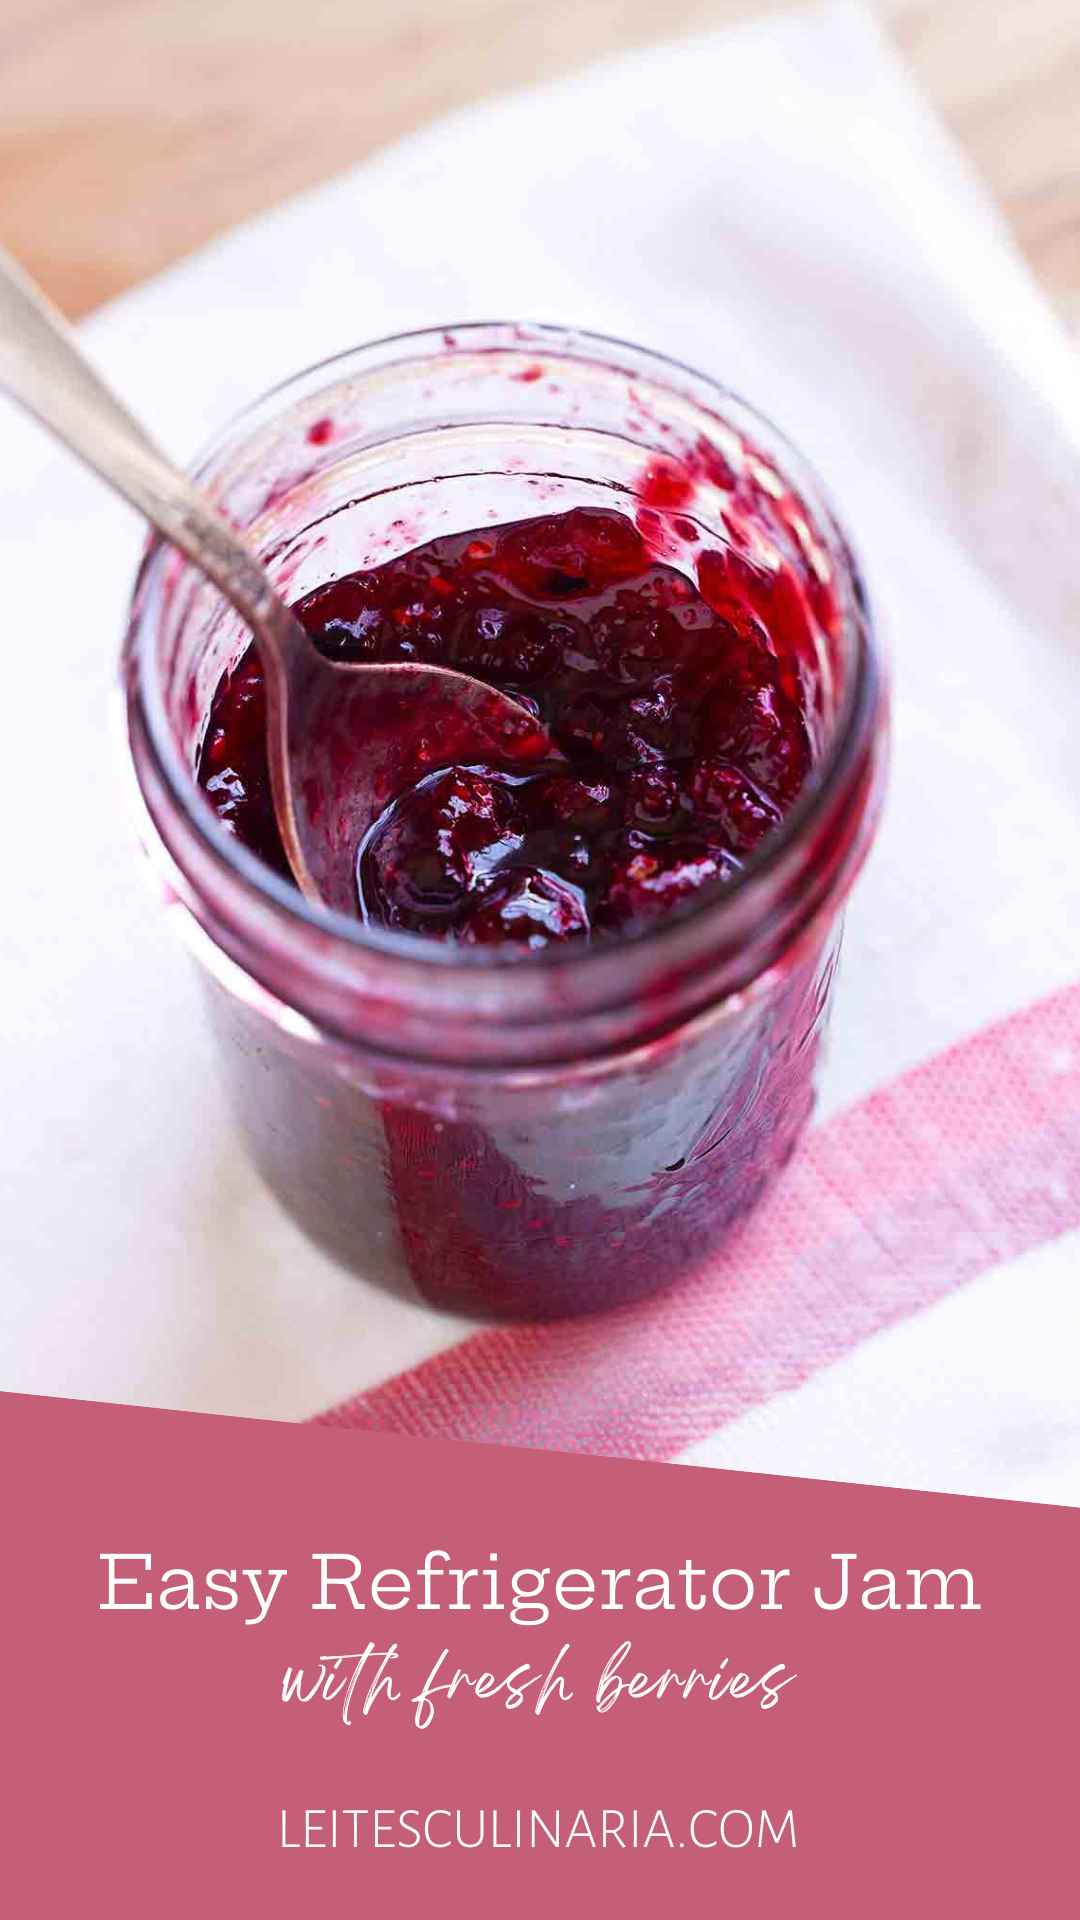
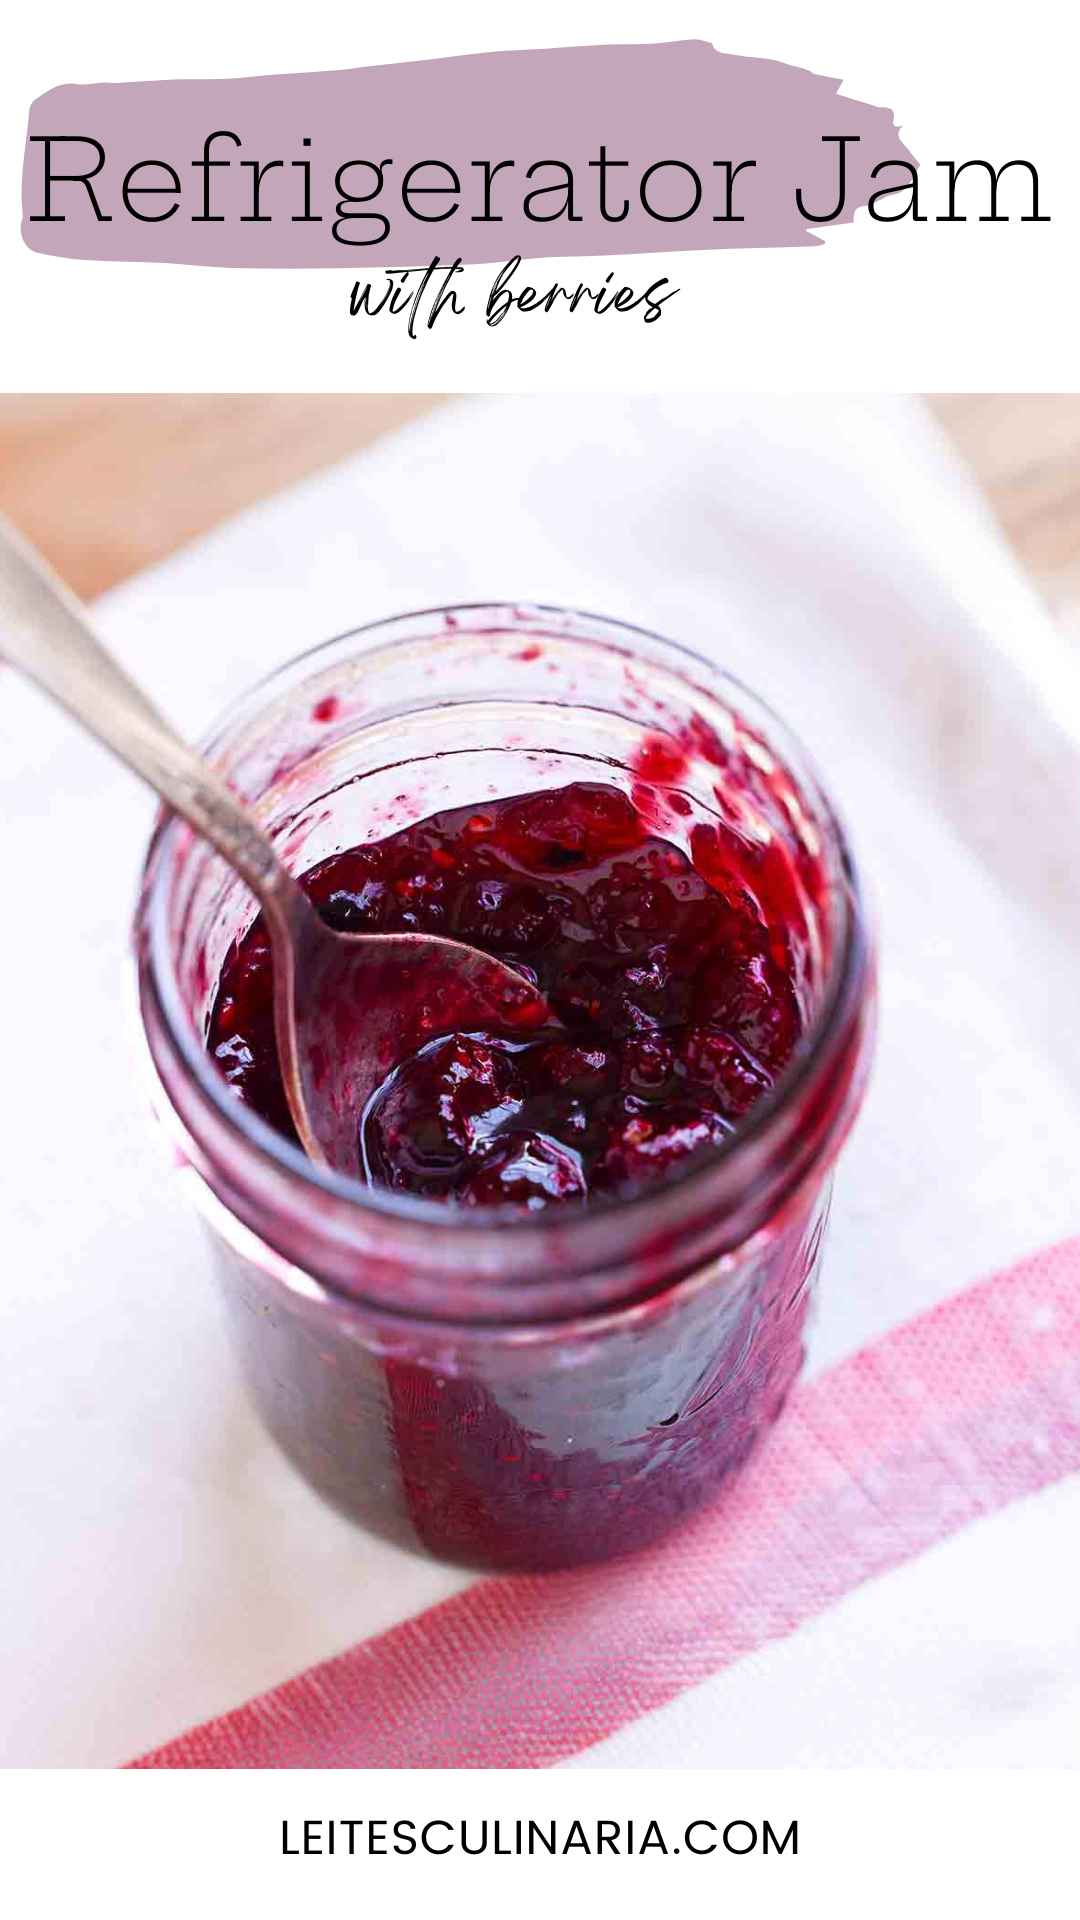
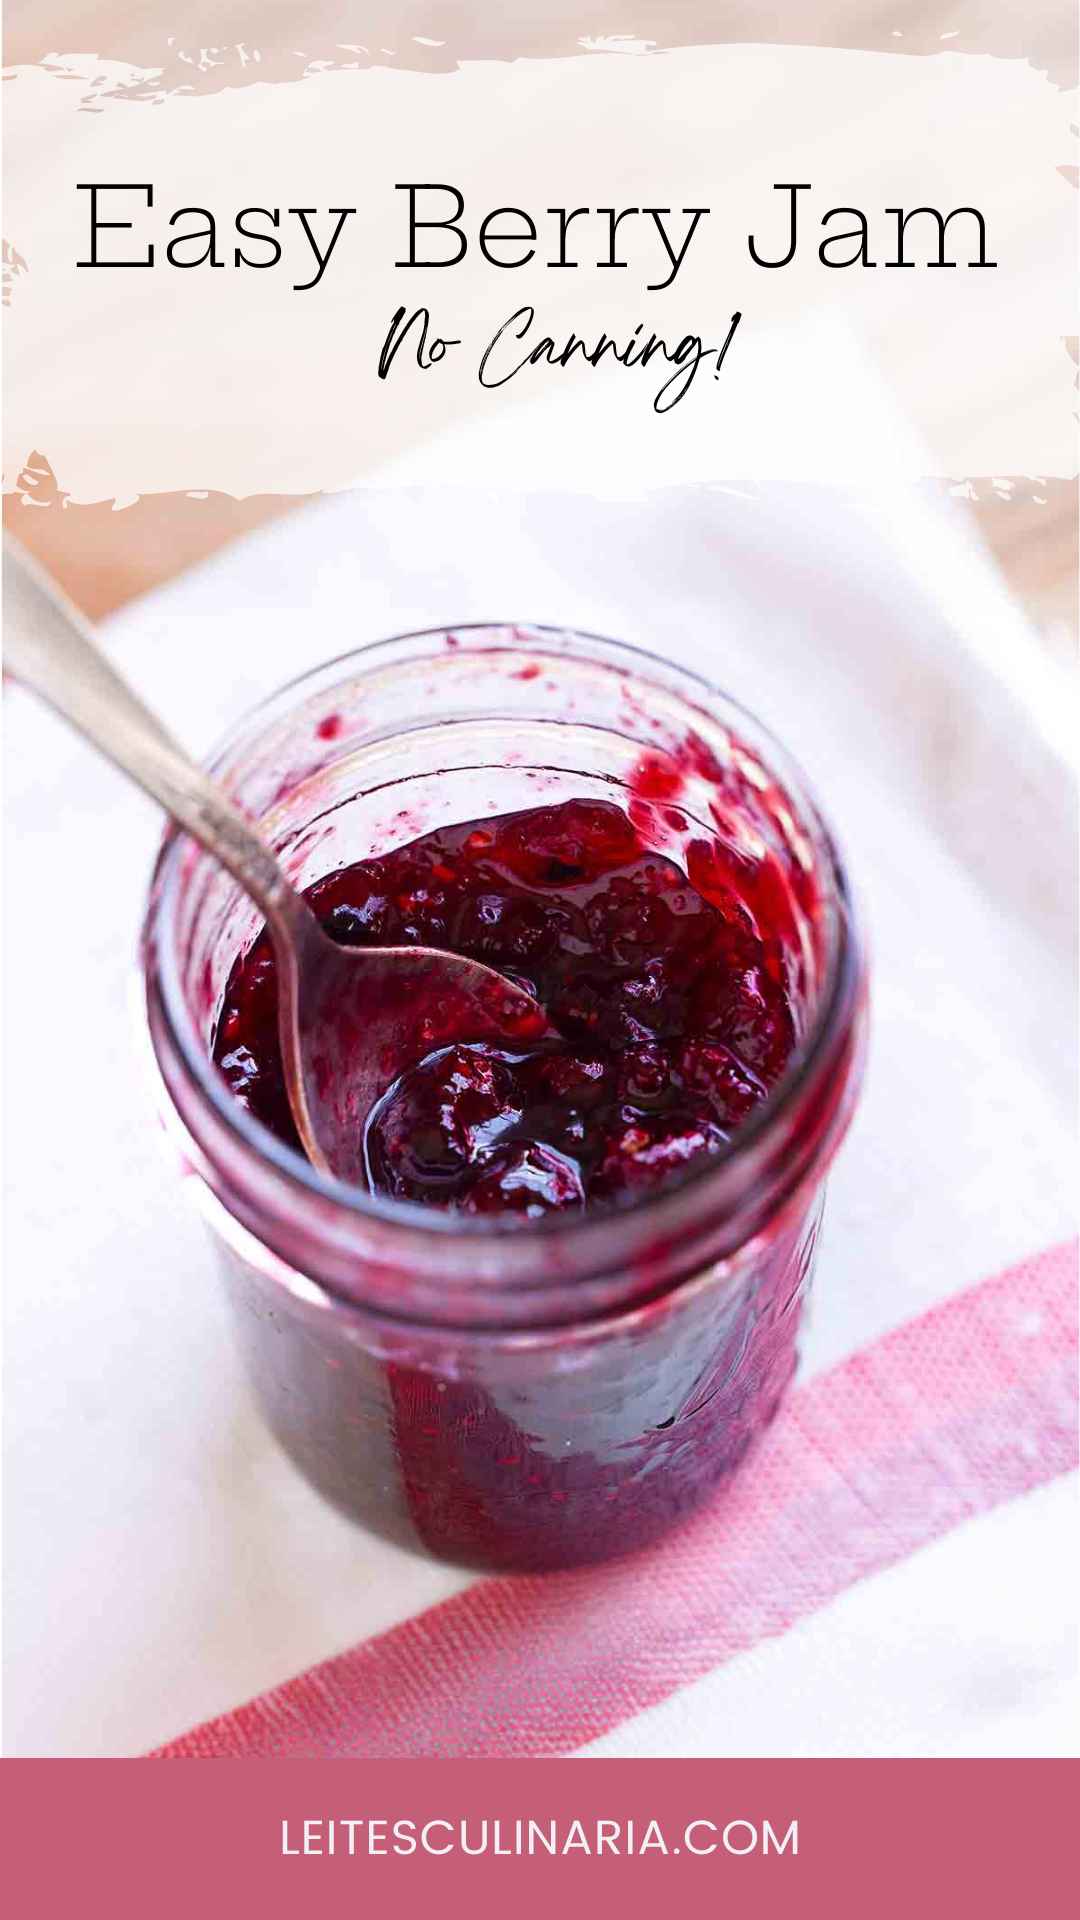
Refrigerator Jam
Equipment
- candy thermometer and 2 pint or 4 half-pint jars
Ingredients
- 2 1/2 pounds mixed berries, such as raspberries, boysenberries, and/or blackberries, (about 7 cups, but go by weight as types of berries vary in cup amount)
- 1 1/2 pounds (about 2 1/4 cups) granulated sugar, or less to taste if you’re not a sweet tooth
- 1 tablespoon fresh lemon juice
Instructions
- Thoroughly wash two pint or four half-pint canning jars and their lids and screw bands. Place the jars, lids, and screw bands in a large pot and add water to cover. Bring to a boil and continue to boil for 15 minutes to sterilize them. Turn off the heat and leave the jars, lids, and bands in the hot water until ready to use. Place a small plate in the freezer for testing the jam.
- Pick through the berries, discarding any soft or rotten ones. Gently rinse the berries and place them in a large, heavy nonreactive saucepan. Add the sugar and stir to combine. Bring the mixture to a boil over medium heat, stirring constantly until the sugar dissolves. Stir in the lemon juice. Reduce the heat and simmer the berry mixture, stirring often with a wooden spoon, until the jam thickens to a viscous consistency, 1 to 1 1/2 hours. As the jam cooks, use a large spoon to skim any foam from the surface. After the jam has cooked for an hour, test it to see if the jam has reached the jell point by removing the plate from the freezer, placing 1 teaspoon jam on the plate, and tipping the plate slightly. If the jam doesn’t spread, it’s ready. You can also test the jam for readiness with a candy thermometer, which should register 220ºF (104ºC) when the jam reaches the jell point. [Editor’s Note: “Jell” point or “gel” point? We rather have an affinity for “jell,” thinking perhaps it’s an old-fashioned term for the proper consistency. As such, we rather like to use it, even though it’s not in common parlance.]
- Lift the jars, lids, and screw bands from the water, using tongs if the water is still hot, and thoroughly dry them. Carefully ladle the hot jam into the sterilized jars, leaving a 1/2-inch space between the jam and the top of the jar. Wipe each jar rim clean with a damp towel, then top with a lid and seal tightly with a screw band. Let the jars cool overnight at room temperature. Label the jars with the recipe name and date. You can store them in the refrigerator, unopened, for up to 3 months. Once opened, use within a week or so.

Nutrition
Nutrition information is automatically calculated, so should only be used as an approximation.
Recipe Testers’ Reviews
This recipe scores high on simplicity and flavor. The directions are straightforward. I used frozen blackberries, blueberries, and raspberries from our previous year’s summer harvest with great results. The end consistency, after cooking the jam to 220°F, is comparable to that of honey. A pan that is wider vs. deeper always works better when cooking jam, as it allows an even cooking surface. Although the berries break down during the cooking process, some larger pieces do remain. Let the jam cool for 20 to 30 minutes before filling the jars so the remaining fruit does not all float to the top.The jam will also continue to thicken over the weeks and months ahead. Due to a lack of space in my fridge, I processed this jam in a water bath for 15 minutes to seal the jars for shelf storage. I sterilized the jars, lids, and rings in boiling water while the jam was cooking and cooling.
We are still in winter mode in the cold north, despite the recent spring equinox. Hence I resorted to using up some of my frozen berries from the previous season. I used a mixture of blueberries, blackberries. and a handful of strawberries. I boiled the jam mixture on medium-high heat for about 15 minutes to reduce the water, then I reduced the heat to a simmer and cooked it for an additional 40 minutes. It made a delicious berry jam. It was a tad sweet for my taste, so I added a splash of lemon juice to balance the sweetness and voila, I had a delicious confiture in my possession. It made about 3 cups.
This was an easy jam to make and I liked that it doesn’t require pectin and that you can store it in the fridge. My family loved this jam. I chose strawberries, blackberries, and raspberries, since those looked best in my local market. I can’t wait to try this recipe using freshly picked berries, as I’m sure it’ll be even better, if that’s possible. Since I didn’t have a candy thermometer, I used the frozen plate option to test the jam for readiness. The jam was perfectly cooked at the suggested time of 1 1/2 hours. Even though this takes a while to cook, it’s well worth the wait, and you can busy yourself in the kitchen preparing other things while it cooks, just giving it an occasional stir and checking how it’s progressing. I only made a half recipe, which worked great, as I ended up with two not-quite-full pint jars. I had a jar to keep and one to send home with my daughter. Next time I’m sure I’ll make a whole recipe since it was such a hit at our house. I’ll be using this recipe often this summer, I’m sure.
This jam came together beautifully and produced a luscious berry flavor that is great on toast or a PBJ. I used 2 pints blueberries, 2 pints blackberries, 1 pint raspberries, and 5 large strawberries to make up the 2 1/2 pounds fruit. Note that this jam only produced 1 pint and a little more than 1 half-pint jam. I would double the recipe next time so I have a larger batch.
I have never tried making jam before, and this recipe seemed like a good place to start. I was right. It came out wonderful on my first try. My only real complaint is that it is a little too sweet for my taste. I would really like to try this again when cranberries are in season and add them to the berry mixture for some extra tartness.
When I made this, my 2 1/2 pounds mixed berries consisted of blueberries, Blackberries, and strawberries, as those were what was available in my market. My batch of jam had to simmer for about an hour and 45 minutes before it reached 220°F (104°C) and set up properly. I used only 5 half-pint jars in the end, and ended up with 4 and 1/2 cups of jam.
I believe this may be the easiest jam I have ever made. This was simple as can be and the final result was absolutely adored by my family, especially by my toddler, who has been enjoying it every morning. I was able only to fill two 1-pint jars. I think next time I make it I will add a tad less sugar, as we are not crazy sweet tooths. But the addition of the lemon did help give a tad bit of tartness to it.


So glad I came across this recipe – it was delicious. I used fresh strawberries + frozen raspberries and mulberries and a little less sugar. I used the frozen saucer testing method and it was ready in an hour on a fast simmer.
Annabella, that’s excellent. Now, I can’t wait until spring rolls around up here in the Northern Hemisphere.
This is how I’ve been making jam for years with a few tweaks. I macerate the fruit with the sugar for at least an hour before I cook the jam. I find that I get much better flavor this way. I throw in a big pinch of kosher salt. I add the lemon juice after the jam is cooked and cooled. I like jam a bit chunky, but if you like it smoother just break out the stick blender.
Many thanks for sharing your tips and tricks, Ellen N.! Greatly appreciate it! Especially love that you let the fruit macerate and draw out the flavor. Looking forward to hearing which recipe on the site draws your attention next!
This is pretty much the way I make the occasional jar or two of jam. I haven’t found that it takes nearly as long as these instructions say but then, I’m making a much smaller amount. We prefer ours soft-set rather than firm, too. Our favorite is apricot (and canned crushed pineapple to fill out the amount of fruit if I don’t have enough) using about half as much sugar as fruit and adding a tablespoon of lemon juice. I also make it with any berries when I have some that need to be used up. Since I store them in the fridge and it’s just for our use, I haven’t gone through the whole sterilization process, I just use my “working jars” with the plastic lids, well washed in the hottest water and air dried. Am still here to tell of it!
Sounds swell, Susan. I’m with you in terms of making small batches. I do the same….