TL;DR (Quick-Answer Box)
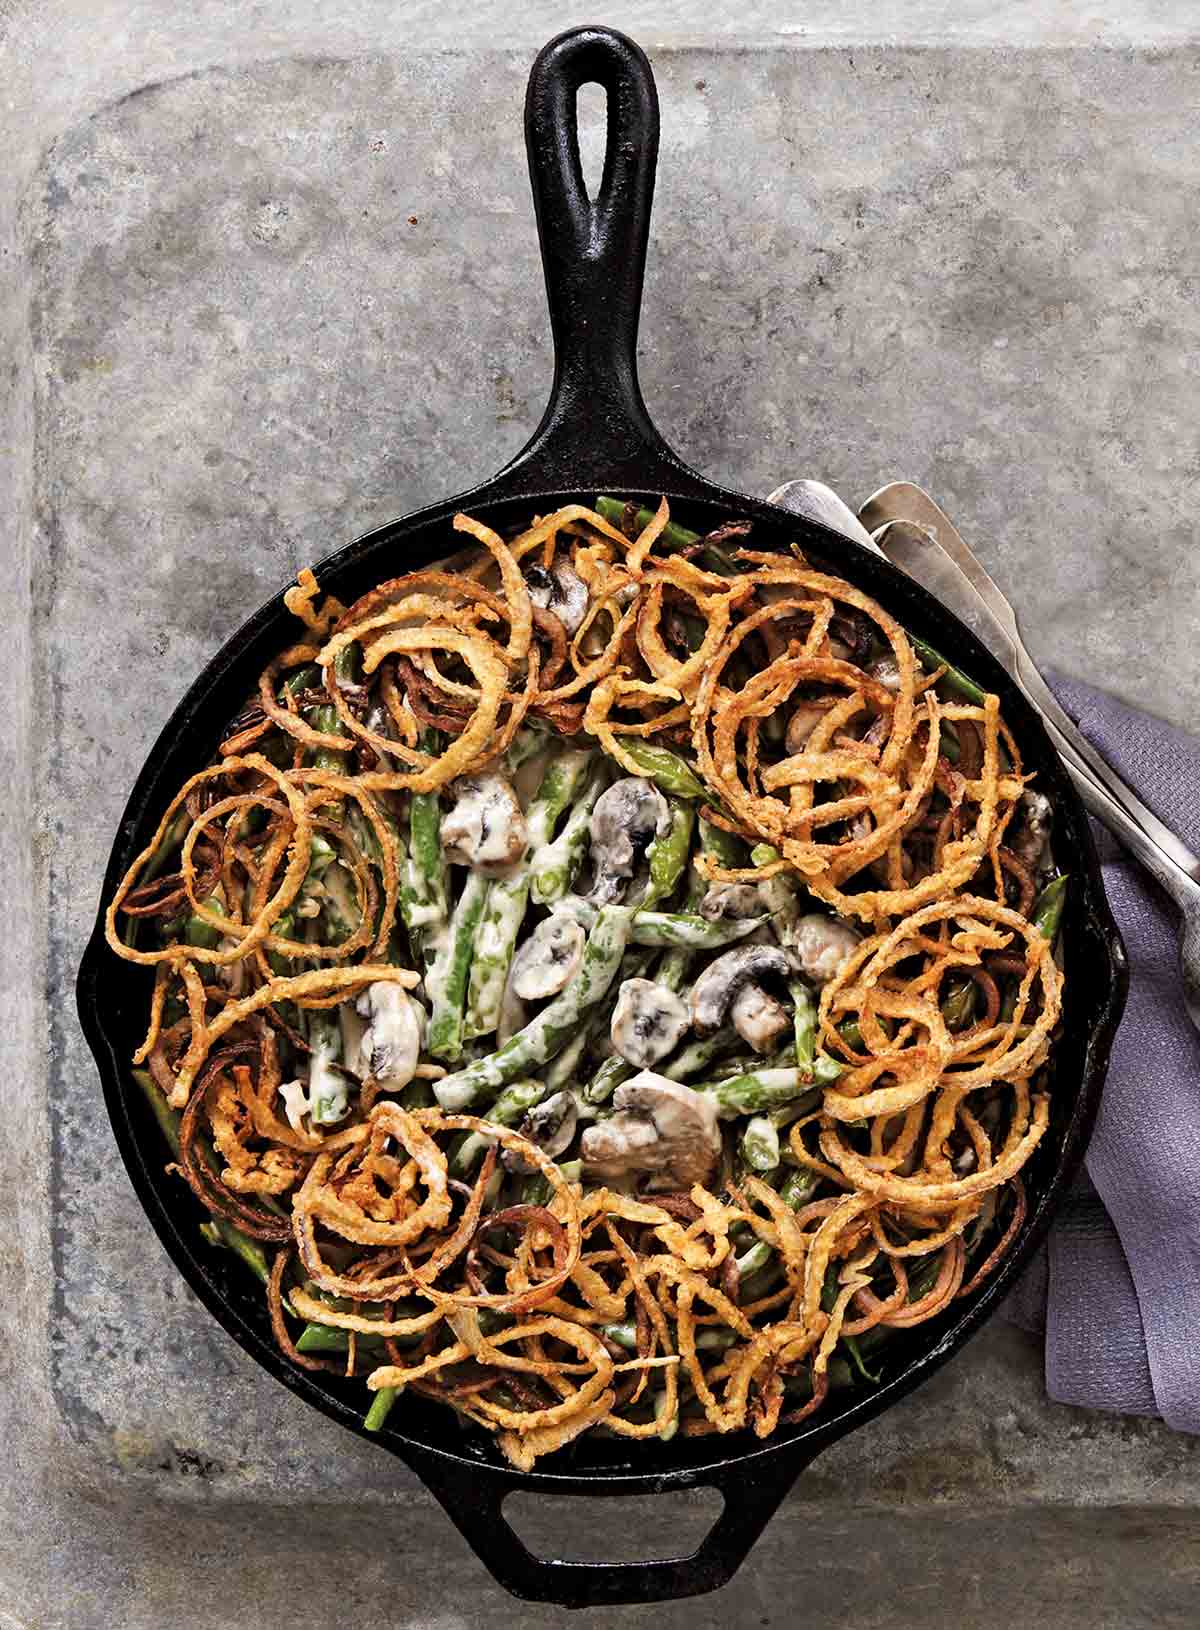
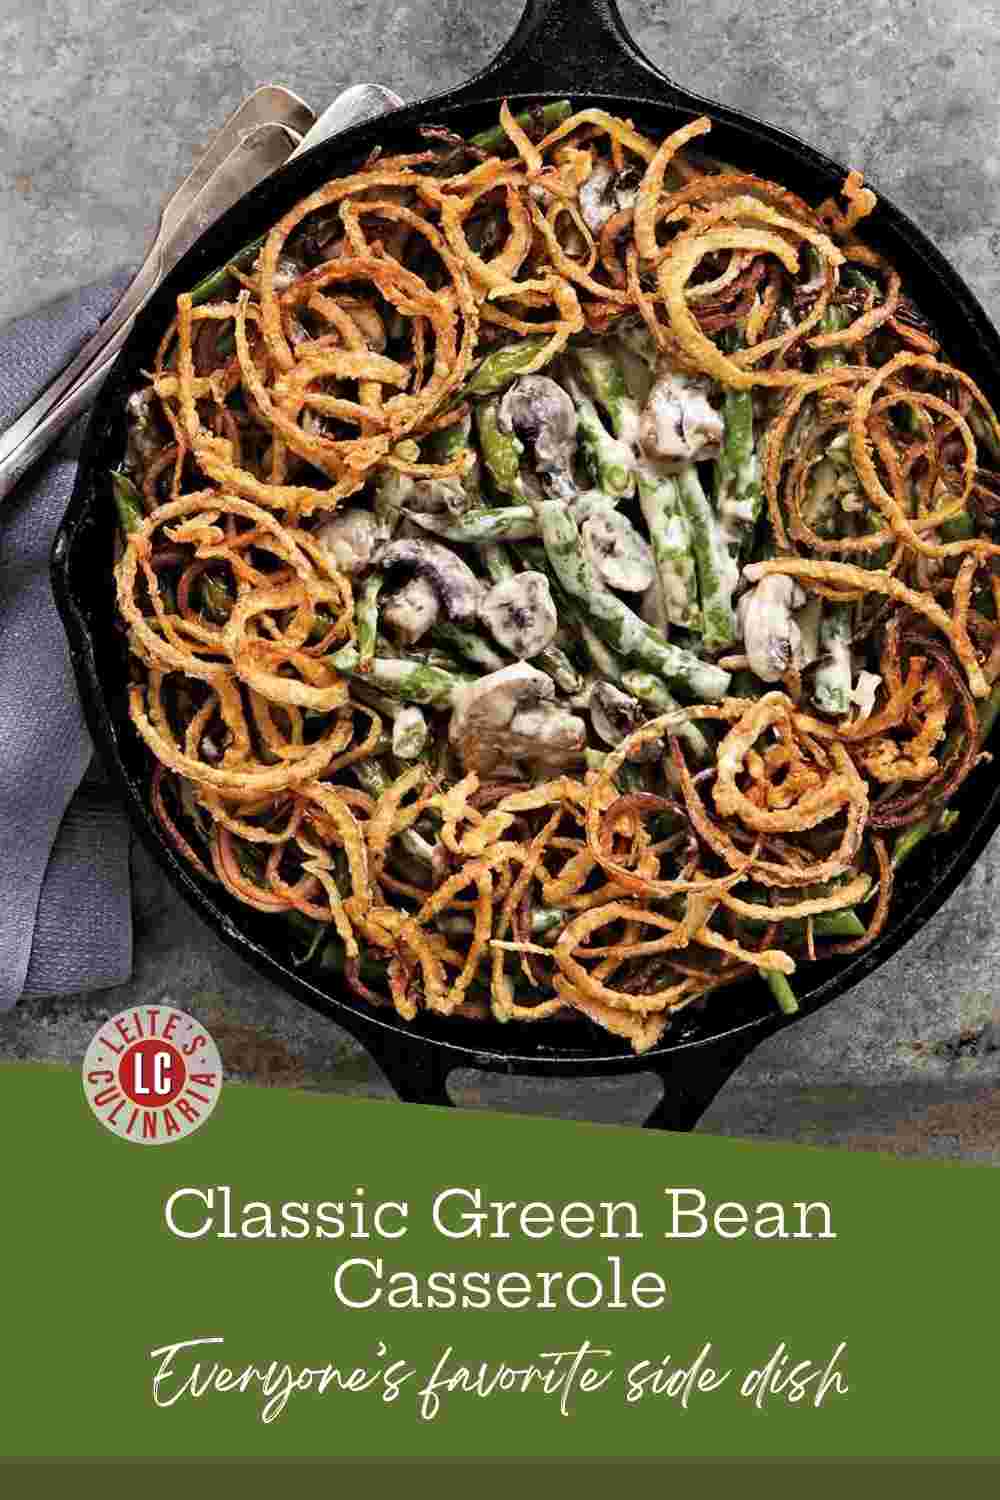
- What it is: THE classic, creamy holiday side dish of tender green beans baked in a homemade mushroom-cream sauce topped with crispy, from-scratch fried onions.
- Why you’ll love it: It’s the essential, comforting side for Thanksgiving, offering nostalgic flavor but made with fresh ingredients.
- How to make it: Blanch the green beans. Make a sauce by cooking mushrooms, adding garlic, flour, chicken stock, cream, and sour cream. Fry the onions. Stir the blanched green beans into the sauce and simmer until tender. Stir in half the onions. Bake until bubbly, then top with the rest of the onions.
Jump To
Unlike a lot of folks, I didn’t grow up on the green bean casserole that came out of the ’50s—Campbell’s cream of mushroom soup, canned green beans, and those fried onions that always tasted faintly of the tin they came in. But The One did. And while I have a soft spot for nostalgia, I also believe in giving good ingredients their due. So I started making it from scratch. The result? A dish that actually tastes like green beans. Imagine that. The One—who’s usually skeptical of any attempt to “improve” a classic—went back for thirds. That told me everything I needed to know.
Chow,


Why Our Testers Loved This
Our testers are happily replacing their old gloppy green bean casseroles with this updated version. They love the rich, slightly spicy flavor of the casserole, and that the green beans have a “nice crunchiness to them” after baking.
Notes on ingredients
- Green beans—For the freshest version of this green bean casserole, use fresh green beans. You can substitute frozen green beans if necessary, but don’t use canned green beans. They’ll end up mushy.
- Unsalted butter—You can use salted butter here if needed, but season carefully so that you don’t end up with an overly salty dish.
- Chicken stock—Low-sodium is best here to avoid an overly salty casserole.
- Heavy cream—This adds richness to the dish. Don’t skip it!
- Sour cream—This helps to keep the mushroom sauce thick and creamy. Stick with full-fat sour cream here.
Step-by-step instructions
- Blanch the green beans. Cook the green beans in boiling salted water for a few minutes, then dump them into an ice bath to cool. Drain in a colander.
- Make the mushroom sauce. Cook the mushrooms in butter, then stir in flour and chicken stock to make a sauce. Let the sauce come to a boil, then add the cream and sour cream, and let it simmer until it thickens.
- Fry the onions. Coat the onions in seasoned flour, then deep fry them until crispy and golden. Drain on paper towels.
- Assemble the casserole. Crank up your oven to 350°F. Add the green beans to the mushrooms in the skillet, and cook until the green beans are tender. Stir in half the onions.
- Bake the casserole. Cook the green bean casserole for 10 minutes, then top with the remaining onions before serving.
Common Questions
We have a simple technique to help determine if your frying oil is at optimum temperature. Drop a 1-inch cube of bread into the hot oil and time how long it takes to turn golden brown. Your oil is in the correct range, between 350° and 365°F, if the bread toasts in 50 to 60 seconds. If your bread is done before that, give the oil some time to cool down.
You can definitely get much of this casserole prepared in advance. Blanch the green beans, make the mushroom sauce, and fry the onions up to 2 days in advance. Store the blanched beans and mushrooms separately in the fridge, and keep the onions in a sealed bag or container at room temperature. When you’re ready to cook, continue with the recipe at step 8.
Classic green bean casserole is a quintessential Thanksgiving side dish, and pairs naturally with all the other beloved Thanksgiving foods, including classic roast turkey, sweet potatoes with marshmallow topping, garlic mashed potatoes, and pan gravy.
Pro tips & troubleshooting
- Take care not to overcook your beans when blanching them or your finished casserole will be mushy.
- If you plan to have leftovers, make an extra batch of fried onions. After reheating the leftovers, you can top them with fresh crispy onion rings. (Plus, you won’t feel guilty if you need to snitch a few to “test” them.)
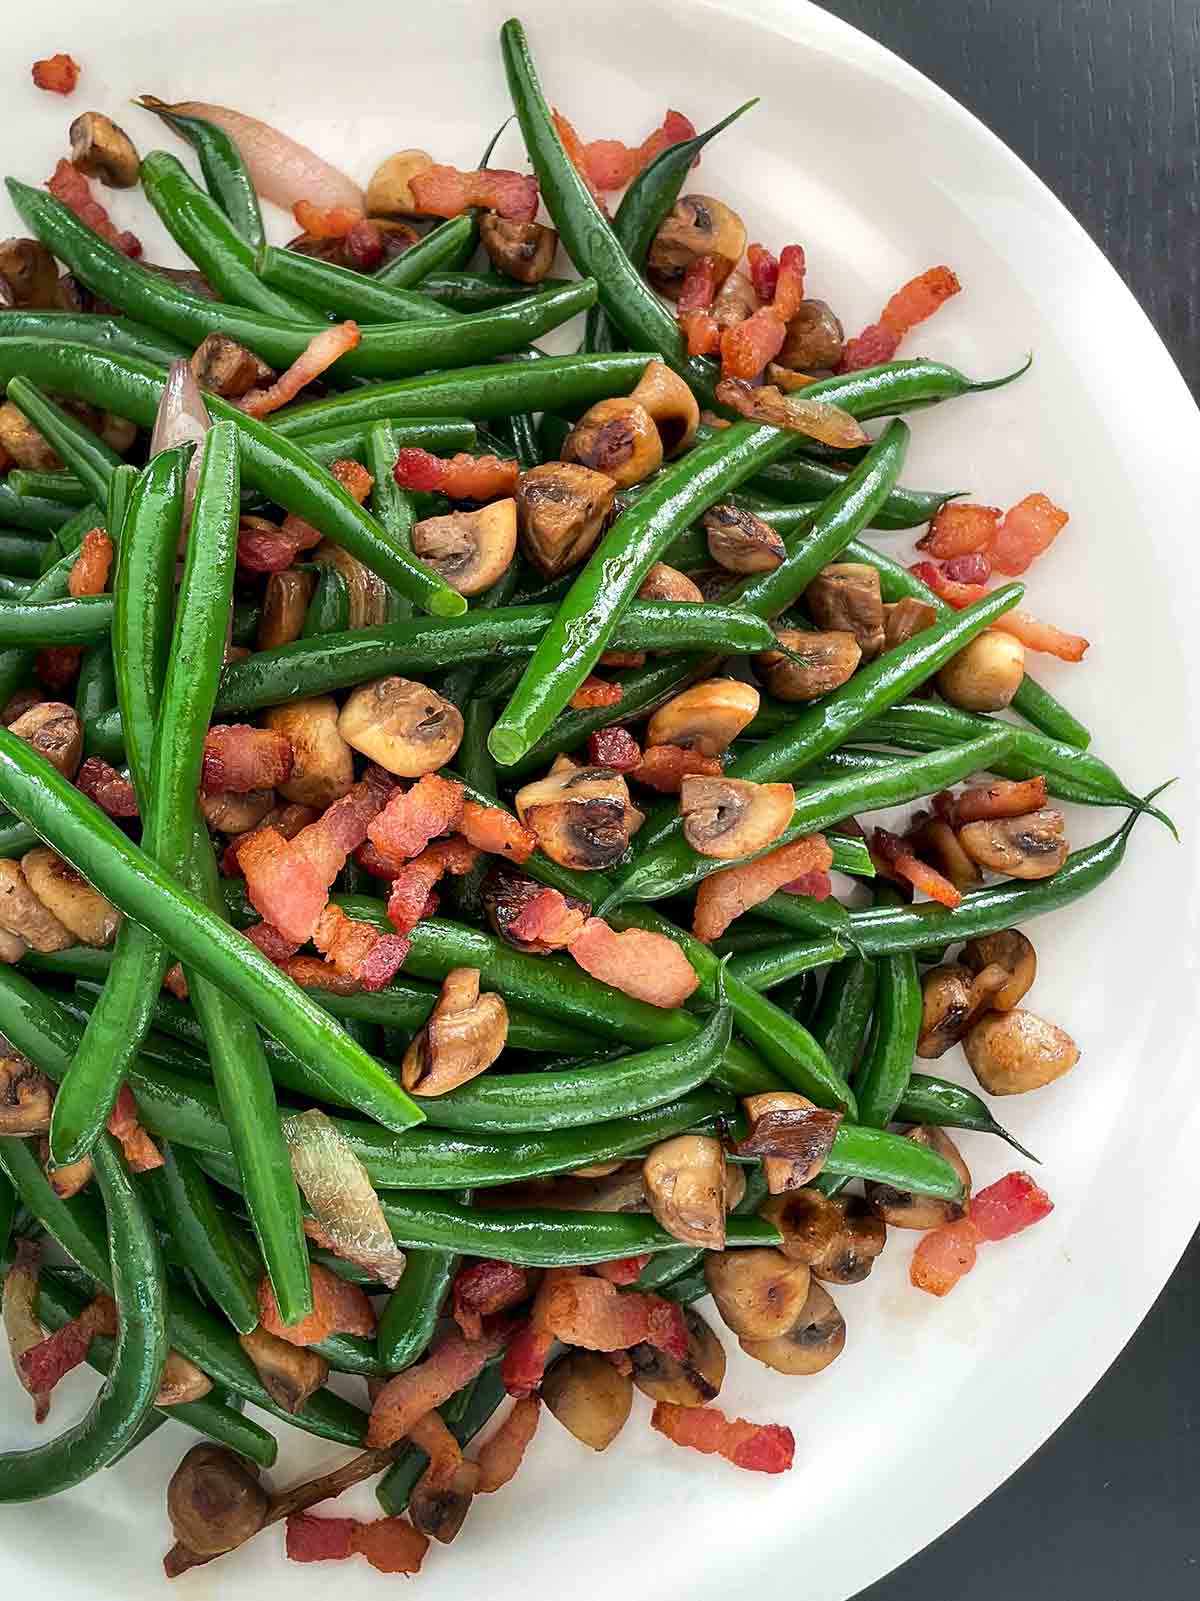
More Great Green Bean Recipes

Write a review
If you make this recipe, or any dish on LC, consider leaving a review, a star rating, and your best photo in the comments below. I love hearing from you.–David
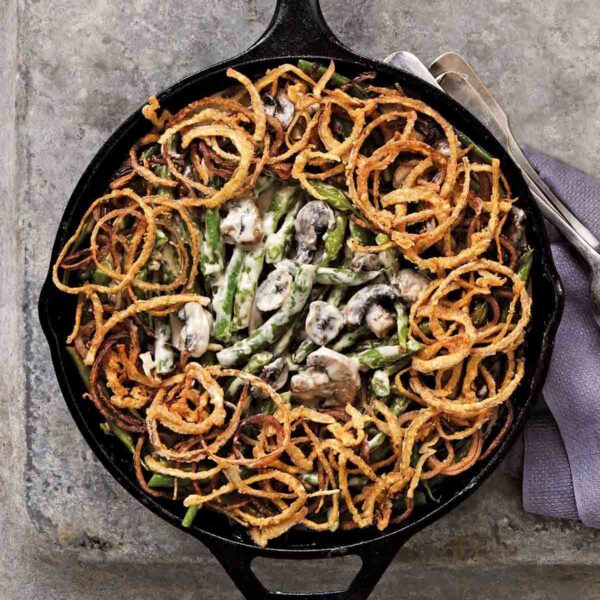
Classic Green Bean Casserole
Equipment
- Deep fry thermometer
Ingredients
- 2 tablespoons kosher salt, plus more to taste
- 1 pound green beans, ends trimmed, beans halved crosswise
- 4 tablespoons unsalted butter
- 1 pound white mushrooms, stemmed and sliced into 1/2-inch (12-mm) slices (about 4 cups)
- 1/2 to 1 teaspoon cayenne pepper, (optional)
- 1 teaspoon Dijon mustard
- 4 garlic cloves, minced
- 1/4 cup plus 2 tablespoons all-purpose flour
- 1 cup homemade chicken stock or low-sodium canned chicken broth
- 1 cup heavy cream
- 1 cup sour cream
- 4 cups canola oil, for frying
- 2 medium red onions, cut into thin rounds
Instructions
- Bring a large pot of water to a boil. Fill a large bowl halfway with ice water. Set a colander in the ice water.
- When the water comes to a boil, add 2 tablespoons salt and the green beans. Cook until the beans yield slightly when pierced with the tip of a knife but are not cooked through, about 4 minutes. Using a strainer or a slotted spoon or tongs, remove the green beans from the hot water and dump them into the colander in the ice water. Swirl the beans around so they cool quickly. Lift the colander out of the ice bath, let the beans drain, and set aside.
- In a 10-inch cast-iron or another ovenproof skillet, melt the butter over medium heat. Add the mushrooms, season with salt, up to 1 teaspoon cayenne, if using, and the mustard. (If kids will be partaking, you may wish to tone down the cayenne.) Stir to blend and cook until the mushrooms give off most of their liquid, 3 to 5 minutes.
- Using a whisk, add the garlic and 2 tablespoons of flour. When the flour has been incorporated, add the chicken broth and bring to a boil. Taste for seasoning and adjust accordingly. Stir in the cream and sour cream and gently simmer over low heat until the mixture thickens, 3 to 5 minutes. You should have about 2 cups. Turn off the heat and set the skillet aside.
- Pour the oil into a frying pan and heat it over medium heat until it registers 350ºF (176ºC) on a deep-fry or candy thermometer. Line a baking sheet with a kitchen towel and set out a slotted spoon.
- In a medium bowl, combine the remaining 1/4 cup flour and cayenne to taste, if using. Toss the onion rounds in the flour mixture and shake off any excess by shaking the rounds in a strainer. Test the oil by dropping in a single onion slice. It should begin to bubble and fry gradually.
- Drop a small batch of onions into the oil and gently swirl them as they fry. When they are light to medium brown, which ought to take 1 to 2 minutes, remove them with the slotted spoon and lay them out on the kitchen towel to cool. Sprinkle with salt. Repeat until all of the onions have been fried.
- Preheat the oven to 350ºF (176ºC).
- To assemble the green bean casserole, stir the green beans into the skillet containing the mushroom mixture. Simmer over low heat just until the green beans become tender when pierced with the tip of a knife, 10 to 15 minutes.
- Stir in half the onions. Slide the skillet into the oven for 10 minutes to give the green bean casserole a baked effect. Top with the remaining onions and serve immediately.
Notes
- Make in advance–Blanch the green beans, prepare the mushroom sauce, and fry the onions up to 2 days in advance. Store each element separately, then assemble before cooking.
- Make extra onions–Make an extra batch of onions if you think you’ll have leftover casserole. After reheating your leftovers, you can top them with fresh crispy fried onions.
- Leftovers–Extra casserole will keep in the fridge in a sealed container for up to 4 days. Reheat in a 350°F oven.
Explore More with AI
Nutrition
Nutrition information is automatically calculated, so should only be used as an approximation.
Recipe Testers’ Reviews
Did you know only 68% of the recipes we test make it onto the site? This recipe survived our rigorous blind testing process by multiple home cooks. It earned the Leite’s Culinaria stamp of approval—and the testers’ reviews below prove it.

This dish was unknown to me until I married my American husband. I’d gotten the classic recipe from his family and made it every year. Though it was good, I always felt it could be better.
Sure enough, this recipe brought it to a totally different level. Even my oldest daughter, who was not a great fan of the classic, loved this—she even had seconds and thirds.
The end result was green beans which still had a nice crunchiness to them and a white sauce with the nice, strong flavor of mushrooms—that you could actually see and taste, too—and a topping of fried onions. Wow.
I actually had to quickly make more fried onions as “little mice” were stealing them as they were fried. This will definitely be a staple at our house from now on.

This is such a rich, zingy take on the classic gloppy green bean casserole. It’s time-consuming, so the fact that it can be prepped ahead of time and assembled and baked right before eating is a big plus.
All I’d suggest is to be careful with the cayenne in the sauce—1 1/2 teaspoons was a lot of heat, and we love spicy. I’m just not sure it’d be suitable for the younger ones that might be gathered around the table, and as this is a classic holiday dish, I assume there would be!

All I can think is, Oh wow! I never knew that a green bean casserole could be this amazing. I’ve always enjoyed the green bean casserole I grew up with—the one using the canned soup and onion rings—but the flavor of this one almost blew us away. It’s a little more work, but so worth it in the end.
I’d suggest using a deep skillet though, since this makes quite a bit. I made mine in my cast-iron chicken fryer, which is much deeper than a standard cast-iron skillet, and it worked perfectly.


Absolutely love this recipe! It took a fair amount of time but it was worth it! Great flavors. Like the little kick from the cayenne pepper. Thought it would take a lot of time to fry the onions but it didn’t! So worth the effort! Thank you!
Betsy, I’m delighted you enjoyed this. It is a bit time-consuming, but as you say, it’s soooo worth it! Happy early Thanksgiving!
David, I don’t use sour cream or cream cheese, it there an alternative?
Thank you!
Christine, you could try it with whole milk yogurt, Greek yogurt, or creme fraiche, although the flavor would be a little different.
Thank you, Angie, but, unfortunately, I am not the person who goes near yogurt or Creme fresh. I know, but after 70 years of not consuming most dairy, I am OK. Perfect bones. Any other alternatives?
I understand, Christine. We haven’t tested this with a non-dairy substitute, but a non-dairy yogurt, like coconut, might work. Alternatively, you could replace the dairy with additional stock. It wouldn’t have the same creaminess as the traditional casserole, but it’s an option. Many stores now carry mushroom broth, which could help to intensify the mushroom flavor.
Perfect, I will try it! Thank you!
Great, Christine. Please let me know how it turns out.
How would one adapt this recipe to make it about 24 hours in advance of serving?
Maureen, I would finish until step 3 and put everything in the fridge. Then the day of, I’d assemble, slide it into the oven, and make the onion rings.