Oh, kids, every once in a while, a recipe stops me in my tracks. One that beguiles me and makes me thankful for what I do for a living. Makes me glad I gave up being an advertising copywriter and past-life regressionist (yes, 100% true) and picked up a whisk.
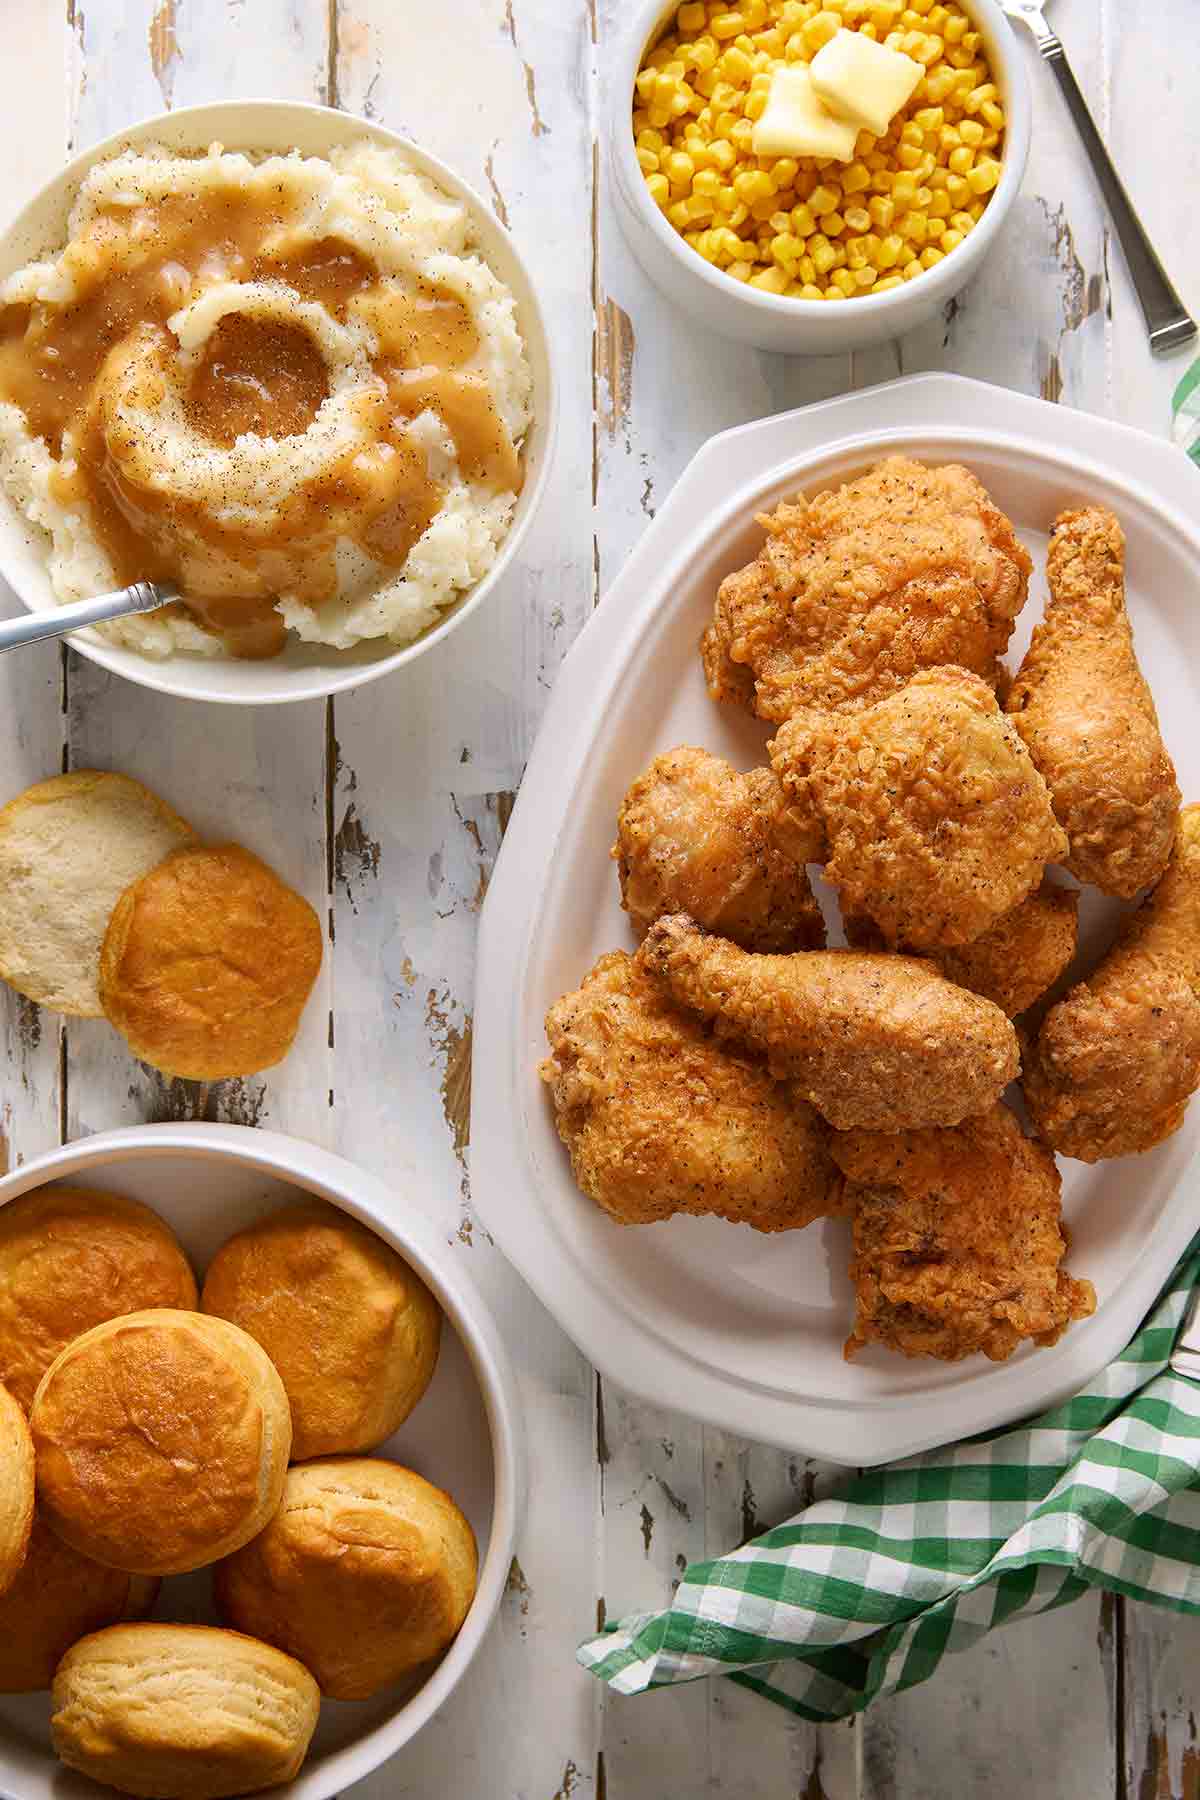
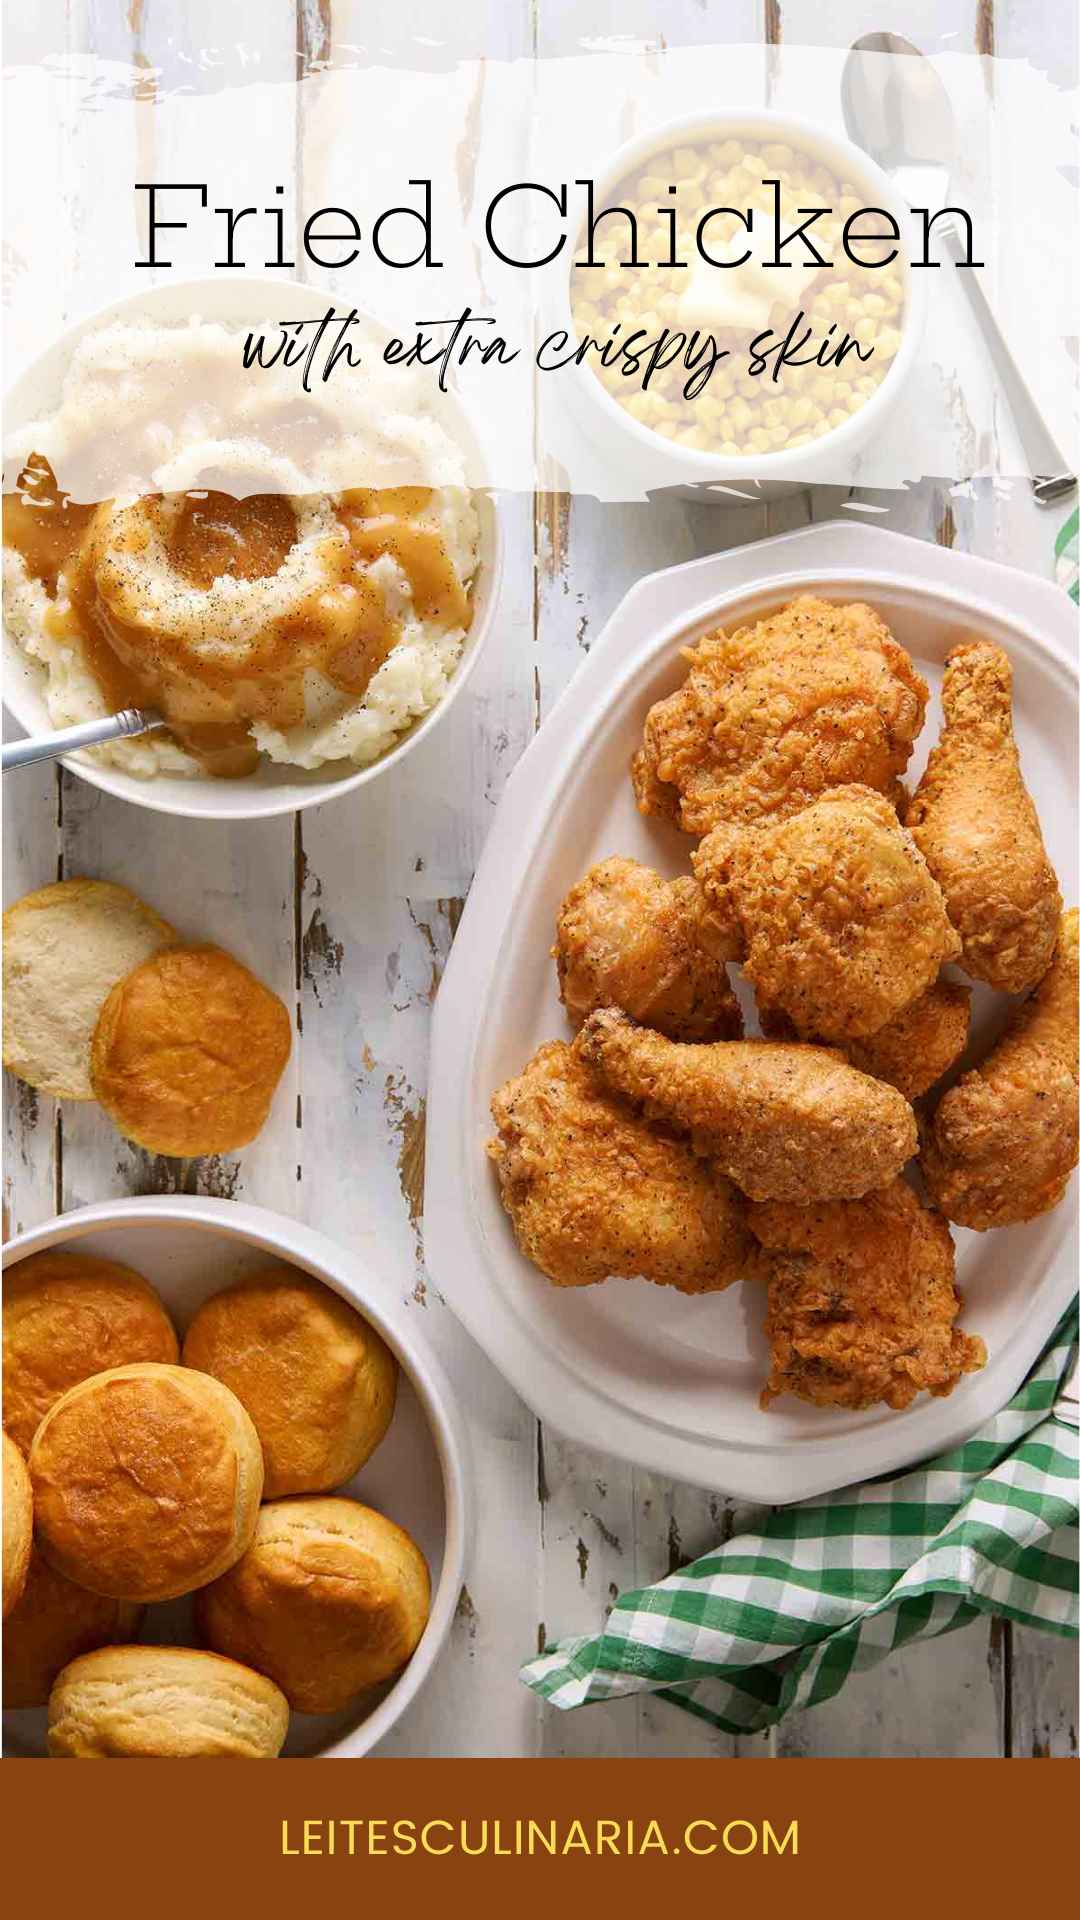
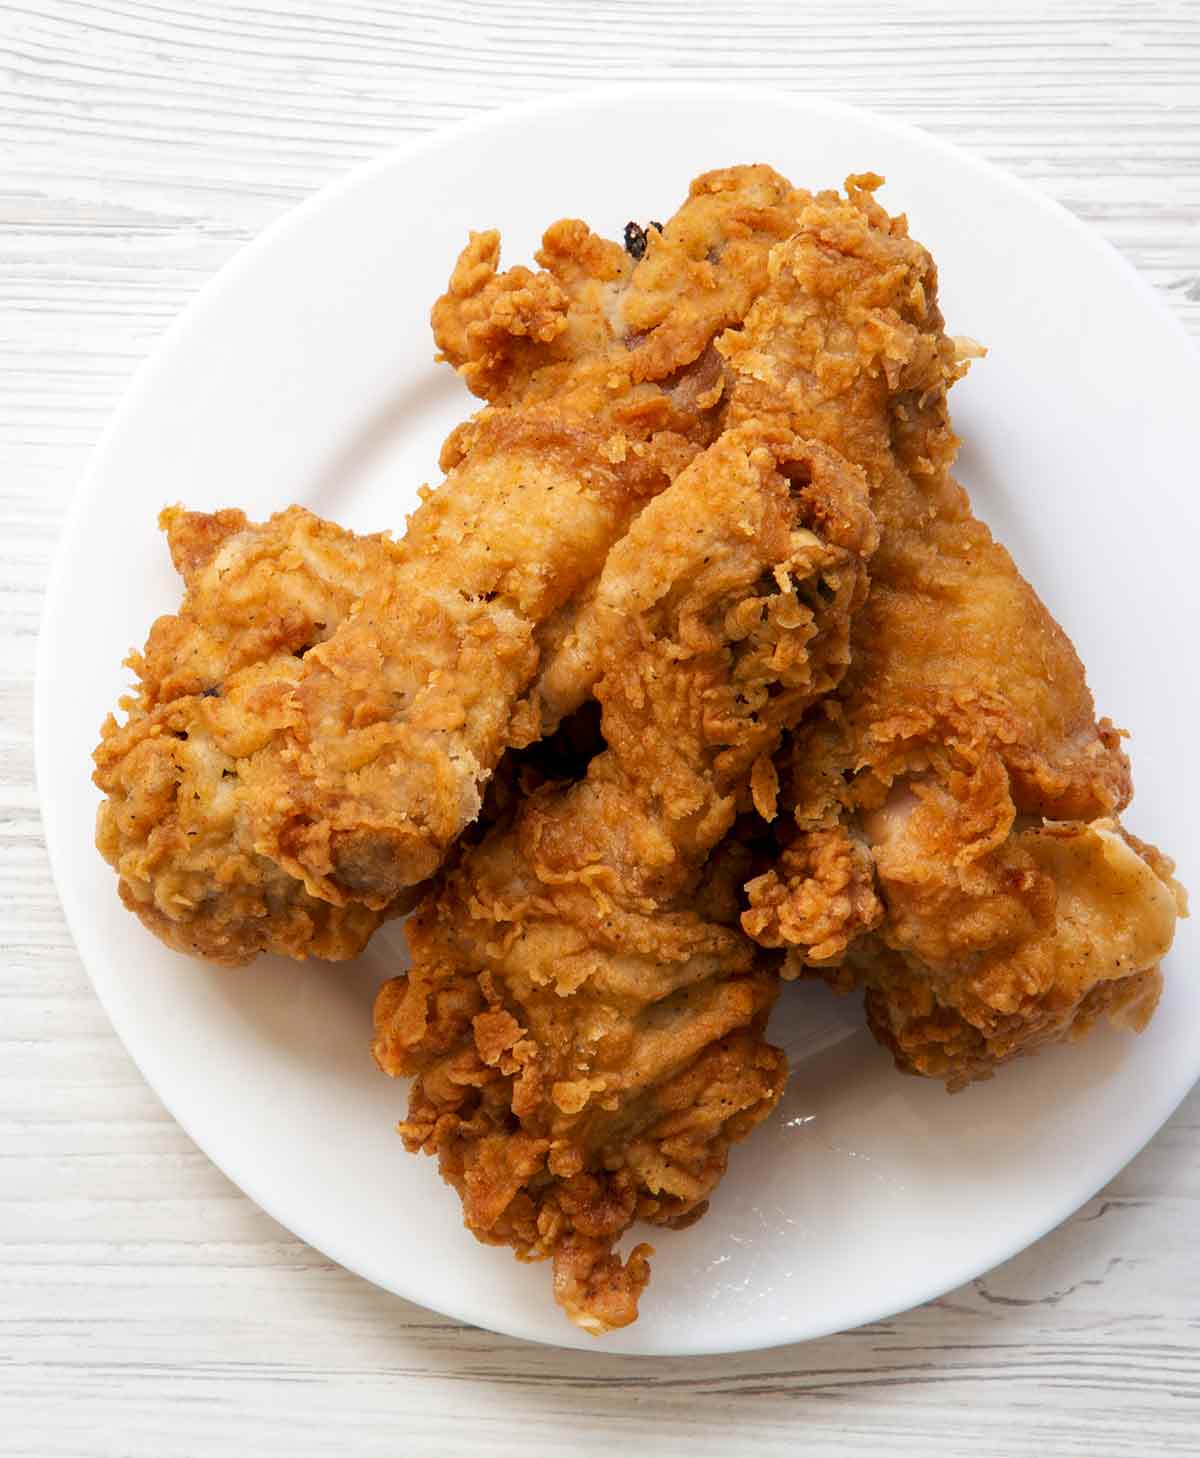
This batter-fried chicken is that recipe. Crispy skin, just the right kick of heat, and juicy tender chicken. Fried is The One’s favorite way of eating chicken, as evidenced by his obsession with Kentucky Fried Chicken. He thought it was right up with the Colonel’s best—minus the 11 herbs and spices. Well, minus eight herbs and spices since this recipe calls for black pepper, paprika, and salt.
The big test was the next day when he ate it straight from the fridge. “Dee-licious!” he declared. And with that, another dish went into rotation. (Sorry, Colonel.)

Jump To

Why Our Testers Loved This
My testers describe this crispy chicken as “an out-of-the-park home run” and will return to the recipe again and again, thanks to its “perfect combination of crisp, crunchy skin with a hint of spice and moist, tender, juicy meat.” Yes, it’s that good.
Notes on Ingredients
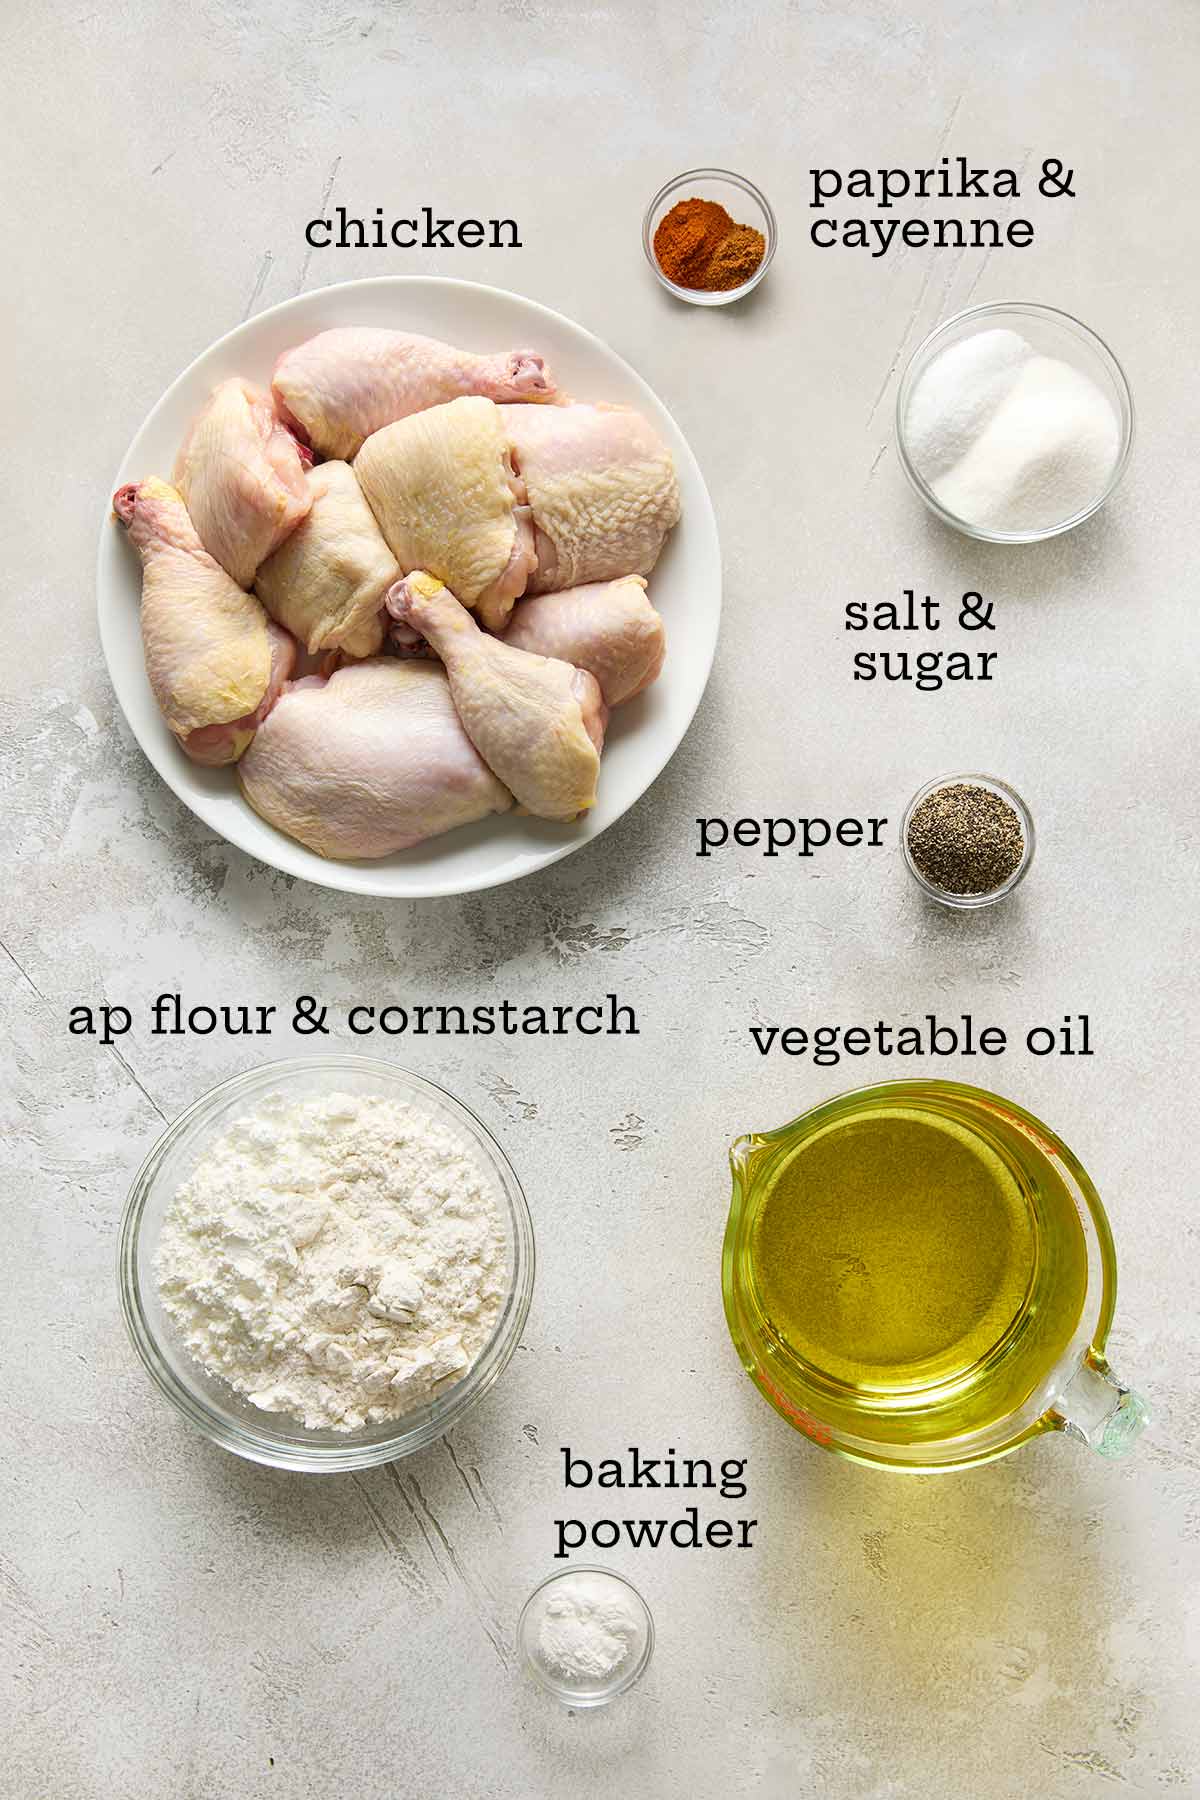
- Kosher salt–The crystal size of kosher salt varies significantly from brand to brand, so I really gotta insist you weigh the salt–36 grams–when making the brine.
- Chicken–Use any combination of chicken pieces. If you’re using breast pieces, cut them in half crosswise so that they cook evenly, and separate chicken legs into thighs and drumsticks.
- Flour–This recipe calls for a flour and cornstarch mixture to create an extra-crispy coating. If you need to keep the recipe gluten-free, use all-purpose gluten-free flour.
- Freshly ground black pepper—Use 3 to 5 tablespoons, depending on your heat tolerance…but know that the full amount packs a big wallop!
How to Make This Recipe
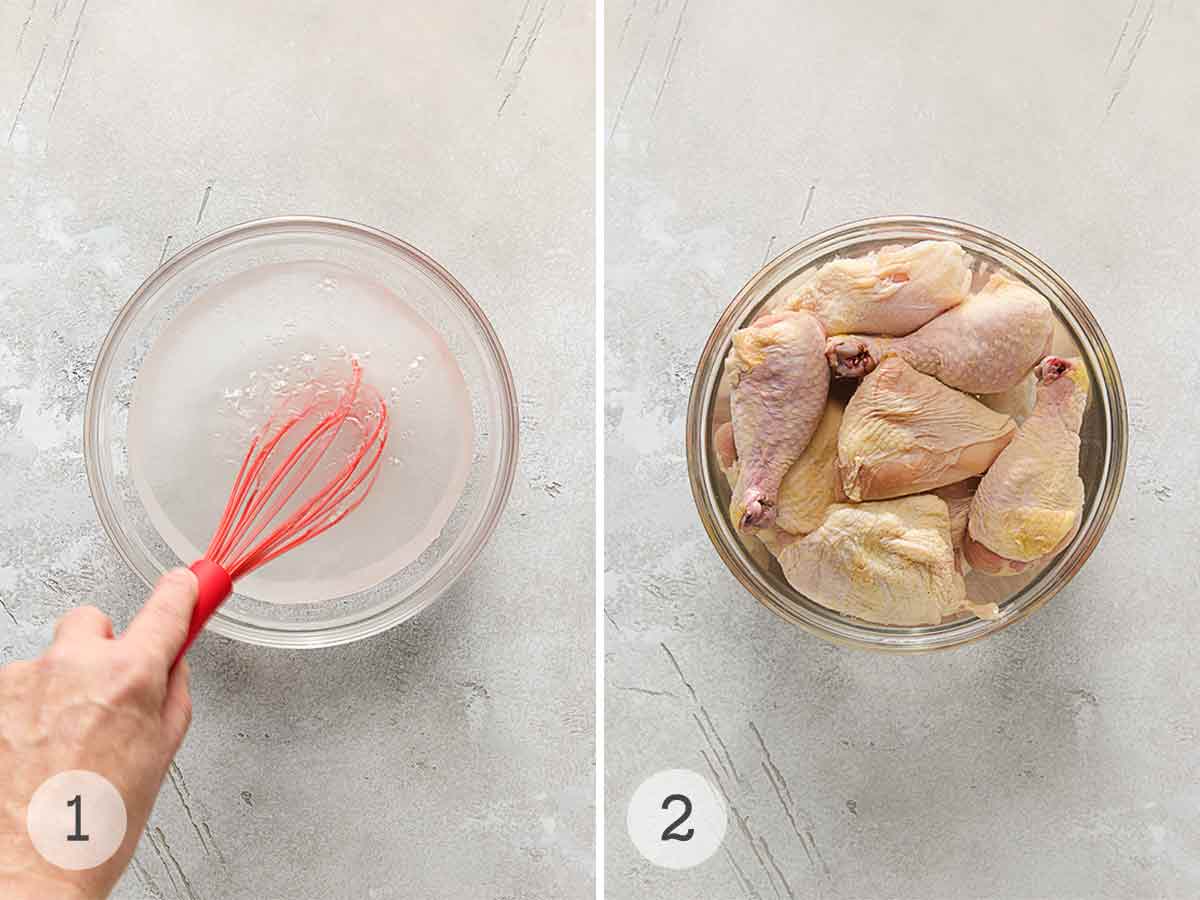
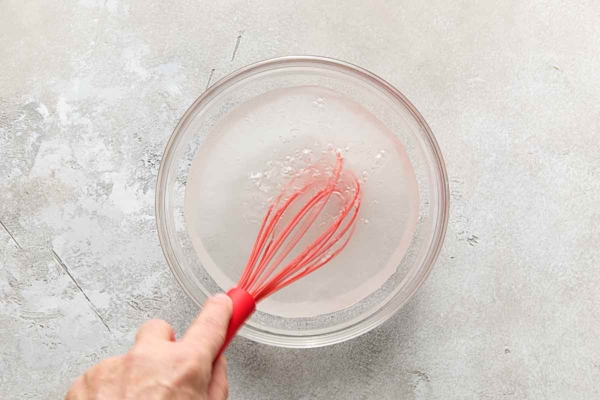
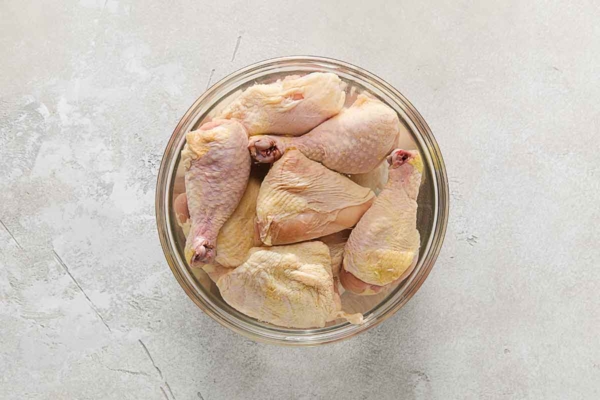
- Whisk the water, salt, and sugar in a large bowl until dissolved.
- Add the chicken, cover, and chill for 60 minutes.
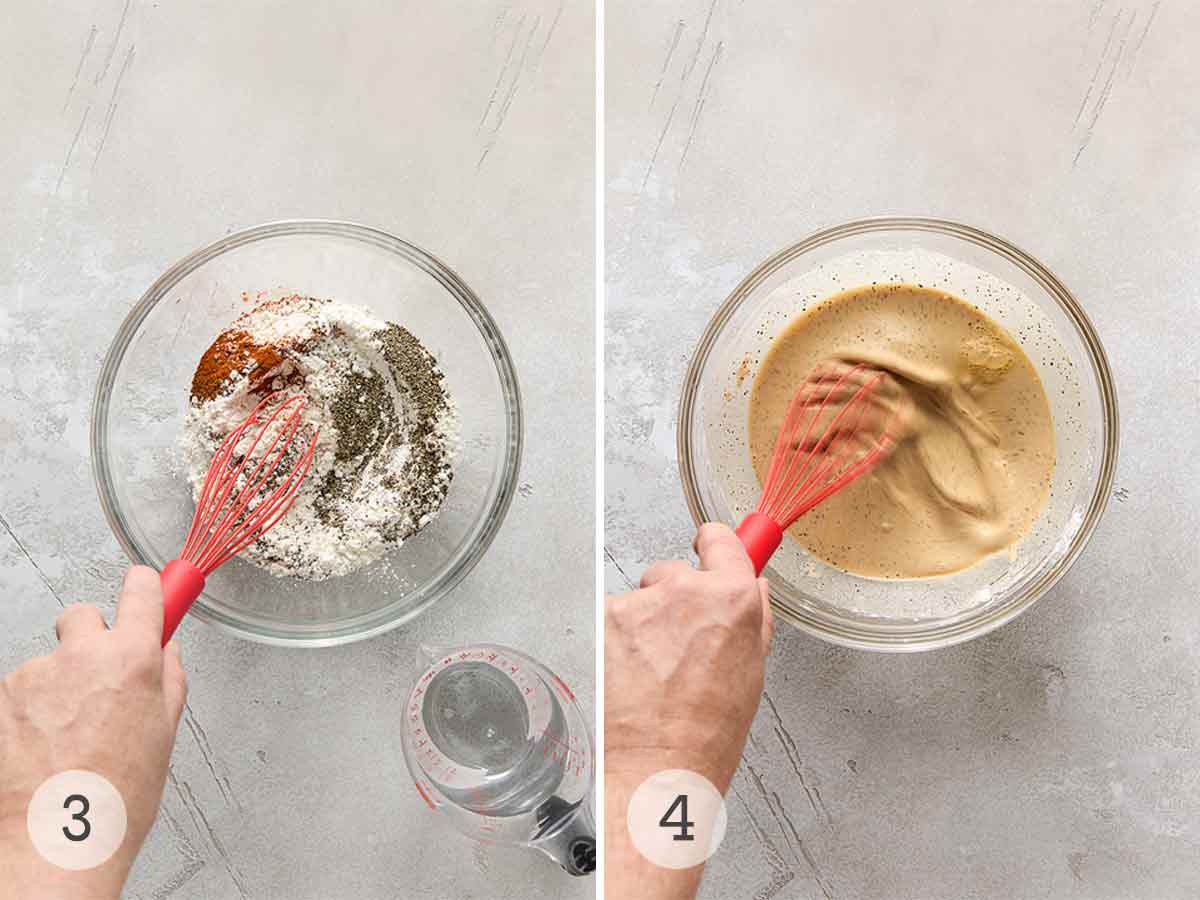
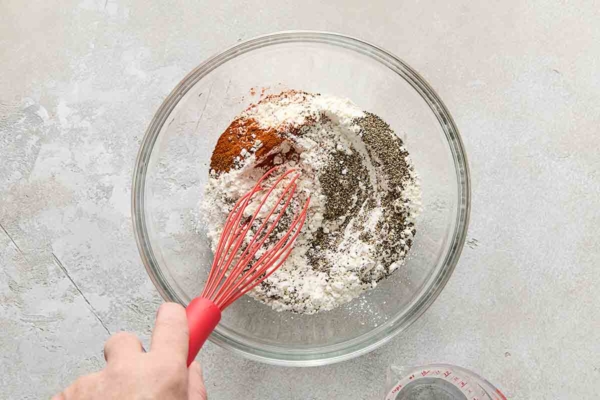
- Whisk the batter’s dry ingredients in a separate large bowl.
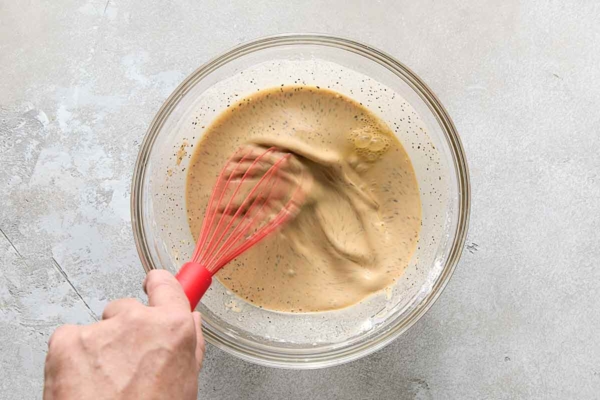
- Pour in the water and whisk until combined. Refrigerate until the chicken’s ready to cook.
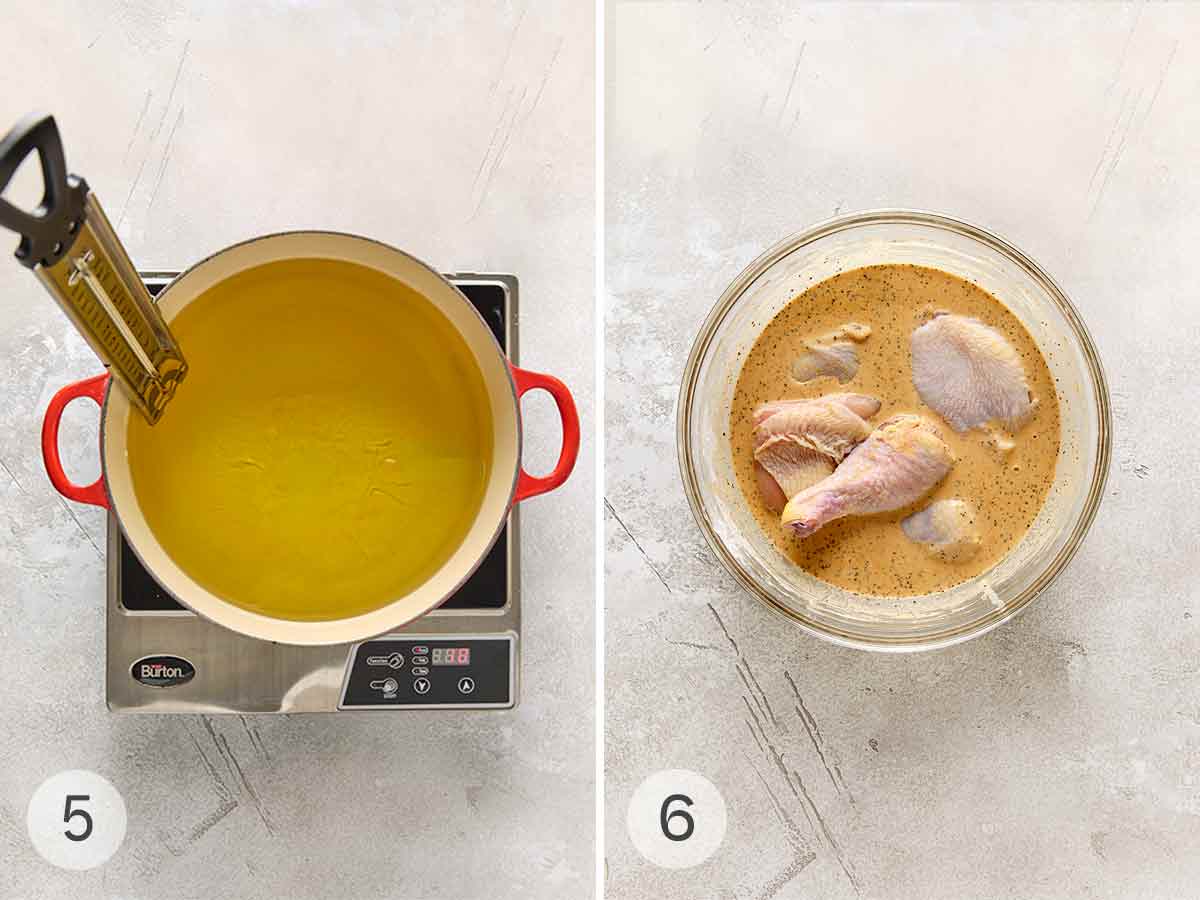
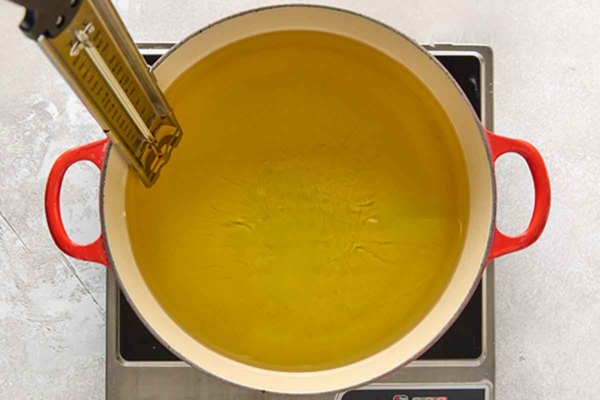
- Heat the oil in a large pot. Drain and pat the chicken pieces dry with paper towels.
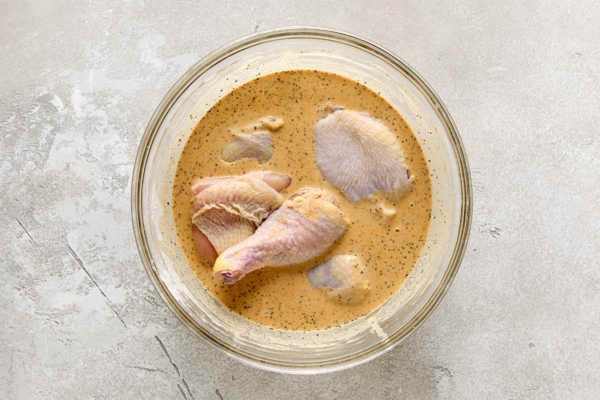
- Place half the chicken pieces in the batter and turn to coat. Remove them from the batter, letting the excess drip off.
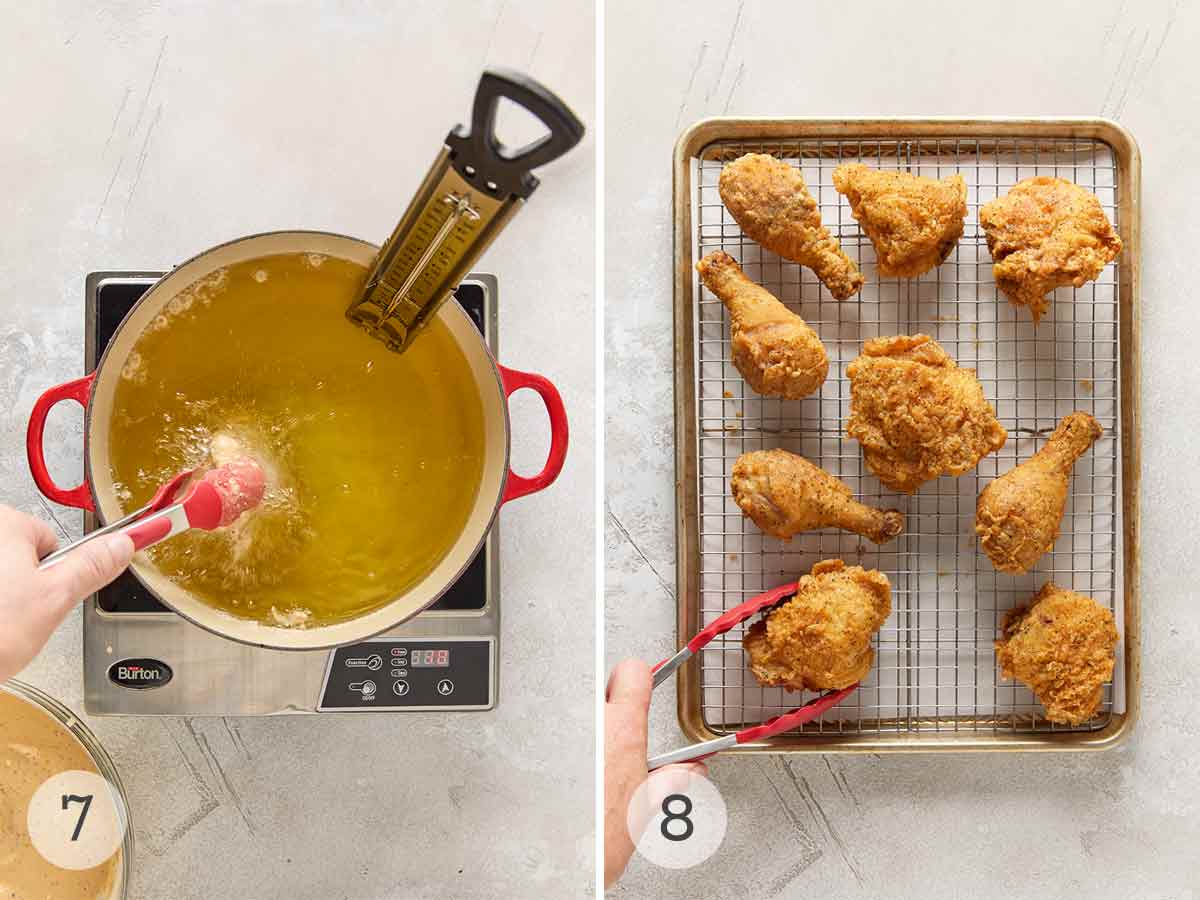
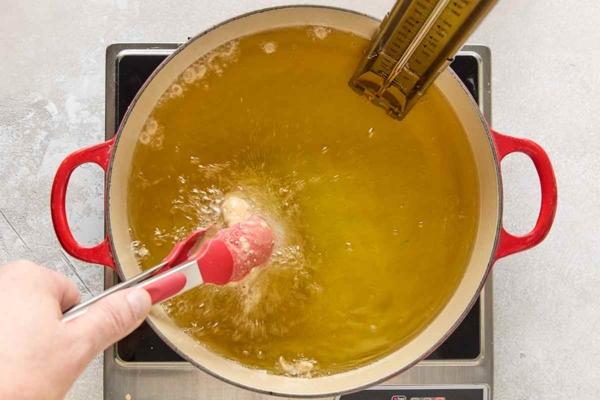
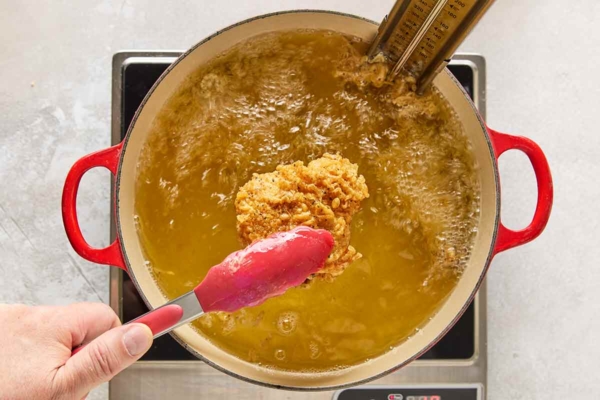
- Slip the chicken into the hot oil and fry until crispy and golden.
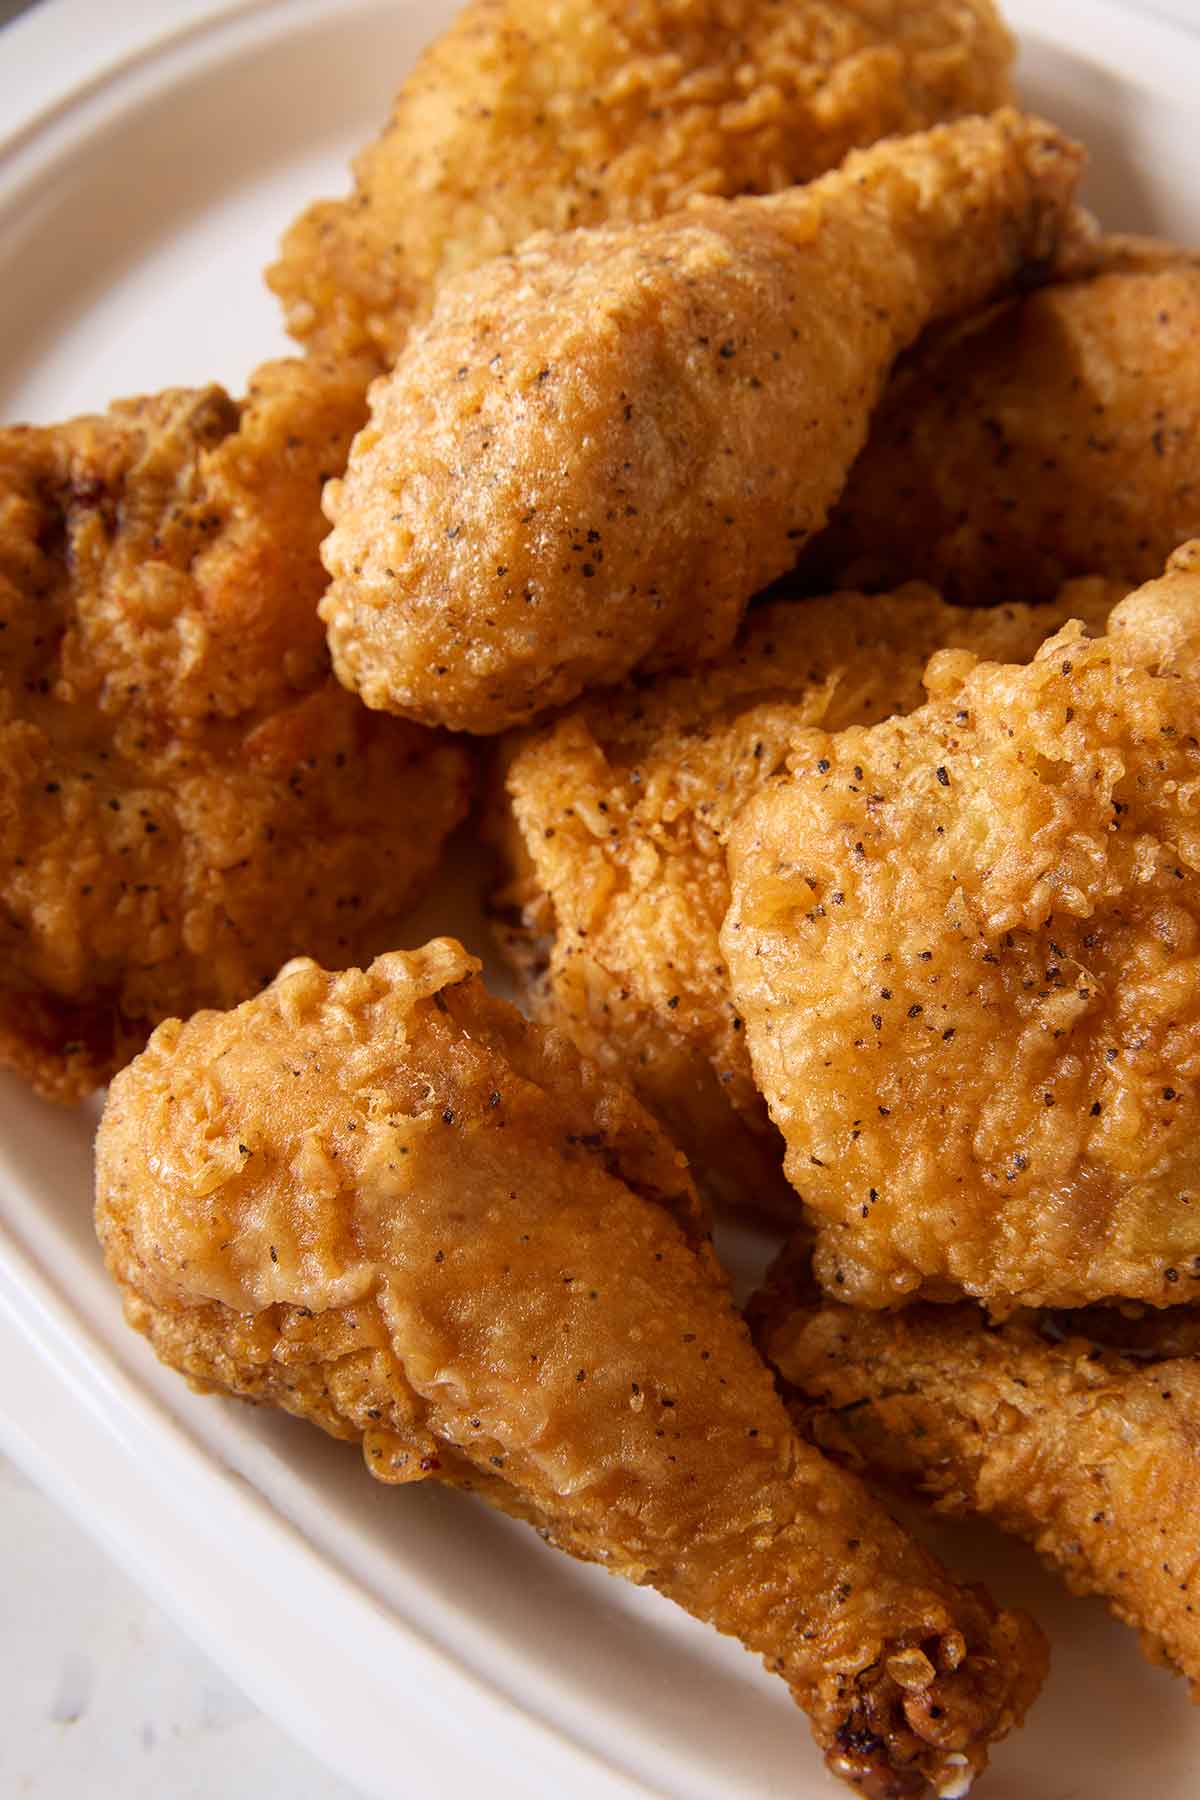
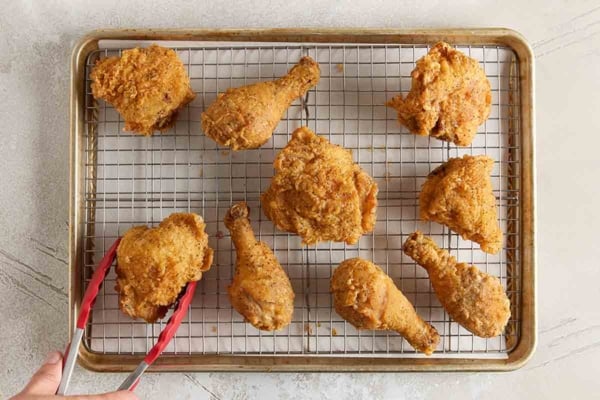
- Transfer the cooked chicken to a wire rack set on a baking sheet and repeat with the remaining chicken.
Common Questions
The batter contains equal parts cornstarch and flour to ensure a shatteringly crisp crust. The recipe also calls for baking powder to create an airy crust without a trace of doughiness. The batter relies on black pepper, paprika, and cayenne for a “simple but unambiguous flavor” (just be forewarned, the amount of black pepper is intentionally heavy-handed).
The batter contains no dairy. Cook’s Country replaced the milk in the batter with water. The logic behind this? “When wet batter hits hot oil, the moisture in the batter vaporizes, leaving behind the solids that adhere to the chicken. With milk, the sugars in the milk solids browned too fast and produced a soft crust.”
Perhaps most critical to frying perfect chicken, the batter-dunked chicken is then deep-fried in several inches of oil to ensure the carefully blended batter doesn’t scorch on the bottom, as is often the case when shallow-frying in a skillet.
You want a neutral-flavored oil that has a high smoking point. Cook’s Country calls for peanut or vegetable oil. (My choice? Peanut oil.) Canola and sunflower oil will work, too. Oils with a low smoke point, such as unrefined avocado oil and extra-virgin olive oil, will burn as the fat breaks down, giving your chicken an acrid taste.
Nah, I wouldn’t recommend it. Shallowing frying in a skillet can cause the bottom of the batter to burn. By deep-frying the chicken, you get an even golden-brown color and no burnt taste.
If your chicken isn’t completely dry before coating it in the batter, the excess moisture can cause the batter to fall off during cooking. Take the time to thoroughly pat each piece of chicken dry before dipping it in the batter.
What to Serve with This Recipe
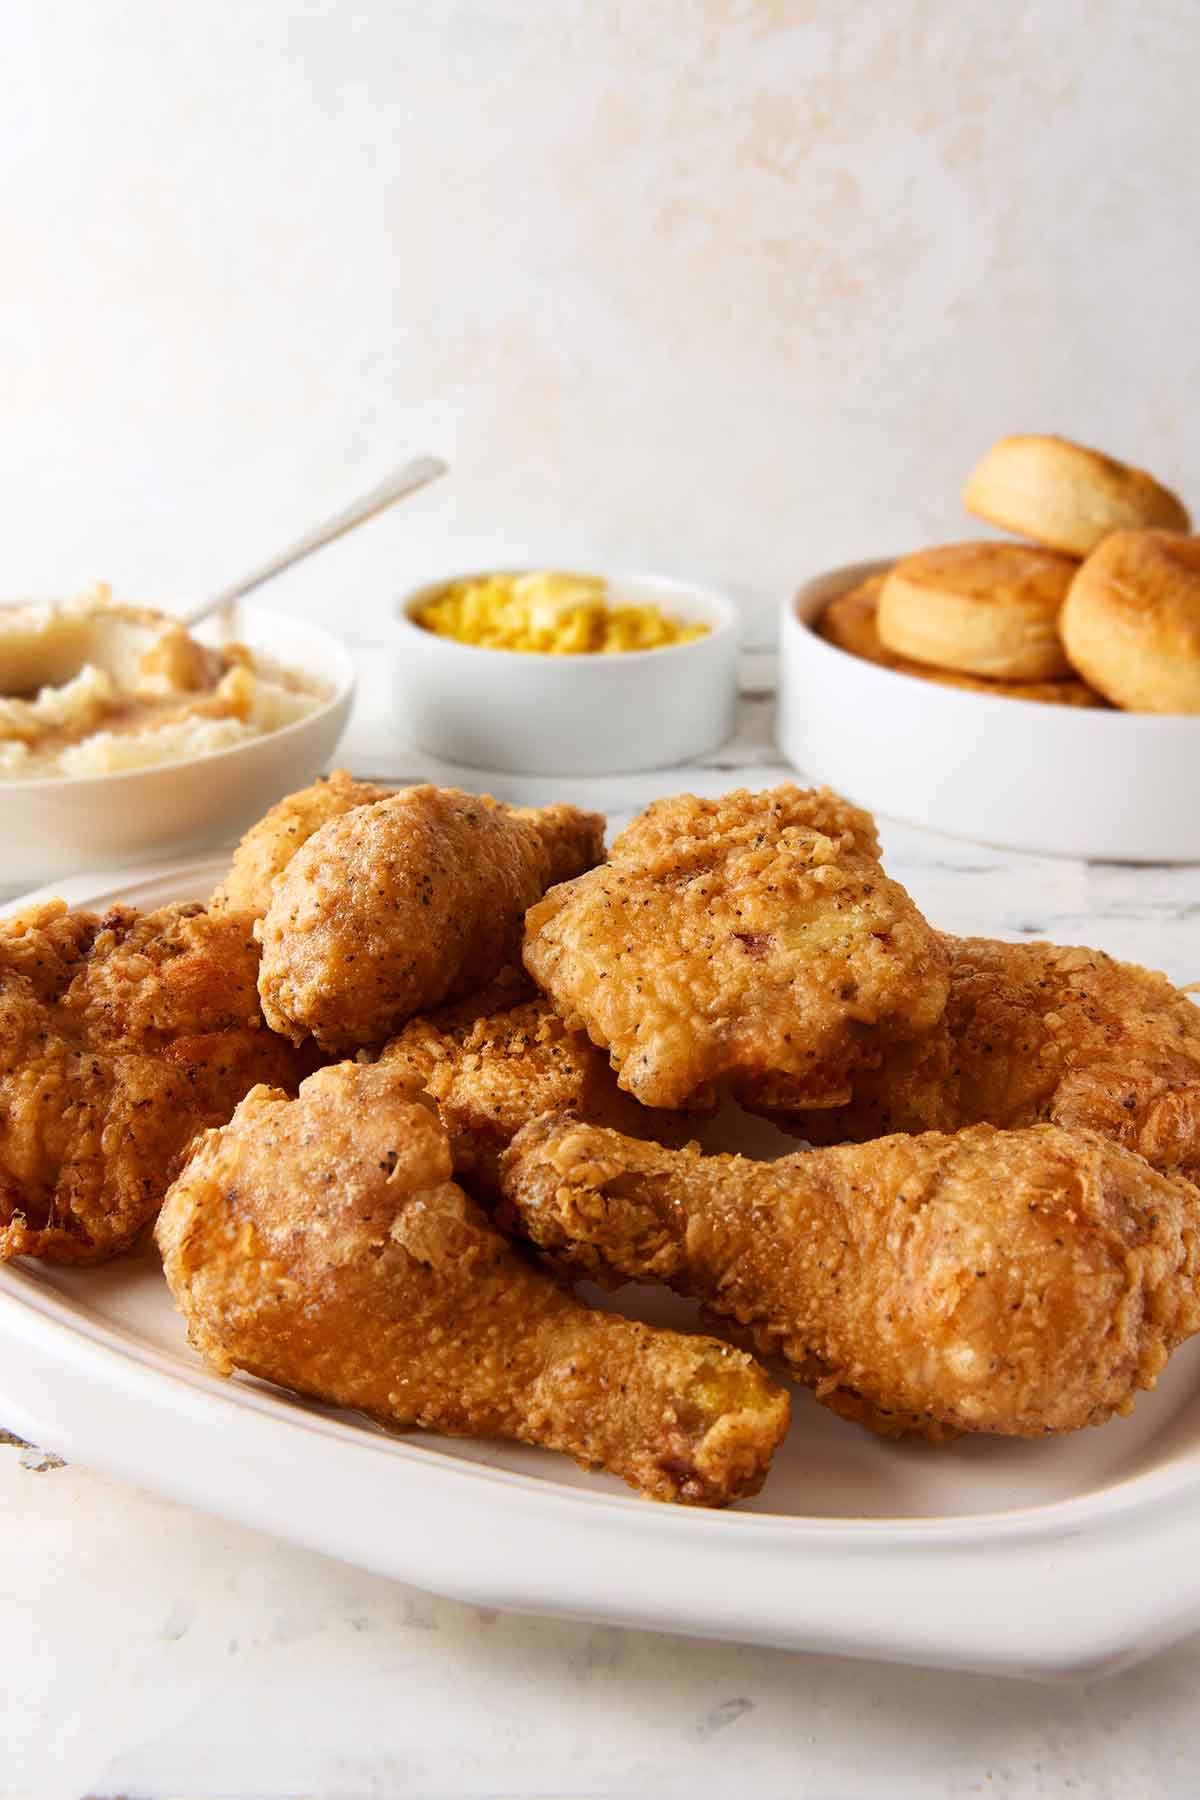
Crispy fried chicken calls for classic side dishes, like baked macaroni and cheese, creamy coleslaw, buttered corn, and Southern buttermilk biscuits.
Pro Tips
- If your fried chicken batter is too thick after resting in the fridge, whisk in water, a tablespoon at a time, until it has the consistency of pancake batter.
- Don’t crowd the chicken in the pot, as this can cause it to stick together in a clump. You may need to cook it in more than two batches.
- Let the oil return to 350°F between batches. If you fry chicken in cool oil, you’ll end up with a soggy coating.
- This recipe is suitable for dairy-free diets. To make it gluten-free, use gluten-free all-purpose flour for the batter.
- Are you gluten-free and experiencing a little FOMO? I’ve got you covered. Check out this excellent gluten-free fried chicken recipe.
Storage and Reheating
Leftovers can be stored in an airtight container in the fridge for up to 4 days. To reheat, place them on a wire rack on a baking sheet and warm in a 400°F oven until heated through.
Don’t save leftover batter that has come into contact with the raw chicken. Toss it.
Write a Review
If you make this recipe, or any dish on LC, consider leaving a review, a star rating, and your best photo in the comments below. I love hearing from you.–David
DELICIOUS! Just made this easy fried chicken with some Cheddar cornbread, mashed potatoes, and salad for my picky-eating fiancé and myself What a treat of a meal! I will definitely be adding this recipe to my collection.
Ellyse
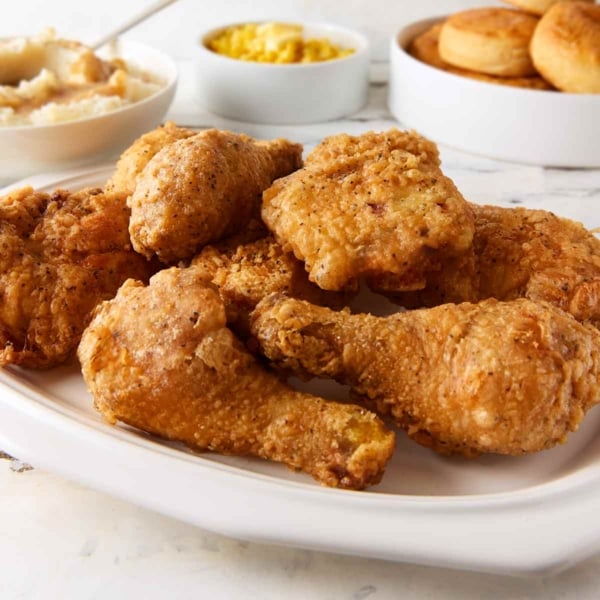
Batter-Fried Chicken
Equipment
- Deep-fry or candy or instant-read thermometer
Ingredients
For the fried chicken brine
- 1 quart (4 cups) cold water
- 1/4 cup kosher salt
- 1/4 cup granulated sugar
- 4 pounds bone-in, skin-on chicken pieces, (halve each chicken breast crosswise and separate leg quarters into thighs and drumsticks)
For the fried chicken batter
- 1 cup all-purpose flour
- 1 cup cornstarch
- 2 to 5 teaspoons freshly ground black pepper
- 1 teaspoon paprika
- 1/2 teaspoon cayenne pepper
- 2 teaspoons baking powder
- 1 teaspoon kosher salt, plus more to taste
- 1 3/4 cups cold water
- 3 quarts (12 cups) vegetable oil, or peanut oil, for frying
Instructions
Make the chicken brine
- In a large bowl, whisk the 1 quart (4 cups) cold water, 1/4 cup kosher salt, and 1/4 cup granulated sugar until the sugar and salt dissolve.
- Add the 4 pounds bone-in, skin-on chicken pieces, cover, and refrigerate for 60 minutes.
Make the fried chicken batter
- While the chicken is brining, whisk together the 1 cup all-purpose flour, 1 cup cornstarch, 2 to 5 teaspoons freshly ground black pepper, 1 teaspoon paprika, 1/2 teaspoon cayenne pepper, 2 teaspoons baking powder, and 1 teaspoon kosher salt in a large bowl.
- Pour in the 1 3/4 cups cold water and whisk until smooth. Cover and refrigerate the batter while the chicken is brining.
Fry the chicken
- Heat the 3 quarts (12 cups) vegetable oil in a large Dutch oven or other deep-sided pot over medium-high heat until it reaches 350°F (176°C). Place a wire rack on a rimmed baking sheet.
- Discard the brine and pat the chicken pieces completely dry with paper towels.
- Whisk the batter to recombine. (If the batter seems too thick, add some cold water, no more than 1 tablespoon at a time, until the batter becomes the consistency of pancake batter.)
- Place half the chicken pieces in the batter and turn to coat. Remove the chicken from the batter, allowing the excess to drip back into the bowl, and carefully slip it into the oil.
- Fry the chicken and keep your attention on the oil temperature, adjusting the heat as needed to keep the oil between 300°F and 325°F (149°C and 163°C).
- Cook the chicken until deep golden brown and the white meat registers 160°F (71°C) or 175°F (79°C) for dark meat, 12 to 25 minutes, depending on the size of the chicken pieces and the temperature of your oil.
Drain the chicken
- Place the fried chicken on the wire rack to drain. Bring the oil back to 350°F (176°C) and repeat with the remaining pieced.
- Serve the fried chicken hot, warm, at room temperature, even cold if there are any leftovers.
Notes
- To thin the batter–If your fried chicken batter is too thick after resting in the fridge, whisk in water, a tablespoon at a time, until it has the consistency of pancake batter.
- Don’t crowd the chicken–Don’t crowd the chicken in the pot, as this can cause it to stick together in a clump. You may need to cook it in more than two batches.
- Use hot oil–Let the oil return to 350°F between batches. If you fry chicken in cool oil, you’ll end up with a soggy coating.
- Dietary–This recipe is suitable for dairy-free diets. To make it gluten-free, use gluten-free all-purpose flour for the batter.

Nutrition
Nutrition information is automatically calculated, so should only be used as an approximation.
Recipe Testers’ Reviews
This battered fried chicken is an out-of-the-park home run. This is what fried chicken should taste like. The perfect combination of crisp, crunchy skin with a hint of spice, and moist, tender, juicy meat. It’s good hot out of the fryer (my personal preference), room temperature, or cold for a picnic.
The spices are easily customizable to taste. Some like it hotter and spicier, so you can add some more cayenne. Some secrets to success are first—bring it up to temperature. Resist the temptation to just plop a batter soaked piece of chicken in the oil if it’s not up to the proper temperature.
Next—be sure to hold the batter coated pieces of chicken up over the bowl of batter until the excess batter stops dripping before you add it to the oil.
Last, but not least—it’s absolutely critical that you not fry too many pieces all at once. The temperature will dip too low and you won’t get that toastiness and that sought after crispy crunchiness that fried chicken is famous for.
I jumped to test this batter-fried chicken recipe because I am a big fan of fried chicken and I’m missing my mother’s, since I haven’t been able to visit her recently. I typically don’t fry chicken at home, and stick to breaded oven fried chicken thighs, but the steps of the recipe seemed clear.
The results were terrific! The salt level was perfect, and the crunch factor was so enjoyable. When I heard the crackle of my son trying a piece, I knew the chicken would be delicious. All of the chicken was perfectly browned. I sent my Mom a picture, and she approved as well.
Putting together the brine was easy. The chicken brined for 60 minutes in the refrigerator. I ended up using legs and thighs. I used volume measurements to make the batter. It was pretty loose, much thinner than pancake batter, maybe closer to a thick salad dressing. My batter was in the fridge for an hour, and there was very little change in the texture after sitting. I’d still describe it as a thin batter and didn’t need to add any water.
The note to check the heat of the oil was super helpful. I fried my chicken in three batches because I probably had between 4 to 5 pounds of chicken. For the first two batches of drumsticks, the heat held steady between 300-325°F easily with a bit of tinkering. Overall, the timing was accurate. For the drumsticks, the cooking time was 14 minutes. The thighs took a bit longer, and I removed them at 17 minutes
This is a great fried chicken recipe with straightforward steps. The results are perfect for picnic season. I can’t wait to eat the leftover chicken cold; that is my guilty pleasure for some odd reason.
I love fried chicken as a midnight snack, pulling it from the icebox and eating it cold. Although this batter-fried chicken was alright straight from the fridge for a late-night snack, where it really shines is straight out of the fryer.
The batter comes out super crunchy and crisp, the interior is juicy and moist, and there’s just the right amount of seasoning to give it a nice, memorable kick.
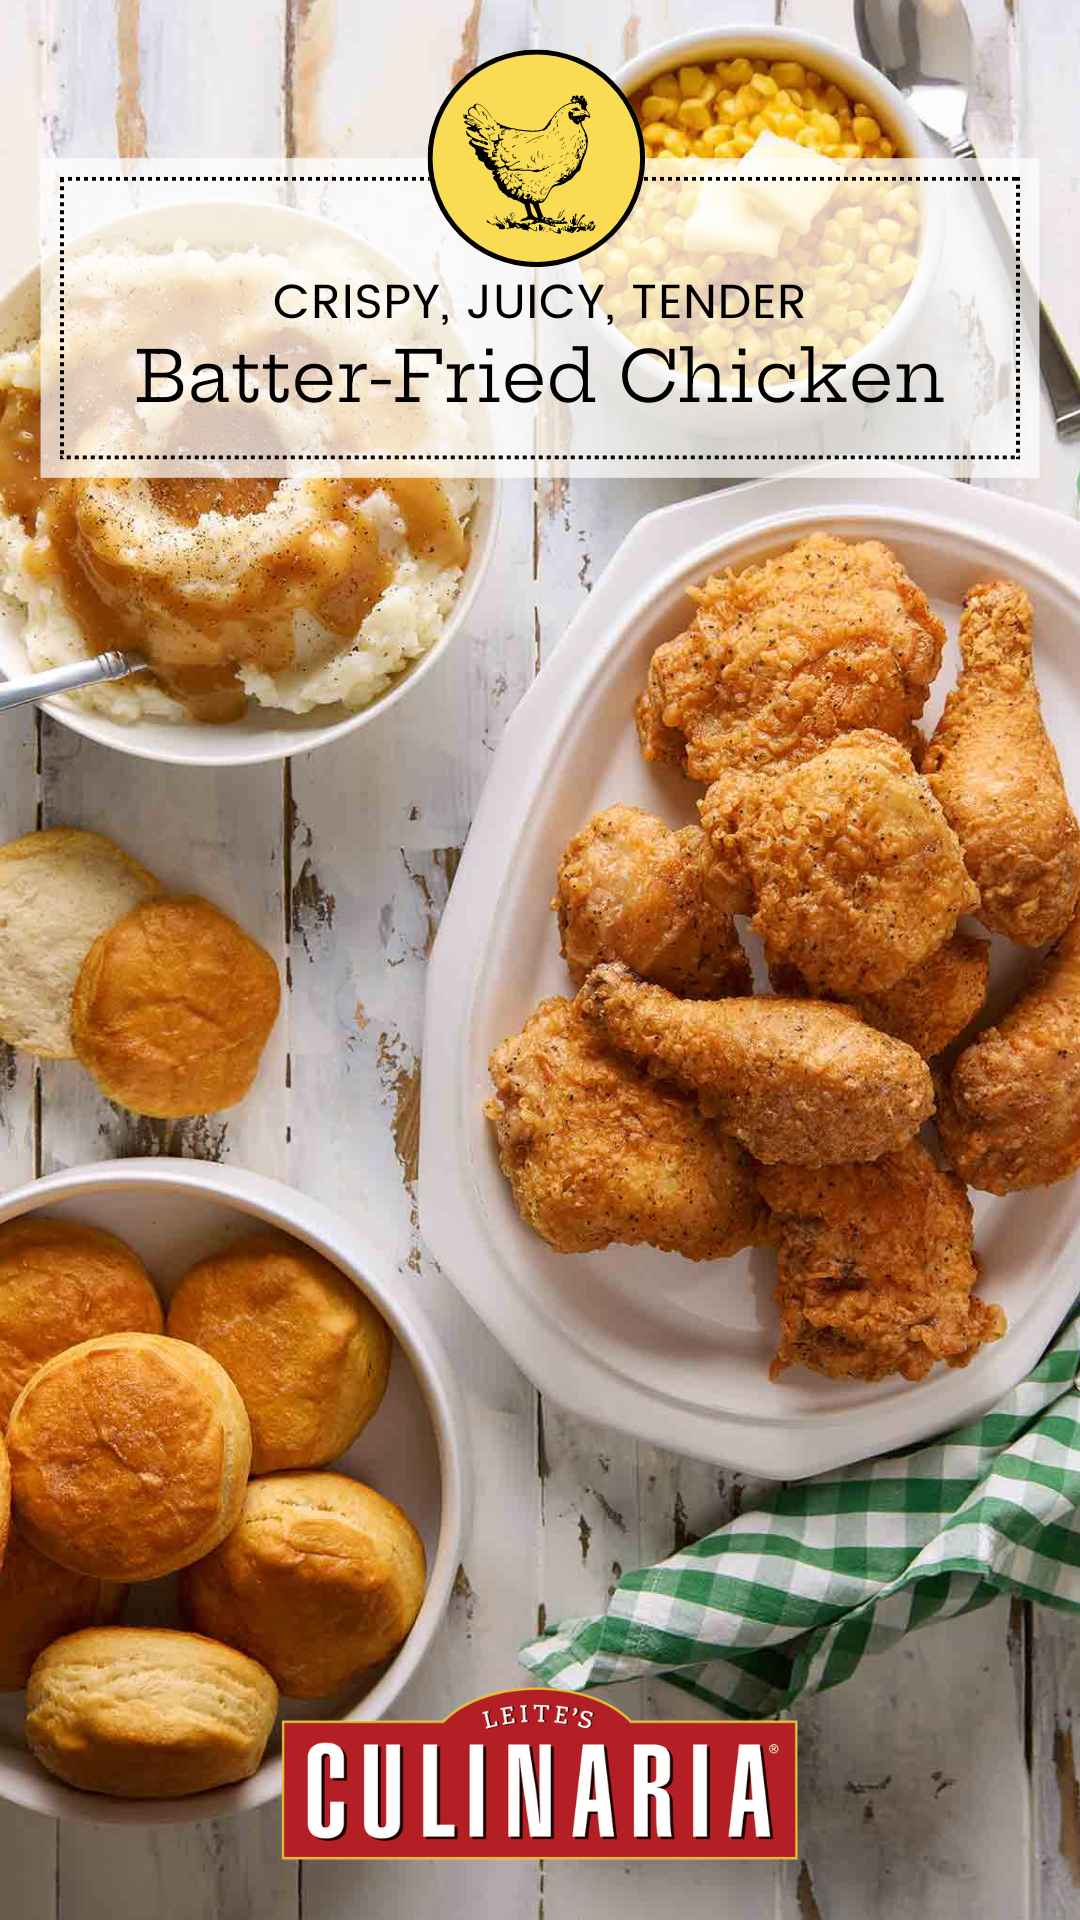



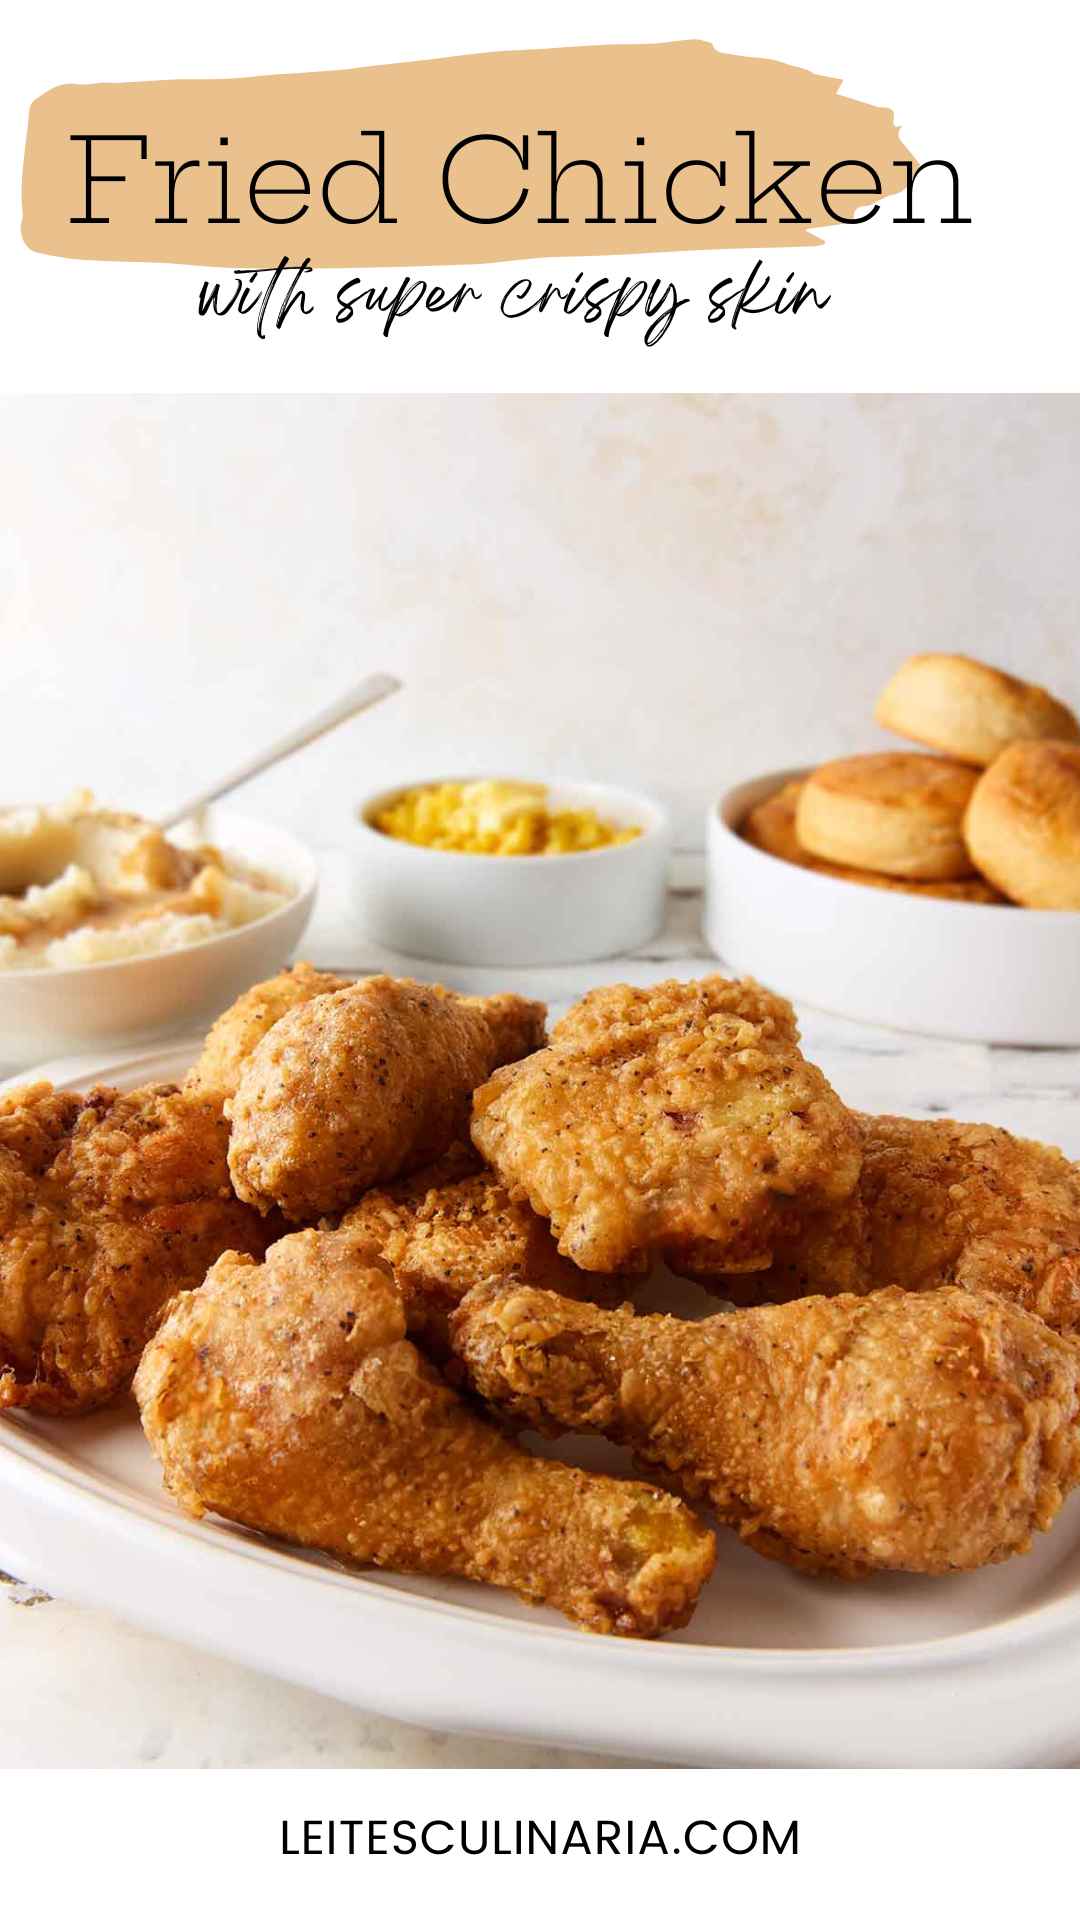


Momofuku fried chicken, I DO love you, but I’ve found a new love! We all agreed that this was going to be our No. 1 choice for fried chicken. We couldn’t believe the taste and juiciness of each piece of chicken.
When I removed the batter from the fridge, it was too thick. I tried mixing it, but ended up adding 1 more tablespoon water to thin it a bit, and that did the trick. I used gluten-free all-purpose flour.
When tasting the batter alone, I was a tad worried it was a bit too peppery for my 4-year-old. I heated the oil, dried the chicken, and started to fry it. I was able to fry four pieces at a time, so as we were eating the first batch, the second was being fried. The final result was an EXTREMELY moist and juicy Southern fried chicken with a gorgeous, golden crust that had a nice little kick to it but nothing too strong that a kid wouldn’t enjoy it.
I love cold fried chicken, and this recipe also works well this way. After a few hours, I decided to place one in a hot oven (under broil high), and not only did it warm up in 5 minutes, and the crust re-crisped.
Wow, Sofia, that is high praise indeed! I’m delighted that it turned out so well for you.
It’s turkey hunting season here in Missouri, and my neighbor gave me a fresh, boneless, skinless wild turkey breast Tuesday morning. Until today, it relaxed in the refrigerator while I dithered over how to prepare it.
My past experiments with cooking wild turkey have turned out dry and tough–thus my indecisiveness. But having had great success with this fried chicken recipe, I decided to use it for fried wild turkey strips.
Holy cow, turkey hunters, THIS IS THE TICKET! Not only the does batter fry up crisp and tasty, but something about it (the cornstarch, perhaps?) seals in the moisture, yielding an exquisitely tender, juicy interior, even without the moisture-imparting benefits of bones and skin.
Just a few pointers if you plan to try this with wild turkey breast. 1) After harvesting and butchering the turkey, be sure to refrigerate the meat for 4-5 days before prep/brining, to ensure that the rigor mortis has dissipated, 2) cut out any tendons and the thickest parts of the silver skin, 3) feel free to cut the breast WITH the grain, because any way you slice it, the end result will be tender enough to cut with a fork, 4) try to cut the meat into strips of uniform thickness so they brown evenly–but not TOO thick or the crust will burn before the meat is cooked. 5) dry the brined strips as thoroughly as possible so that the batter will stick.
Note that I have not tried this recipe with wild turkey legs or thighs (with or without skin or bones), but if someone does try this technique on dark meat of wild turkey, I’d love to hear how it turns out!
LOVE this, Lisa! Thank you so much for sharing the idea and the pointers! (And as an editor, I also appreciate that you used the word “dithered”!) Seriously grateful for this. Looking forward to hearing about the next recipe on the site that you try!
I was curious if you know this is Carolina style fried chicken – similar to the old Pioneer chicken that used to exist in the West Coast back in the day. Also, is there any need to dredge the chicken in flour at all during the process? One last question, can we brine the chicken in buttermilk? Or will that turn the chicken darker like you mentioned earlier.
Ed, thanks for sharing the Carolina origins of this approach to fried chicken! We are always thrilled to learn more about a recipe. Rest assured, there is no need to dredge the chicken at all. And we didn’t try brining the chicken in buttermilk, that may indeed make the chicken darker. If you’re curious to try it, go ahead and just keep a careful watch on the chicken as it’s in the oil. If it turns dark before it’s done, simply remove it and finish it in a hot oven—I’d say 375°F or so. And a word to the wise, cut each chicken breast half in half, so effectively you’ll have 4, not 2, pieces of chicken breast. The smaller size helps ensure the meat cooks through before the batter burns. Kindly let us know how it goes!
Made this for dinner today. I was looking for something different to do with my chicken. It turned out great! I only used chicken legs. It was a big hit! Thanks for sharing!!!
Erica, I’m delighted it worked out so well! You’re more than welcome. Come back soon!