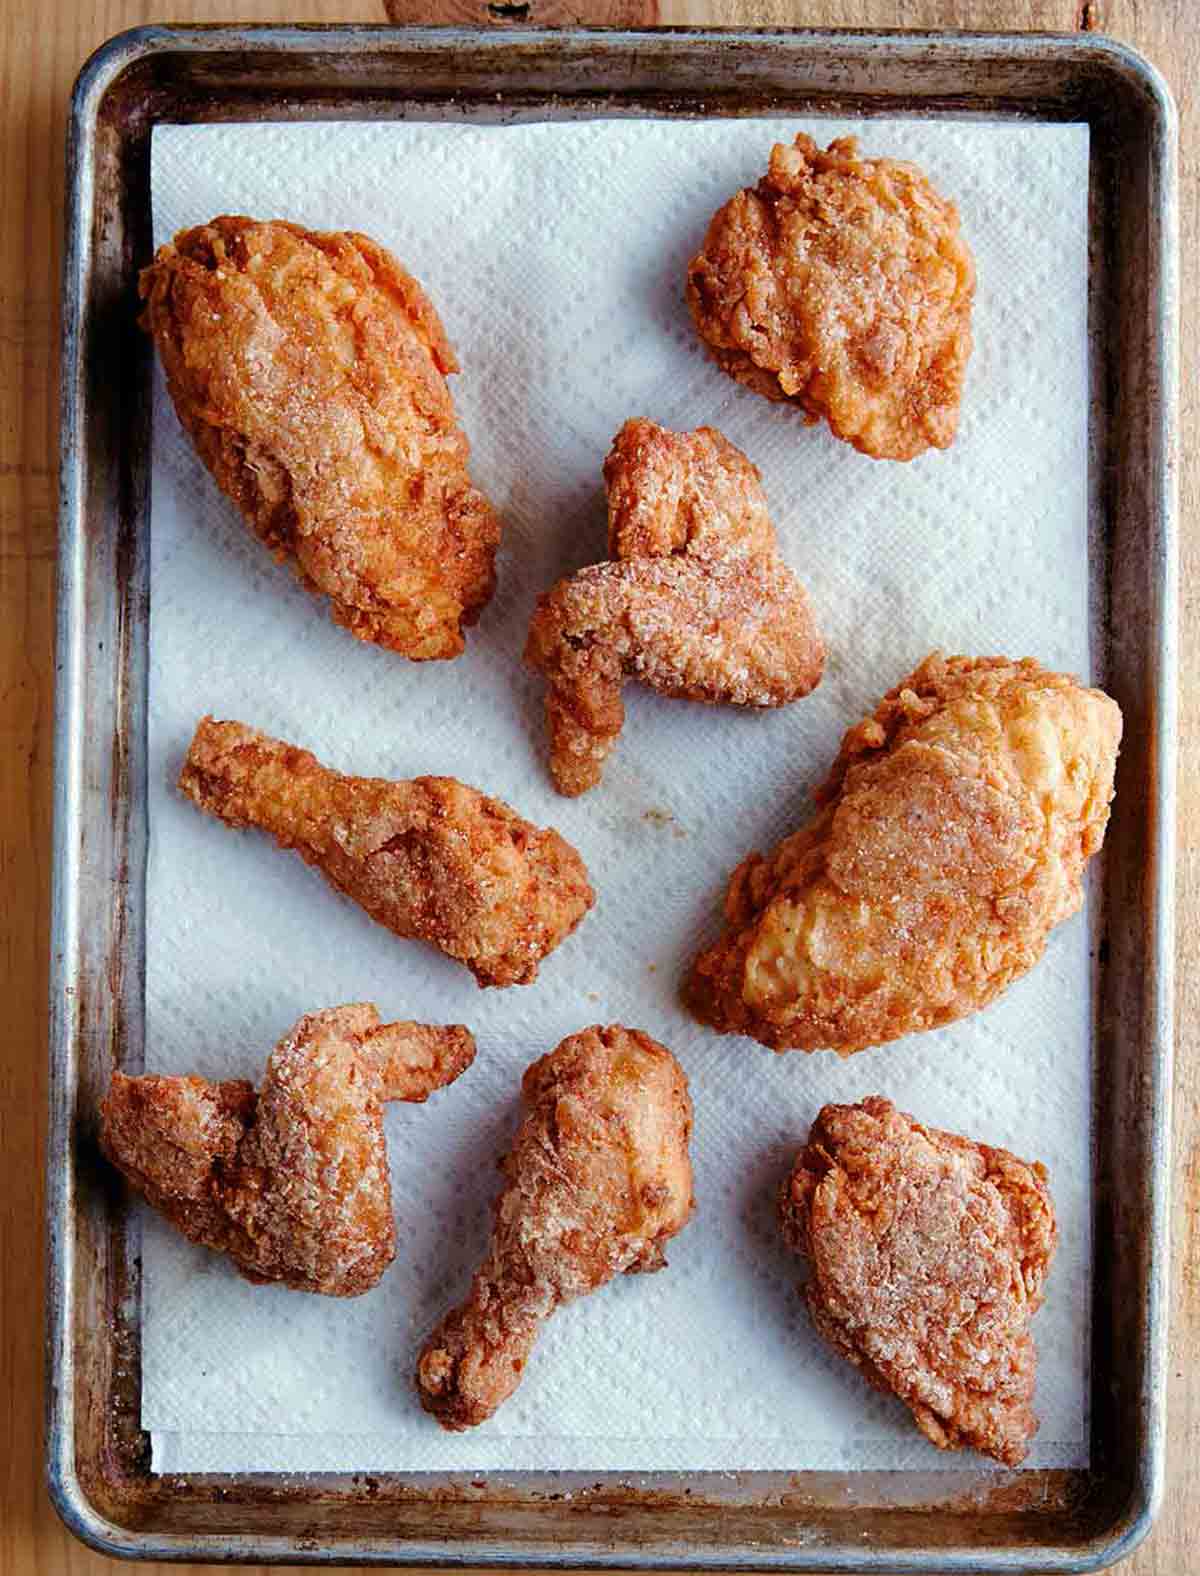
We believe that awesome fried chicken is a birthright for all, so we’re thrilled to share our recipe for the crispiest, juiciest, best-ever gluten-free fried chicken. Oh, and did we mention it’s also dairy-free?
This recipe swaps traditional buttermilk for coconut milk, resulting in chicken that’s irresistibly tender and juicy. The secret to the crispy coating lies in the batter, which includes cornstarch and a perfect blend of spices.
Featured Review
Great gluten-free fried chicken recipe. I used Cornish Game hen to serve two people plus I thought they would cook faster (they didn’t), but the result was great tasting. Even my picky wife, who doesn’t have to be gluten-free, loved it.
Tony L.

What Makes This Recipe Special?
Don’t just take our word for it—here’s what others are saying:
- “The flavors are out of this world, and the crispness of the coating is spectacular.”
- “This chicken is so much better than the stuff from THE take-out fried chicken place.”
- “I caught my husband rooting through the fridge for leftovers this morning. (Spoiler: I hid them for my daughter’s lunch!)”
- “As someone who is wheat-sensitive, I loved being able to enjoy it without sacrificing those crispy bits.”
It’s clear this recipe delivers on flavors and textures everyone can enjoy.
Why Coconut Milk?
Coconut milk takes center stage in this recipe, replacing buttermilk as a marinade. Its natural creaminess ensures the chicken stays moist while infusing it with subtle tropical notes. Paired with a spice-filled batter, this combination creates a fried chicken experience that’s both unique and unforgettable.
Perfectly Spiced Crispy Coating
The batter is where the magic happens. By incorporating cornstarch into the mix, you get a coating that fries up light and crispy every time. The seasoning blend is carefully crafted to balance heat and flavor, making each bite better than the last.
Want to save this?
Ready to Try It?
Of course you are! Whether you’re gluten-sensitive or just looking for an incredible fried chicken recipe, this one checks all the boxes. It’s crispy, juicy, gluten-free, dairy-free, and packed with flavor. Give it a try—you won’t regret it!
Pro tips & troubleshooting
- Marinate Longer: For the best flavor, marinate the chicken in coconut milk for at least 8 hours.
- Use a Thermometer: Keep the oil at 360°F (182°C) for perfectly crispy chicken.
- Don’t Crowd the Pan: Fry in small batches to prevent soggy chicken.
- Rest Before Serving: Let fried chicken drain on paper bags to keep it crispy.
Storage & Reheating
Store leftover gluten-free fried chicken in an airtight container in the fridge for up to 3 days or freeze for 3 months. Reheat in a 375°F (190°C) oven for 15 to 20 minutes or an air fryer at 350°F (175°C) for 5 to8 minutes. Avoid microwaving to keep the coating crispy.
For longer storage, freeze individual pieces for up to 3 months, thawing in the refrigerator before reheating.
Write a Review
If you make this recipe, or any dish on LC, consider leaving a review, a star rating, and your best photo in the comments below. I love hearing from you.–David
Amazing recipe!! We’ve been gluten free for years, and I’ve only attempted fried chicken a couple times before this. Nothing has ever come close to being as legit as this recipe! Thanks!
Anita Bowe
Gluten-Free Fried Chicken
Equipment
- Deep-fry or candy or instant-read thermometer
Ingredients
- 1 (13 1/2-ounce) can full-fat coconut milk
- 2 large eggs, at room temperature
- 1 tablespoon chili powder
- salt
- 1/4 teaspoon freshly ground black pepper
- 1 (3 1/2-pound) chicken, cut into 8 pieces, or 3 1/2 pounds (1.6 kg) chicken pieces
- 1 1/2 cups gluten-free all-purpose flour
- 1/4 cup cornstarch
- 2 tablespoon store-bought or homemade Old Bay seasoning
- 1 teaspoon baking powder
- Canola, grapeseed, or peanut oil, for frying
Instructions
- In a large bowl, whisk together the 1 (13 1/2-ounce) can full-fat coconut milk, 2 large eggs, 1 tablespoon chili powder, salt, and 1/4 teaspoon freshly ground black pepper.
- Add the 1 (3 1/2-pound) chicken, cover, and refrigerate for at least 1 hour and, preferably, 8 to 12 hours.
- About 45 minutes before you’re ready to sit down to a platter piled high with fried chicken, line a baking sheet with parchment paper. In a large cast-iron skillet, heat 1 inch of Canola, grapeseed, or peanut oil over medium heat until it registers 360°F (182°C) on a deep-fry or candy or instant-read thermometer.
☞ TESTER TIP: No deep-fry thermometer? Test if your oil is hot enough by adding a pinch of gluten-free flour to the oil. If it sizzles and rises to the surface, you’re ready to start frying.
- While the oil heats, in a shallow bowl, whisk together the 1 1/2 cups gluten-free all-purpose flour, 1/4 cup cornstarch, 2 tablespoon store-bought or homemade Old Bay seasoning, and 1 teaspoon baking powder.
- Drain the chicken, discarding the excess marinade. Working with one piece of chicken at a time, dredge it in the flour mixture, turning to coat all sides, and then place the chicken on the baking sheet.
- Carefully add the chicken to the hot oil, working in small batches so as not to crowd the skillet, and fry, turning occasionally, until the chicken is cooked through. The thigh meat should register 170°F (77°C) on an instant-read thermometer, which will take 20 to 25 minutes for large pieces such as the breasts and about 7 minutes for the small pieces such as wings. The exact timing will depend on the size of your chicken pieces.
- Transfer the chicken with tongs to a brown paper sack to drain on a brown paper sack.
☞ TESTER TIP: The fried chicken can be kept warm in a 250°F (121°C) oven for up to 1 hour or served at room temperature.
Notes
- Marinate for more flavor—For the best flavor, marinate the chicken in coconut milk overnight (8 to 12 hours).
- Make sure the oil’s hot—Let the oil return to 360°F (182°C) in between batches.
- Prevent soggy chicken—Adding too many pieces of chicken at once will lower the oil temperature, giving you oil-soaked chicken. Fry in small batches for the crispiest chicken.
- Give it a rest—Let the fried chicken drain on paper bags to keep it crispy.
Adapted From
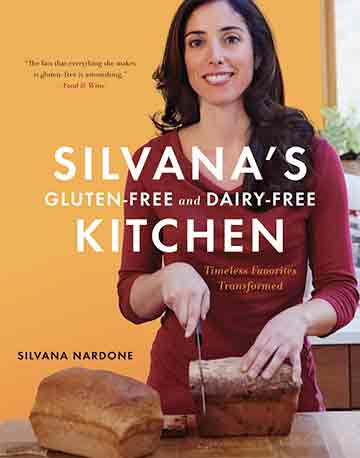
Silvana’s Gluten-Free and Dairy-Free Kitchen: Timeless Favorites Transformed
Buy On AmazonExplore More with AI
Nutrition
Nutrition information is automatically calculated, so should only be used as an approximation.
Recipe Testers’ Reviews
Did you know only 68% of the recipes we test make it onto the site? This recipe survived our rigorous blind testing process by multiple home cooks. It earned the Leite’s Culinaria stamp of approval—and the testers’ reviews below prove it.
This is the most amazing fried chicken recipe! The coating was crisp, light, and not greasy, while the meat stayed incredibly moist with just a hint of coconut flavor. The seasoning in the coating was subtle but perfectly balanced, making every bite irresistible.
I used 3 1/2 pounds (1 3/4 kilograms) of bone-in, skin-on chicken breasts cut in half to create 8 pieces. Marinating the chicken overnight made a noticeable difference in flavor and tenderness. Frying took me about 30 minutes, as I wanted to ensure each piece was fully cooked. With my instant-read thermometer acting up, I played it safe and gave the chicken a bit more time in the oil. My tasters declared it even better than “that take-out place,” and the fact that it was gluten-free was a fantastic bonus for someone like me who’s wheat-sensitive.
The real proof of success came the next morning when I found my husband rummaging through the fridge, hunting for leftovers. (I had hidden them for my daughter’s and my lunch!) He even tried bribing me with fresh coffee to reveal their location.
One small note: I ended up with nearly a full cup of leftover dredging flour, which felt wasteful. Next time, I’ll reduce the flour to 1 cup and bump up the Old Bay seasoning to 3 tablespoons for an extra kick. One thing’s for sure—I won’t be using regular flour for fried chicken again. This gluten-free version was so much better!
“Moisture galore” are the first words that we all thought of when we tried this gluten-free fried chicken. Even the chicken breast was juicy as can be, and the outside crust was, indeed, nice and crisp. Not one family member did not like this fried chicken.
I let the chicken marinate for about 6 hours in the coconut milk mixture. It covered the chicken perfectly, so I did not have to move the pieces around throughout the day. Once I started frying, I decided to first fry the larger pieces, meaning the breasts, and leave the wings for last. I was timing the whole process in increments of 5 minutes. The breasts took about 20 minutes while the wings were more like 7 minutes. Even with so little oil, the flour didn’t stick to the pot at all, and it also didn’t fall from the chicken, which in turn created nice, crisp chicken.
I let the chicken rest on brown paper bags after being fried, as they soak up some of the oil yet leave the chicken crisp.
I must admit that coconut milk would not have been my first choice to make fried chicken. Neither would making it gluten-free. But since my spouse is gluten-intolerant, I figured I would give this gluten-free fried chicken recipe a try. Let me tell you, I’m glad I did. The flavors are out of this world, and the crispness of the coating is spectacular. I also found it to be nowhere near as greasy as traditional fried chicken. The chicken was moist and tender, and all the juices stayed where they belong. The coating stayed intact without any greasy oil absorption.
This recipe is well-written, a breeze to follow, and the quantities and times are on the money. All the ingredients should be available in your local supermarket. I made no changes to this recipe at all. I marinated the chicken in the fridge overnight and them some—about 12 hours. I dredged all the chicken while the oil was heating and used the parchment paper to hold it. Using a cast-iron skillet, I was only able to fry 2 pieces at a time. The flour didn’t become soggy at all by the time the last pieces were fried, so no issue there. I kept the chicken warm in a 200°F oven. I recommend doing the dark meat and white in different batches because the times are a bit different. Also, using a meat thermometer is helpful because the coating browns quickly, and though the chicken may look done, it’s not.
I use only organic chicken in my cooking, as I find it has a nicer texture and flavor, but the downside is that you have to cut it up yourself. However it is worth learning how to do it. They are far superior to the so-called super chickens. Enough said.
As I didn’t have a brown bag, I used a layer of paper towels to drain the chicken. However, I was pleasantly surprised to see that there was no excess grease, so only a wire rack was really needed. I for sure will be making this recipe again. One last thing, the crispness of the coating holds up well and remains crisp even after an overnight stay in the fridge. Just another plus for this recipe. This is one fine recipe for fried chicken.
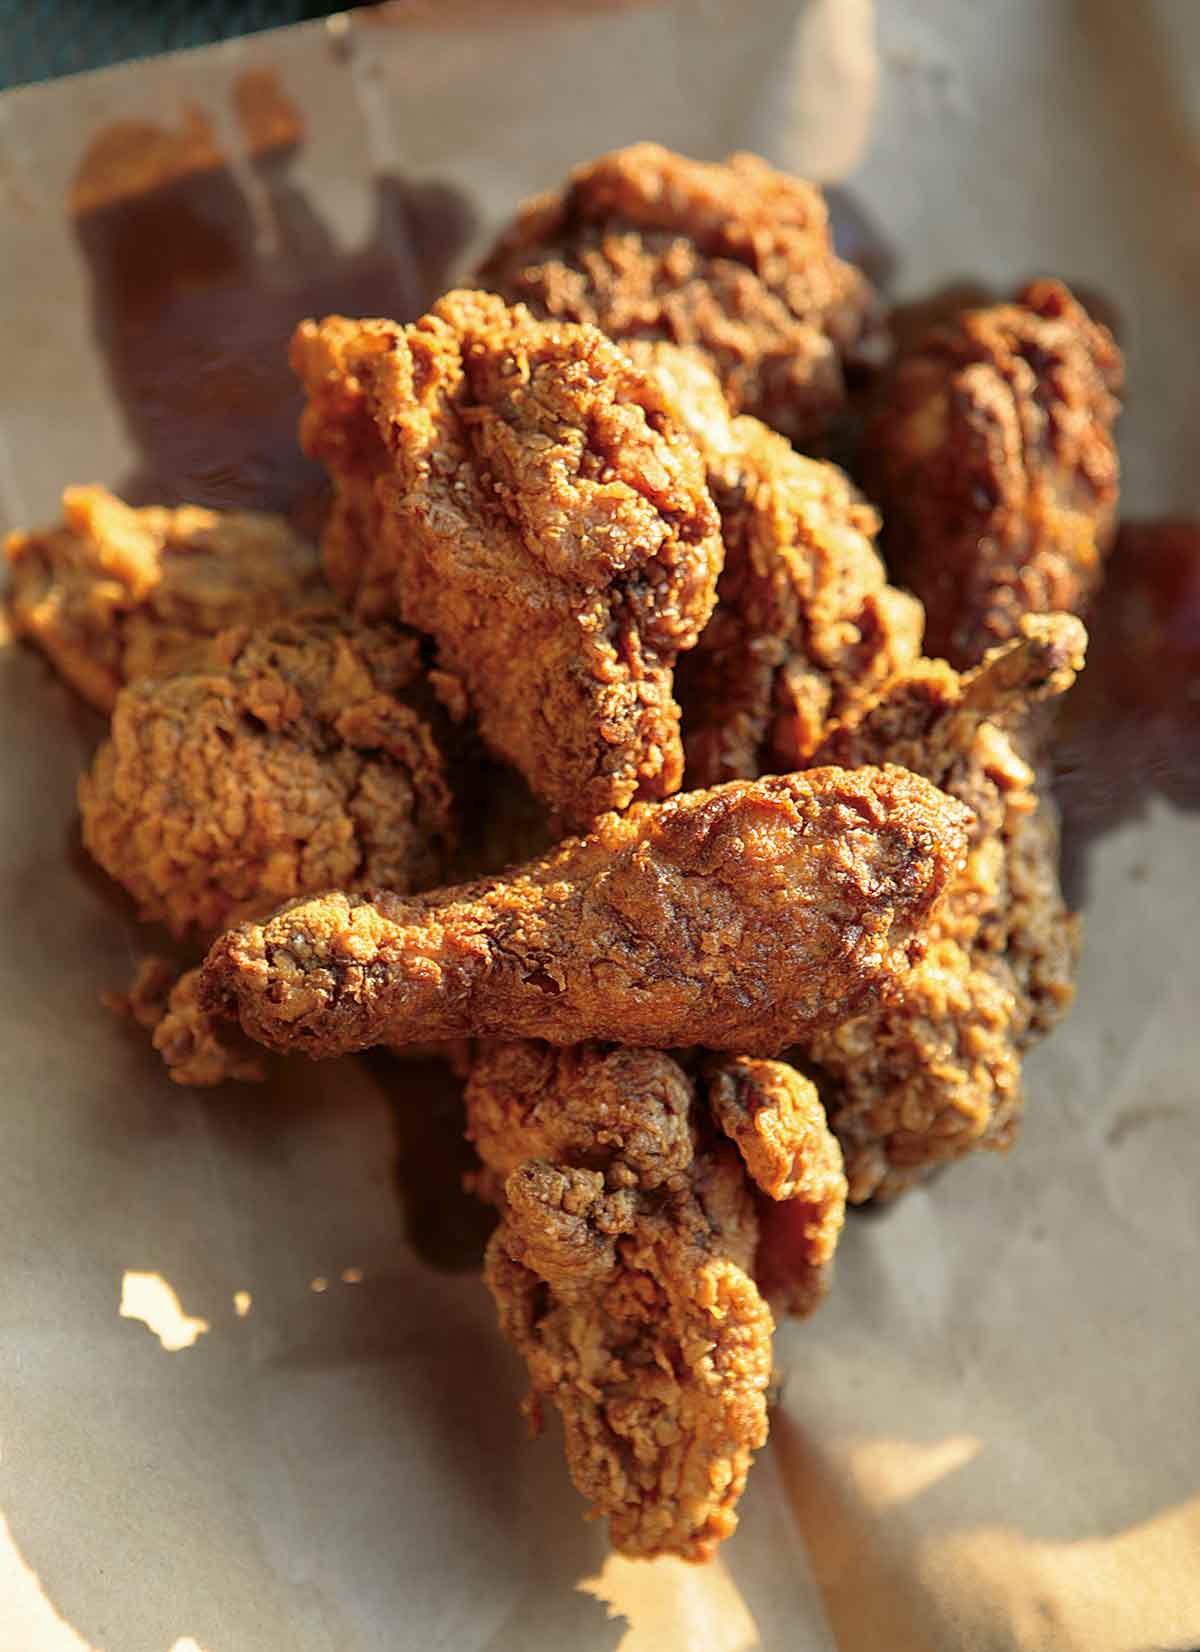


Great gluten free fried chicken recipe. I used Cornish Game hen (1) to serve two people plus I thought they would cook faster, they didn’t but the result was great tasting even my picky wife who doesn’t have to be gluten free, loved it.
Tony, I love hearing this. I don’t need to eat gluten-free (and I’m notorious for bitching about how gluten-free recipes don’t always taste great). So I’m delighted that you’re gluten-loving wife but this was wonderful!
If I don’t have corn starch and just have gluten free AP flour and measure for measure flour which one would be best?
Matt, I wouldn’t skip the cornstarch, as it will give more crunch to the chicken.
It’s sooo good! I marinated the chicken for 24 hours and had the oil at 400 degrees! Breast was absolutely juicy!
Thank you!!!