
Jump To
- Why Our Testers Loved This
- Recipe Ingredients
- How to Make Oven Fried Chicken Thighs
- Common Questions
- Pro Tips & Troubleshooting
- Variations
- Storage & Reheating Instructions
- What to Serve with This Recipe
- More Great Boneless Chicken Thigh Recipes
- Write a Review
- Breaded Oven Fried Chicken Thighs Recipe
- Recipe Testers’ Reviews
Sometimes, I don’t have the energy to make dinner. Especially after spending the day standing over a stove working on recipes. Going to a restaurant is usually out of the question for two reasons: 1.) We live in a culinary wasteland here in northwestern Connecticut, and 2.) Everything is so expensive.
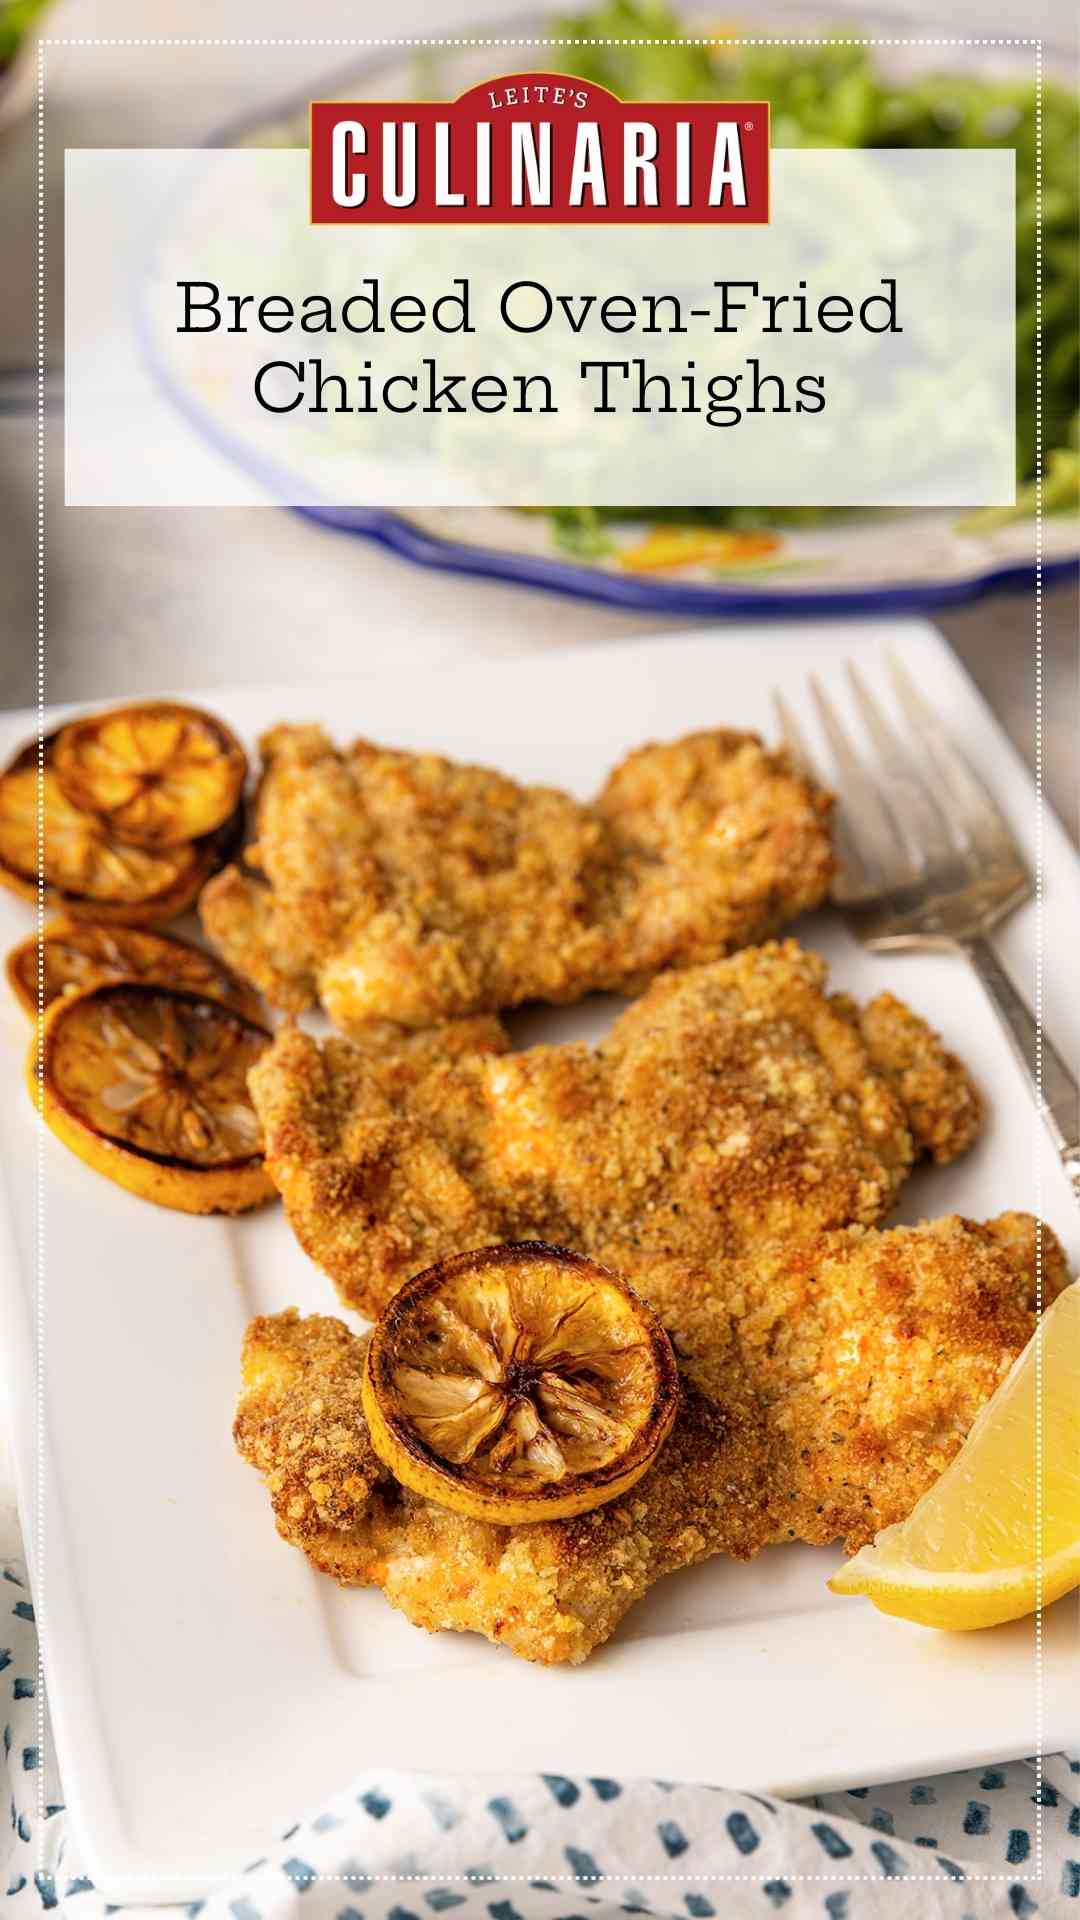
Cue these breaded oven-fried chicken thighs. They’re extremely easy to make. The recipe calls for just six ingredients you’re sure to have on hand, requires only 5 minutes of hands-on time, and is on the table 30 minutes later.
And the taste? Simple and simply fantastic. The thighs have a marvelous crunch with a lemony-pepper flavor.
I often zhuzh these up with dried herbs such as thyme or rosemary, cheese like parmesan, or even Doritos or potato chips instead of breadcrumbs. I mean, come on! How cool is that?

Why Our Testers Loved This
The testers were delighted that this oven-fried chicken recipe was so quick and easy to make with simple pantry staples, yet it was incredibly flavorful. Patty Fabian was delighted that it made “moist and tender chicken with a golden brown crust.”
Recipe Ingredients
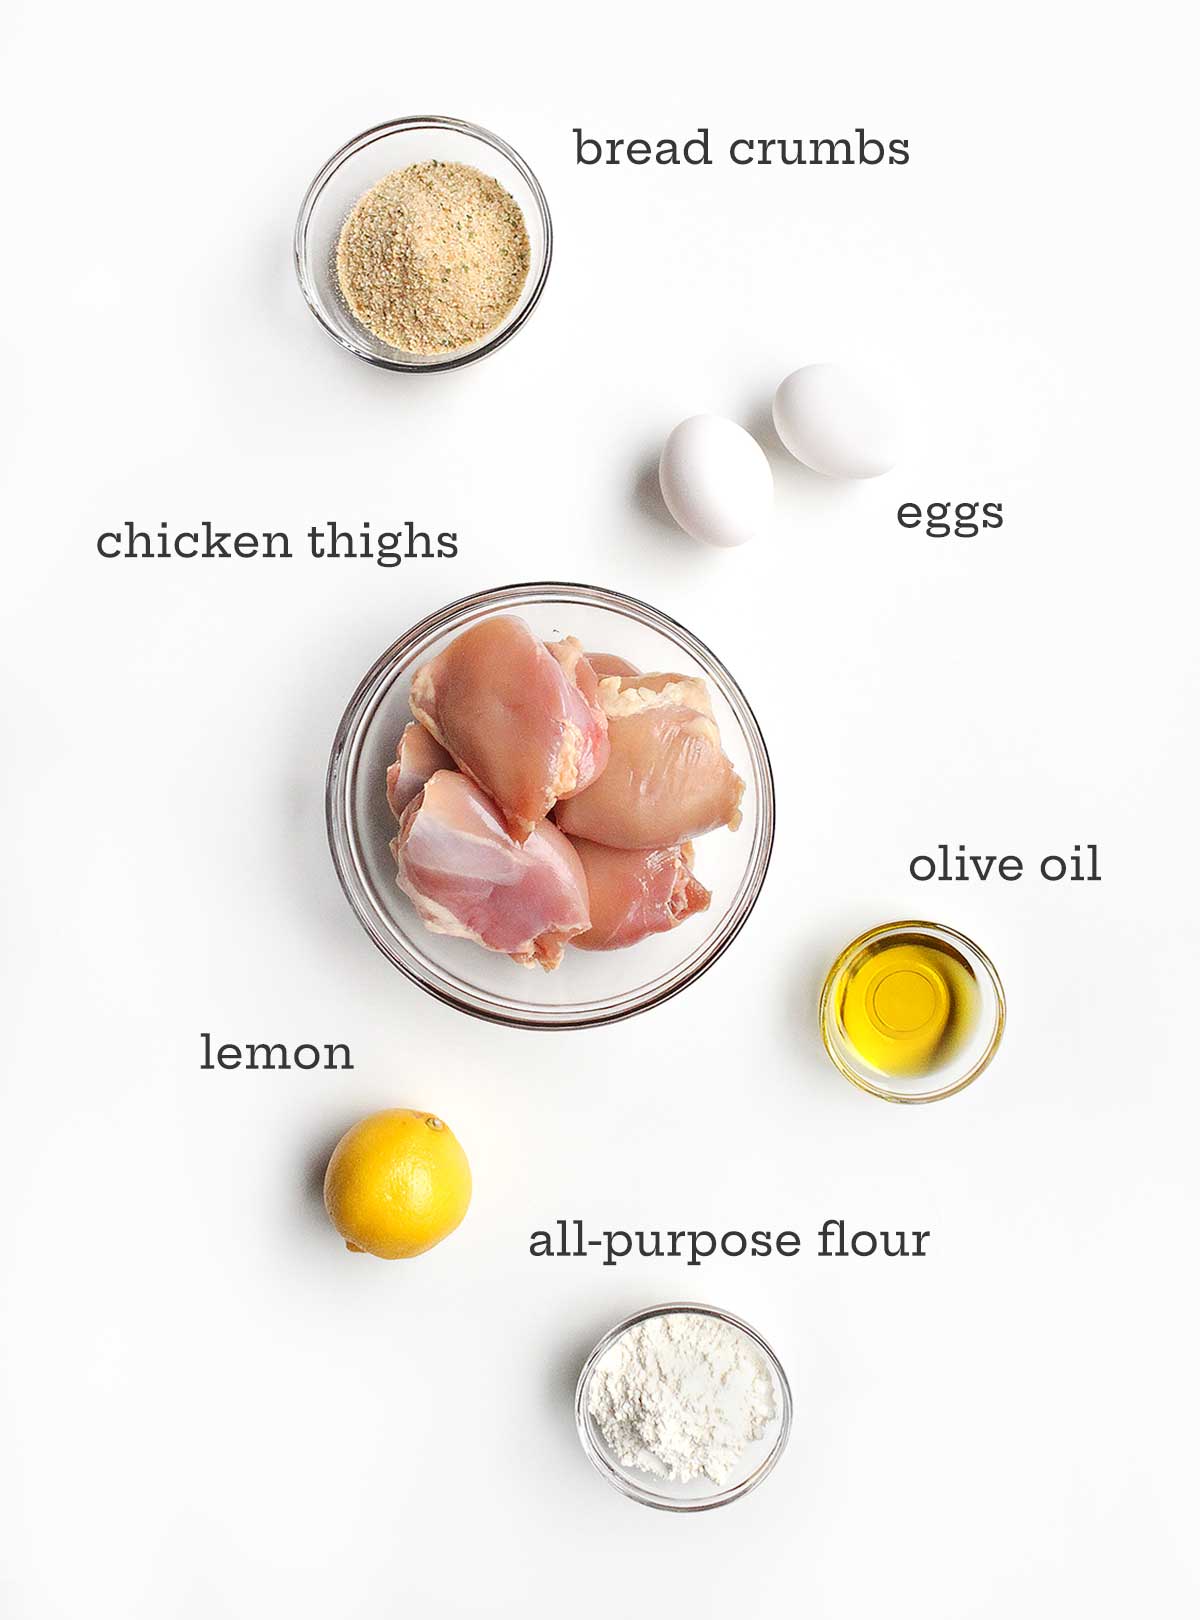
- Bread crumbs–I like to use a 50/50 mix of panko and regular, finer-textured bread crumbs. It assures a truly crispy bite. You can use homemade or store-bought dried bread crumbs for this recipe. Don’t use fresh bread crumbs, though, as they won’t get crispy. If you use unseasoned bread crumbs, add a pinch of salt to the bread crumbs before coating the chicken.
- Chicken thighs–Boneless, skinless chicken thighs work best for this recipe. You can make it with chicken breasts, or bone-in chicken, however, the cooking time will be longer. If your chicken comes with skin on, don’t toss it! Save it and make gribenes.
How to Make Oven Fried Chicken Thighs
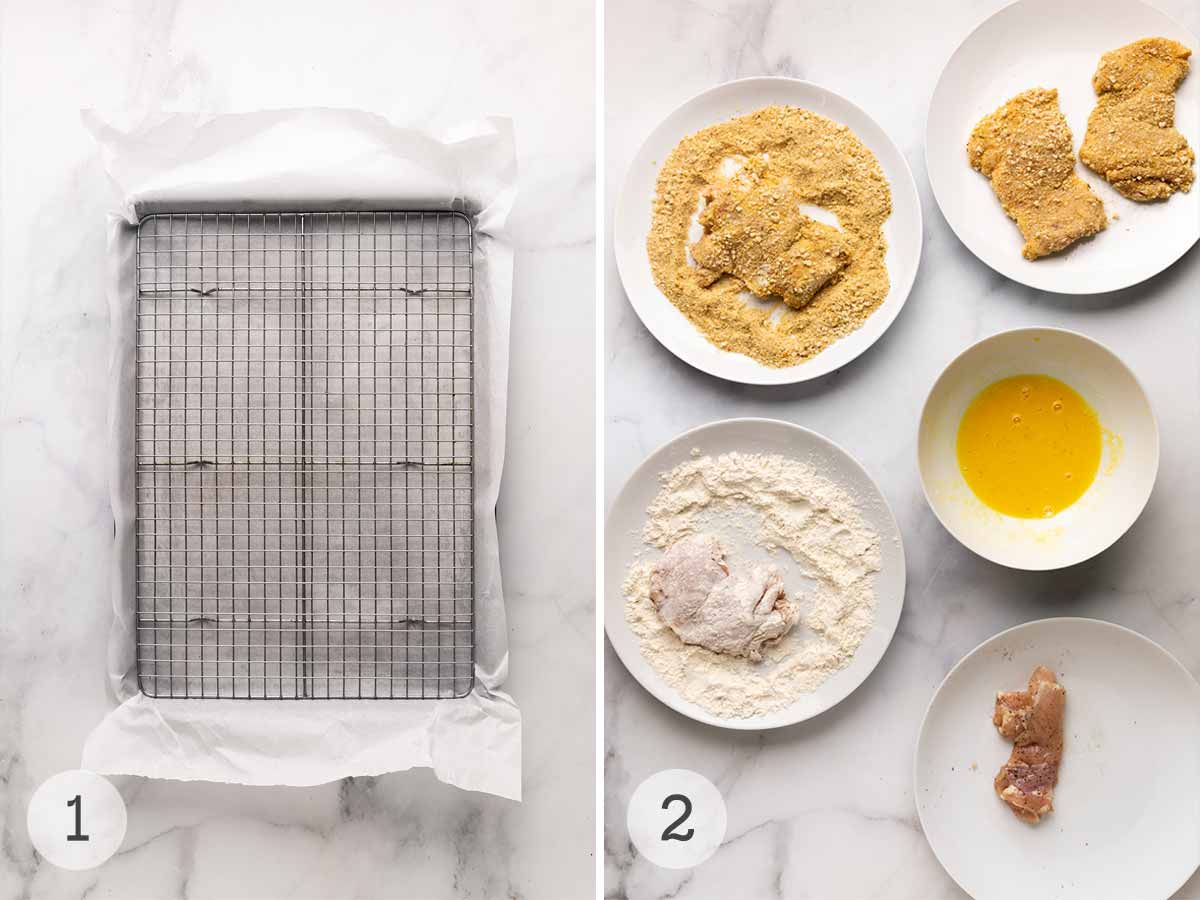
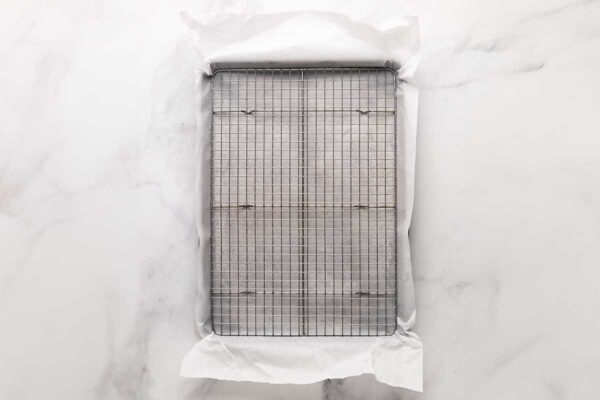
- Line a rimmed baking sheet with parchment paper and set a wire rack inside.
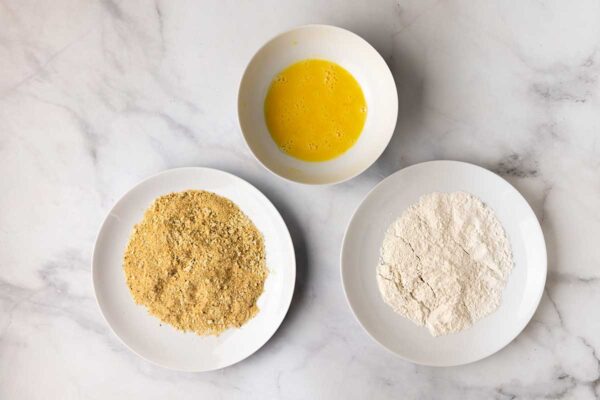
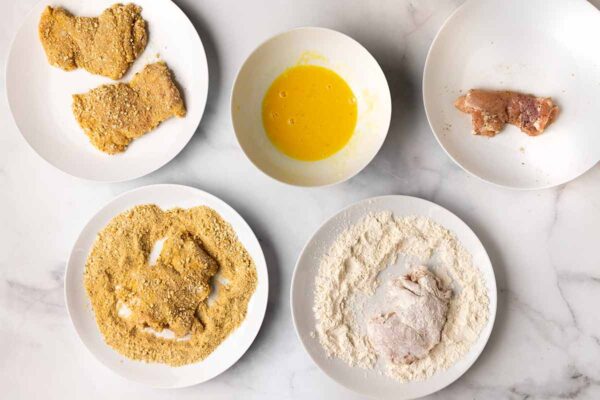
- Mix the flour and salt in a plate. Whisk the eggs in a bowl and dump the bread crumbs on a second plate. Coat each chicken thigh first in the flour, then dip in the egg, and, finally, coat with the bread crumbs.
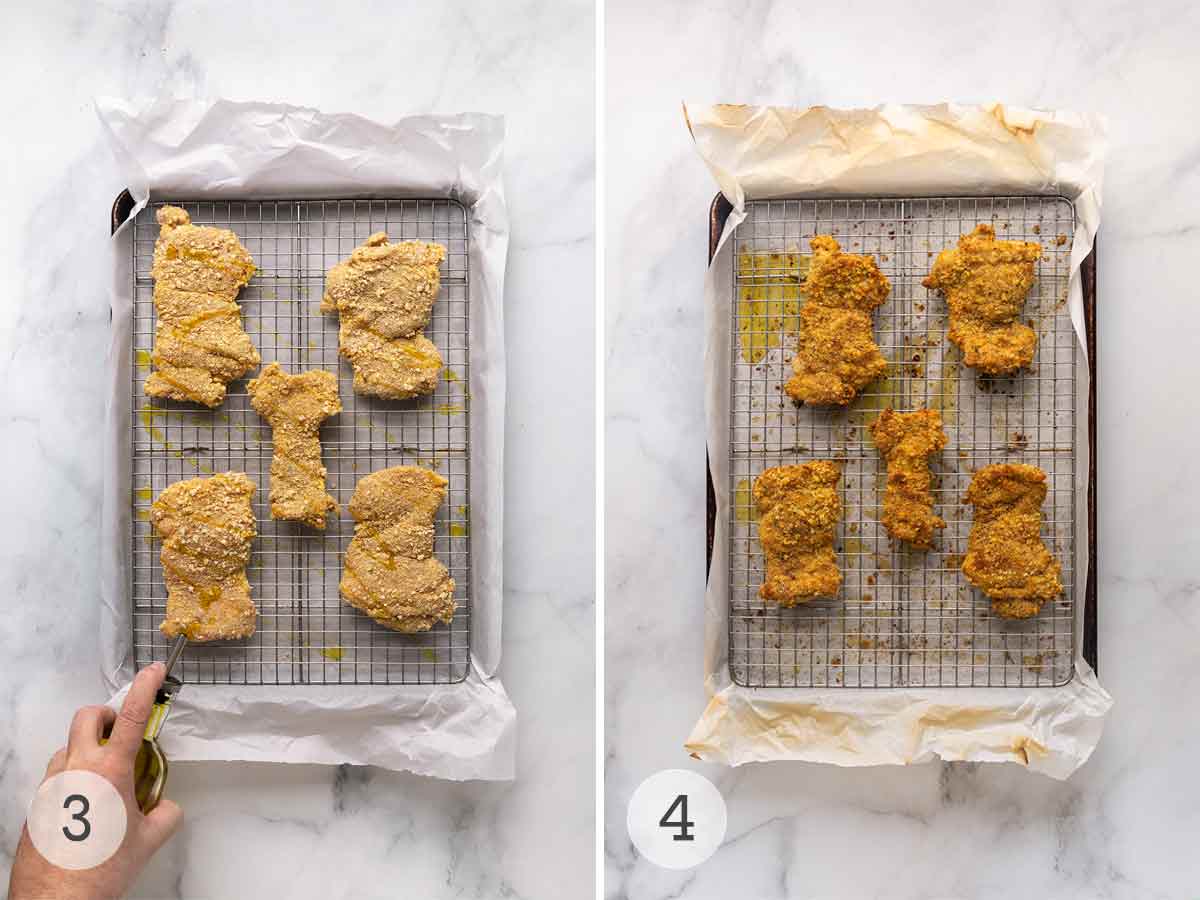
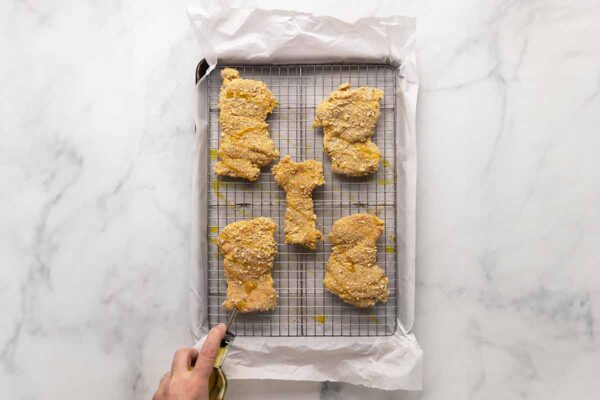
- Arrange the chicken thighs on the rack and drizzle with olive oil.
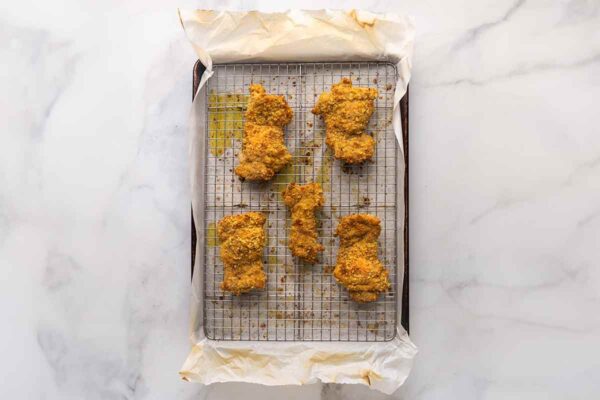
- Bake in a 350°F oven, turning the thighs once, until crisped, golden, and cooked to an internal temperature of 165°F.

Common Questions
You can, but I think this recipe is better using skinless chicken thighs. The reason is the skin won’t have enough time in the oven to crisp up. Save skin-on chicken thighs for when they can be seared in a sizzling-hot skillet and have a chance to turn crazy crisp, like in this crispy chicken with lemon and capers dish.
If you want to glam up your chicken thighs with a little more bling (or simply need to adapt them to whatever you happen to have on hand!), you can easily add a generous pinch of dried or fresh herbs–rosemary thyme, marjoram, you name it. A good sprinkle of garlic powder, onion powder, and freshly ground pepper work wonders. A handful of finely grated Parmesan is marvelous.
No bread crumbs? No worries. Instead, crush some Doritos, potato or tortilla chips into fine crumbs or simply use the crumbs lurking at the bottom of your bag of chips. If you have some of those trendy gluten-free Inca-style corn nuts, you can crush them into a powder and they’ll work just dandy, too.
Yes. You can make this with whole boneless chicken breast or smaller chicken cutlets. If using whole boneless breasts, you’ll need to increase the cooking time to cook the chicken to an internal temperature of 165°F (74°C).
This is a matter of personal preference, of course. Fried chicken thighs are wicked flavorful and juicy but can be messy to make, while oven-baked thighs are easier to cook, contain less fat, and require little cleanup. Both have their place in your cooking repertoire. I make baked chicken thighs when I’m rushing to get dinner on the table, and I pull out my favorite fried chicken recipes when I have the luxury of time (and The One volunteers for cleanup duty).
There are a few possible reasons:
1. You’re using fresh bread crumbs. Soft, fresh bread crumbs will be soggy.
2. Your oven may be running cool. Double check the oven temperature by using an oven thermometer. If your oven temp is too low, the bread crumbs won’t crisp up during cooking.
3. You’re not using enough oil. Give those thighs a good drizzle before popping them in the oven. If you want an even coating of oil, consider using cooking spray or pick up an inexpensive non-aerosol oil sprayer. I use mine all the time.
Generally, all-purpose flour works best for making fried chicken. If you’re making traditional fried chicken, you can add some cornstarch to the flour, which helps the coating stick better and turns out crisper chicken.
You can, but for this recipe, it’s not necessary. These chicken thighs cook quickly, so there is little risk of them drying out.
Pro Tips & Troubleshooting
- To check the internal temperature of the chicken thighs, insert the thermometer into the side of the thigh, parallel to the cooking rack.
- To make gluten-free oven-fried chicken thighs, use gluten-free all-purpose flour and gluten-free bread crumbs.
Want to Save This?
Variations
- Add 1/2 cup of freshly grated Parmesan cheese to the breading.
- For an herby take, add two tablespoons of minced fresh parsley, rosemary, thyme, or sage to the crumb coating.
Storage & Reheating Instructions
Store leftover chicken thighs in a sealed container in the fridge for up to 3 days. Reheat in a 300°F oven or air fryer until warmed through and the bread-crumb coating is crisped.
What to Serve with This Recipe
You can turn this into a comfort meal by serving it with classic sides, such as creamy mashed potatoes, potato gratin, tangy coleslaw, or stovetop mac and cheese. Or you can glam up the meal and serve it with an elegant salad, like this roasted beet and feta number.

Write a Review
If you make this recipe, or any dish on LC, consider leaving a review, a star rating, and your best photo in the comments below. I love hearing from you.–David
It’s always great to come across a “no frills” chicken recipe that delivers. With no time or effort invested, you can have a delicious dinner on the table in less than an hour.
Sadie

Breaded Oven Fried Chicken Thighs
Ingredients
- 2 3/4 ounces (heaping 1/2 cup) all-purpose flour
- Pinch of salt
- 2 large eggs
- 1 cup plain or seasoned bread crumbs, (or a 50/50 mix of panko and bread crumbs), plus more if needed
- 1 1/2 pounds boneless, skinless chicken thighs, fat trimmed
- Freshly ground black pepper
- 1/4 cup olive oil
- Lemon wedges, to serve
Instructions
- Crank the oven to 350°F (176°C).
- Line a large rimmed baking sheet with parchment paper. Set a rack inside.
- Combine the flour and salt in a shallow plate. Whisk the eggs in a medium bowl. Scatter the bread crumbs on a second plate.
☞ TESTER TIP: If you’re using unseasoned bread crumbs, add an extra pinch of salt to the flour mixture.
- Season each piece of chicken with salt and pepper and then dip it first in the flour, shaking off any excess, then in the egg wash (allowing any excess egg to drip off), and then coat the thighs on both sides with the breadcrumbs and place on the lined baking sheet. Add extra bread crumbs to the plate, if needed.
- Drizzle the coated thighs with olive oil, turning to coat both sides as evenly as possible.
- Bake for 10 minutes. Turn and bake until the bread crumbs are golden and crisp and the chicken is cooked through with an internal temperature of 165°F (74°C), 10 to 15 minutes more.
☞ TESTER TIP: If you're using a thermometer to check the temperature of the chicken, hold it parallel to the baking sheet and insert it through the side and into the center of the thigh. Do not try to do this while the baking sheet is still in the oven! Take it out and check it on the stove.
- Serve the chicken thighs immediately with lemon wedges on the side for squeezing.
Notes
- Make it gluten-free–To make gluten-free oven-fried chicken thighs, use gluten-free all-purpose flour and gluten-free bread crumbs.
- Storage–Store leftover chicken thighs in a sealed container in the fridge for up to 3 days.
- Reheating–Reheat in a 300°F oven or air fryer until warmed through and the bread-crumb coating is crisped.

Explore More with AI
Nutrition
Nutrition information is automatically calculated, so should only be used as an approximation.
Recipe Testers’ Reviews
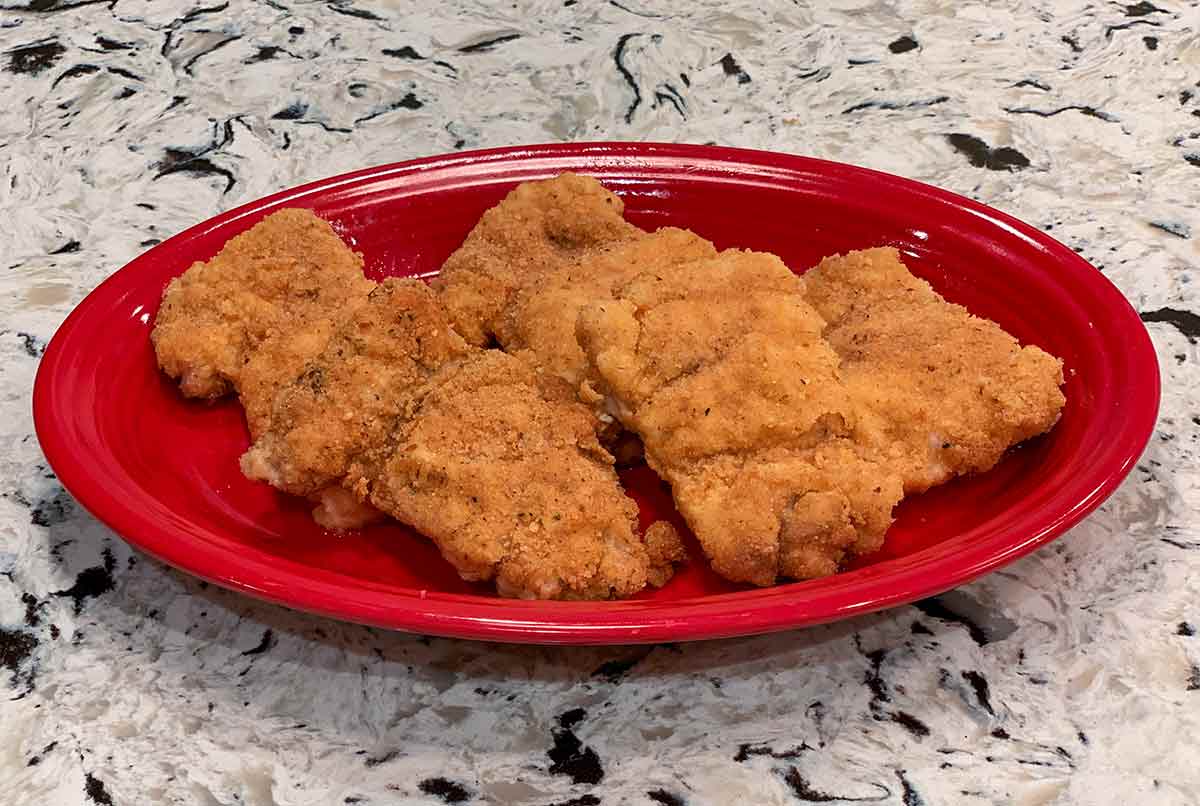
This crispy breaded chicken thigh recipe is the perfect quick, easy, and delicious dinner. It has simple ingredients that you probably already have in your pantry.
The only prep work for the chicken thighs is opening the package. It takes no more than 10 minutes to prepare this dish and then only 20 minutes to bake it. The result renders delicious and juicy breaded oven-fried chicken thighs.
Although I did use thighs, I am sure this would be fantastic with breasts, too. I will do a combination the next time I make it.
I used seasoned bread crumbs on some of the thighs and plain on the others as I wanted to compare the two. I preferred the seasoned over the plain, but my husband preferred the plain. Bottom line: They’re both great, and it is just a matter of personal preference.
This easy recipe for breaded and oven-fried chicken thighs did produce very moist and tender chicken with a golden crispy crust. And we loved the fresh squeeze of lemon when serving!
The bread crumbs adhered to the chicken with no problems. I didn’t lose any bread crumbs as I drizzled both sides of the chicken with olive oil.
As instructed, I flipped the chicken after 10 minutes in the oven, and it took 15 minutes on the second side for the chicken to develop its golden crust, a total of 25 minutes. The drizzle of olive oil did create an even, crispy coating on the chicken.
This was a very quick and easy recipe to make! These lemon-spritzed oven-fried thighs were served with roasted zucchini, since I had the oven on already, and steamed fresh broccoli.
This is a great recipe to keep in your back pocket for those days when you don’t know what to make for dinner and have very little time to do so. It takes about 15 minutes of prep time and then, depending on the size of your breaded chicken pieces and your particular oven, the dish will be fully cooked with a nice, crispy coating in 20 to 25 minutes. The fresh lemon juice adds a nice touch to the dish at the end.
I kept it simple and served the dish with pan-fried green beans and French fries.
The recipe was easy to make—not time-consuming—and resulted in moist and simple breaded oven-fried chicken thighs.
I used seasoned bread crumbs with Parmesan.










This recipe is a winner. Thank you David for all the helpful tips and suggestions. The crunch factor was perfection! I added the touch of parmesan to the breading and it adhered to the thighs beautifully. Delightful and a keeper recipe.
Gainor, I’m thrilled you enjoyed it so much! I love the idea of adding the cheese to the breadcrumbs. I often do that, too. I’m going to add it to the recipe as a variation.
Hi, I’m wondering if not coating the chicken in the olive oil after breading would produce similiar results…as far as crispiness. Everything I’ve ever tried to bake with the extra addition of oil has been a little on the soggy side. Doesn’t the oil add moisture to the crumb? It just sounds counter productive to a crispy coating but if you insist that it does not, I will surely add the oil.
Thank-you…they sure look delicious! 🙂
Hi, Chris! I know it does sound a bit counterintuitive, right? But if you drizzling on lightly, or–even better–spray it on with an oil atomizer, it truly does make it crisp. Many recipes have you place the chicken right on the baking sheet, which definitely can make it soggy. I instruct you to put it on a rack so therefore air can circulate above and below. I gotta say, it’s never been soggy for me. If you make it, please tell me what you think.
Thank-you for the nice reply David and encouragement to Use the Dang oil! I will definitely make it now per your instructions and let you know how it turns out which I know will be delicious as all your recipes are.
Thanks again!
Chris
Chris, I’m looking forward to hearing how it turns out!
Made this for my family and it was a big hit. Served with mashed potatoes and fresh green beans. So quick and easy and tender. Thanks again.
Brenda, you are more than welcome!