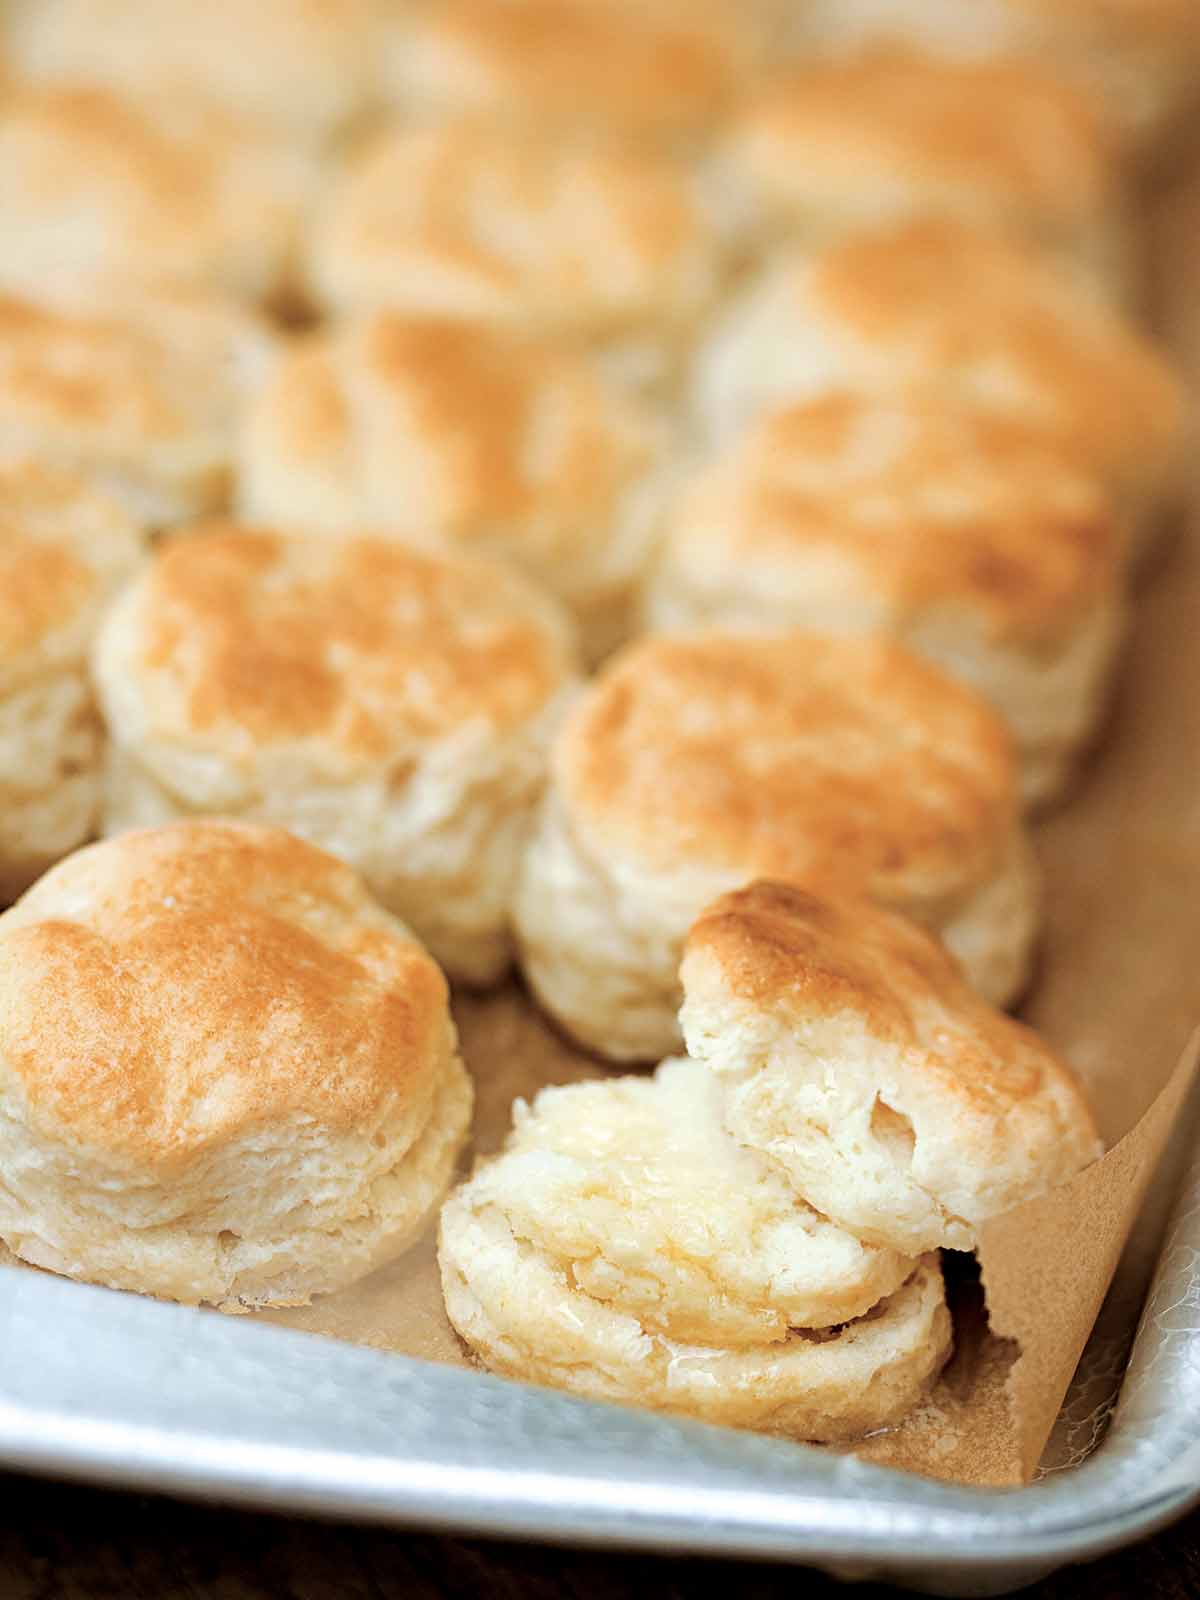
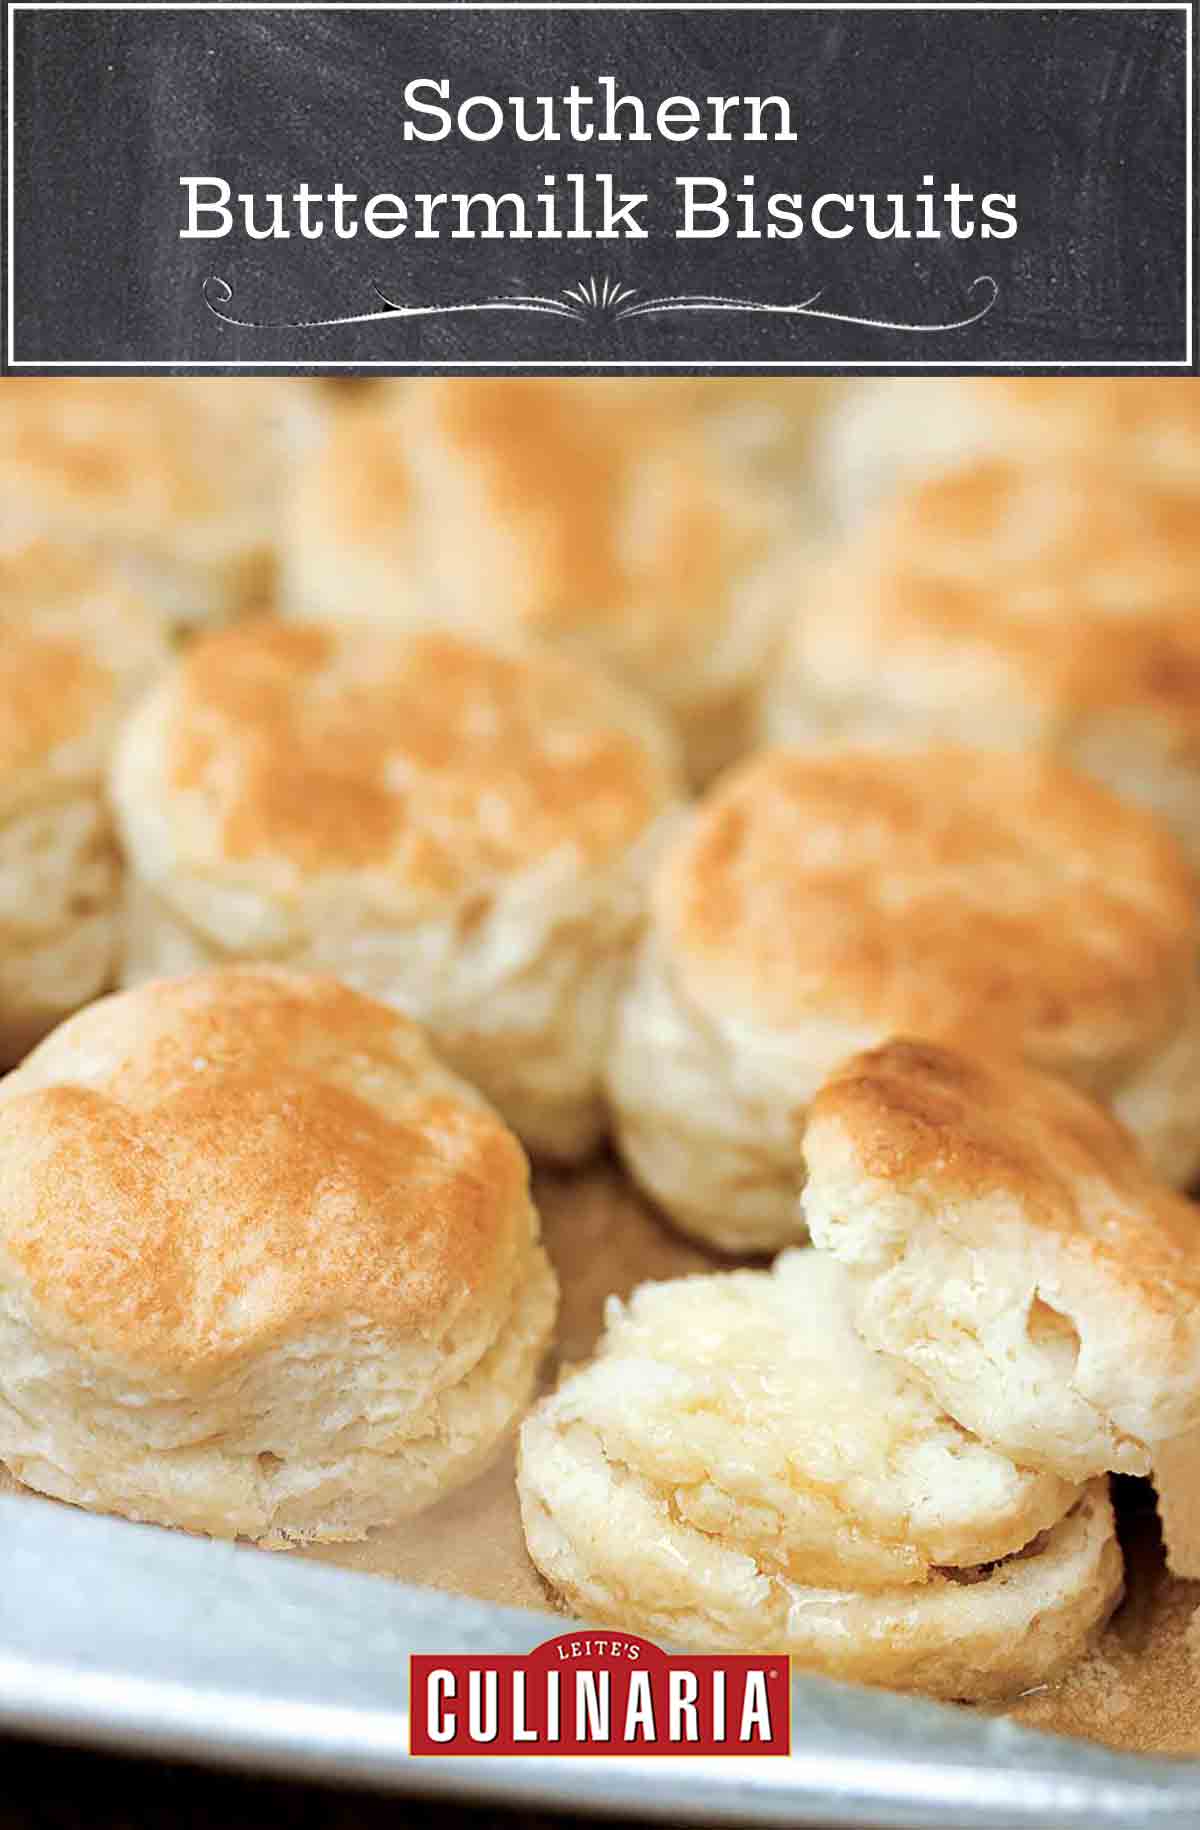
These Southern buttermilk biscuits require nothing more than self-rising flour, butter, and buttermilk. Lest you think such a simple and easy recipe couldn’t possibly turn out flaky, buttery, perfect homemade biscuits like grandma used to make, consider what our recipe testers are saying about this recipe: “Spectacular.” “Sinful.” “Easy.” “Buttery.” “Lofty.” “Air.” “Perfect.” “An absolute keeper.” Sorta makes you want to try them, doesn’t it?–David Leite
Notes on Ingredients
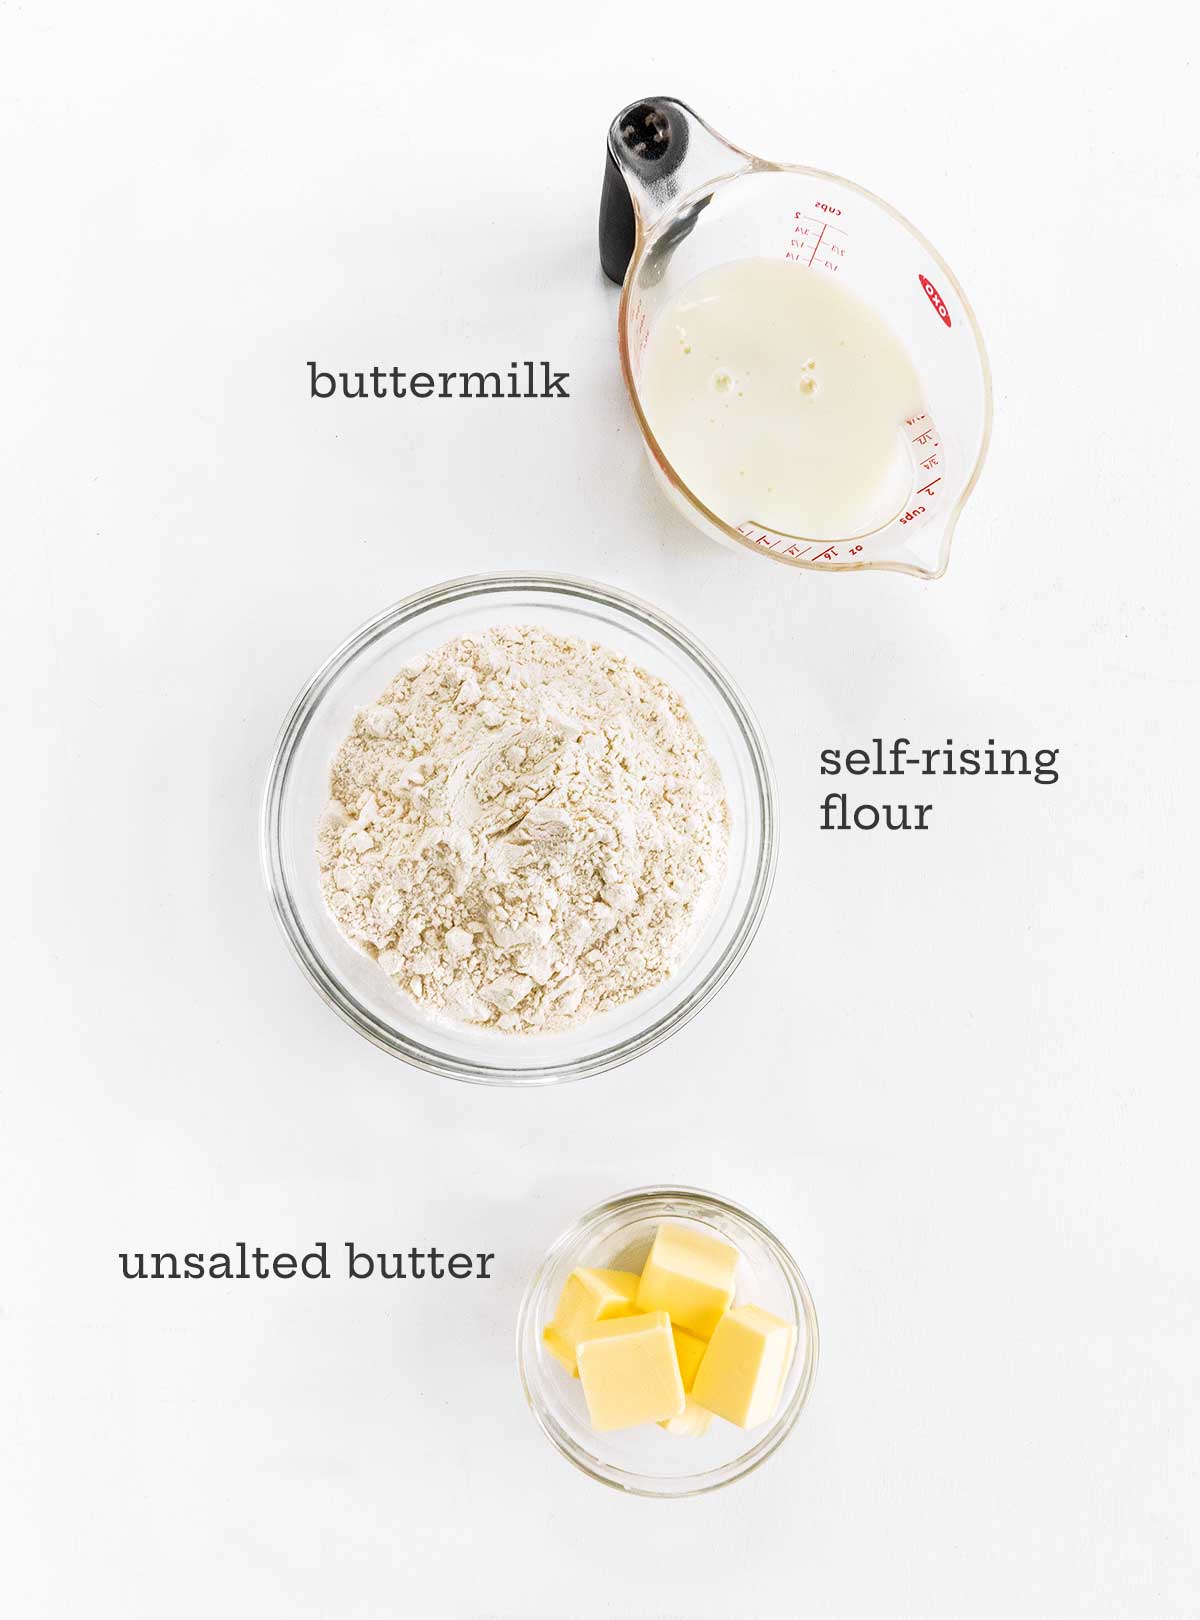
- Unsalted butter–Since self-rising flour contains salt, we recommend you stick with unsalted butter for these biscuits.
- Self-rising flour–You can make your own self rising flour by following the formula below or purchase it. Most well-stocked supermarkets will carry self-rising flour. We like White Lily best for making the flakiest biscuits.
- Buttermilk–The addition of buttermilk adds some fat, and a subtle tang to your biscuit dough, and the acidity acts as a leavener, helping the dough rise to create a tall, fluffy biscuit. Use full-fat buttermilk for the best results.
HOW DO I MAKE SELF-RISING FLOUR AT HOME?
Knowing where to find may be a birthright in the South, but we know it isn’t necessarily a given for everyone else. And outside of the South, it can be a little tricky to find. Here’s how to make your own self-rising flour for homemade buttermilk biscuit baking emergencies. It’s a very easy equation: 1 cup self-rising flour = 1 1/2 teaspoons baking powder + 1/2 teaspoon salt + 1 cup all-purpose flour.
[Editor’s Note: In case you haven’t a calculator handy, when you do the math for the recipe that follows, that equates to 1 tablespoon baking powder + 1 teaspoon salt + 2 cups plus 2 tablespoons all-purpose flour. Although you may want to make a second batch so that you have ample flour for dusting the work surface as you knead the dough. Now go bake.]
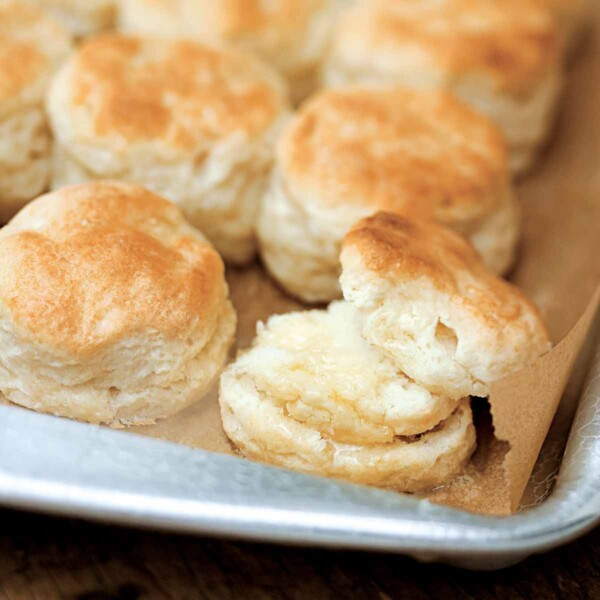
Southern Buttermilk Biscuits
Equipment
- 2-inch (5-cm) round biscuit or cookie cutter
Ingredients
- 1 stick (4 oz) unsalted butter, cold, plus more for the pan if needed
- 2 1/4 cups store-bought self-rising flour, such as White Lily or Martha White brands, or 2 cups plus 2 tablespoons homemade self-rising flour* (see NOTE above), plus more for the dough and the work surface
- 1 1/4 cups buttermilk, either low-fat or full-fat
- 2 tablespoons (1 oz) unsalted butter, melted
Instructions
- Slice the cold butter into 1/4-inch-thick (6-mm) slices. Dump the flour in a large bowl and toss in the butter slices. Using a pastry blender or a couple knives, cut the butter into the flour until the mixture is pretty crumbly and resembles small peas. Cover and refrigerate for 10 minutes.
- Preheat the oven to 450°F (230°C). Lightly butter a baking sheet or line it with parchment paper.
- Add the buttermilk to the flour mixture, gently stirring with a fork just until the flour is moistened. The dough will be very sticky. Turn the dough out onto a lightly floured surface and gently knead it 3 or 4 times, gradually adding additional flour as needed. Using floured hands, press or pat the dough into a 3/4-inch-thick (18-mm) rectangle (it should measure about 9-by 5-inches or 23-by 13-cm). Sprinkle the dough with a little additional flour.
- Starting at a short end, fold the dough over onto itself in 3 sections as if folding a letter-size piece of paper. You should end up with a rectangle shape. Press the dough into a 3/4-inch-thick (18-mm) rectangle (yes, again) and repeat the entire process 2 more times, adding additional flour as needed.
- Press or pat the dough to a 1/2 inch (12-mm) thickness on a lightly floured surface. Cut the dough with a floured 2-inch (5-cm) cutter. Place the biscuits side by side on the prepared baking sheet. The biscuits should touch. Quickly and gently press together the dough scraps while the dough is still cold and cut out as many more biscuits as you can.
- Bake the biscuits for 13 to 15 minutes, or until lightly browned. Brush the tops with the melted butter and let them cool ever so slightly. The biscuits are best warm from the oven. Don’t dally.
Nutrition
Nutrition information is automatically calculated, so should only be used as an approximation.
Recipe Testers’ Reviews
This Southern buttermilk biscuits recipe, as described by my wife, is sinful! And I couldn’t agree more. The recipe is very traditional and straightforward. I LOVE the folding of the dough, which created beautiful layers.
Because the biscuits are brushed with melted butter upon leaving the oven, I found them perfect with no other toppings. I couldn’t resist dropping one in some homemade soup…wow! Now that’s some kind of dumpling. I was able to collect the dough scraps after cutting and make a few more perfect biscuits. There was little, if any, waste. This recipe gave me nearly 20 nice, plump biscuits.
I’m a Southern girl at heart, so no one could’ve stopped me from making this Southern buttermilk biscuits recipe. They’re warm, light, airy, buttery heaven. These biscuits are soooo mouthwatering and can be enjoyed any time of day. They’re practically easier than popping open that can of pre-made biscuits (and certainly safer) and the taste is incomparable, so there’s no excuse to avoid making homemade biscuits.
The best part is that with only 3 ingredients, you probably already have everything on hand.
I enjoyed these with a drizzle of honey—yum. They’d make a great biscuit for a breakfast sandwich in savory form or they could stand to be slathered with jam or cream and berries for a sweet offering. This is a great recipe to keep close by (which I intend to do). Don’t expect them to last long!
These Southern buttermilk biscuits came together easily and were wonderful with a shmear of salted butter. The dough was a little wet, so I used additional flour for each turn and fold before rolling the dough. I re-rolled the scraps and couldn’t tell the difference between the biscuits from the original rolling out and the re-rolling out. Great with homemade chicken soup.
This Southern buttermilk biscuits recipe was fast, easy, and spectacular. The extra step of folding the dough, as you would puff pastry, allowed the biscuits to reach lofty heights previously unseen in my kitchen. Truly spectacular results for a non-baker. An absolute keeper for me.
When you live in the land of biscuits, it takes a really great one to get a rise out of you (ha ha). This Southern buttermilk biscuits recipe makes just that biscuit. I’d never used the fold-over technique before, and it’s obviously a good way to get all that butter into the dough. And it’s fun, too.
These were lightly golden brown on the outside, soft and buttery and flaky on the inside. In fact, they ended up being dinner since they beat everything else I’d had on the projected menu.
My biscuits were a thing of beauty! I’d never made buttermilk biscuits before, and I was pretty intimidated by the prospect of making these for company. Result? Amazingly beautiful and delicious biscuits. They were gone in a flash. I highly recommend this recipe.
To be honest, my first batch didn’t turn out as expected—I think the self-rising flour I used was too old and I’m pretty sure the temperature of my oven was off as the biscuits didn’t rise or brown properly. However, I tried the recipe again using the homemade self-rising flour. I worked the dough a little less than the first time, and I made them a little thicker. I also turned my oven up 25°F.


These were really wonderful. I’ve always been disappointed in the biscuits I’ve made. And when I stumbled across some White Lily flour (Los Angeles, Surfas) I looked for a butter-based recipe. My family ate two batches in one day. I did prefer the recipe with 1 tablespoon of sugar. Not sweet but with the salt/leavening tamed.
JudyAU, now that is what I like to hear. A family digging into two batches!
Love this recipe. My problem is that I follow the recipe as you have it written and my dough is very sticky. It sticks to my hands. Sticks to my bench scraper and cutting board. I add 1/4 cup more flour so I can at least be able to knead the dough. I’m adding flour to my hands and flour everywhere. Is this a normal thing or am I doing something wrong? Please give me some advice.
Hi Manual, what type of flour did you use? Are you able to find White Lily or other Southern flours? Instead of trying to knead the dough, think more of folding the dough. A flexible cutting board dusted with flour makes quick work of the folding without the need for a bench scraper. Just use the board, instead of your hands, to fold the dough. We posted a video below of Nathalie Dupree, the Queen of Biscuits, turning and patting a very wet dough. Hope this helps.
I am so glad I found this recipe. The key seemed to be the folding. I don’t recall seeing my grandmother do that. So the first time in my life I made an honest to goodness yummy HIGH biscuit. No hockey puck!
The one difference I did do is the cutting. I did not use a round cutter, I simply patted it square/rectangular. Then cut the biscuits rectangular, as I did that separated them a touch to keep the perforation I created. This was because A) Mammaw did this way. B) It actually (to me) makes sense. No fooling with the dough more than needed, just cut the square/rectangle grid, put in pan, pop in oven.
As an FYI: My son did the second try of recipe. He said he put the folded dough directly into the pan, then cut into the rectangle grids. The end result was very tasty, there was some separation problems but not enough for us to not consider his method in the future.
Michelle, I love everything you say. I, too, like to cut my biscuit dough. And you really need no other reason than Mammaw did it! Thanks so much for taking the time to comment. Looking forward to hearing which recipe on the site you try next! Love that your son bakes!