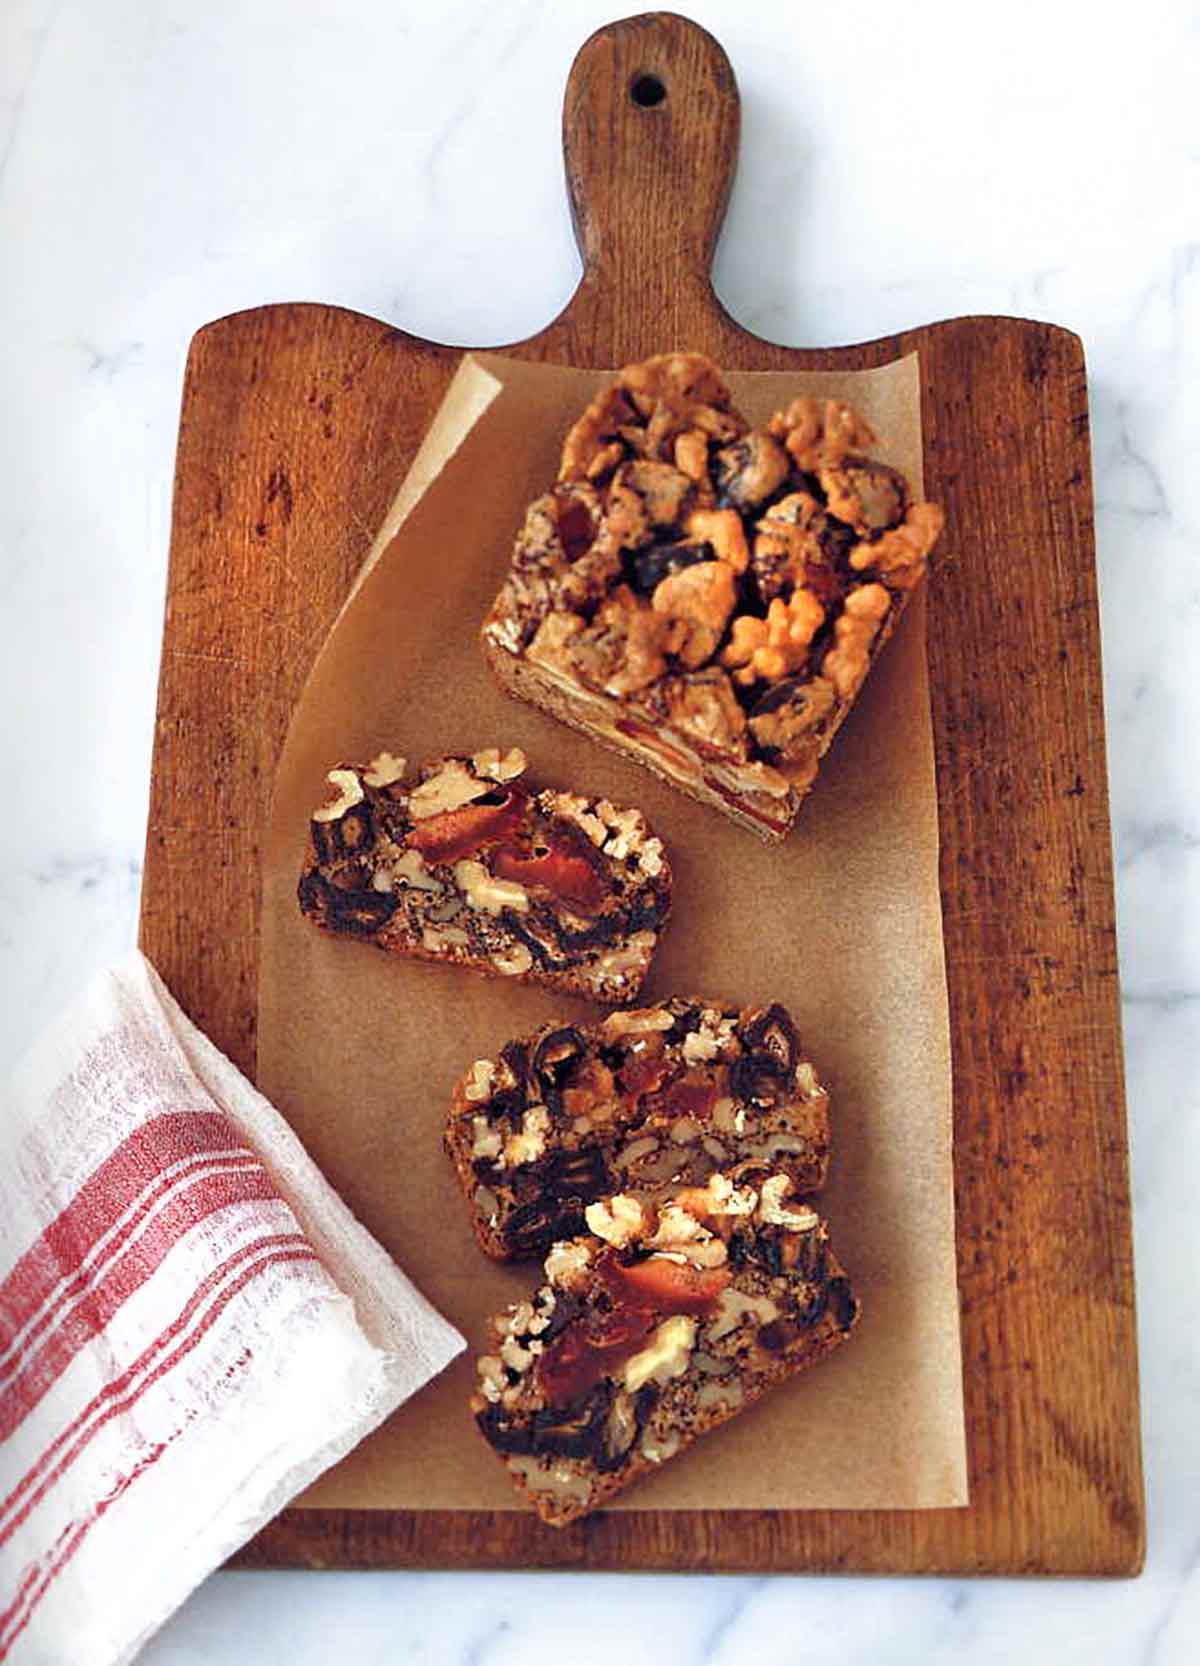
My friend Christine Blaine gave me this recipe many years ago when she was the retail director of my dessert company. Chock-full of crunchy nuts and moist dried fruit, it was especially appealing for having no artificially colored (and universally reviled) bits of candied fruit.
Similar to panettone and stollen, it has a long shelf life, making it a perfect hostess or holiday gift.–Alice Medrich
Dried Fruit and Nut Cake FAQs
Given that the amount of flour is only 3/4 of a cup, we’re sure a gluten-free version would be just fine. Swap in your favorite pre-mixed flour substitute and you’re good to go.
In step 2, Medrich directs you to add “all the dried fruit, and the nuts, and mix thoroughly with your fingers” and she means it. That coating of flour on those little nuggets is what helps to keep them suspended in the batter.
Sadly, no. Because it hasn’t been soaked in alcohol, it won’t last for years. But it also tastes a heck of a lot better, so that’s the trade-off. However, because there’s no dairy in it, the cake will keep, wrapped airtight in foil or plastic wrap, for several weeks at room temperature or at least three months in the refrigerator. That’s right, three months! It can also be frozen for at least six months
More nutty dessert recipes
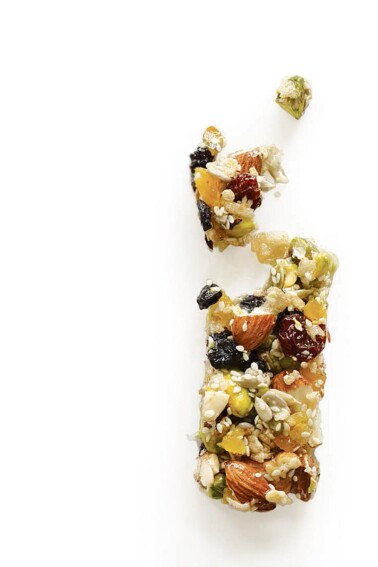
Homemade KIND Bars
35 mins
Vegan Walnut Fig Bars
1 hr 15 mins
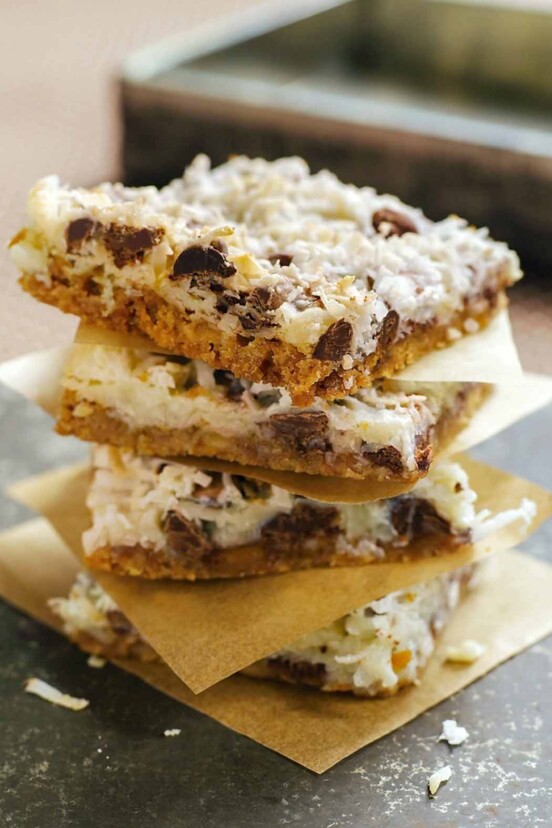
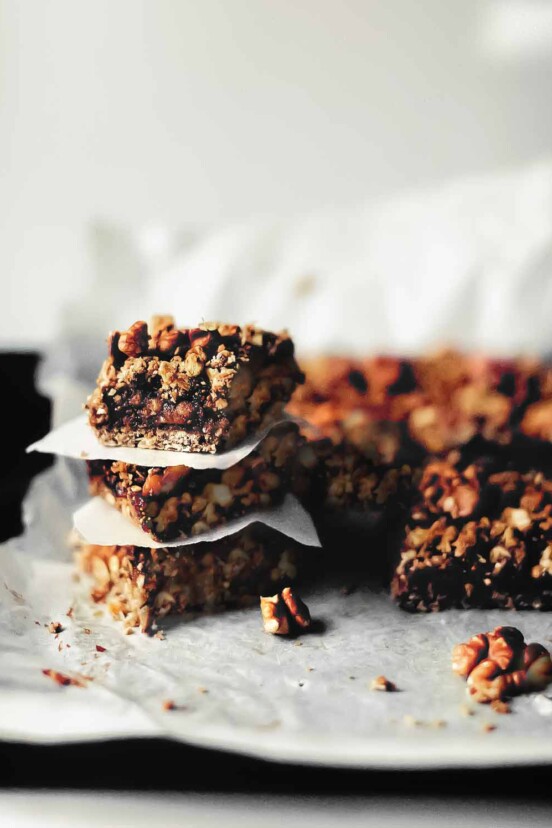
Magic Cookie Bars
2 hrs 40 mins
Date Bars
2 hrs
Write a review
If you make this recipe, or any dish on LC, consider leaving a review, a star rating, and your best photo in the comments below. I love hearing from you.–David
Featured Review
delicious and easy way to use all the bits in the pantry! i did soak the dried fruit in bourbon while mixing up the rest. not sure of the impact to the loaf, but looking forward to mixing up an old fashioned with the excess liquid!
Cindy Q

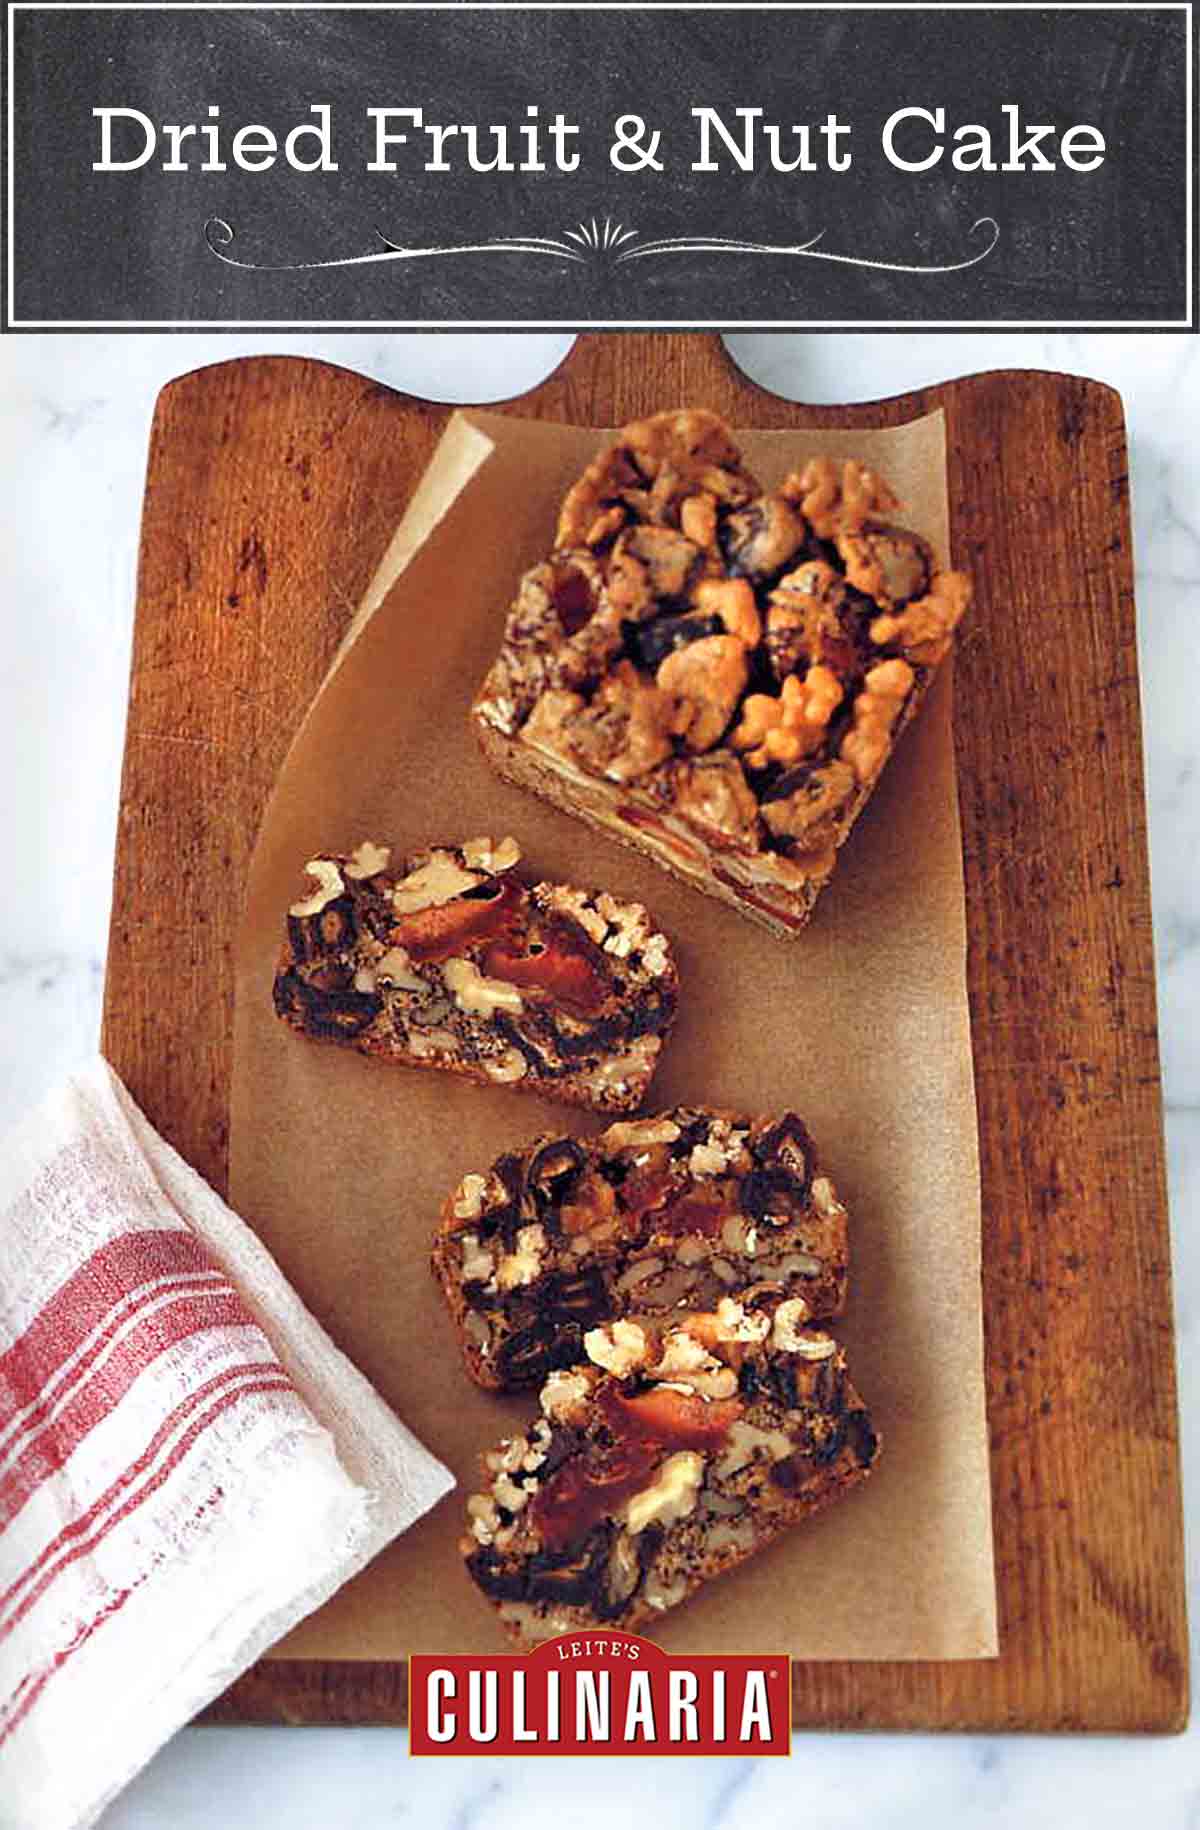
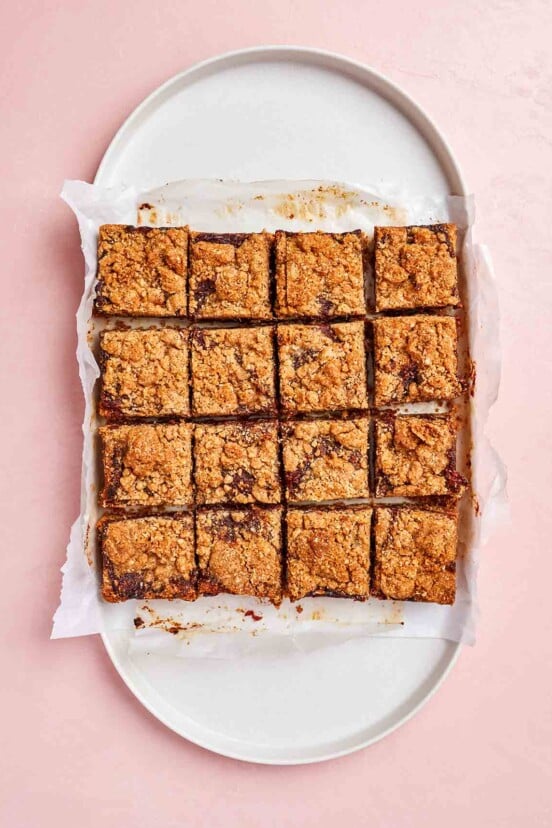
Dried Fruit and Nut Cake
Ingredients
- 3/4 cup (3.4 ounces) all-purpose flour
- 1/4 teaspoon baking soda
- 1/4 teaspoon baking powder
- 1/2 teaspoon salt
- 3/4 cup (5.25 ounces) firmly packed light or dark brown sugar or raw sugar, such as light muscovado or grated piloncillo
- 1 cup dried apricots, plums, pluots, pears, or peaches, or a mixture (to measure, leave apricots or similar-size fruit whole and cut larger fruit in halves or thirds)
- 2 cups quartered moist dates, or any other favorite dried fruits
- 3 cups (12 ounces) walnut halves
- 3 large eggs
- 1 teaspoon vanilla extract
Instructions
- Position a rack in the lower third of the oven and preheat the oven to 300°F (150°C). Spray the loaf pans (either one 9-by-5-inch 8-cup loaf pan or two 8-by-4-inch 4-cup loaf pans) with vegetable oil spray or line the bottom and sides with parchment paper.
- In a large bowl, whisk the flour with the baking soda, baking powder, and salt to combine. Add the brown sugar, all the dried fruit, and the nuts, and mix thoroughly with your fingers. Set aside.
- In a small bowl, beat the eggs with the vanilla until light. Pour the egg mixture over the dry ingredients and mix well with a wooden spoon or your hands until all the fruits and nuts are coated with batter. Scrape into the prepared pans.
- Bake until the top is deep golden brown and the batter clinging to the fruit seems set, about 1 hour for smaller loaves, 10 to 15 minutes longer for a large loaf. Tent loosely with foil if the cake appears to be browning too much. Cool completely in the pans on a rack.
- When completely cool, remove the cake from the pans.
- To serve, cut into thin slices with a sharp heavy knife.
Explore More with AI
Nutrition
Nutrition information is automatically calculated, so should only be used as an approximation.
Recipe Testers’ Reviews
Did you know only 68% of the recipes we test make it onto the site? This recipe survived our rigorous blind testing process by multiple home cooks. It earned the Leite’s Culinaria stamp of approval—and the testers’ reviews below prove it.

Watch out fruitcake! This dried fruit and nut cake might just steal the show this holiday season. Filled with dried fruits of your choice and buttery walnuts, I loved this cake not only for its flavor, but its simplicity. I used a mixture of dried apricots, dates, and golden raisins; I loved the way the sugary egg mixture helped candy the nuts on top of the loaf as well. I also liked that you can bake a truly delicious and rich treat like this without any butter or oil added into the batter. This is truly one bowl baking at its best.
My only thing to point out is that it seems like the liquid mixture of eggs and vanilla won’t be enough liquid to coat all of the dry ingredients, but it does. Just be sure and mix mix mix until all of the fruit and nuts are coated; you don’t want any stray raw flour anywhere on the cakes. I baked this in two 8- by 4- inch loaf pans and they baked just fine at 300℉ for 1 hour.
I froze the second loaf to defrost soon to accompany a cheese plate. The sweetness of this bread would pair really nicely with an English cheddar or even blue cheese—and don’t forget the port or brandy to accompany it. Whether you serve it as a dessert (with cinnamon-laced whipped cream perhaps for the holidays?) or on a cheese board, a sip of rich port or brandy really accompanies this bread very well.

From breakfast to wine tasting—oh the possibilities! Just bake it and you won’t have any trouble making it disappear. The brown sugar is subtle, preserving the natural sweetness of the fruit. And the chewy texture dotted with tender walnuts is wonderful. (I suggest using pecans if you’re not a big fan of the slight bitterness of the walnut skin.) In my house, the cake was particularly enjoyed with intense bleu cheese, and I loved having a sliver with strong French press coffee.
To measure one cup of dried fruits, I packed the measuring cup with dried apricots, apples, and pears, and used low-sugar cranberries to fill the empty spaces. My one 9-x-5-inch loaf baked in 70 minutes. Oh, one pointer: Use your sharpest knife to slice through the nuts without crushing them.

It’s hard to beat the joy of a recipe that works exactly as written, with no surprises, and turns out just as expected. For this, I used dates, apricots, and prunes, and it turned out exceptionally well, producing slices packed with fruit and nuts that held together just like the picture.
Even more exciting are the opportunities for variation with any dried fruit you can find: persimmons and cranberries with candied ginger in the fall, or cherries and blueberries with candied lemon peel in the spring. Given that most of the body comes from fruit and nuts, I imagine you could have great results using a gluten-free flour blend as well.
In my house, I have a 21-month old whose favorite foods are dried dates and dried apricots. I keep these in my fridge and after every meal, she asks, “Dates? Cots?” Of course, I don’t give these to her at every meal but when I saw the ingredients in this cake, I had to make it.
Oh my, I love this cake, and so does my 21-month old. For me, I had every ingredient on hand. I used light brown sugar, dried apricots, and dates. I made the two 8-by04-inch loaf pan size which was perfect to have 2 cakes. These cakes baked for just over an hour. The house smelled delicious while these were baking. This cake almost has the texture of a fruit cake, but fruit cake is often overly sweet with weird fruit flavors. This truly tasted of date and nut, the apricot was not very prominent which is okay by me.
We like it sliced and plain, as is. And we liked it slightly warmed with a spread of butter. We also like it in the morning with coffee or after dinner as dessert. The whole house likes this cake. And now my 21-month-old asks for “date cake?” after each meal. Precious.


Hi, David. I would very much like to make this cake but my son has gluten intolerance. So, could I possibly substitute the ordinary flour with almond or coconut flour?
Tsvetana, I think you’re best best would be to substitute a GF flour substitute, such as King Arthur’s Measure for Measure or Bob’s Red Mill One to One. Using almond or coconut flour might require some fiddling with the ratios of other ingredients.
delicious and easy way to use all the bits in the pantry! i did soak the dried fruit in bourbon while mixing up the rest. not sure of the impact to the loaf, but looking forward to mixing up an old fashioned with the excess liquid!
Cindy, you’re speaking my language. Soaking the fruit in bourbon is a classic move to plump them up—it probably made the cake even moister. But saving the excess liquid for an Old Fashioned? That’s pure freaking genius! I think I might just make the cake so I can have the cocktail! Thanks for the laugh and the great tip.
love it!