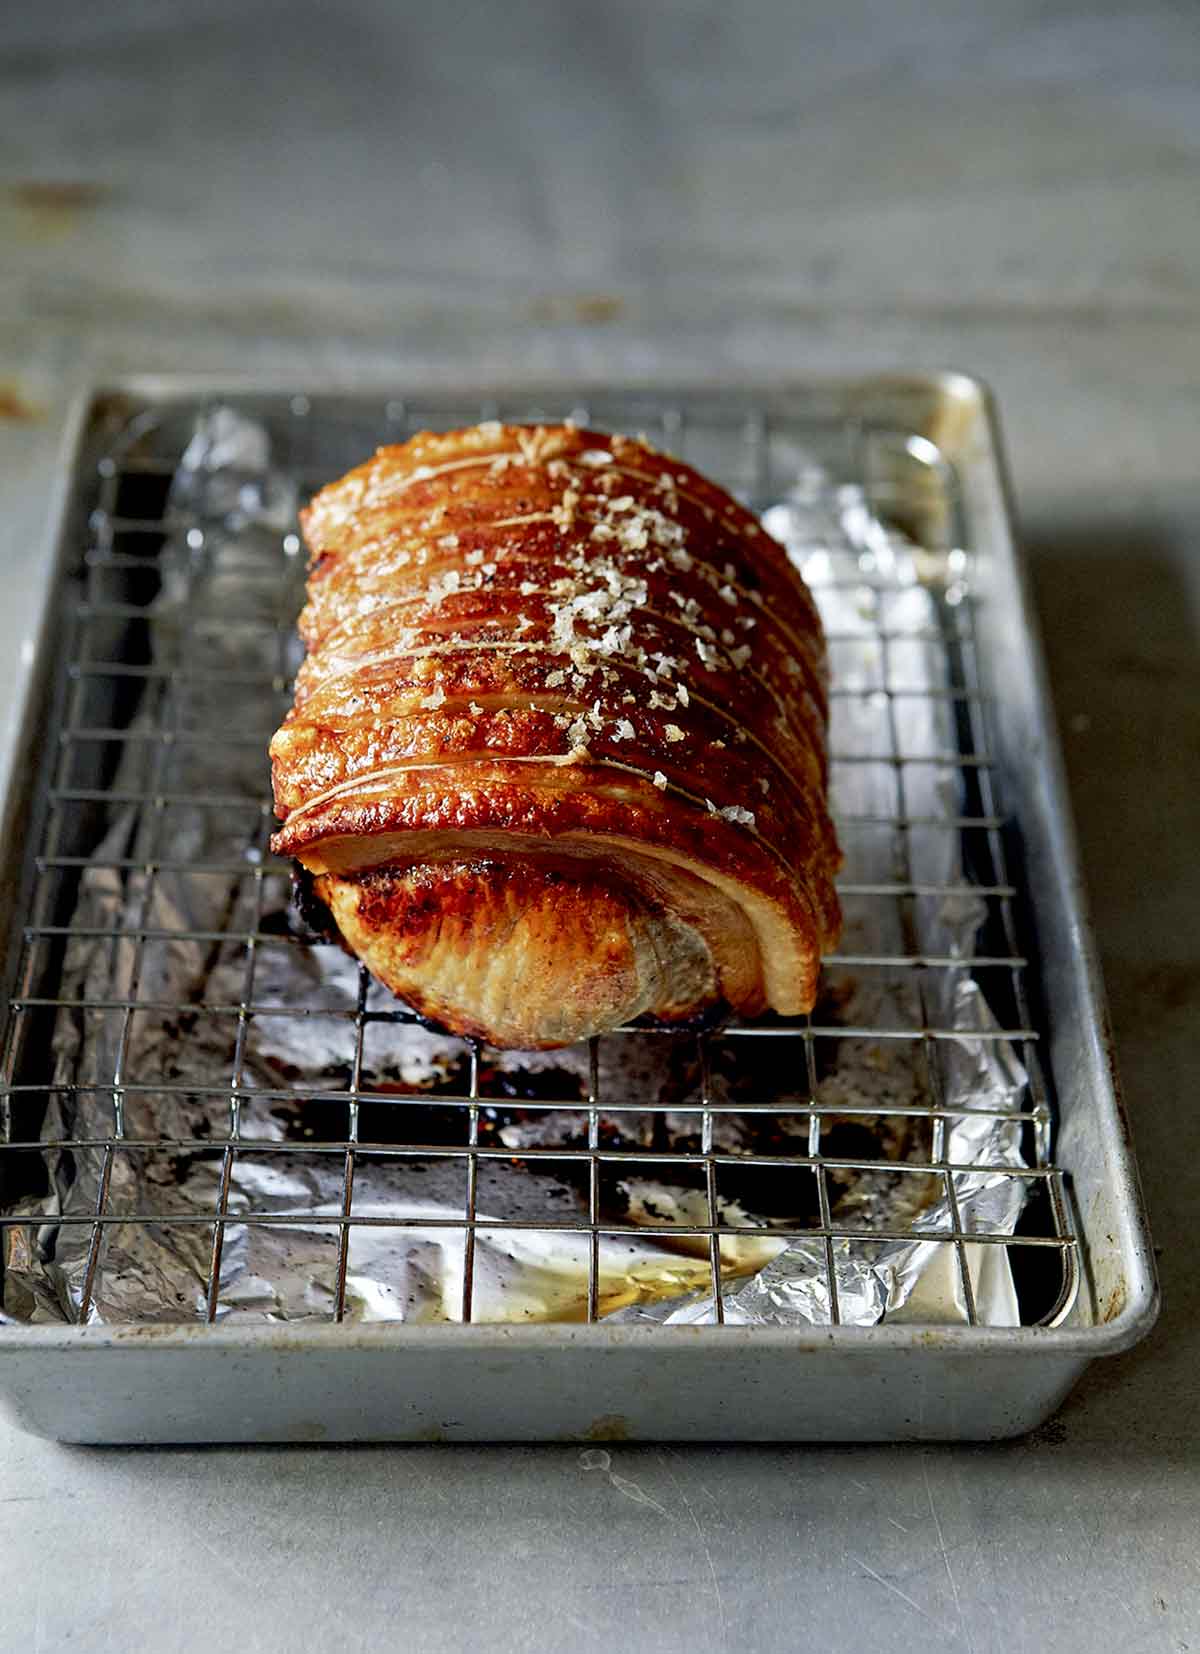
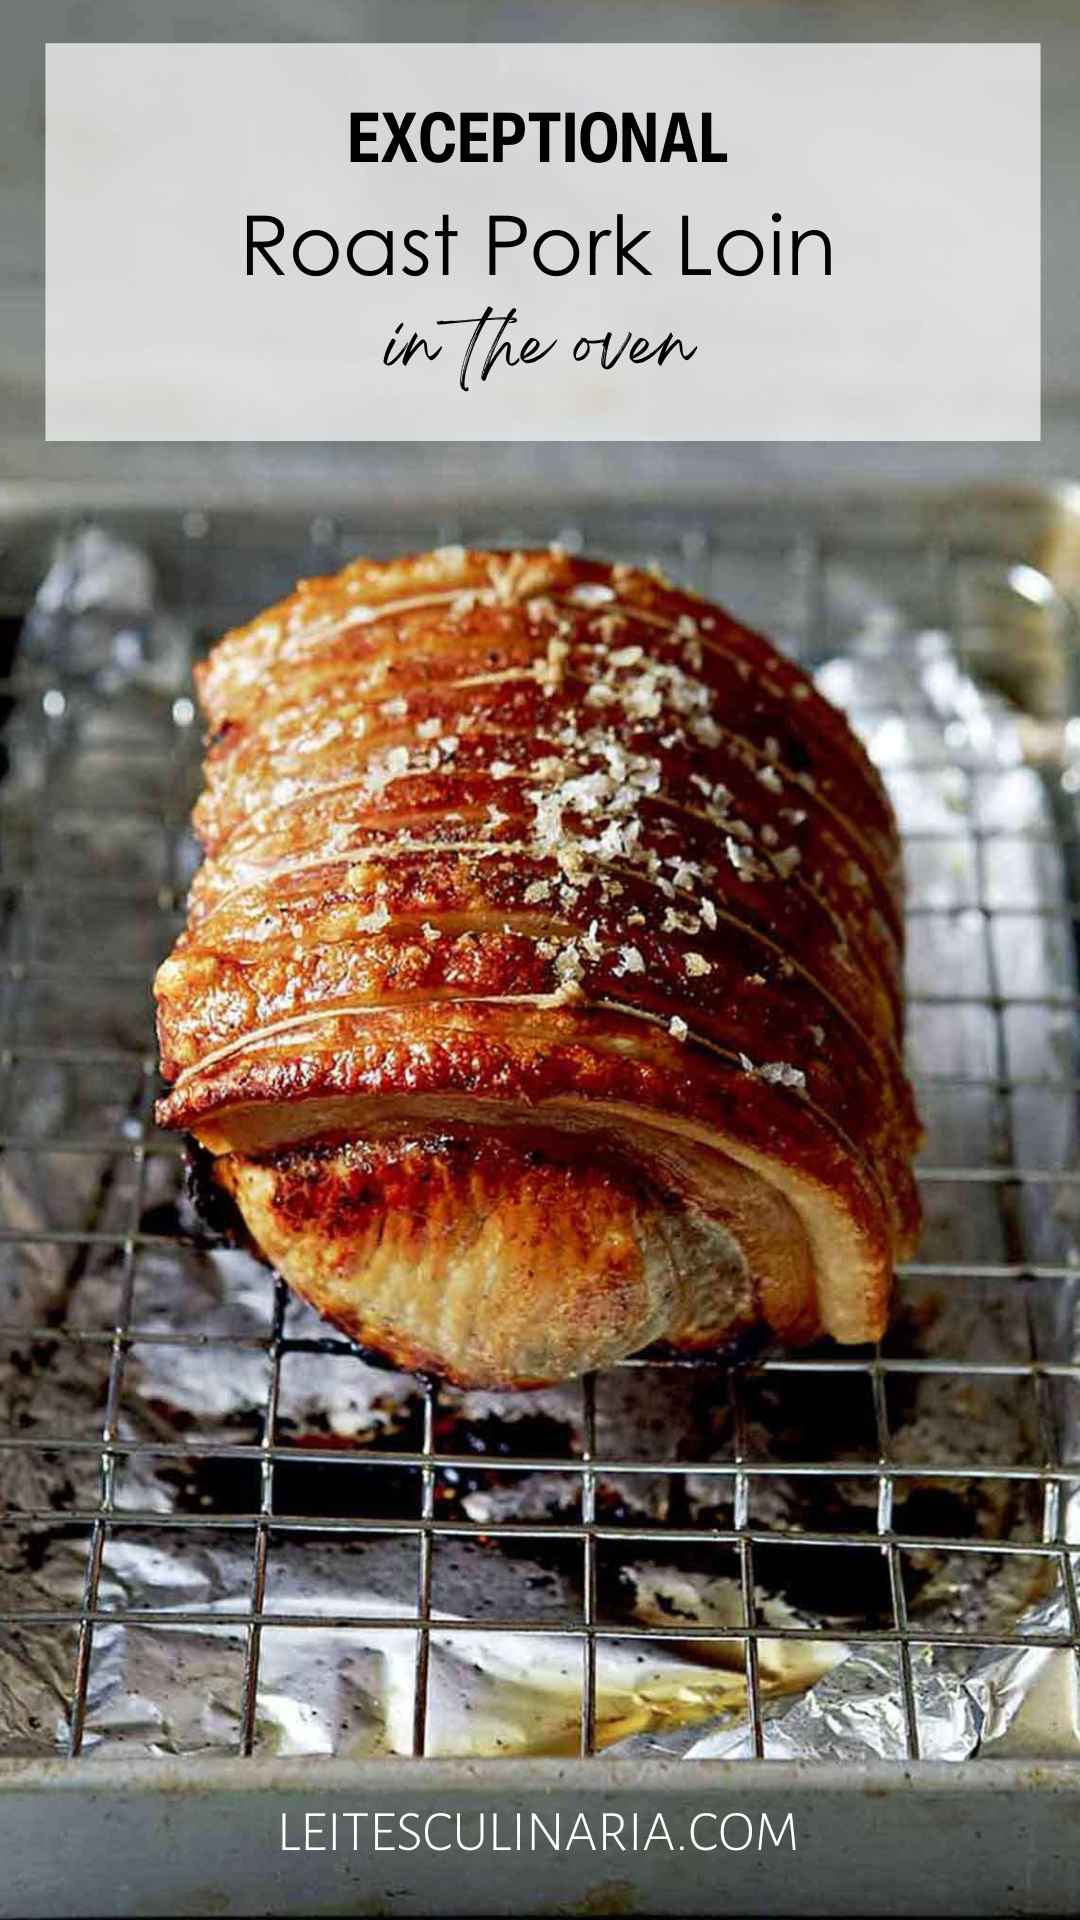
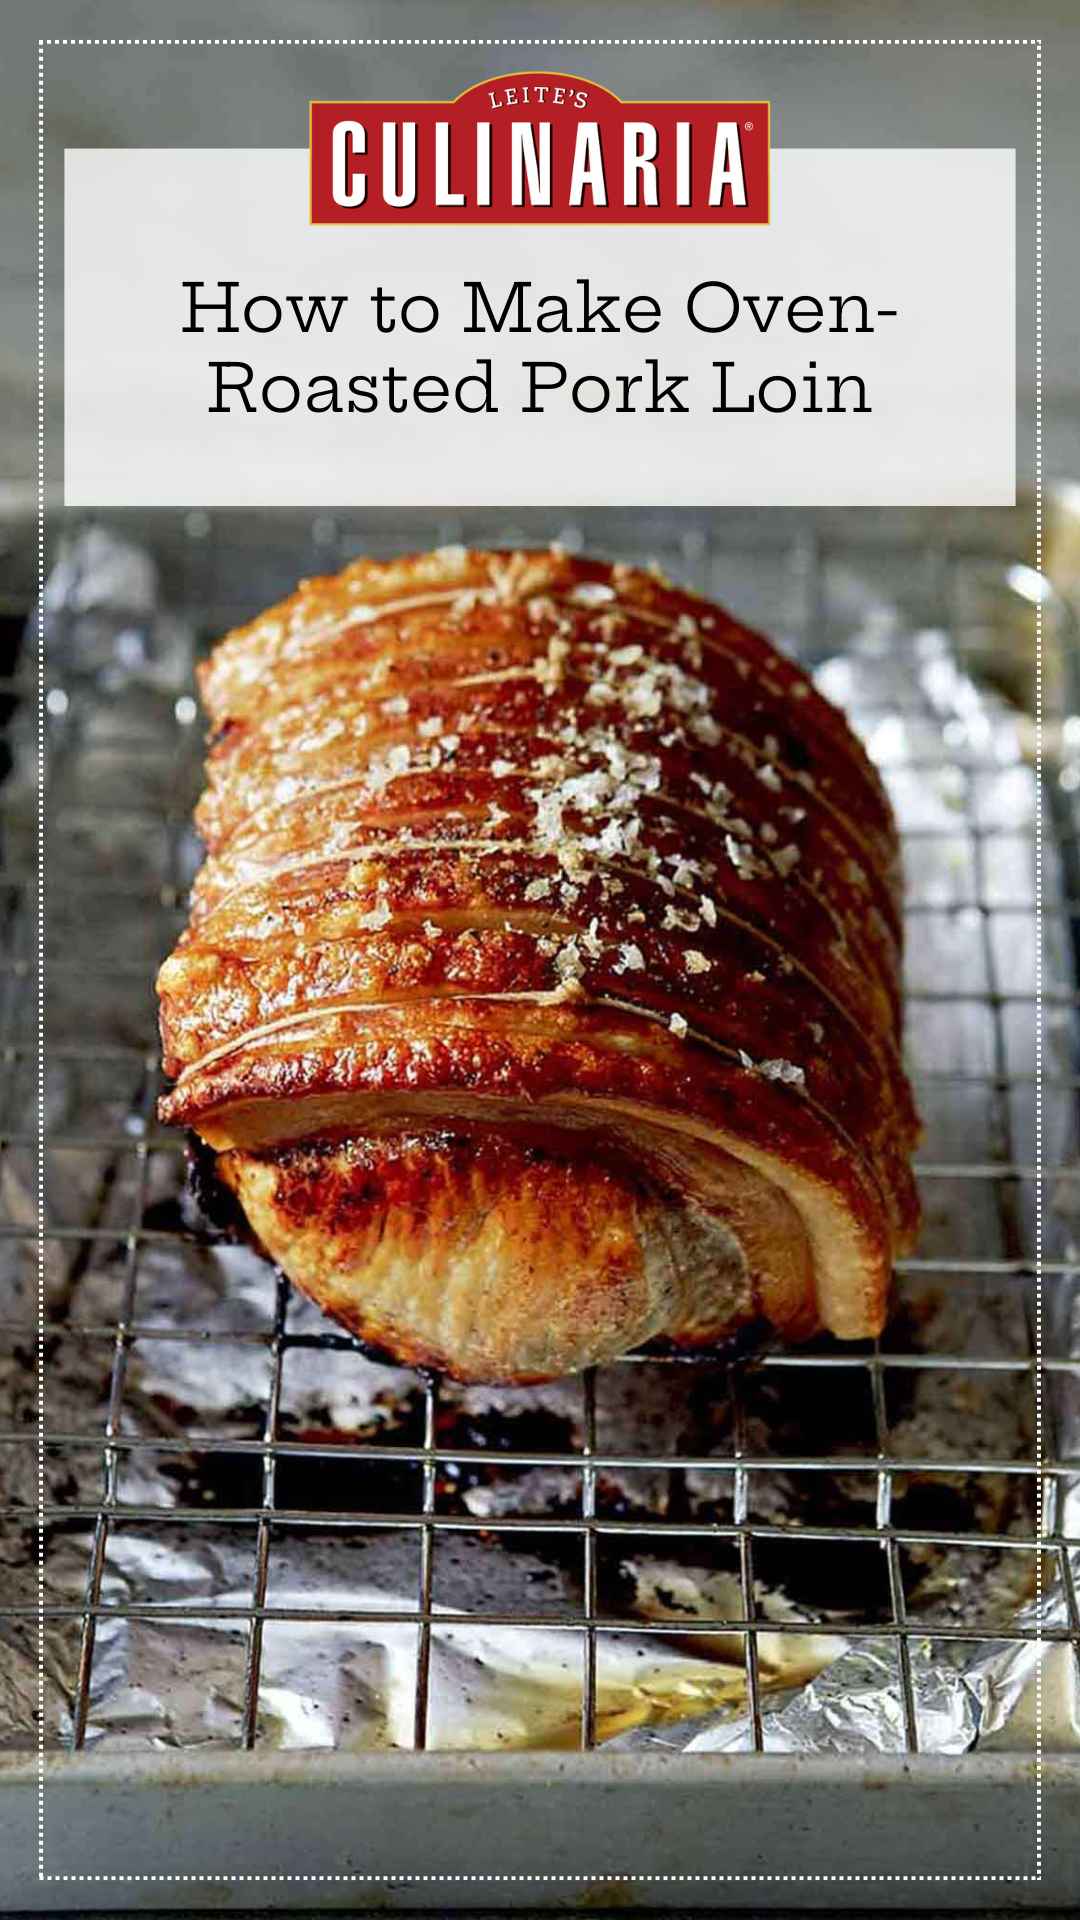
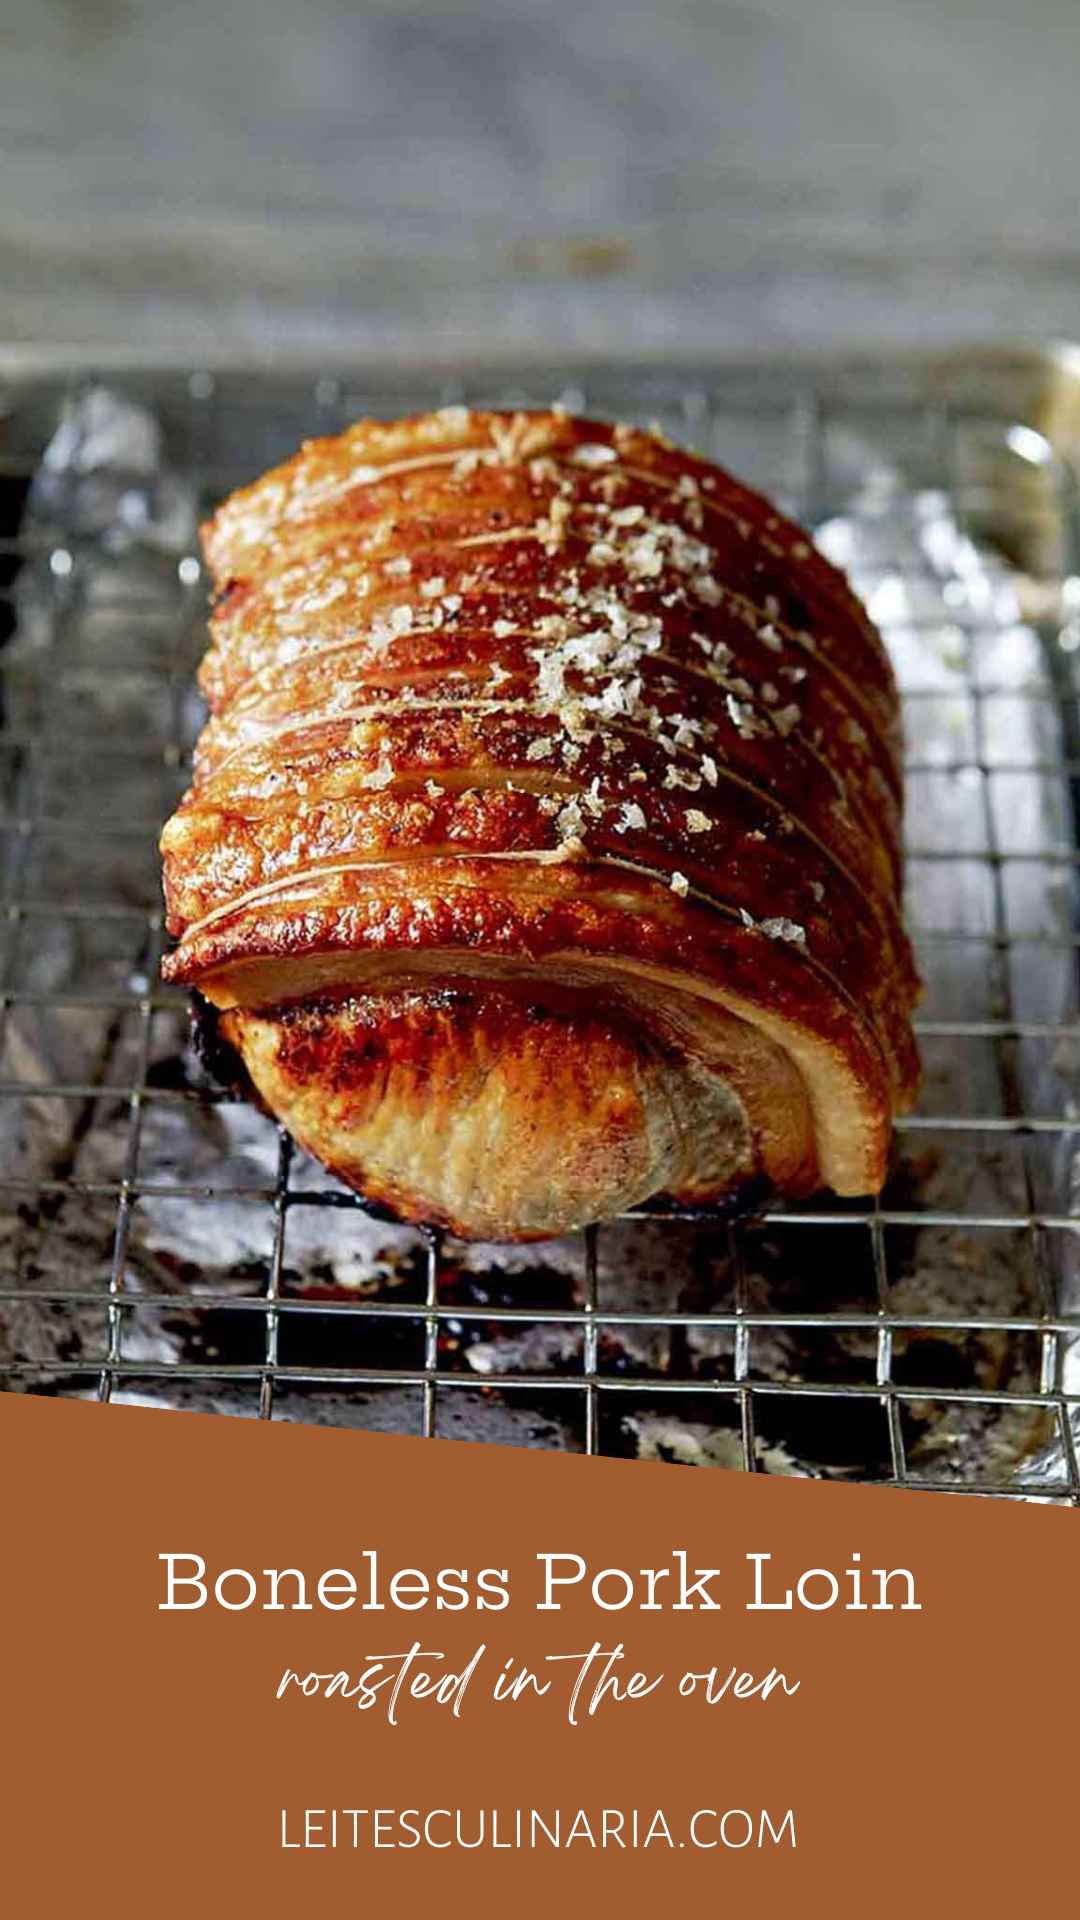
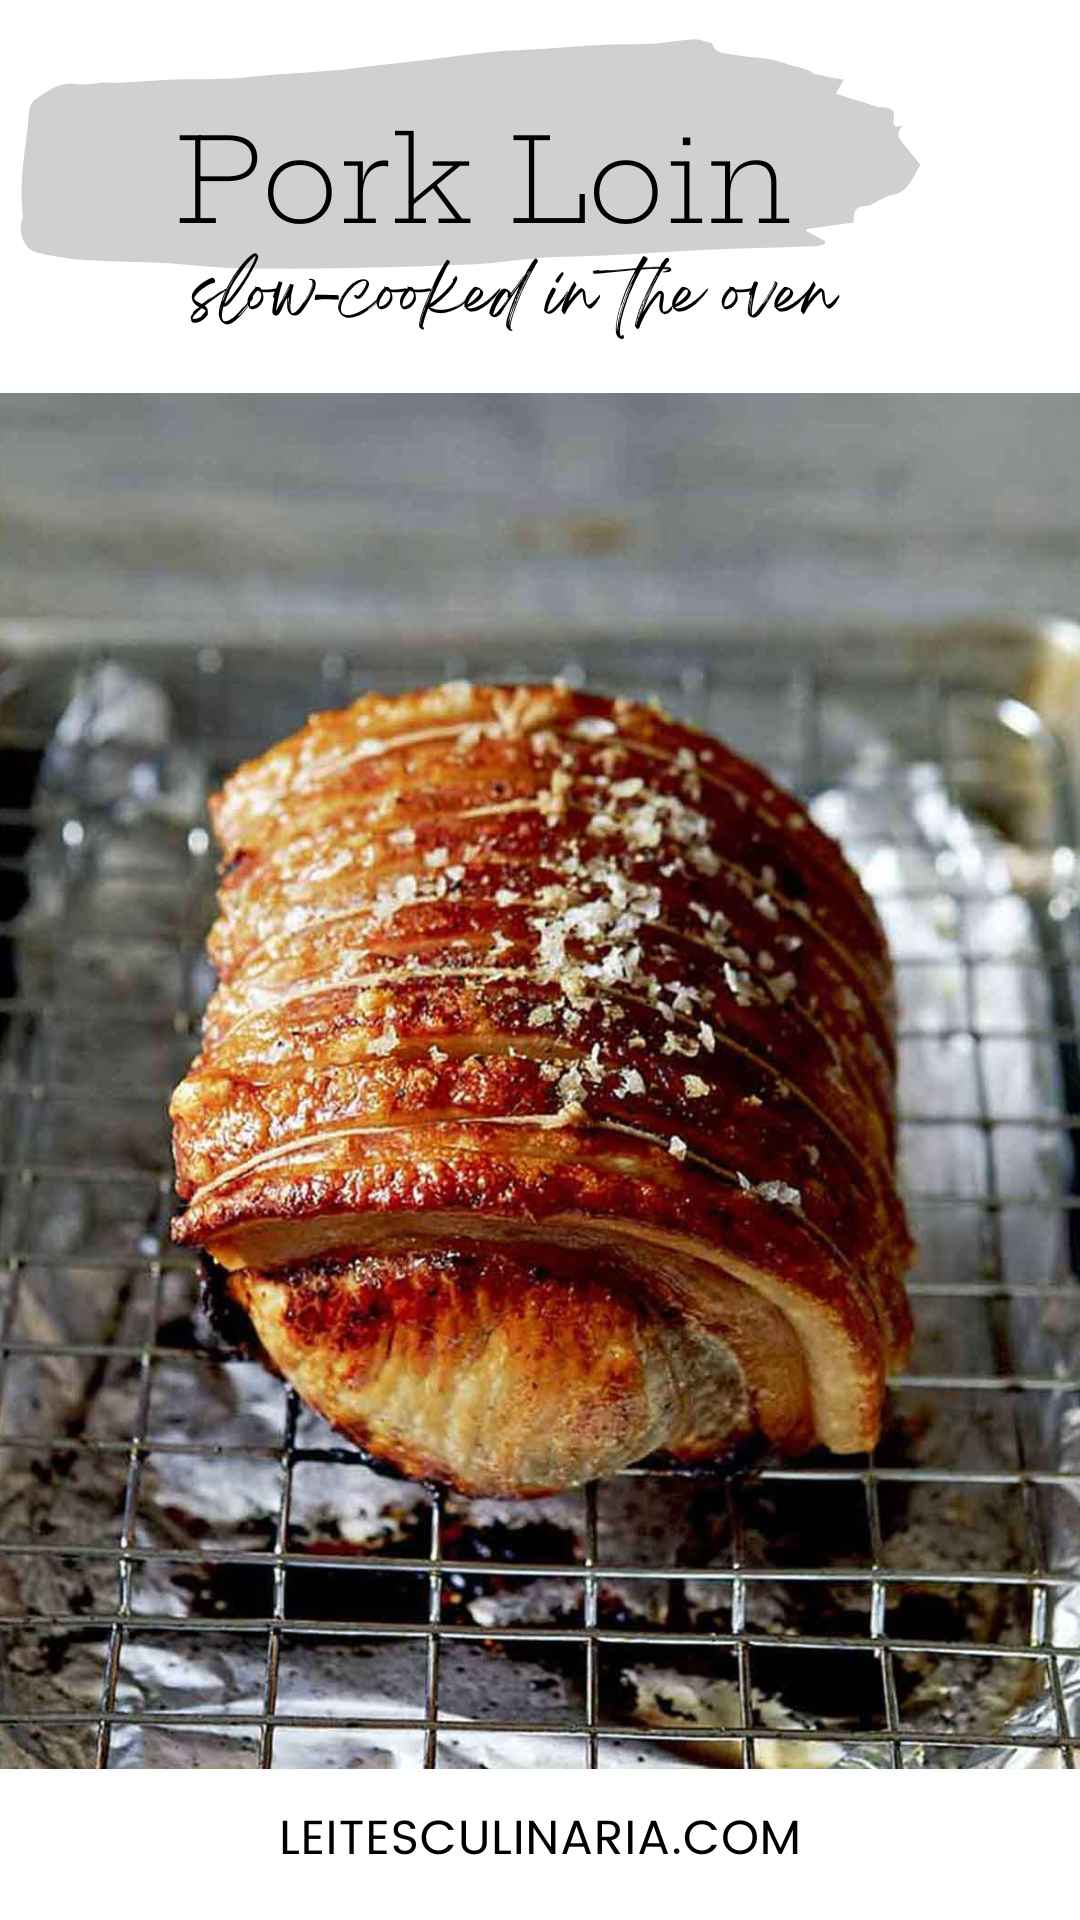
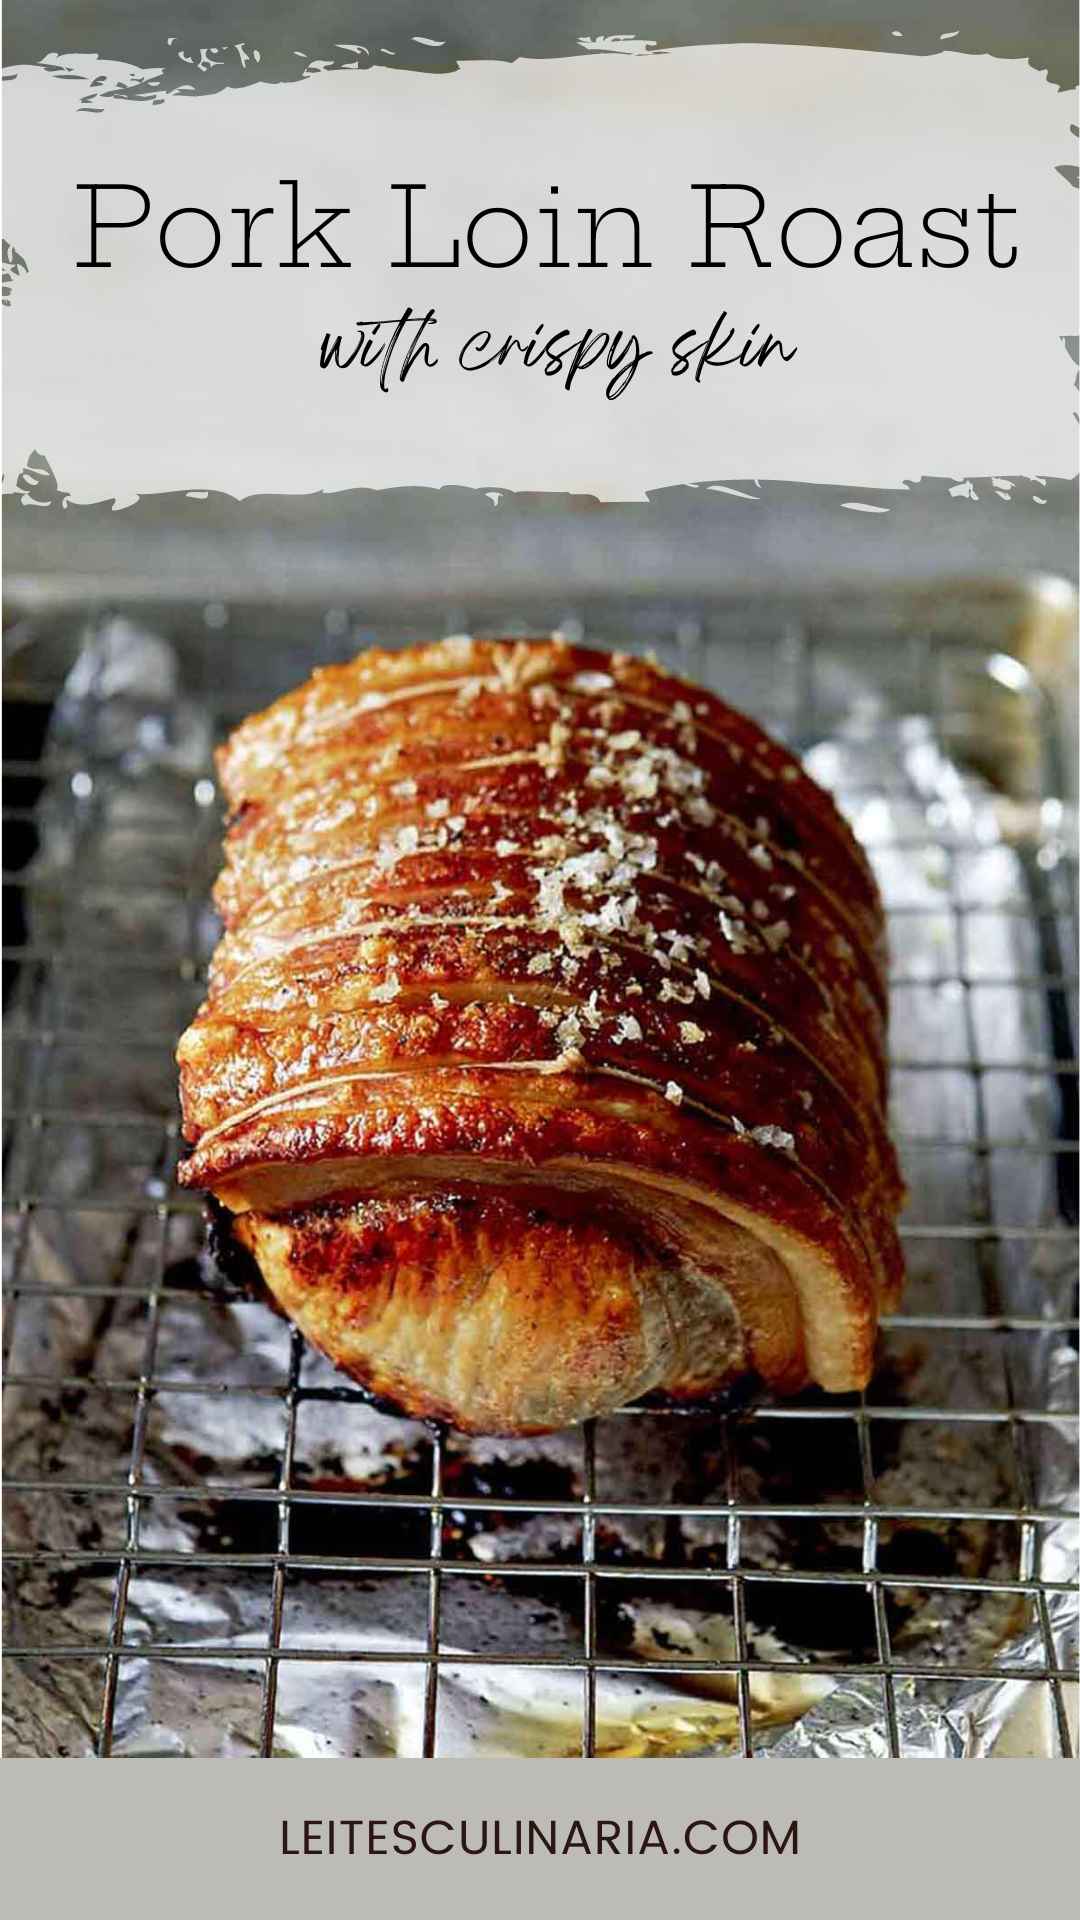
This boneless pork loin roast is easy and old-fashioned and just like what your grandma would put on the table for Sunday supper. No marinade. No fuss. Just shove it in the oven for its long, slow cooking time while you tend to something else. Then accept accolades on just how incredibly juicy and go-wobbly-in-the-knees flavorful it is.

Why Our Testers Loved This
Ralph K. is calling this his “new favorite recipe for pork loin roast.” He loved that “the outcome was fantastic—a nicely browned, crisp exterior that was super juicy inside.”
Deitra W. joined in with her comment, “Roasting at a high temperature for a shortened period of time locks in the flavorful juices in the pork, creating a moist, tender piece of meat that you could cut with a fork.”
What You’ll Need to Make This
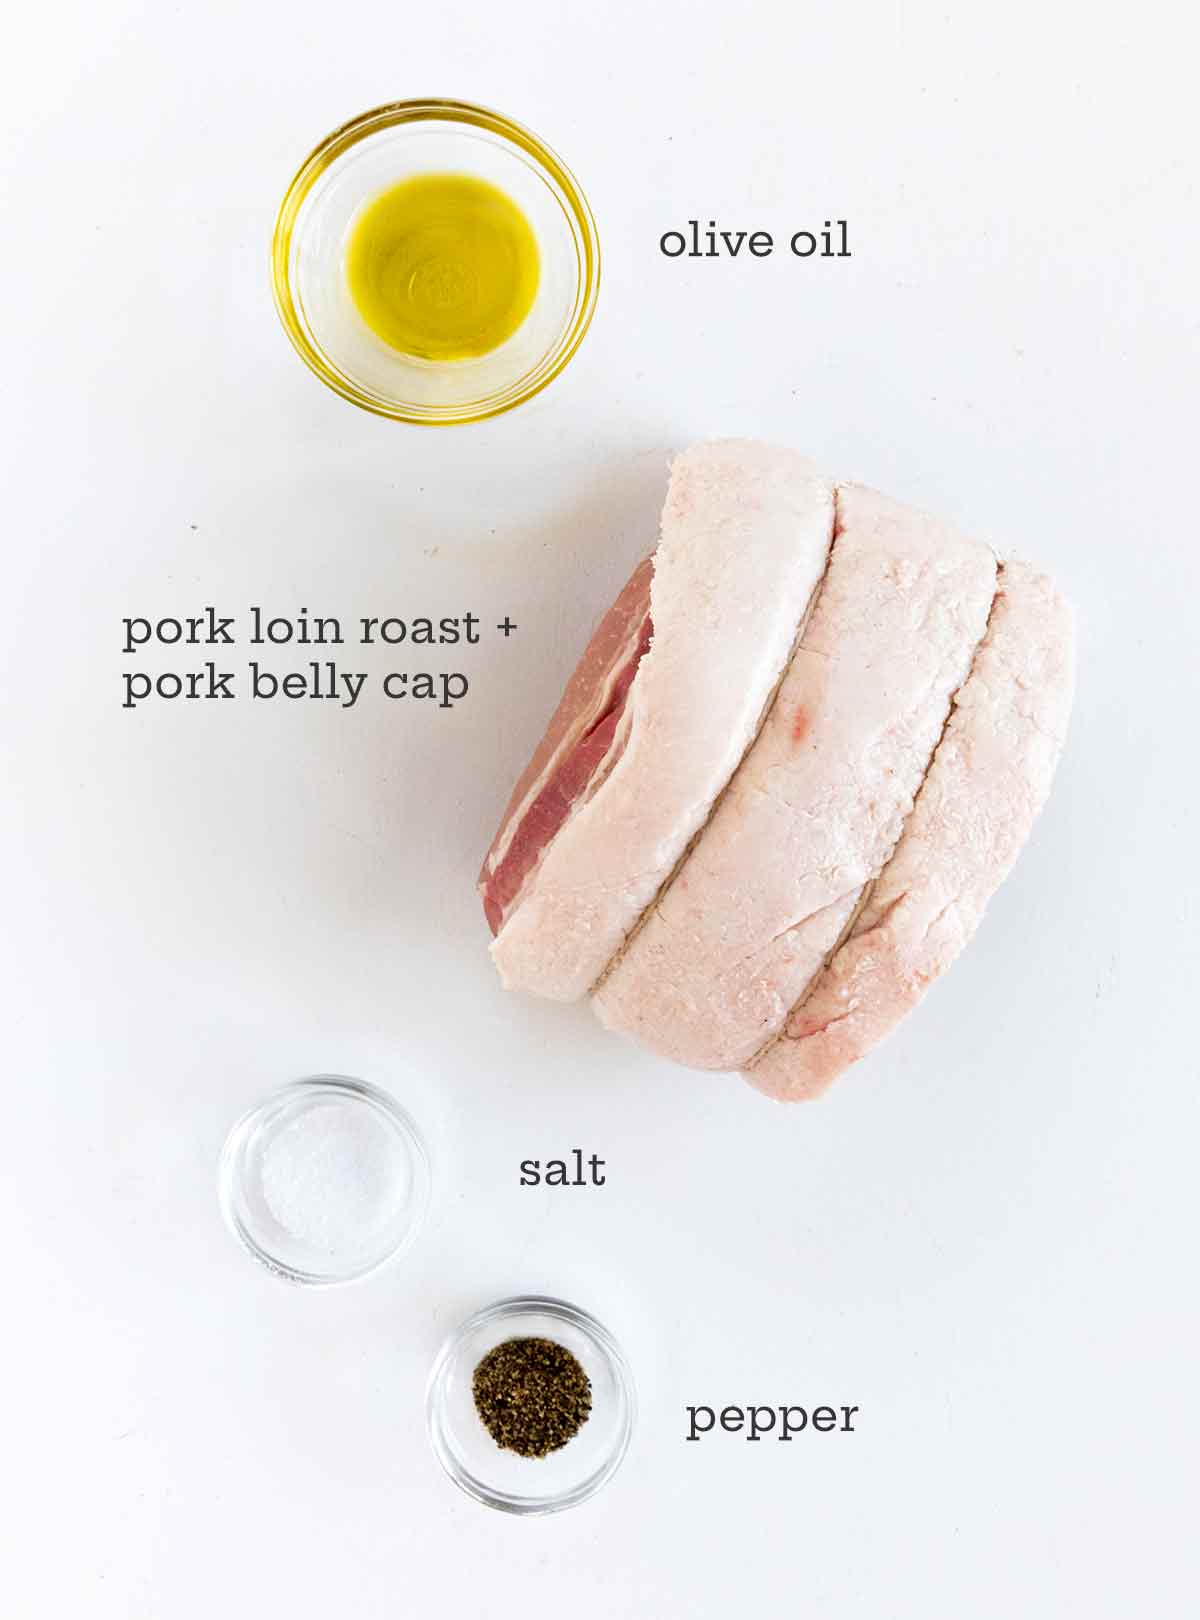
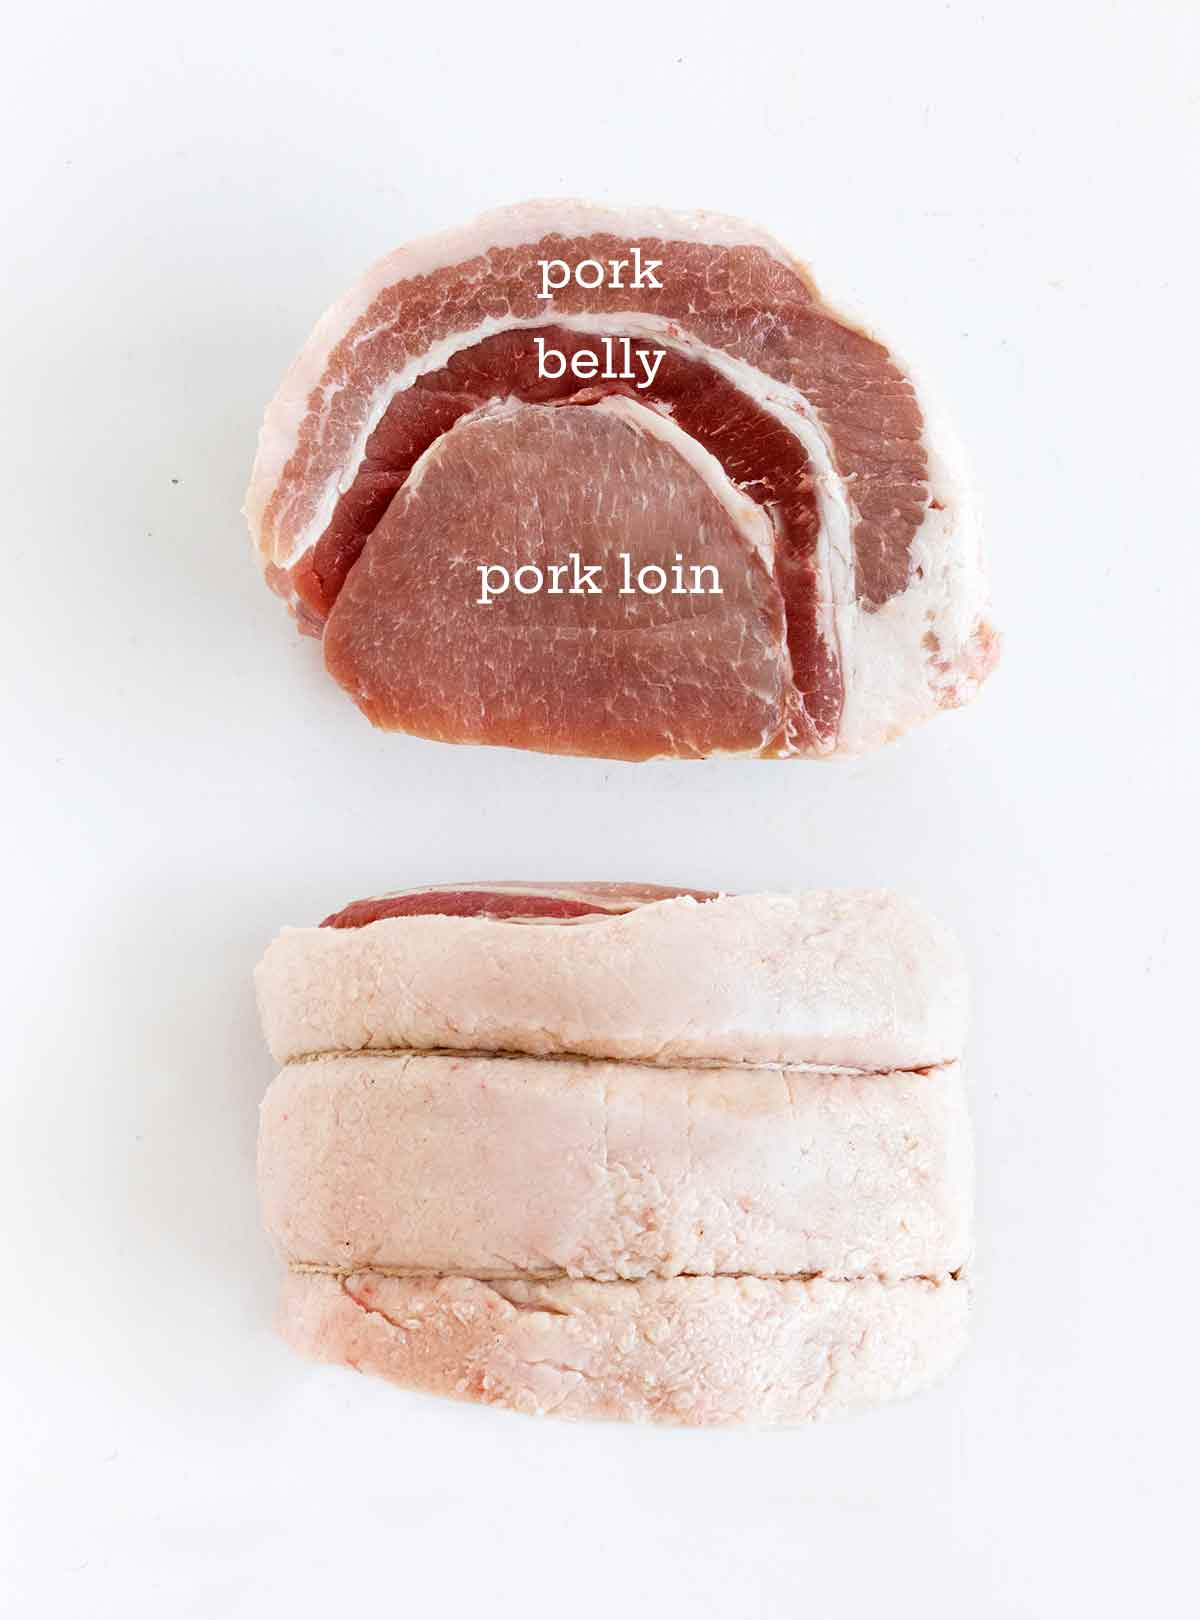
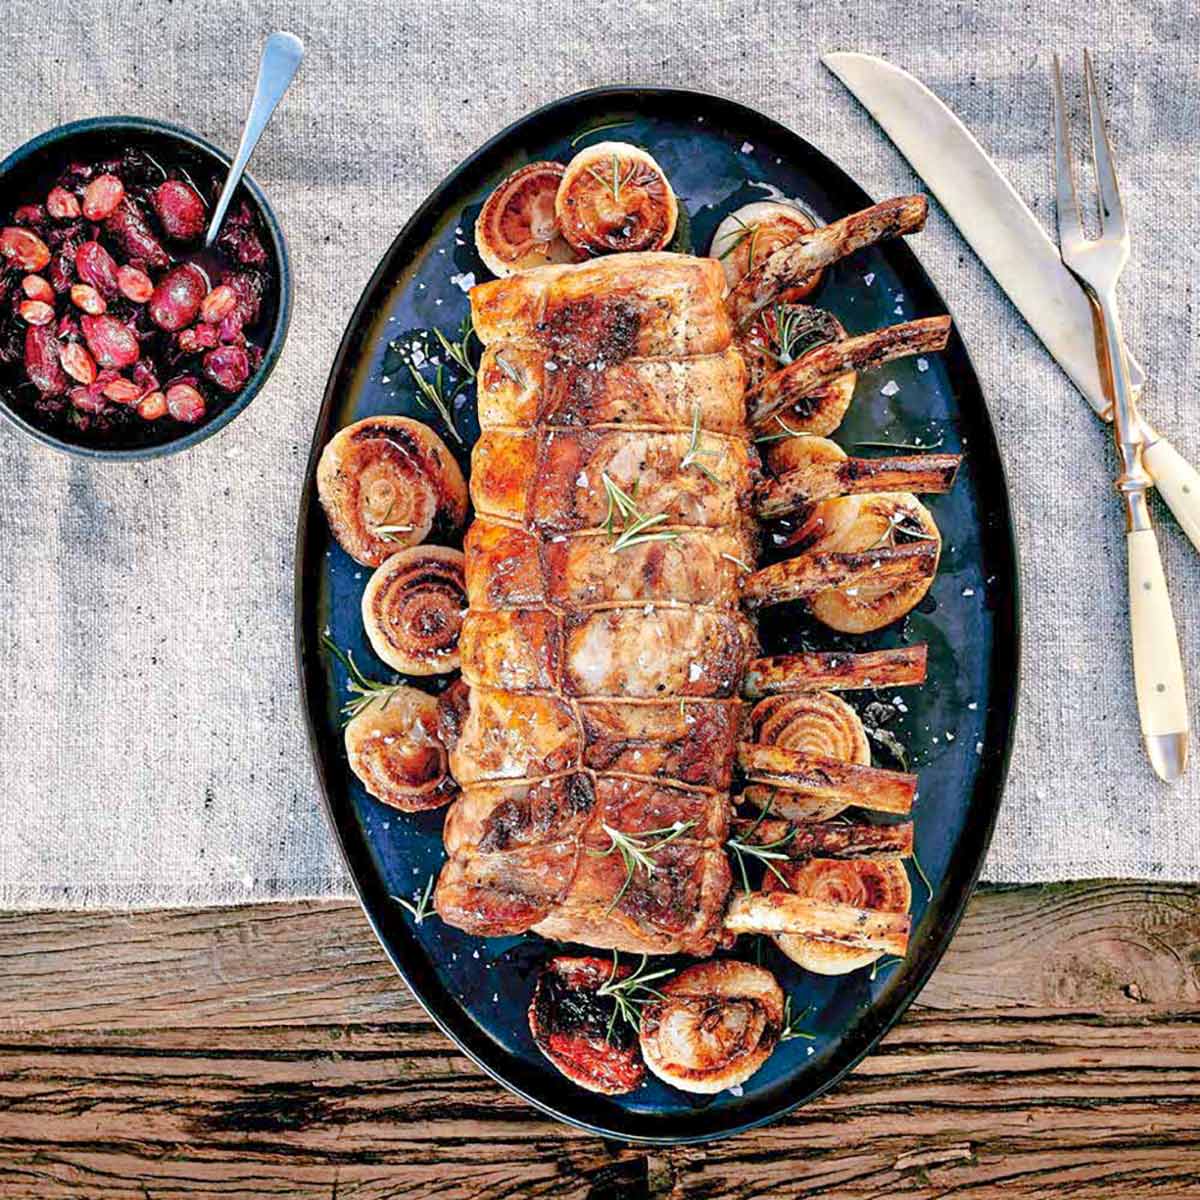
- Pork loin roast–The most important thing to remember when purchasing your pork loin is to look for one with a thick fat cap. That being said, I’ve never had luck finding one. So what I do is grab some pork belly (or thickly sliced bacon) and tie it over the top (below). The additional fat is critical to keeping the pork loin juicy and tender. ☞ (Do not be tempted to use pork butt; it’s different cuts. But…if you are in the mood for slow-cooking goodness, here’s one of our best pork butt recipes.)
How to Make This Recipe
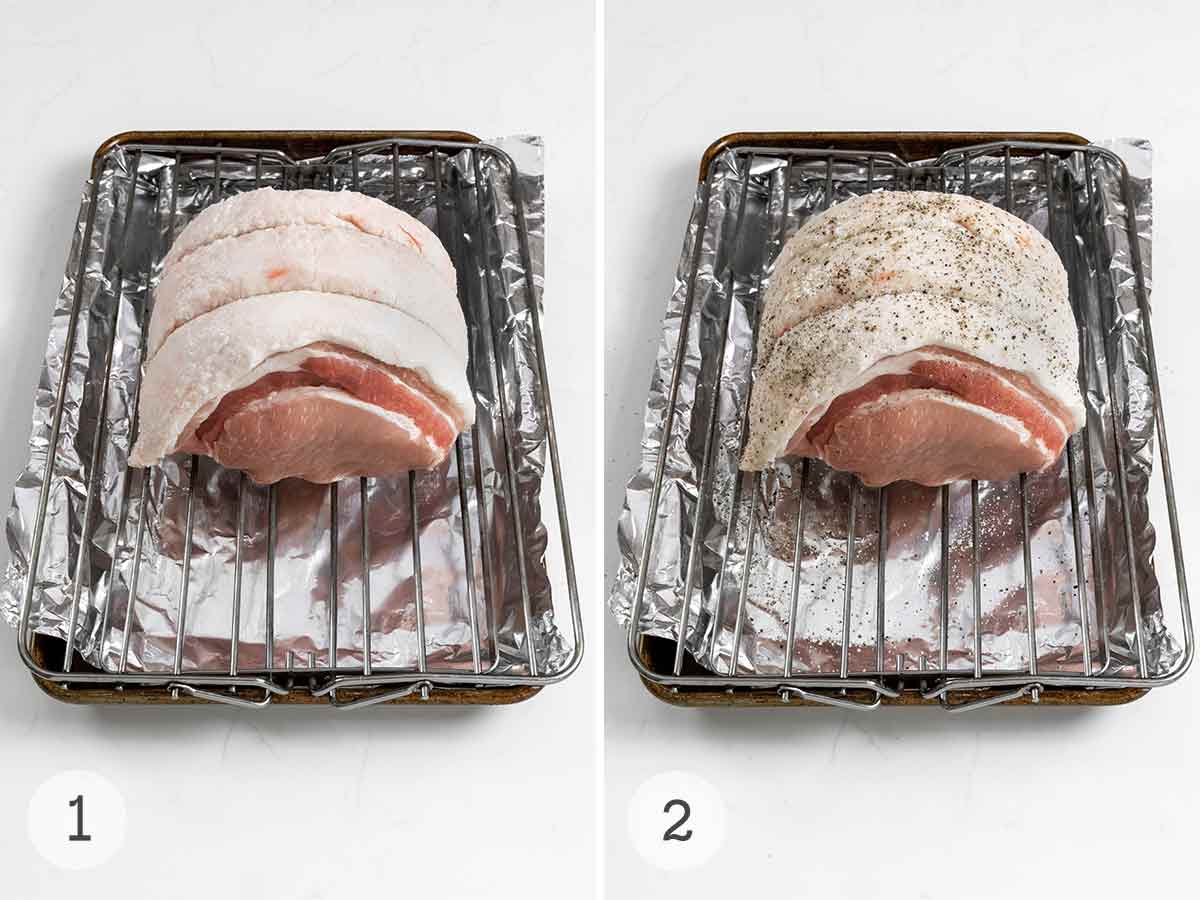
- Heat the oven to 475°F. Line a roasting pan with foil. Pat the pork loin completely dry, and score the skin, if your roast has it.
- Rub the pork with oil. Season with salt and pepper. Roast the pork on a rack in the roasting pan for 25 minutes.
- Reduce the oven temperature to 350°F. Continue to roast the pork until it reaches an internal temperature of 145°F.
- Let the pork rest, uncovered. Remove the skin, if needed, and carve the roast into thin slices.
Recipe FAQs
The only trick to making roast pork loin–aside, that is, from being patient during its long, slow spell in the oven—is knowing how to keep the pork loin from drying out. The answer lies in the kind of pork loin that your grandma’s neighborhood butcher had readily available—meaning one with sufficient fat so the roast essentially bastes itself as the fat melts.
It can be tricky to source this kind of pork nowadays. You may have to go to a few butcher counters before you find one that has a nice, thick fat cap attached. Persist. It’s worth the time and effort.
Oftentimes you can purchase pork belly at your local butcher. Simply wrapped a 1-inch-thick piece over the pork loin before tying the roast.
Or you can do what our tester Helen Doberstein did: Ask the butcher to wrap the pork in skin taken from another piece of pork. In her case, it was from a pork leg. Last, if all else fails, thick-cut bacon will work, too.
If you didn’t grow up watching your grandma do this, it’s essentially just folding or rolling or tucking the various flappy parts of boneless pork loin into a cylinder that’s similarly sized throughout. Then you simply tie and knot it with kitchen string at intervals every few inches.
The tying creates structure to help keep all those pesky flappy parts in place. The even size and shape help ensure that the pork cooks evenly.
A basic guide when cooking a pork roast is to allow 22 minutes per pound for medium done. If you like your pork more well-done, cook it for 27 minutes per pound.
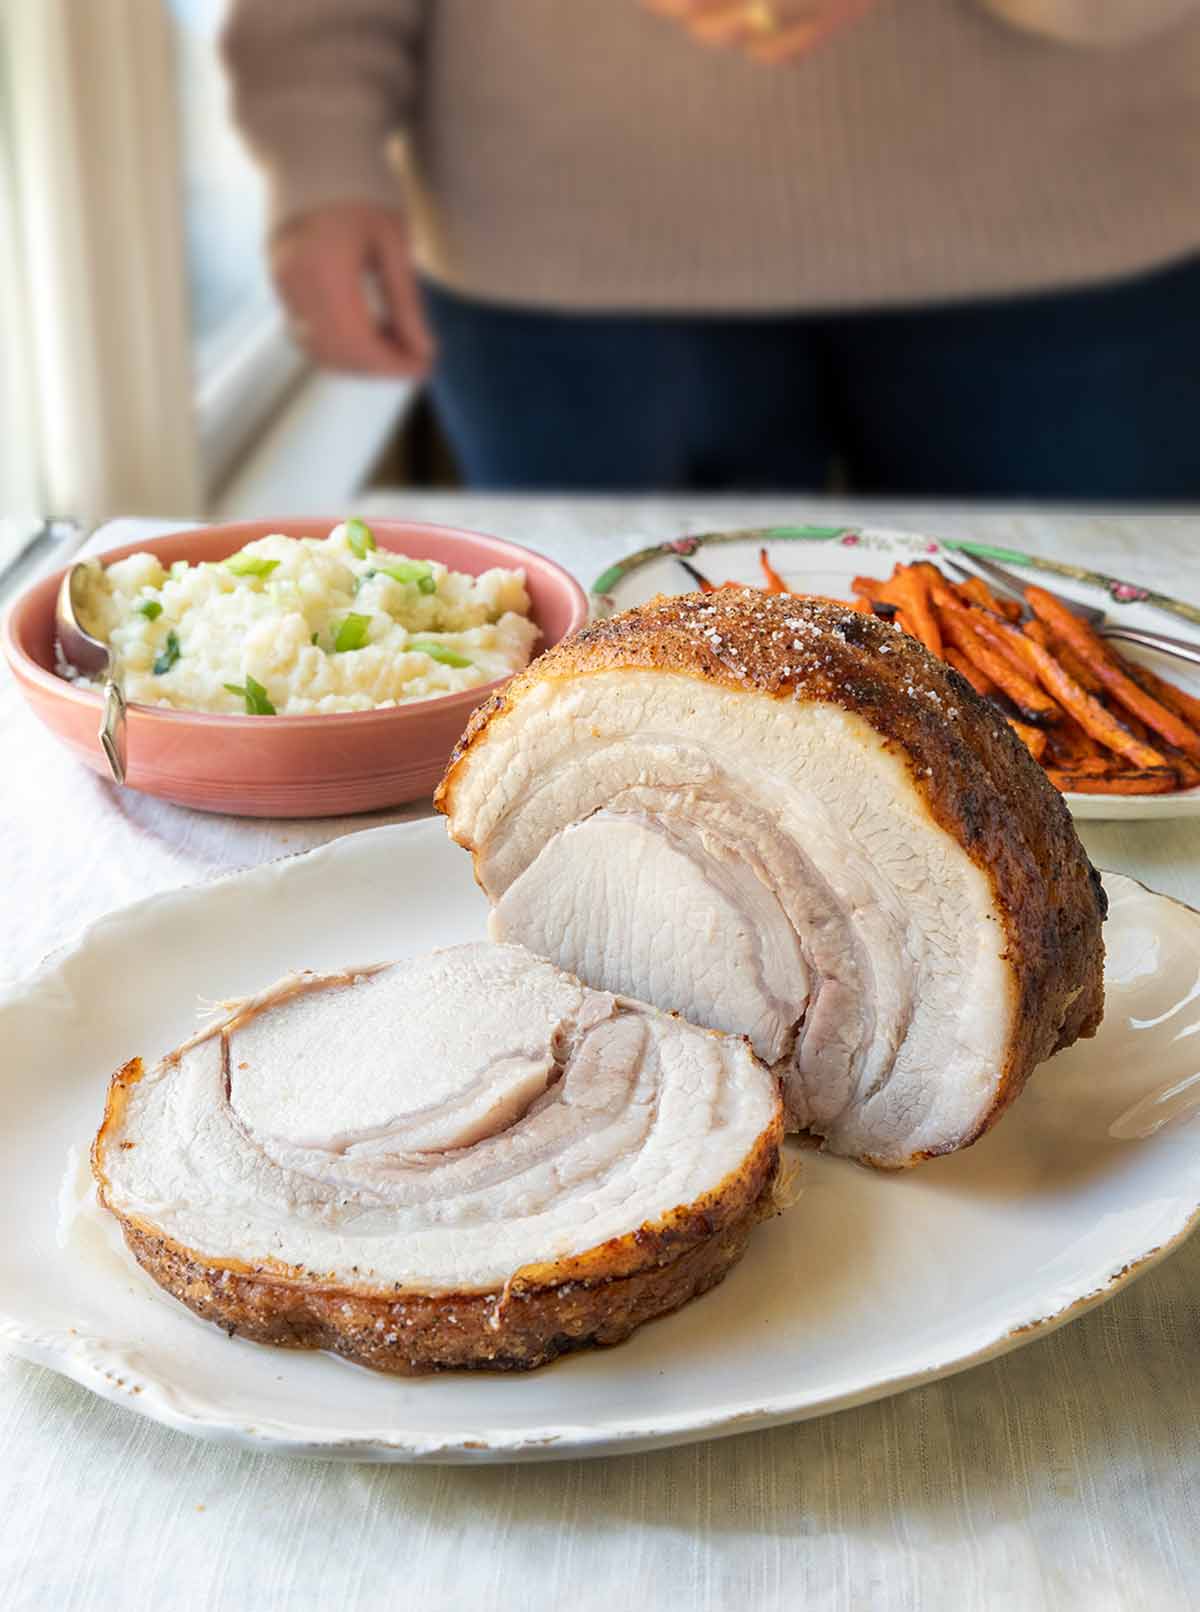
This slow-roasted pork loin is the star of the show, so serve it with simple sides, such as olive oil mashed potatoes, and candied carrots. If you prefer a sauce with your pork, make a basic pan gravy, using any drippings from the roast.
Helpful Tips
- To get the maximum benefit from the initial high-temperature roast, pat your roast completely dry with paper towels before rubbing it with oil.
- The internal temperature of your pork will continue to rise after removing it from the oven, so if you prefer a little pink inside, remove it when the internal temperature is around 140°F.
- Leftover pork can be stored in a sealed container in the fridge for up to 3 days.
- Wrap leftovers in foil and pop them into a 300°F (150°C) until heated through.
- This recipe is suitable for gluten-free and dairy-free diets.
Write a Review
If you make this recipe, or any dish on LC, consider leaving a review, a star rating, and your best photo in the comments below. I love hearing from you.–David
Great, simple, beautiful. Like good food should be.
jaypee
Pork Loin Roast
Equipment
- Kitchen string
Ingredients
- One (2-pound) boneless pork loin roast with a fat cap, or covered with pork belly and, if possible, with skin still attached–tied with string
- 1 to 2 teaspoons olive oil
- Coarse sea or kosher salt and freshly ground black pepper
Instructions
- Preheat the oven to 475°F (250°C). Line a rimmed baking sheet or shallow roasting pan with foil.
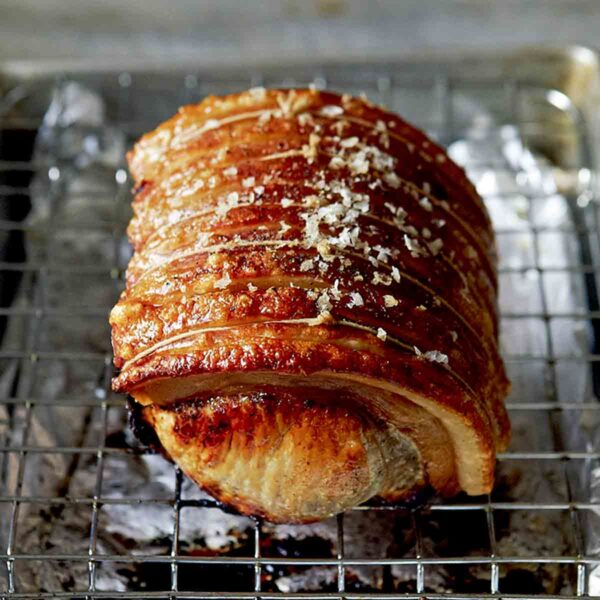
- Pat the pork with paper towels until completely dry. If your pork loin has skin attached, using a sharp knife, score the skin by making deep, long, parallel cuts, 1/8 to 1/4 inch apart, in the fat, being careful not to cut through to the underlying pork.
- Rub the pork all over with the oil and then sprinkle the top with a generous amount of salt and pepper.
- Place the pork on a wire rack, skin or fat side up, and place the whole shebang on the baking sheet or in the roasting pan. Roast for 25 minutes. (The initial high temperature promotes crisp crackling, which is the skin.)
- Reduce the oven temperature to 350°F (180°C) and roast until cooked through, 40 to 45 minutes longer, rotating the pan once halfway through to ensure even cooking. The meat should be slightly pink in the middle. If you have a meat thermometer, it should read 145°F (63°C). You may need to adjust the cooking time, depending on the weight of the pork roast. Rest assured, the pork will continue to cook slightly after it's removed from the oven.
☞ TESTER TIP: A basic guide when cooking a pork roast is to allow 22 minutes per pound for medium done. If you like your pork more well-done, cook it for 27 minutes per pound.
- Place the pork roast on a warm platter and let it rest in a warm place for 10 to 20 minutes before carving. Don’t cover the roast as any steam coming from the resting pork will soften the skin, which will have crisped into "cracklings." And you don't want to lose that!
☞ TESTER TIP: If you're the sort who prefers extra-crisp cracklings, while the pork roast is cooling, remove the entire portion of skin from the pork loin, cover the pork loin with foil, and place the skin on the baking sheet or the roasting pan and either crank the oven to 425°F (220°C) and give the cracklings a quick blast under your broiler while the pork rests.
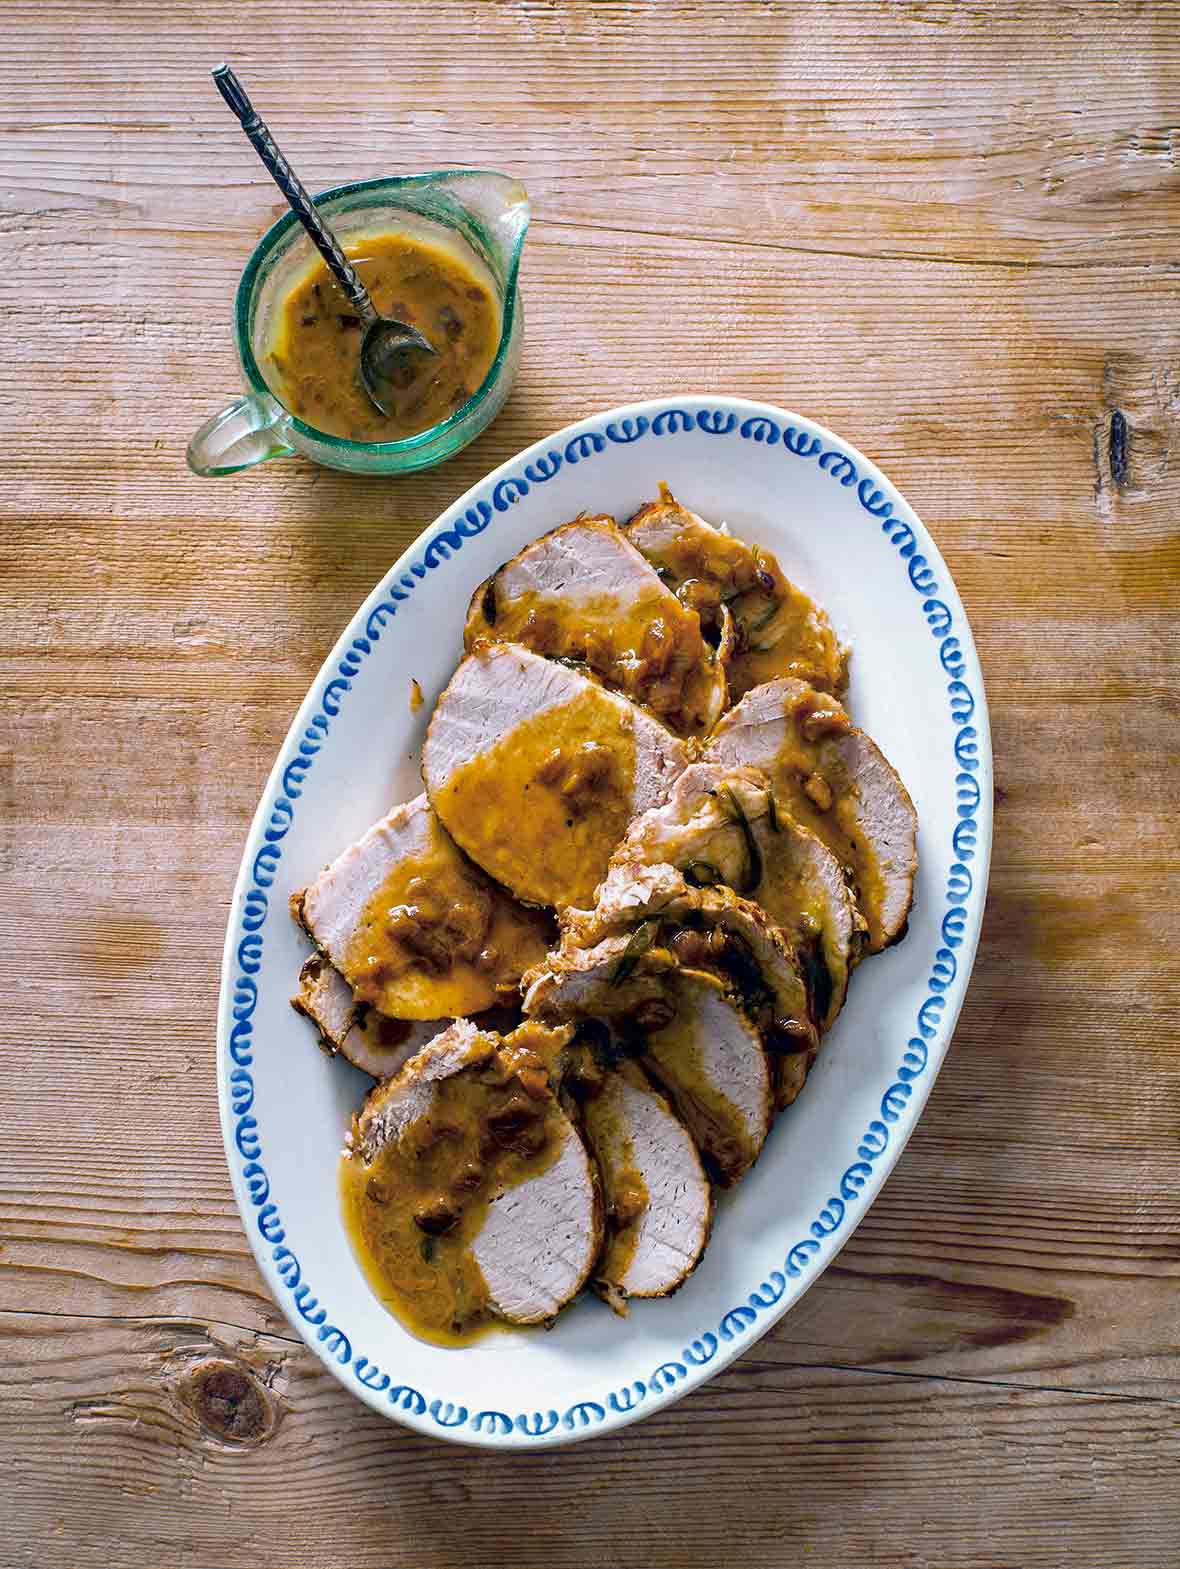
- To carve the pork roast, remove the skin, if you haven’t already done so, and cut the crisp pork skin into strips. Carve the pork roast across the grain into slices, arrange them on a platter, and there you go.
Notes
- Create a fat cap–If you can’t get pork loin with a thick fat cap attached (and they are difficult to find), have your butcher tie a layer of pork belly onto the roast.
- Internal temperature–The internal temperature of your pork will continue to rise after removing it from the oven, so if you prefer a little pink inside, remove it when the internal temperature is around 140°F.
- Storage–Leftover pork can be stored in a sealed container in the fridge for up to 3 days.
- Reheat–Don’t reheat leftovers in the microwave, it’ll toughen the meat. Wrap them in foil and pop them into a 300°F (150°C) until heated through.
- Dietary–This recipe is suitable for gluten-free and dairy-free diets.
Nutrition
Nutrition information is automatically calculated, so should only be used as an approximation.
Recipe Testers’ Reviews
Easy, simple, delicious. The only fault I can find with this slow roast pork loin is the relative unavailability of a classic pork roast with skin. Most butchers today don’t have any of the fat or skin left on the pork they bring into their shops.
I was unable to find a roast as described in the recipe even after checking with four different butchers. One butcher and I finally arrived at a workable compromise—he took some skin from a leg he had and tied it around a lovely rib end pork loin roast. This was the perfect solution.
I then followed the recipe as written, using salt and pepper as the only seasoning. The end results were well worth the effort and a simple, shining example of everything a pork roast should be.
The initial high temperature for 45 minutes does make for a very crisp crackling on top. After it had finished roasting, I removed the cracking and put it under the broiler for a couple of minutes to crisp the other side while the roast rested.
If you can get a butcher to cooperate, this roast makes for a perfect weekend meal with simple side dishes so the pork takes center stage.
My new favorite recipe for pork loin roast. Although I couldn’t get a roast with the skin still attached, I was able to buy a nice one with lots of fat on the outside. I scored that and roasted it according to the recipe.
Roasting time to reach 140°F (60°C), the internal temperature I’m looking for with pork loin, was 40 minutes after the initial high-temperature roasting phase. [Editor’s Note: Some home cooks and chefs prefer to take the pork out of the oven a little before it reaches 145°F (63°C) as the residual heat from the roast will cause the internal temperature to rise during resting.] And the outcome was fantastic—a nicely browned, crisp exterior that was super juicy inside.
Definitely a keeper.
This roasting method produced a silken and moist result. I roasted a 4-pound boneless pork loin. Alas, my roast was sans skin due to lack of availability. However, the roast was still excellent. The high heat at the beginning created a caramelized crust and the drop in temperature left the center moist.
I prefer to pull a pork roast from the oven at about 137°F (58°C) and let the temperature rise to 145°F (63°F) during the rest. And 20 minutes per pound was a good time estimation for planning’s sake.
The thin slices of meat fell like velvet on the cutting board. Adding a few crushed garlic cloves scattered around the roasting pan would add a wonderful fragrance and flavor.
This was very tender and tasty roast pork loin.
Finding a pork loin with skin was very difficult. And no one seemed to have it. After determining on the phone that one particular butcher shop had a skin-on pork loin, I made the trip across town. And I spoke to the same young man that I had on the phone, who seemed to remember me. But I got home and discovered that I had a pork loin with a lovely fat cap…but no skin. (I’m barely 5 feet tall and can’t see over any counter anywhere.)
Following the timing given in the recipe, my pork hit 170°F (77°C). The fat crisped nicely, and it all tasted great. I also made a quick gravy from the drippings, some Wondra, and some white wine, and it was nice with the pork loin.




I had no trouble getting a pork loin with a fat cap. In fact, I ordered a loin from a local black pork breeder and it came with a fat cap and scored skin and tied. Can’t wait to eat it. I’m going to use this recipe. Yum.
And it worked out perfectly. Nicest pork roast ever.
Wonderful, Lynn! Thank you so much for taking the time to let us know. We’re so happy that it turned out perfectly.
That’s perfect, Lynn. Do let us know how it turns out.
I haven’t made this yet..just planning my menu. But, I thought I would share that many Asian grocery stores sell pork belly with or without skin. That’s where I plan to get my fat cap!
Thanks for the great tip, Suzanne. Please let us know how your roast turns out.
I kept exactly to the recipe and it was tender and succulent. Much enjoyed by the family. Including the final temperature of the meat is very helpful. Thanks.
You’re welcome, Jenni! We’re so pleased that everyone enjoyed this and it turned out so well. Please let us know what you make next.