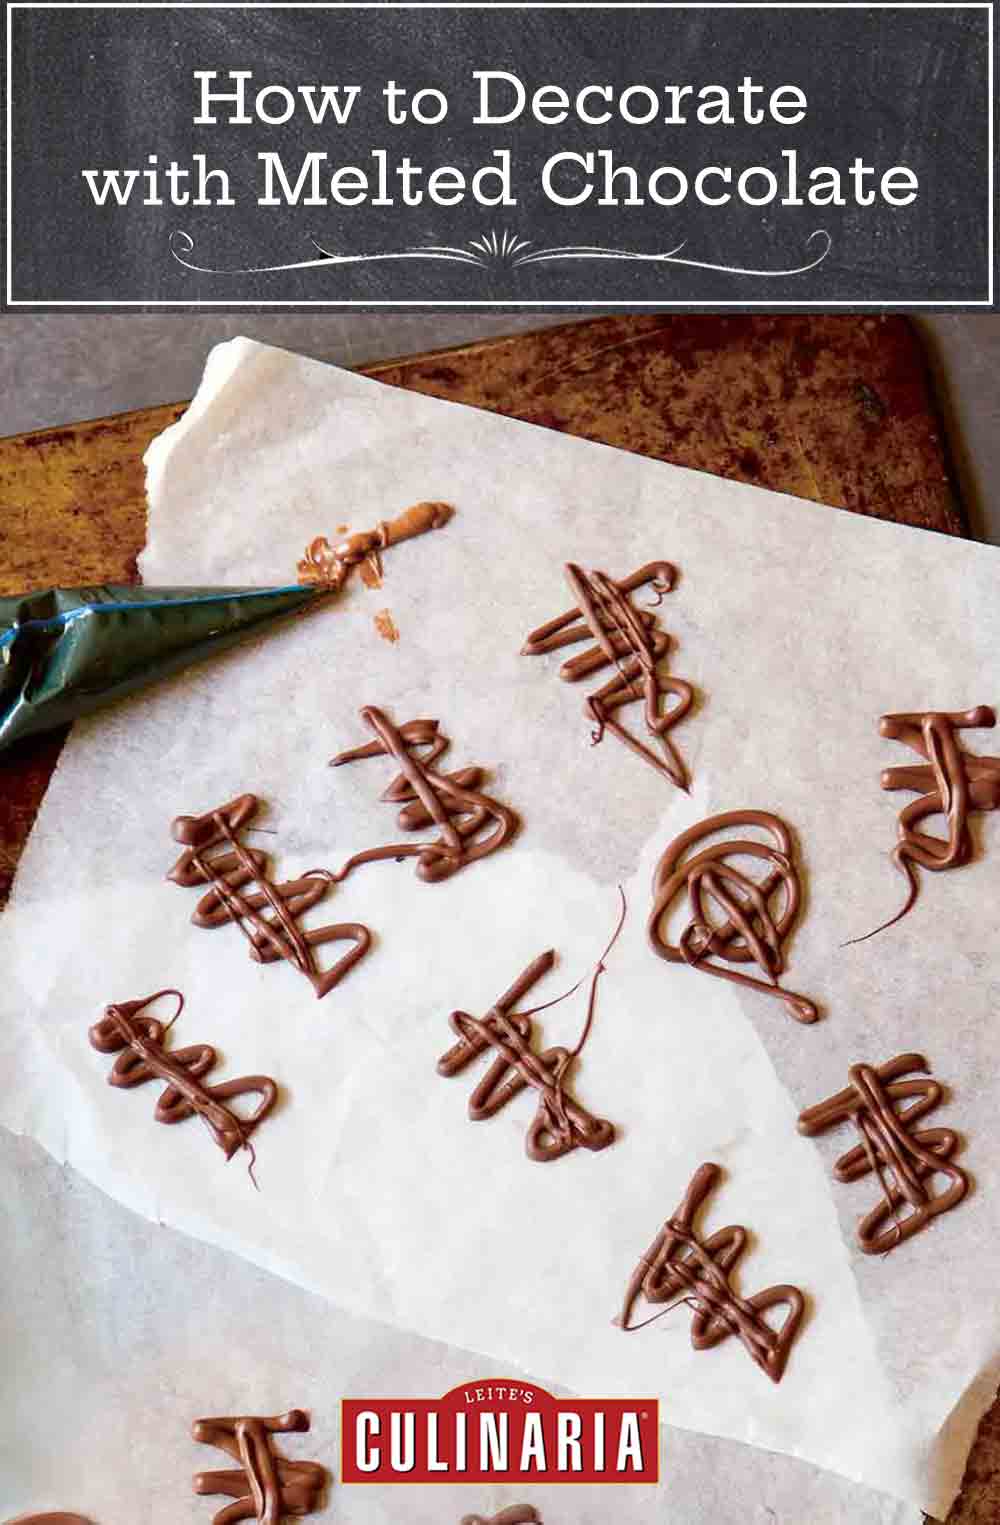
In case you’ve always wanted to know how to decorate with melted chocolate, here’s your answer. Yep. You read correctly. An entire recipe to show you how to make melted chocolate squiggles and letters for piping and drizzling.
It’s actually a pretty easy thing to do, although no one else needs to know that. Just let them be impressed by this nifty talent that you can use to decorate cakes, chocolate cupcakes, your favorite cookies, anything. Someone we know even wrote the name of her college football team in script and used it as a decoration for cupcakes. Because sometimes—actually, most times—chocolate makes everything better, even if your team didn’t win.–Angie Zoobkoff
Decorating with melted chocolate FAQs
For the smoothest and most well-behaved melted chocolate for decorating, seek out “couverture chocolate,” which contains more cocoa butter than other types of chocolate. It’s easier to handle than regular chocolate and may be a good option if you’re new to chocolate decorating or you’re the impatient sort.
But really, almost any dark, semisweet, or milk chocolate will work adequately for most decorating purposes. If you really want to go all out and decorate with chocolate that firms and becomes glossy and sufficiently sturdy to stand upright, use tempered chocolate.
We don’t recommend it. White chocolate is rather fragile and is typically not recommended for decorating.
How To Decorate With Melted Chocolate
Ingredients
- Chocolate (the amount and kind can vary according to your needs)
Instructions
- Chop the chocolate into small, even pieces. If using a microwave to melt the chocolate, place the chocolate in a heatproof bowl and microwave on 50% power in 15-second bursts, stirring after each burst to make sure the chocolate doesn’t burn, until melted and smooth. The exact timing will vary depending on the amount of chocolate and the wattage of your microwave but will probably take around 1 1/2 minutes. (You want to be certain that the bowl and implement you use to stir the chocolate are completely dry. The introduction of any water into the chocolate will cause it to seize and not melt properly.) If using a pan on the stovetop to melt the chocolate, place the chocolate in a heatproof bowl placed over but not touching a pan of simmering water and wait, stirring occasionally to make sure the chocolate doesn’t burn, until the chocolate is melted and smooth. (You want to be certain that the bowl and implement you use to stir the chocolate are completely dry and that no steam or water from the pan comes into contact with the chocolate. The introduction of any water into the chocolate will cause it to seize and not melt properly.) Remove the pan from the heat.
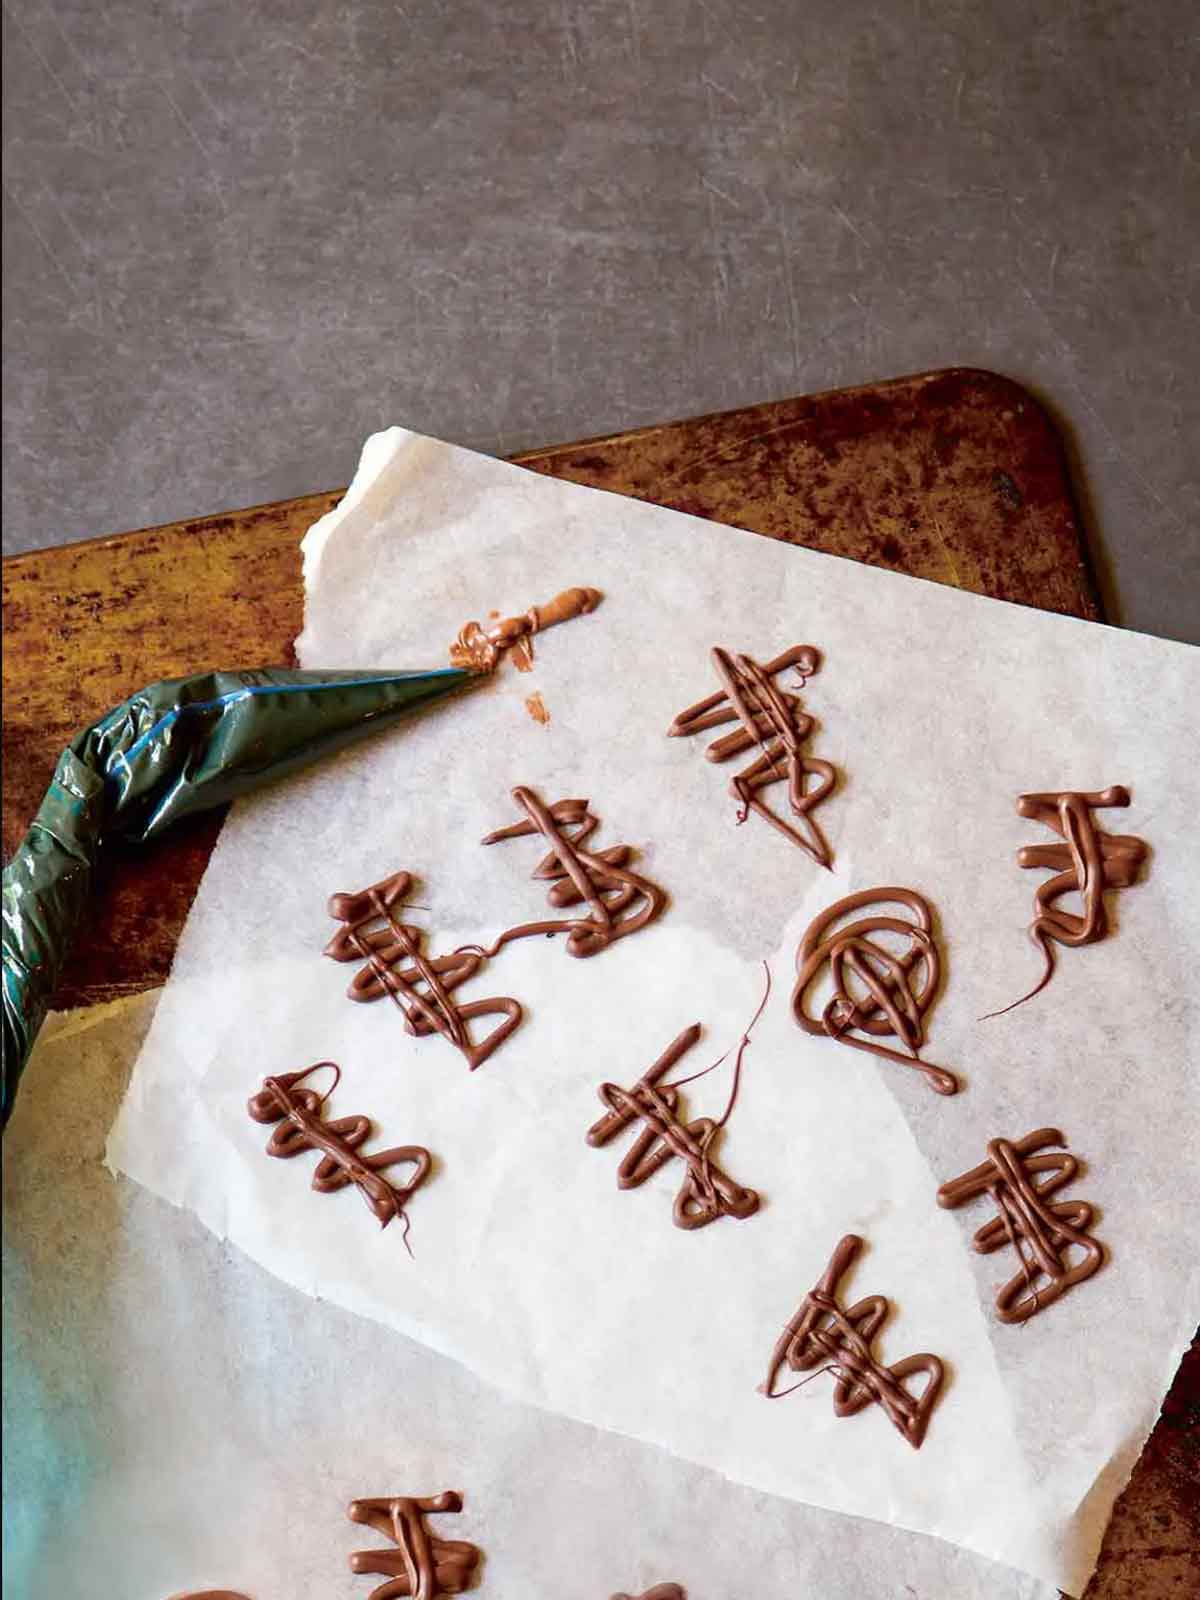
- Cover a plate or baking sheet with wax paper or parchment paper. If making chocolate squiggles or shapes, use a teaspoon and drizzle the chocolate into squiggles or shapes on the paper. If making chocolate letters, pour the melted chocolate into a plastic squeeze bottle or a disposable piping bag (available in most shops in the cake baking sections) or a large resealable plastic bag or a cone that you formed from parchment paper. If using a plastic bag, just snip the end off close to the tip for thin lettering or a little further up for thicker lettering. (Keep in mind that thicker letters are less likely to break once cooled.) Then simply write, er, pipe your letters or words or numbers as desired, gently squeezing the bag from the top toward the tip as you write to keep a slow but continual flow of melted chocolate coming through the tip.
☞ TESTER TIP: If you make a mistake and one of your letters looks wonky or is uneven, just eat it and try again. If you don’t trust your penmanship, before melting the chocolate, print out your words or designs at the desired size and tape the printout onto your work surface beneath the sheet of parchment paper and trace over the lines with chocolate.
- Transfer everything to the refrigerator until the chocolate hardens, 10 to 20 minutes.
Nutrition
Nutrition information is automatically calculated, so should only be used as an approximation.
Recipe Testers’ Reviews
Knowing how to decorate with chocolate is a simple, easy, and relatively fast way to add chocolate decoration to basically anything you’d like to add a little pizazz. This is something the kids can help do, with supervision on melting the chocolate but the rest is nothing but pure fun! Any squiggles that don’t make the “cut” can be eaten! No such thing as waste here.
Using the microwave method is faster and only takes about 35 minutes start to finish. On the stove with a water bath took about 50 minutes start to finish.
I used Wilton candy melts (6 oz. |170g) of chocolate). I then poured my melted chocolate into a piping bag (set inside a cup) after letting it cool slightly (about 3 to 5 minutes). I put parchment paper on a baking sheet and piped out Happy Birthday, and the rest of the chocolate piped out squiggles. I had 13 letters and 38 squiggles, that I used on a birthday cake and cupcakes. Make a few extra to allow for any breakage. I set my sheet in the refrigerator and allowed the chocolate to harden, 5 to 8 minutes.
Chocolate squiggles and letters are an easy way to make your desserts look fabulous. With football season upon us, cupcakes with script Ohio on top were essential. I used a print program and duplicated a 1-by-2-inch script “Ohio” 24 times on a single page, printed it, taped it to a sheet pan and placed a piece of parchment paper on top. Then I melted 6 ounces of red candy melts in the microwave and poured it into a squeeze bottle and traced over the script Ohios. Then I placed the pan in the fridge for 20 minutes for them to harden. They were adorable!
Yummy melted chocolate does taste great and knowing how to decorate with chocolate can add a serious wow factor when used to make a filigree garnish for a dessert.
I used 1 oz of Trader Joe’s 85% Dark Chocolate Lover’s Bar. This was an adequate amount to do plenty of piping. I only used about 1/3 of it, but I didn’t melt the chocolate for a specific purpose, so who’s to say how much is the exact right amount. I broke the chocolate into pieces about the size of my pinky nail.
The chocolate melted quite nicely and I piped them using a small parchment piping cone I rolled. I piped onto wax paper over a plate. This chocolate flattened out right away and didn’t stand up or retain any body once piped like a nice couverture chocolate does. It chilled well but never achieved a lovely gloss or sheen like tempered chocolate does and the pieces were very fragile because of how flat they laid. The pieces peeled off cleanly from the paper but began melting immediately on my finger. Chocolate can be incredibly finicky!


Question about piping melted chocolate–size tip that will work the best: I have a silicon piping bag but need a decorator tip (since bag already has hole in it from mfg’r.) Wilton tips that might work for just drawing ‘squiggly lines’ on the top of my Choc. Bombs appear to be #2 or #3 stainless steel (#1 appear to sm. & do not think choc. will get thru the hole). Also, I notice Wilton also has plastic tips but reviews say the lines/deco not as precise using plastic. Any suggestions…thank you!
Sharon, I would suggest you try using a #2 stainless steel tip for decorating your chocolate bombs. This should produce those fun squiggly lines and a little experimenting is always delicious when you are working with chocolate! Please let us know how they turn out.
Can you use the melted chocolate in a decorating pen, and will it mess up if you use it for cream cheese icing?
Selena, I don’t have any experience using this in a decorating pen, but I think it should work. Are you asking if the chocolate will be too messy for a cream cheese frosting? I think it should be fine, though I’d make sure your frosting was well chilled and firm before decorating.