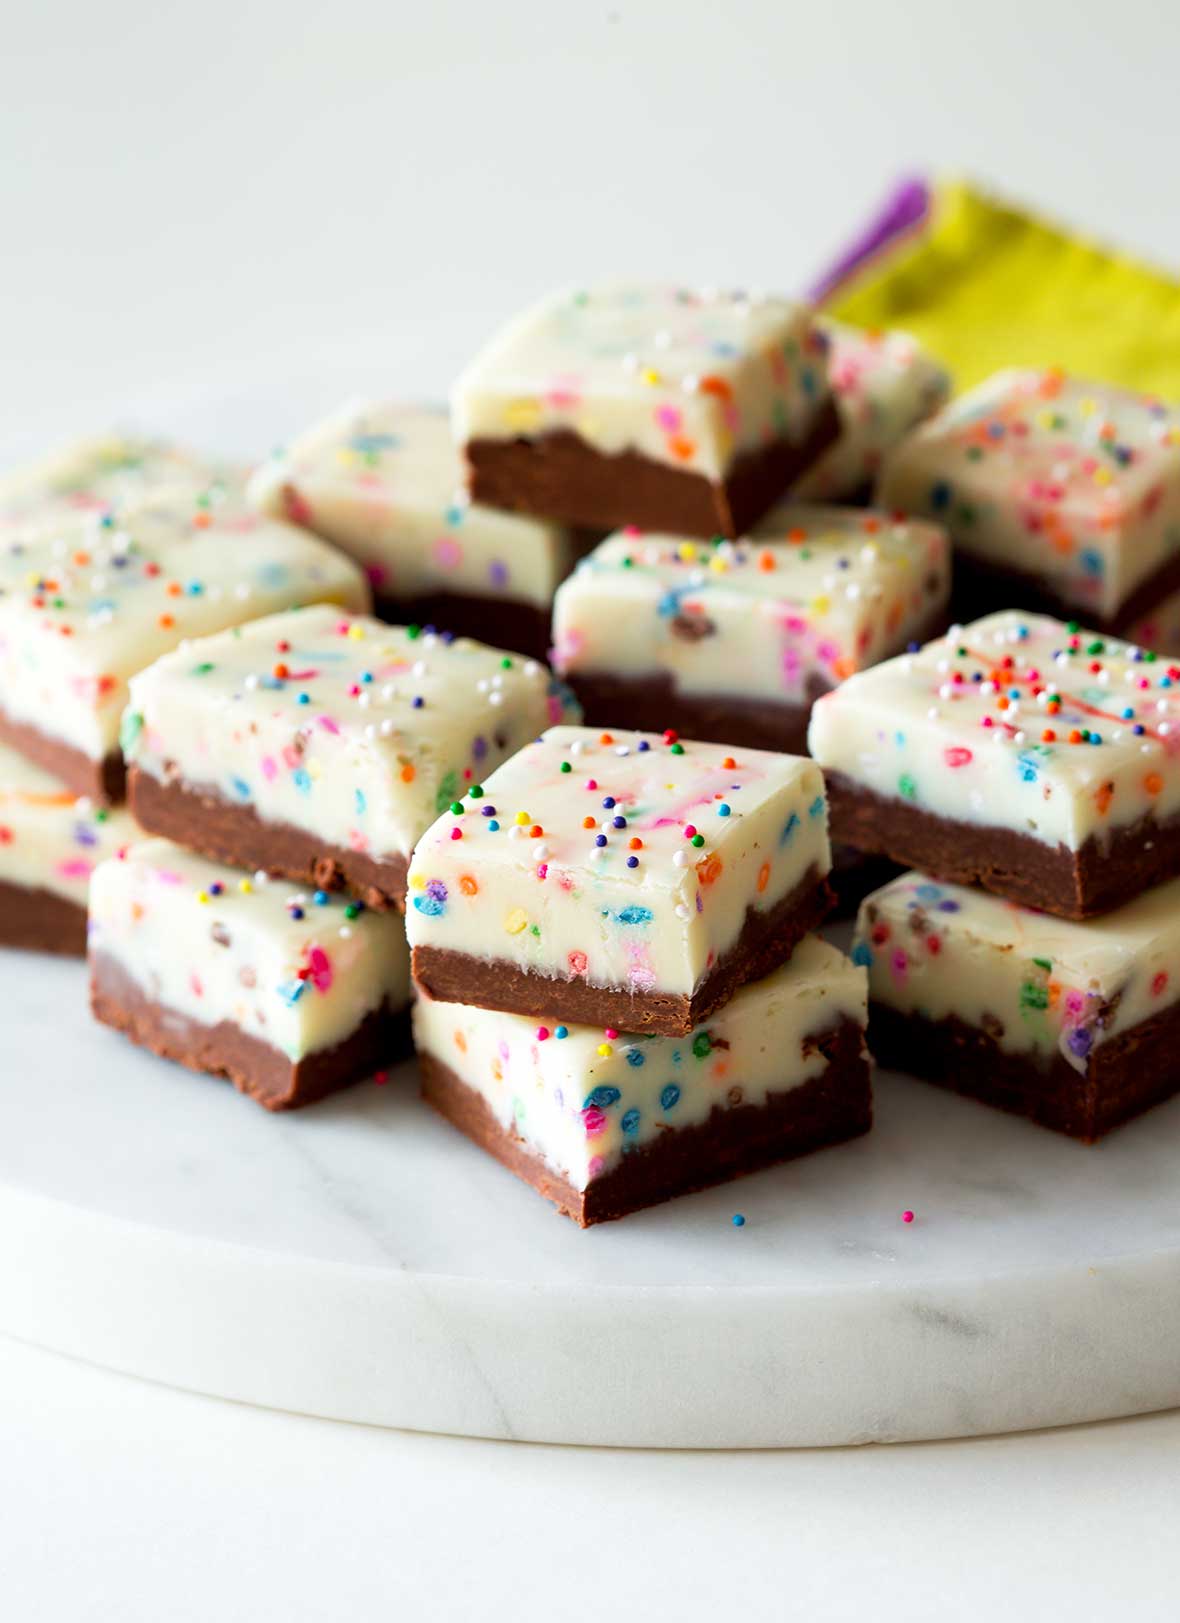
This birthday cake fudge is essentially a funfetti fudge interpretation of chocolate birthday cake with vanilla frosting, explains author Sally McKenney, who’s perhaps better known as the blogger behind Sally’s Candy Addiction. This sweet deliciousness is achieved quite simply via a couple easy layers of fudge—one made of semisweet chocolate (that’s the “cake” portion) and another made with white chocolate (natch, the “frosting). Because no birthday cake is complete sans sprinkles, the colorful little flecks are mixed into the “frosting” for a funfetti effect and then scattered atop the surface, too. A crazy-easy, no-bake birthday cake that we guarantee will have the kids (and the adults, too) squealing with glee.–Renee Schettler

Birthday Cake Fudge
Ingredients
For the chocolate fudge
- 1 1/2 cups semisweet chocolate chips
- 1/2 can sweetened condensed milk (not low fat or fat free)
- 2 tablespoons marshmallow crème
For the white chocolate fudge
- 1 1/2 cups white chocolate chips
- 1/2 can sweetened condensed milk (not low fat or fat free)
- 2 tablespoons marshmallow crème
- 1 teaspoon vanilla extract
- 1/3 cup plus 1 tablespoon rainbow sprinkles (be sure to use jimmies and not nonpareils)
Instructions
Prepare the pan
- Line an 8-inch (20-cm) square baking pan with aluminum foil, allowing several inches foil to hang over each side of the pan.
Make the chocolate fudge
- In a medium saucepan over medium heat, warm the semisweet chocolate chips, sweetened condensed milk, and marshmallow crème, stirring constantly with a rubber spatula or wooden spoon, until the chocolate melts, 2 to 3 minutes.
Make the white chocolate fudge
- When the chocolate has melted and the mixture is smooth, remove the pan from the heat. The mixture will be extremely thick. Scrape the fudge mixture into the prepared pan, smoothing the surface with a silicone spatula. Let rest at room temperature until set. You can either wash, dry, and reuse the saucepan and spatula for the next layer or reach for clean ones.
- In a medium saucepan over medium heat, warm the white chocolate chips, sweetened condensed milk, and marshmallow crème, stirring constantly with a rubber spatula or wooden spoon, until the chocolate melts, 2 to 3 minutes.
- When the chocolate has melted and the mixture is smooth, remove the pan from the heat. The mixture will be extremely thick. Stir in the vanilla extract until completely incorporated. Very quickly and gently fold in 1/3 cup (53 grams) sprinkles just until combined.
☞ TESTER TIP: Make sure you use sprinkles—a.k.a. jimmies—and not nonpareils—the little ball sprinkles—as the colors in the latter will bleed. And don't stir too much as that, too, could cause the color from the sprinkles to bleed.
Assemble the fudge
- Scrape the white chocolate fudge mixture onto the chocolate fudge mixture in the prepared pan, smoothing the surface with a silicone spatula. While the fudge is still warm and sticky, sprinkle it with the remaining 1 tablespoon sprinkles. Cover the fudge with aluminum foil and refrigerate until set, at least 4 hours, or let the covered fudge sit at room temperature overnight to set.
- Once the fudge has set, remove it from the pan in a single chunk by grabbing and lifting the aluminum foil hanging over the edges of the pan. Invert the fudge onto a cutting board, peel away the foil, and then flip the fudge back over again. Using a sharp knife, slice the fudge into 1-inch (2 1/2-cm) squares. Serve immediately or, if the fudge has been in the refrigerator longer than 4 hours, chances are you're going to need to let it rest at room temperature for about 20 minutes before attempting to slice it.
Notes
How To Make Birthday Cake Fudge Exactly The Way You Like It
Just as frosting is typically sweeter than cake, the white chocolate “frosting” layer of this birthday cake fudge is sweeter than the semisweet chocolate “cake” layer. So proceed accordingly. If you fancy things very sweet, make a double batch of the the white chocolate layer. Conversely, if you prefer your fudge a touch less cloying, opt for a double batch of the semisweet chocolate layer. Or, natch, you can follow the recipe as-is for a sweetness that’s somewhere perfectly in between.Nutrition
Nutrition information is automatically calculated, so should only be used as an approximation.
Recipe Testers’ Reviews
This birthday cake fudge recipe is so easy and so delicious. Just a few ingredients and 15 minutes effort with great results that were fun and fabulous. The sprinkles make it irresistible and the two-tone fudge would be a hit at any birthday party. Make some for a friend. It’s that good.
A total party pleaser, this birthday cake fudge recipe was a quick, easy, fun, and tasty treat! The funfetti fudge was so simple to put together and had a perfect fudgy texture. Surprisingly, the fudge wasn’t too sweet as white chocolate tends to be. And the addition of the sprinkles to the white chocolate layer was an easy way to make this treat birthday party-ready and appealing to all ages.
I let the white chocolate layer cool in the pan for just a few minutes and added the sprinkles, but they immediately began to run. Instead of mixing them, I poured the mixture into the pan and spread out the layer and finished mixing in the sprinkles. I sprinkled some nonpareils on the top of the white chocolate and pressed them in gently with the spatula.
I was in a bit of hurry to take this fudge to a birthday celebration. It happened to be about 25°F the day that I made it. Instead of popping it in the fridge, I covered the pan and put it outside on my deck to set and left it out there for about an hour. It was completely set when I brought it inside. I took it out of the pan and it cut beautifully into perfect squares.
It was a huge hit at the birthday party!
Given how happy my birthday cake fudge tasters were, this recipe seems a bit like cheating because it’s so easy yet ends up looking so festive. I used the refrigerate-for-four-hours method to set the fudge and that worked just fine, as I had not allowed time for an overnight chill.
Similarly, while I like the idea of using the same saucepan twice, I was eager to get my fudge setting in the fridge, so I used 2 saucepans, and then did the extra dish while the fudge was setting. I think a 1-inch square is a little miserly for something called birthday cake fudge—whoever is sated with a teeny tiny piece of birthday cake?! My fudge looked just like the photo.
This is not a typical recipe for me to make, but it looked festive for Valentine’s Day (I was thinking about pink and red sprinkles or jimmies!).
Several people commented that this birthday cake fudge tasted like Cadbury’s Mini Eggs—and it does!
Take this recipe very seriously—do not stop stirring while melting the chocolate. Have everything out and easy to grab so you aren’t tempted to wander away from the stove. The fudge mixture is thick enough that you don’t need to worry about the layers mixing—in the few minutes it took to prepare the white chocolate fudge, the first layer was firm enough that adding the next layer was no problem. The sprinkles also mixed in easily with no color bleeding.
This would be awesome as a bite-sized treat on a dessert table or buffet. My advice for serving is to cut it small and serve it cold. The fudge freezes well, too. (It’s perfectly chewy straight out of the freezer, no need to thaw. Just slice it before you freeze it).
This birthday cake fudge recipe was a reason to celebrate at my Big Game party this last weekend. It was a hit and was all gone within a matter of minutes. Overall, this was such a simple and easy recipe whose flavors and appearance anyone can relate to. The addition of the sprinkles turned regular fudge into party fudge! Although I always have a hard time getting the marshmallow fluff out of the measuring spoon.
Again, this recipe was fantastic and a great hit with the kids and adults.
If you are a fudge fan, then you will love this birthday cake fudge. The texture was creamy and the sprinkles were fun.
I left the chocolate layer in the freezer while I made the white layer and then let it all chill for 4 hours in the fridge before cutting it. Those with a sweet tooth loved this. They found the blend of the white and chocolate layers nice. It’s a simple and pretty quick recipe for a fun little candy so I would judge this a success.
This was an amazingly easy and fun recipe to make with my 7-year-old. Actually, she did most of it on her own, which I loved.
As my teen daughter had gone to a high school party, I knew I would have a home full of teens afterwards and wanted the fudge ready. I put it in the freezer to cool faster and 2 hours later it was ready. The taste is very good and we cut them into 64 little cubes as a little goes a long way in terms of sweetness. I think that to make them look like the photo, one would have to double the white fudge part, and that is what I love about this recipe—depending if you prefer more the white chocolate or the dark chocolate, you can easily adjust that the next time you make the recipe.
This birthday cake fudge was very easy to make and very popular. This funfetti fudge was a little on the sweet side but did have a chocolate flavor. I would have made a larger chocolate portion and a smaller white portion.
My daughter brought them with her to school on her birthday and her friends shared them at lunch. One friend had 3 pieces—I think that says it all! I personally do not eat too much fudge and so I thought very small pieces were perfect.


This turned out great! I doubled the recipe to fit a bigger dish. these are somehow even better than regular birthday cake.
HA! Nice, Mia! Glad you like this so much, and I 100% can see how this would be better than cake. I was that kid who always scraped the frosting off the slice of cake.
This was very easy and yummy my daughter loved it for her birthday and if cut into 32 squares each square has 152 calories !
Lovely, Mommyof7! So glad your daughter loved it! Please give her our best birthday wishes and yes, 152 calories isn’t bad for such a lovely splurge, yes?!
Can I add peanut butter to the chocolate layer?
Samantha, I love the way you think! However, since we didn’t test it that way, I can’t say for certain what the addition of peanut butter may do to the consistency, the sweetness, and the setting time for the chocolate fudge layer, so I’m a little leery of offering you my wholehearted recommendation. You could always try it, though, and please let us know how it goes!
Could you add some of the powdered peanut butters out there? I think it might add the peanut flavor you are looking for without adding any additional moisture.
Julie, I love the way you’re thinking! I worry a little that it may need some little additional liquid to compensate for the powder. Perhaps just a touch more sweetened condensed milk? Kindly let us know how it goes if you try it…