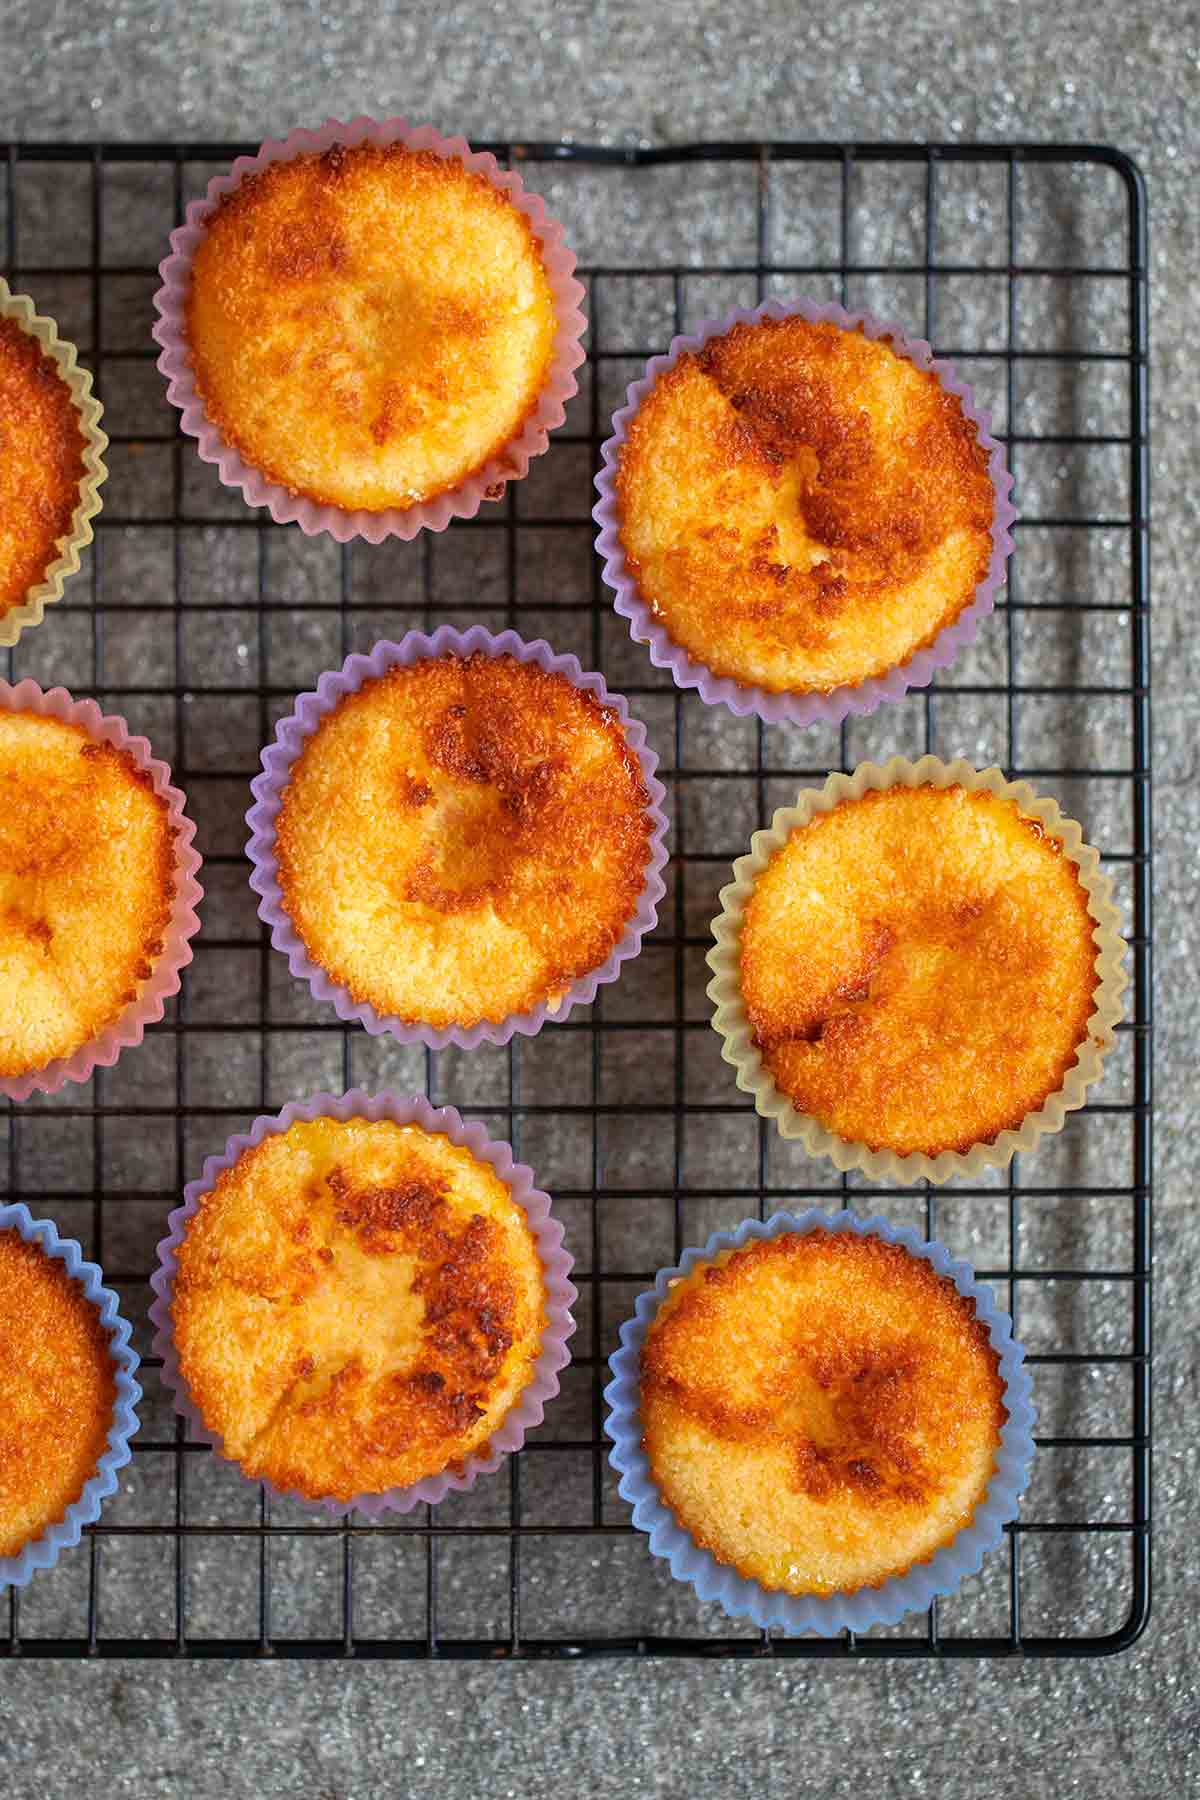
My Aunt Exaltina has made these Portuguese coconut custard tarts for as long as I can remember. But I’ve always wondered, are these delicacies creamy custards or eggy macaroons or a bit of both? For 35 years, no one’s been able to decide. Grab a spoon and judge for yourself.
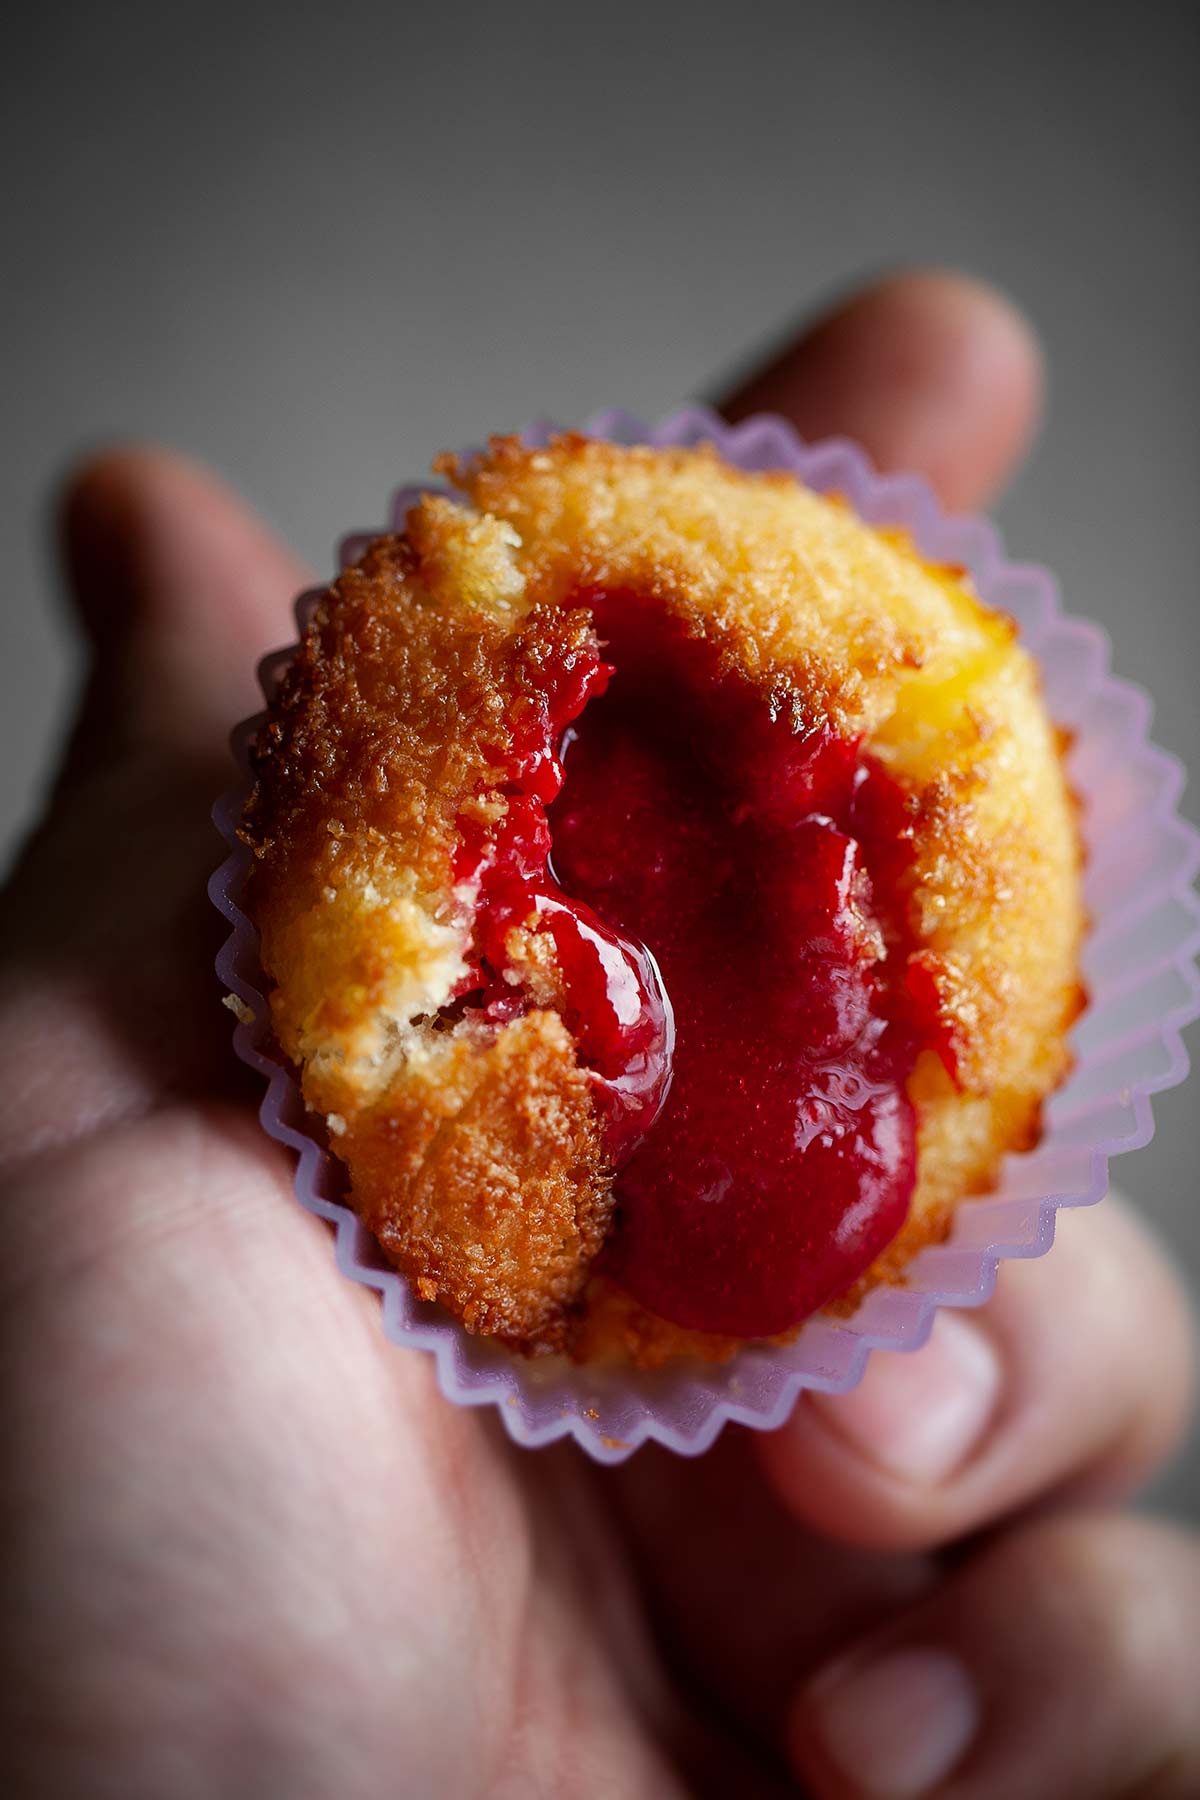
Our late friend Lois Sparks, who adored these pastéis de coco desserts, was fond of spooning some raspberry coulis into the crater on top of the pastéis. She felt it gave them a tart counterpoint to the sweet coconut. I always balked at the idea until she made them for me one night. It’s a dream team combination.
Do These Tarts Need to Be Refrigerated?
If you don’t make all these little coconut custard tarts disappear the day you bake them, yes, you should cover and refrigerate them. I vastly prefer the taste of them when warm, so slip them in a toaster oven or a low oven for about 10 minutes to bring them back to their original taste and texture.
The coconut dessert tarts are best consumed within a day or two…which shouldn’t be a problem.
Portuguese Coconut Custard Tarts
Ingredients
- Nonstick vegetable spray oil, (optional)
- 2 tablespoons cornstarch
- 1 cup milk
- 1 cup sweetened shredded coconut
- 3 large eggs
- 1 cup granulated sugar
- 2 tablespoons (1 oz) melted unsalted butter
- 1/4 teaspoon lemon extract
- pinch of salt
Instructions
- Preheat the oven to 375°F (190°C). Adjust the oven rack to the middle position. Line a 12-cup muffin tin with 11 paper cupcake liners and, if desired, coat the liners with the Nonstick vegetable spray oil.
☞ TESTER TIP: To avoid the tarts sticking to paper liners, you can do what reader Olga DeMedeiros does and rely on foil cupcake liners sprayed with nonstick vegetable spray to ensure your tarts slip out easy peasy.
- In a small bowl, dissolve the 2 tablespoons cornstarch in 1/4 cup of milk.
- In a food processor, blitz the 1 cup sweetened shredded coconut for 30 seconds.
- In a large bowl, stir the 3 large eggs and 1 cup granulated sugar together with a wooden spoon. One by one, add the cornstarch mixture, the remaining 3/4 cup of milk, the coconut, 2 tablespoons (1 oz) melted unsalted butter, 1/4 teaspoon lemon extract, and pinch of salt, stirring well after each addition.
- Ladle the custard into the paper cups, filling each 1/4 inch from the top. Make sure to stir the custard frequently to keep the coconut evenly distributed. You'll be able to fill 10 to 11 liners.
- Bake for 25 to 30 minutes, rotating the pan halfway through, until the coconut is nicely toasted. Cool completely in the muffin tin before serving.

An LC Original
View More Original RecipesNutrition
Nutrition information is automatically calculated, so should only be used as an approximation.
Recipe Testers’ Reviews
These Portuguese coconut custard tarts really brought back some memories as my grandmother used to make something very similar to these. I didn’t even realize it until I ate the first one and found myself thinking of her. This recipe is so very easy and sweet and yummy and rich.
Now that I’m older, I like my desserts less sweet, so I would use unsweetened coconut next time or a combination of sweetened and unsweetened.
I got 11 tarts out of this (perhaps my old muffin tin has smaller than standard cups). Also, the tarts stuck in my cupcake liners, so perhaps I would use the foil liners next time and spray them. I adjusted quickly, though, and ate them with a spoon!
I baked them for 25 minutes and when I checked them they were still pretty soft, so I rotated the pan and gave them another 5 to 7 minutes and took them out. The tops were golden brown and the insides were still fairly soft. I would add another few minutes next time for a total of 35 minutes, maybe rotating the pan halfway through.
These would be a great Azorean recipe to bring to a potluck dinner or just to have in the fridge for a wonderful, quick snack or dessert.
These tasty little tarts are similar to the ubiquitous Pasteis de Nata seen all over Portugal, but without the time commitment of making puff pastry. The ingredients are readily available and they come together in a snap. The coconut adds a welcome complexity to the custard and also helps create a beautiful golden brown topping. The end product is a humble but delicious little pastry which would be perfect as an accompaniment to afternoon tea.
Because they were baked in paper muffin liners, we attempted to eat them by hand. The bottoms stuck to the paper a bit and were greasy where the butter leaked out, leading to a somewhat messy eating experience. Next time I might try them in ramekins and serve them with a spoon. I believe the recipe could also be improved by cutting back a bit on the sugar. One cup of sugar plus the sweetened coconut made for a very sweet tart.
One per person was plenty.
This Portuguese coconut custard tarts recipe is really good. My daughter refused to share them with the extended family. Moreover, we waited for these to cool ever so slightly on day one and then just ate them plain. That afternoon we tried some with jam. The last couple days, my daughter has been eating them both with and without jam. Jam or no jam, these are delicious. The verdict is that this recipe is easy and fantastic.
Serving these tarts a little bit warm is better than completely cold.
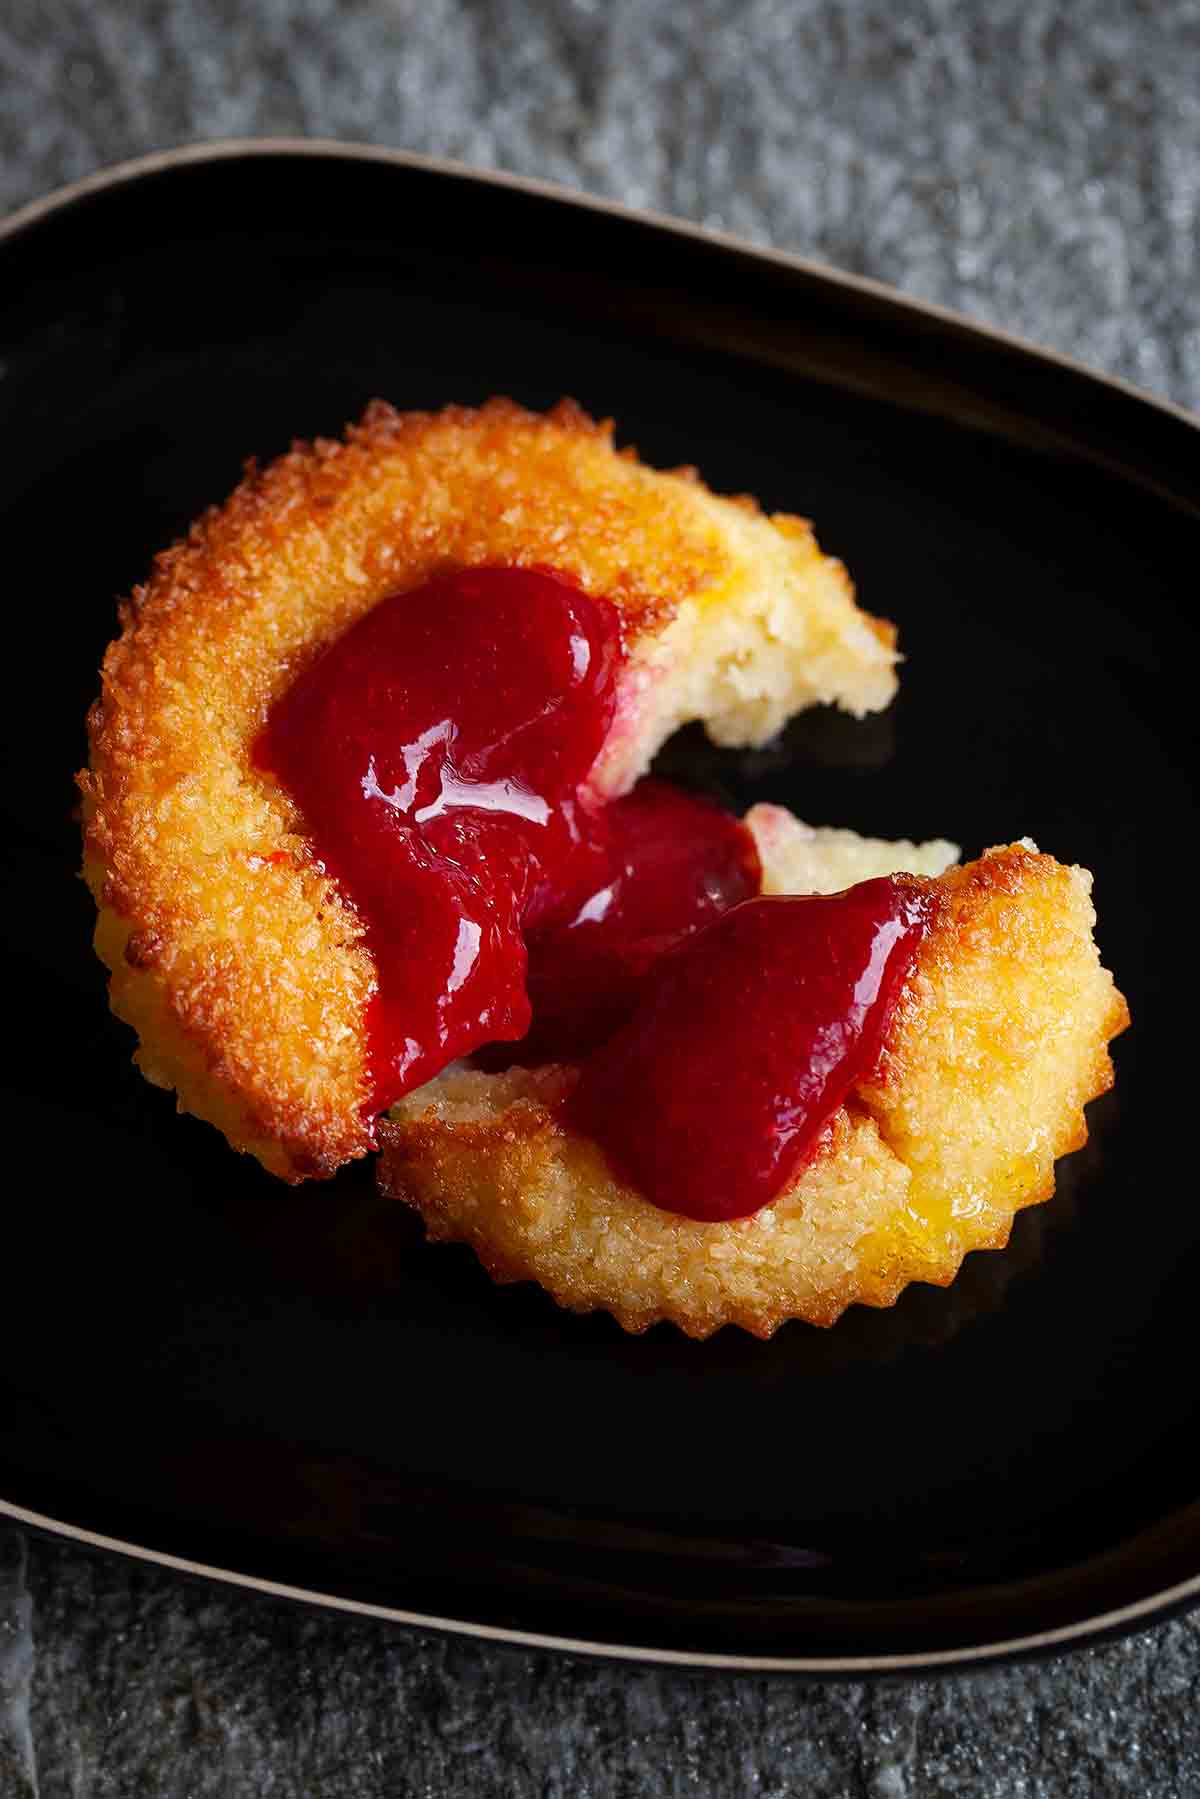
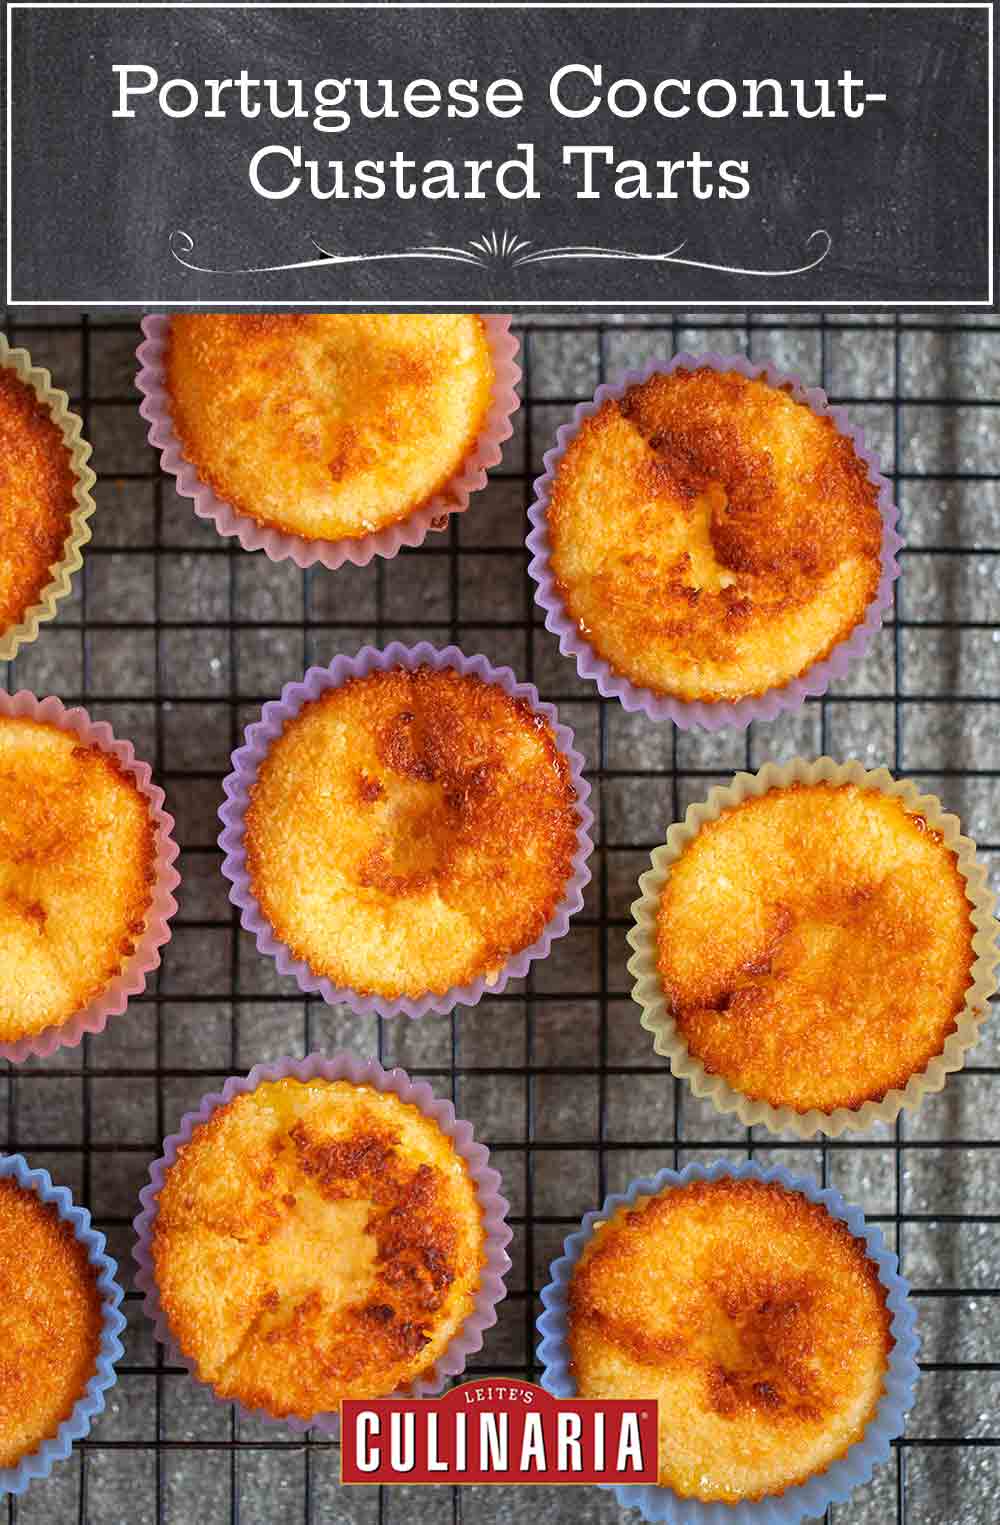
These pastries are a perfectly lovely springtime dessert. As they bake, the batter puffs up and separates into a crispy toasted coconut topping with a sweet smooth custard underneath. As they cool, the center collapses slightly creating a nest. It would be fun to fill the hollow with some small jelly beans or chocolate eggs for the Easter holiday.
I was tempted to remove the tarts at 23 minutes because coconut was getting brown on tarts at back of oven. I opted to turn the pan and leave them in for the full 25 minutes and it was fine.
With no more effort than making some coconut haystacks, these coconut tarts come together easily and deliver a beautiful little tart that tempts you to eat more than one.
They have a much more special flavor and texture than my back pocket cupcake recipe, and if you have the coconut on hand, you’re ready to go.
Almost as soon as you remove these from the oven, the golden brown top begins to sink in front of you (and suggests a berry or two, or maybe a dab of lemon curd would be welcome). The slight bit of lemon extract works well without standing out.
In a third batch, I also reduced the sugar about 20% and we preferred that level of sweetness without sacrificing any texture.


Just made these (and the raspberry coulis) and they’re delicious! What’s the best way to store these beauties? (i.e., fridge? air-tight container?)
valerie, so happy you enjoyed these. We keep them in an air-tight container at room temp.
Made these this morning. Turned out perfect, and made the house smell delicious! Everybody seems to like them. Half were eaten shortly after they came out of the oven, but we have enough to include one in everybody’s lunch at least one day this week. Already, I’m imagining variations (coca nibs, almond bits, dried cherries, etc.)
Steve, excellent news! And I like the way you’re thinking, with the cocoa nibs and cherries.
Not sure what I did wrong, that being said, they taste great. No depression in the center. I found parchment paper liners and did use a water bath. They do not stick to the liners. Thanks for the recipe. Will definitely make again.
Berni, well, I don’t know what you did, but I have always wanted not to have the depression or the sticking. So you made my perfect pastéis!