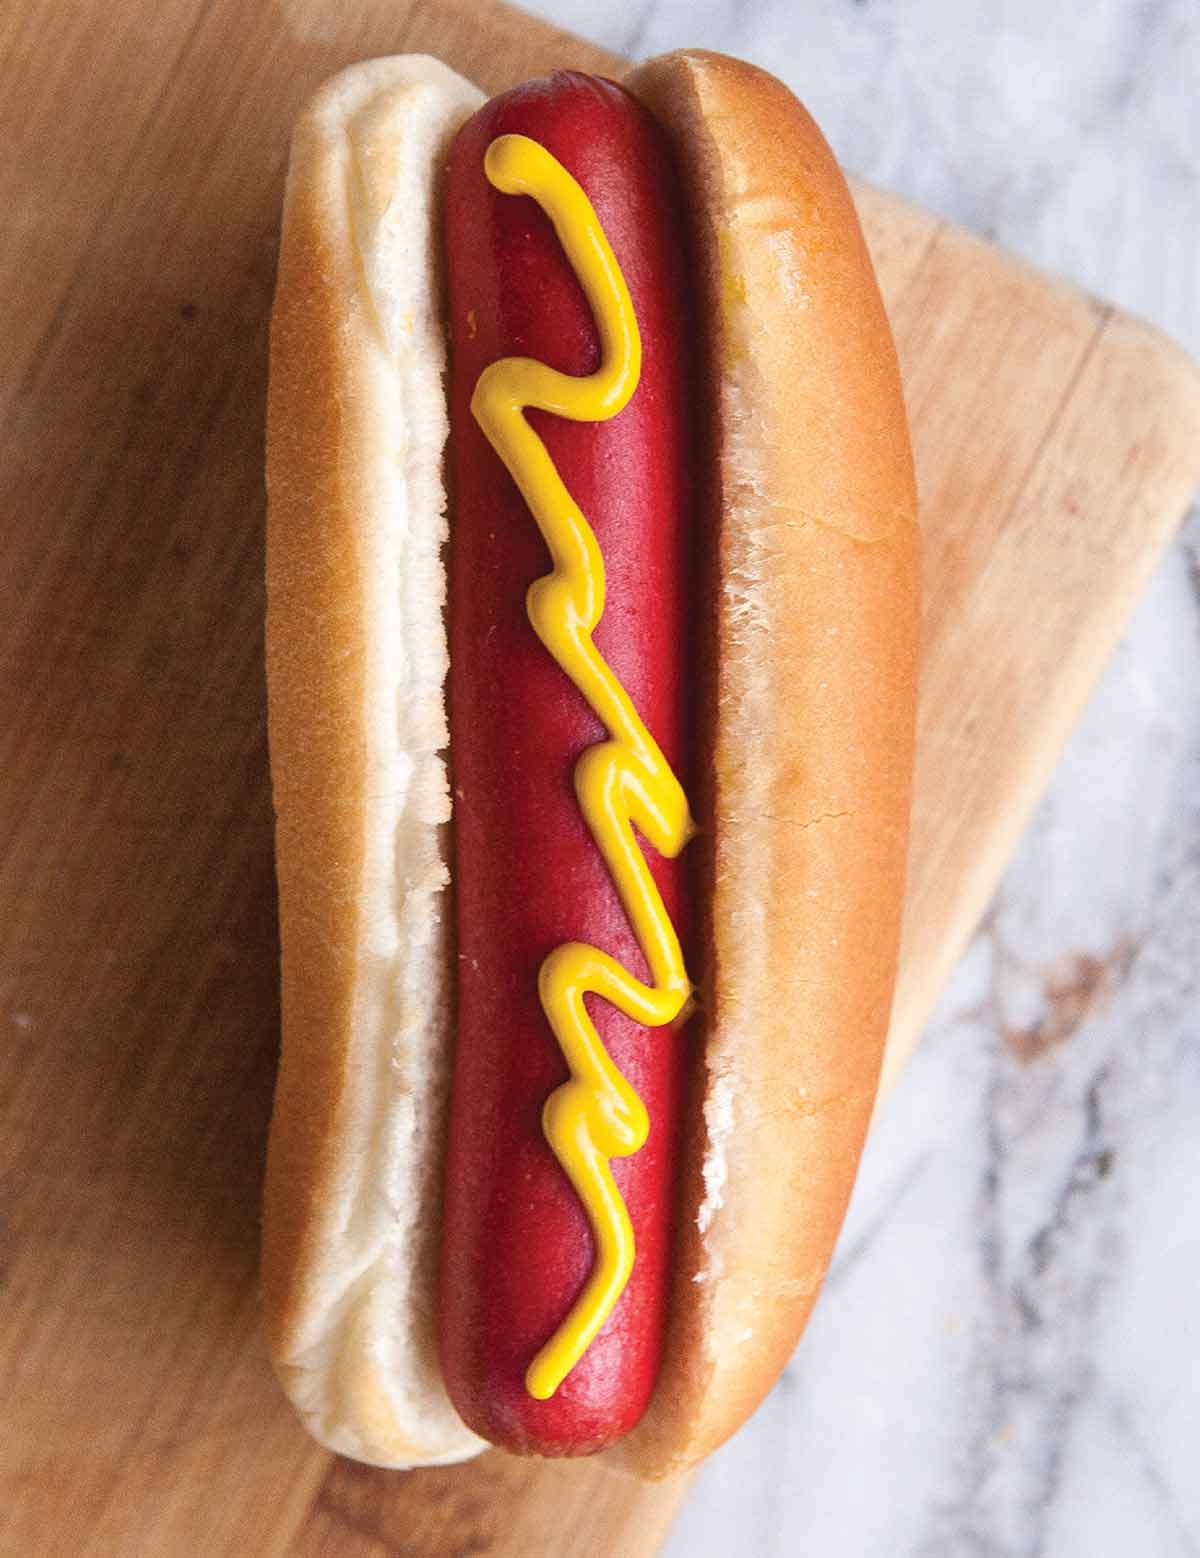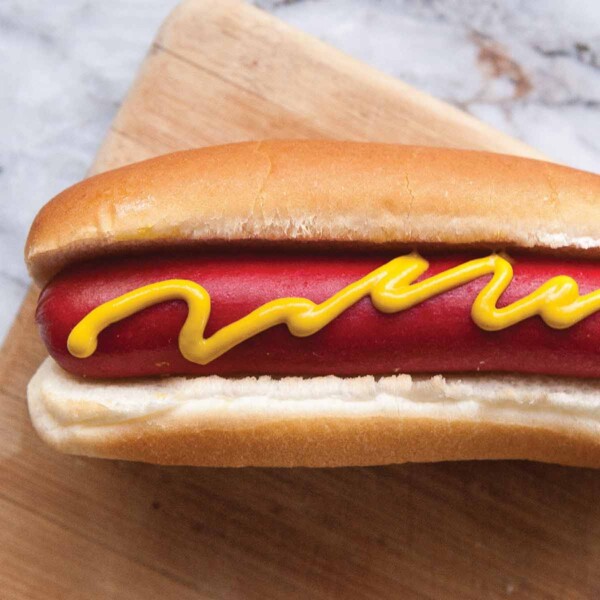
Swooning over the consummate hot dog in that centerfold-worthy photo above? Yeah, so are we. So get thee a bun, nestle a frankfurter within it, and squeeze on a zigzag of yellow mustard and a squirt of sweet pickle relish or whatever other condiments you fancy after heeding the words of advice below. Keep in mind, though there are many ways to cook a hot dog, each creates a distinctly different eating experience, whether the crunchy snap of a fire-charred dog or the mouthwatering bite of a tense, juicy, simmered frankfurter. Recipe methods are ordered from quickest to longest cooking time so you can know, at a glance, which to try when your craving just can’t wait.–David Leite
WHAT’S THE BEST WAY TO COOK HOTDOGS FOR A CROWD?
Out of all the methods that we tried, roasting is the best way to go for serving up a large number of wienies as it’s fairly easy and worry-free. Preheat the oven to 350°F (177°C). Place the hot dogs on a rimmed baking sheet lined with parchment paper. Roast for 10 to 20 minutes, or until hot dogs are heated through to 160°F (71°C). Hot dogs can be placed in a prewarmed slow cooker to keep warm, or just in the oven with the temperature lowered.

How to Cook the Perfect Hot Dog
Ingredients
- 1 hot dog (or as many more as you need)
- 1 hot dog bun (or as many more as you need)
- yellow mustard
- Other condiments, as desired, (pickle relish, ketchup, sport peppers, sauerkraut, onions, cheese, and so forth)
Instructions
- Choose your cooking method from the recipe options below, plonk the hot dog in a bun, slather it with mustard and any other desired condiments, and then take a moment to behold this greatness before demolishing it.
Notes
CHOOSE A METHOD
Microwave:
Is it as good as grilling or cooking on a stovetop? Not even close. But it’s darn quick and, if done right, it can make a decent, if not great, dog in a pinch. First, wrap the hot dog tightly in a dry paper towel, tucking the ends under the dog so they don’t flip open. Place the wrapped hot dog on a plate and microwave on 80 percent power for 30 to 45 seconds or until heated through.Open Flame
Technically similar to grilling but a lot more fun. Perfect for campfires and cold evenings around a fire pit or fireplace. It creates a charred, wonderfully crisp skin and a juicy, piping hot interior. First, prepare a fire. Grab long-handled tongs, which are ideal, or a long-handled skewer made for roasting dogs and marshmallows. Hold the hot dog a few inches above the tops of the flames. Slowly rotate the dog while cooking until the skin is charred and crisp and the interior is cooked through 2 to 5 minutes.Grill and Broil
Direct dry heat will magnificently crisp the skin on dogs made with natural casings. If you don’t have a grill, no worries. Broiling is essentially the same process except that it uses top-down heat instead of bottom-up heat. If using a gas grill, preheat the grill to its hottest setting for at least 30 minutes. Just before tossing on the dogs, lower the heat to medium (about 400°F/205°C). Grill the dog for 3 to 4 minutes, until charred but not blackened. Flip and cook for another 3 to 4 minutes. If using a charcoal grill, heat the charcoal for 30 to 45 minutes, or until the coals ash over. Spread the coals over the bottom of the grill. Grill the dog for 3 to 4 minutes, until charred but not blackened. Flip and cook for another 3 to 4 minutes. If using a broiler, place the dogs on a broiler rack and broil for 3 to 4 minutes, until charred but not blackened. Flip and cook for another 3 to 4 minutes.Simmer
Compared to boiling, simmering incurs less risk of overcooking or splitting the dogs. In a saucepan over medium-high heat, bring enough water to cover the dogs to a simmer. Place hot dogs in the water and simmer for 8 to 10 minutes, or until they reach an internal temperature of 160°F (71°C). If you need to keep the dogs warm, you can turn the heat off and leave the hot dogs in the warm water—so long as it’s above 160°F (71°C)—for a short while.
Nutrition
Nutrition information is automatically calculated, so should only be used as an approximation.
Recipe Testers’ Reviews
This little recipe tutorial gives us everything we need to make great hot dogs. I tried each method over a 2-day period, and each produced a different hot dog, which kept me from tiring of them.
First, I used the microwave method, expecting, of course, dreadful hot dogs. Not so. The weenies were by no means exceptional but were hot, unexploded, and quite tasty.
I followed this with dogs held by metal tongs over an open flame. You really could use any source of fire. Thinking back to my adolescence, I opted for the gas flame on the range. I turned the flame on high, made certain that my wife wasn’t nearby, and had at it. This produced a wonderful, lightly charred, slightly sweaty hot dog, as fine as any from that coveted green egg.
Next came the standard grilled hot dog. I used a preheated propane grill. Four minutes, turn, four minutes more. A perfect dog. No explanation needed.
I next moved on to boiling or simmering. This method produced, by far, the least memorable hot dog of the lot. I would only use this method if I was going to bury the dogs in chili or peppers and onions. Yes, it works nicely, but it imparts no real flavor to the hot dog.
Finally, I roasted some hot dogs on a baking sheet lined with parchment paper. Guess what? These puppies turned out to be nearly as good as, if not AS good as, the grilled and open flame hot dogs. They browned wonderfully and the texture was perfect, not to mention the great flavor, and, as promised, the ability to make many hot dogs at one time, freeing up precious grill space for burgers, steaks, and the rest.
My family is in heaven. Normally hot dogs fall into the category of an occasional treat, but the prospect of testing various ways of cooking hot dogs had everyone running for the store almost immediately. Since mixed pork and beef hot dogs are hard to find, we chose to use Angus beef hot dogs. After a couple of days of exhaustive testing, the results are in…
Grilled
A family favorite since you can get the charred outside yet ensure the dog is cooked through. We also like this recipe method because it ensures that there were fewer lost hot dogs from falling into the fire, as can happen when dogs and sticks are involved. We have a natural gas barbecue, so preheating the grill was as simple as turning it on. As the kids are all grown up now, this is a backyard favorite.
Open Flame
This also proved to be a favorite, bringing back memories of camping trips and cookouts with the kids when they were little. There is a sense of anticipation as you hold your stick with the dog on the end over a flame to get it warm inside and slightly charred on the outside. However, I found that tongs bring little hands too close to the flames and the heat, so a nice 3- or 4-foot stick, or even those special forks for campfire cooking, are a better option. This technique is sure to bring back good times. Even those dogs that were a little more charred or cool in the middle brought laughter and memories.
Simmer
My husband’s and my favorite. This recipe method ensures you get a juicy hot dog complete with the desired snap of the skin. Another way to do this method is to bring the water to a boil, add the hot dogs, turn off the heat, and let them simmer in the heated water. As long as the dogs are kept at a gentle simmer, perfection awaits. This method also allows you to let them get plump and juicy in the water while you get the buns and fixin’s ready.
Microwave
This was an after-school favorite since the kids weren’t allowed to use the gas stove and usually wanted a snack before dinner. Done right, this method works perfectly well. The trick is to make sure the ends of the paper towel are wrapped under the dog so it’s protected. When it is done wrong, you get leathery ends that are edible but unpleasant.
Roasting
Again, a serviceable method, but almost more work than necessary. I would use this if I had to roast other things in addition to the hot dogs and briefly had to be away from the stove. I’m fond of using this method to cook sausages, but to be honest, for a hot dog it doesn’t seem necessary to turn on the oven when there are other methods that work as well and produce a better result.
As for our choice of buns, we much prefer the top-open, or lobster roll, type of bun. It’s easier to load the dog than using the side-open buns. I found most grocery stores only carry the side-open or American-style buns, but we were able to find uncut buns at a local bakery and cut them as we wanted.
The best hot dog was truly a trip down memory lane. I haven’t eaten hot dogs in a long time. The hot dogs I ate as a child were either Nathan’s or from the corner hot dog cart.
The microwave and the simmer both seemed to yield the same results and tasted good. The oven technique was very flavorful but the one that was most memorable to me was over the open flame for the food memories it brought back.
The hot dog I used for this recipe was Hebrew National All Beef.
This recipe should get high marks just for fun—and my husband was more than willing to be the tester. He’s always in the mood for a hot dog.
We tried 3 different kinds. One was the classic Applegate and the others were from the store—Karl Ehmer in Hillsdale, NJ, and the Swiss Pork Store in Fairlawn, NJ. The Applegate hot dog was simmered, the Ehmer hot dog was grilled on a gas grill, and the Swiss Pork Store hot dog was grilled in a pan on the stove.
The best dog for taste was the grill-panned approach, but we agreed that it would have been better on the gas grill. It wasn’t skinless, so it had a nice snap to it. We got a couple of extra hot dogs so we’ll be grilling those.
Is it OK to admit that I like hot dogs? Not every day, or even every week, but I do like hot dogs. Now, they have to be really good hot dogs. I won’t eat fill-in-the-blank-brand hot dogs sold everywhere. A few years ago, someone was sampling a new product at our local Whole Foods. They were uncured, hot dogs made with pasture-raised beef. They really seem to care about their animals, which translates, of course, into the finished product.
I particularly liked the results we got by grilling hot dogs. The outside got coppery crisp, which gave the dogs a beautiful snap when you bit into them. Add some spicy mustard and locally made sauerkraut and what a great lunch! A cold local beer can also add a nice touch.
I used both the open flame method and the grill. I like the fact that you get a definite crisp outside and hot inside. I used skewers over the open flame and I don’t believe I lost much in terms of fat or juices. The skewers that I used are very long with wooden handles and are much easier to handle than tongs.
On the grill, I grilled the hot dogs as-is, although the second time I tried this method I split the hot dogs lengthwise, cutting almost but not all the way through, sort of a butterfly cut. I then cooked the hot dogs on both sides until they had a nice char. My family liked this last method much better because you can actually get a more crisp surface and have more space to squeeze extra ketchup or mustard.


I’m a huge fan of grilled or open fire hot dogs and this summer has been a bit of bust for outdoor activity since I’ve been working nights. On top of that, I can’t have a grill (my apartment has an indoor balcony) so no grilled dogs. Out of curiosity, I googled for some other method and found this guide to hot dogs and decided to take a crack at broiling in my oven. It turned out fantastic! Thank you so much for making this guide!
You are so very welcome, Melinda! We were sorta blown away by the broiling method, too. (And wished we’d thought of it years ago!)
Life is way too short for crappy hot dogs. Kayem natural casings are my loves. Boil just enough water to barely cover the dogs, plonk (love that word) the dogs in, return to a boil, shut the heat off, and let them cook for 7 minutes. We steam Martin’s potato rolls in the upper part of our beloved hot dog steamer for the last two minutes of the hot dogs’ cooking time. Top those puppies with yellow mustard, finely chopped red onion, and a sprinkling of celery salt, and serve with good old Cape Cod potato chips. Slap yo mamma twice!!!!
Hah! Loooooove the way you see the world, Greg. I just love it. (And, like you, I love the word “plonk,” too.)
I’ve done hot dogs in the microwave. I do mine by putting the hot dogs on the microwavable pan/plate first, then opening the buns and putting them over each hot dog. I set the timer for 35 to 45 seconds and they come out perfectly. The buns are steamed a bit and warmed, and the hot dogs are just like they should be. Ketchup and mustard complete them most of the time after I’ve grabbed them up in the buns and flipped them over to top them with the condiments. 🙂
Terrific! Many thanks for sharing your technique with us, Randi.