TL;DR (Quick-Answer Box)
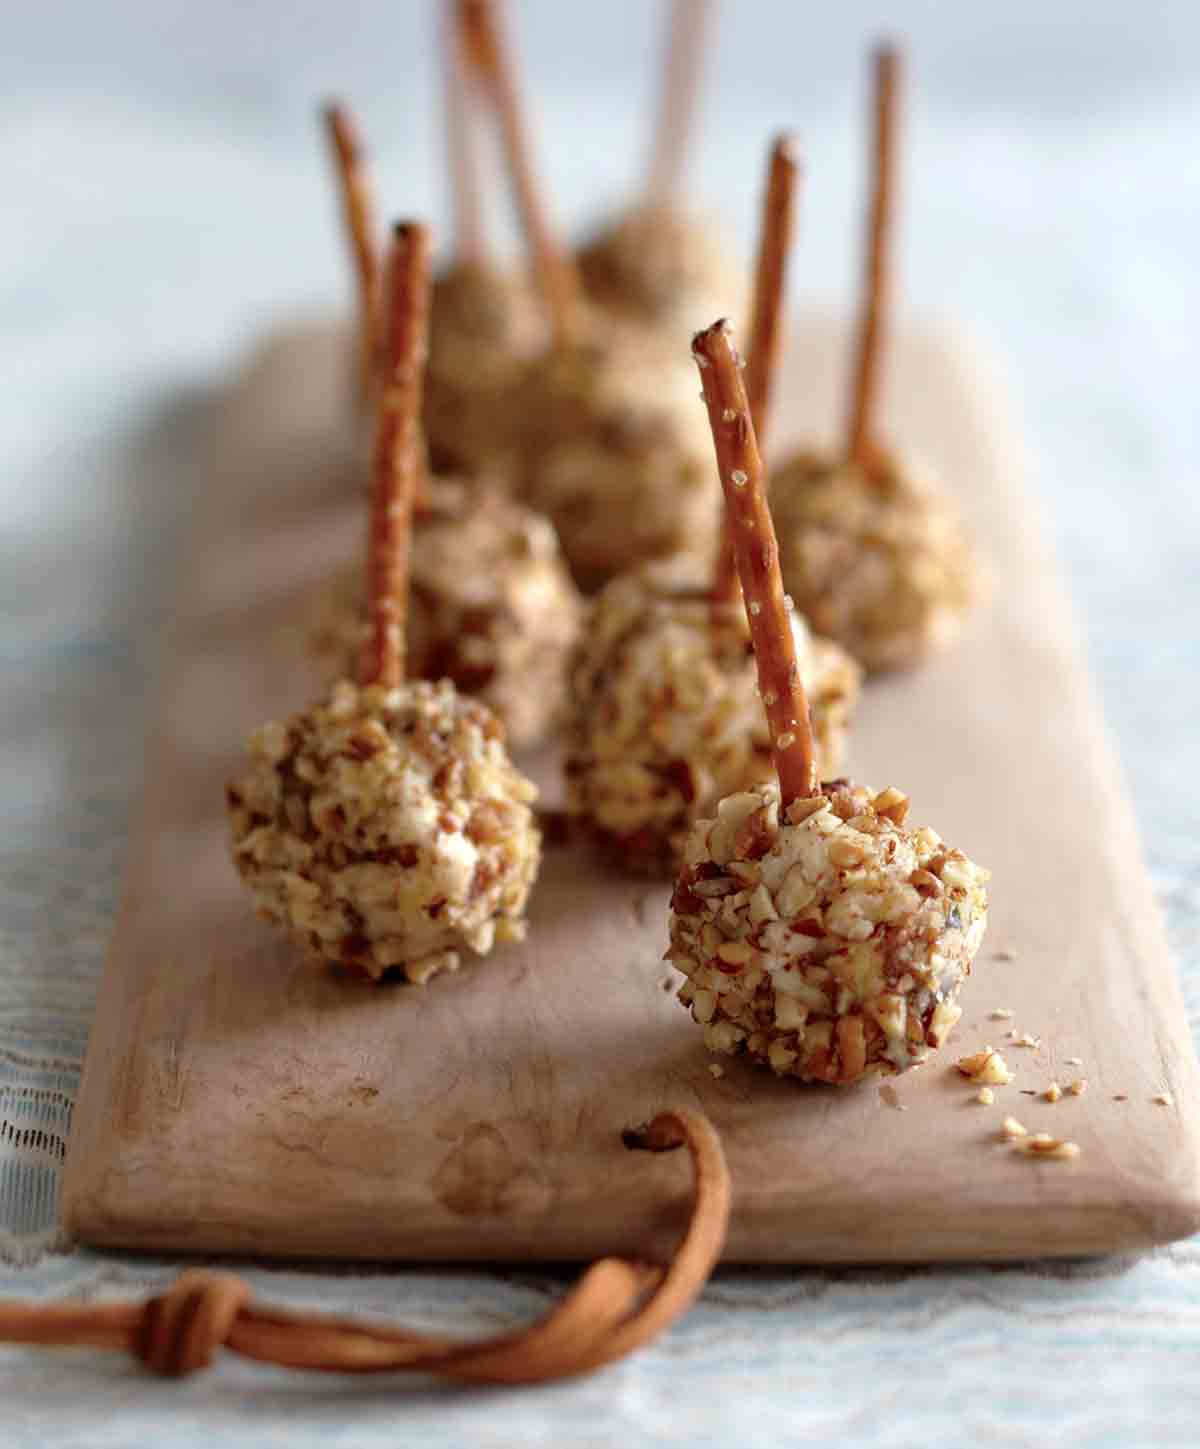
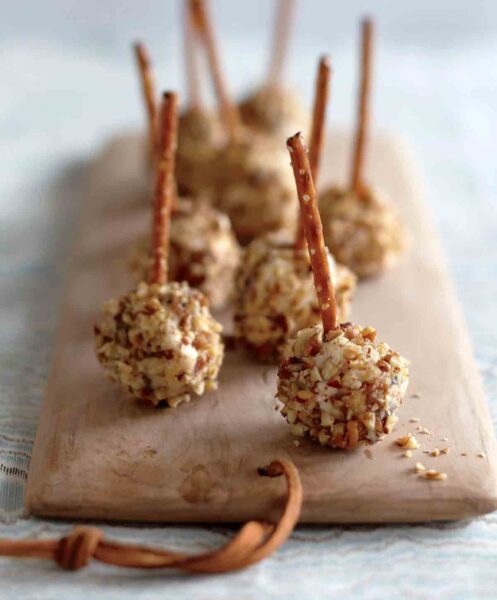
- What it is: A sharp, salty, and sweet party appetizer of blue cheese, cream cheese, chopped dates, rolled in toasted pecans with a pretzel handle.
- Why you’ll love it: A simple, elegant finger food that’s a make-ahead lifesaver for holiday entertaining—just roll, chill, and serve with pretzel sticks.
- How to make it: Mix the cream cheese, blue cheese, chopped dates, and cayenne. Roll the mixture into balls, place on a platter, and chill for at least 2 hours. Just before serving, roll the balls in toasted pecans, and insert pretzel sticks. Watch faces light up.

Featured Review
Oh, how quickly [these cheese balls] disappear every time! As soon as you dish out these li’l lovelies someone says, “Oooh, what are THESE?!” and pops one in their mouth, prompting word-of-mouth marketing among the rest of the guests. So little work, so much reward, everyone is happy. It’s a win-win-win!
Chiyo Ueyama
Jump To
Yeah, I know—these look like the savory stepsister to a cake pop. And I also know that admitting you love something that could easily double as Pinterest party fodder may cause more than a few food snobs to get the vapors.
You can handle it, I certainly have. I’ve stared down more than one arched brow while holding a tray of these in one hand and perfectly fanned-out paper napkins—*gasp*, *clutch pearls*, paper?—in the other. They’re total kitsch, sure. But they’re also freaking damn delicious.
What’s not to like? Sharp blue cheese and creamy tang from the base, a little chew from chopped dates, a hint of heat from cayenne, and a final roll through toasted pecans. The pretzel stick isn’t just charming—it’s practical. (Try juggling a glass of wine and a knife and a cracker and one of those shocking paper napkins sometime. This is easier. And way neater.)
They take maybe 20 minutes to pull together, and the chilling does the rest of the work. Make them ahead, stash them in the fridge, then pop in the pretzel sticks right before serving. They’re easy, they’re fun, and they get devoured. Take that, gastronauts.
Chow,


Why Our Testers Loved This
Tester Natalie R. describes these mini cheese balls best with her comment, “the coolest appetizers ever! They’re simple and quick to put together, visually pleasing, and taste fantastic.”
Notes on ingredients
- Soft blue cheese—We recommend using a blue cheese that you like, but not one that is extremely strong. Danish blue, Maytag, or Roquefort would all be good choices.
- Cayenne pepper—This is optional, but we highly recommend it. The spiciness of the cayenne pairs well with the creamy cheese and sweet dates.
- Pecans—Other nuts would also work well here. Try it with almonds, walnuts, or pistachios.
Step-by-step instructions
- Mix the cheese, dates, and cayenne, if using. Roll the cheese mixture into 1-inch balls, and refrigerate for at least 2 hours.
- Roll the cheese balls in pecans. Poke a pretzel stick into each mini cheese ball and serve.
Want to save this?
More Addictive Cheese Recipes
Armenian Yogurt Cheese Balls
1 d 30 mins
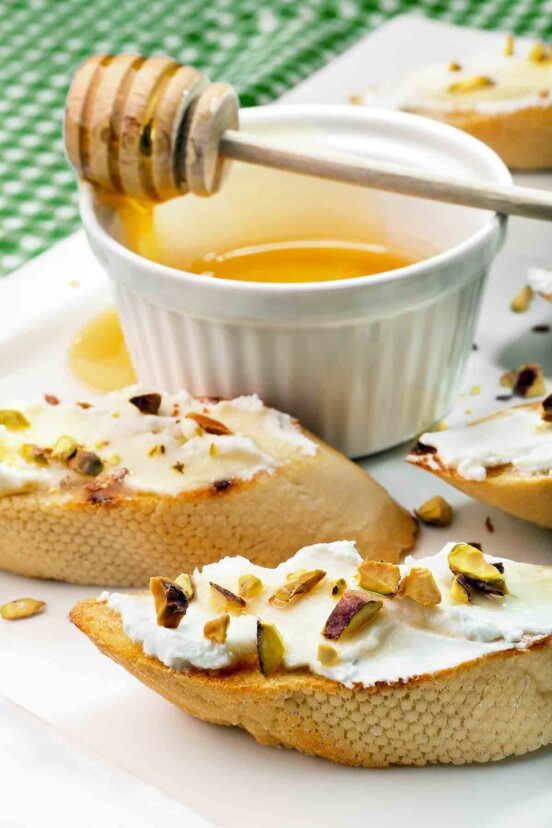
Goat Cheese with Honey
5 mins
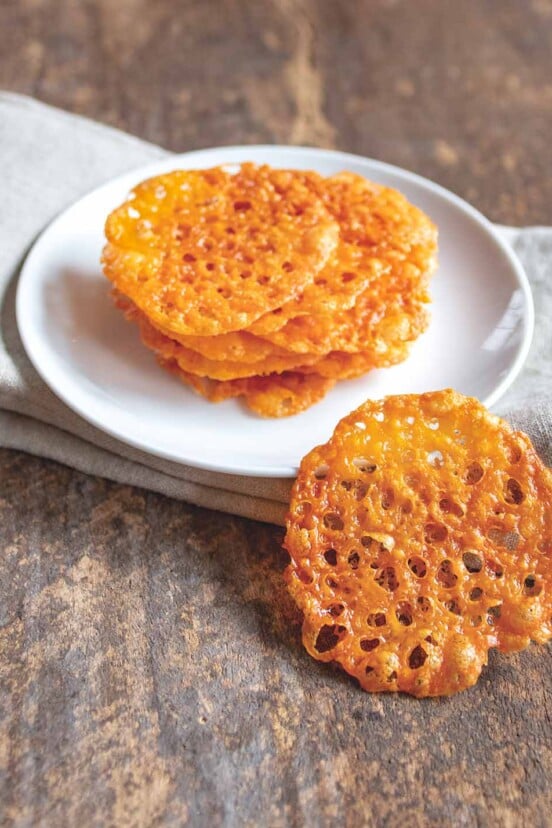
Easy Keto Cheese Crisps
25 mins
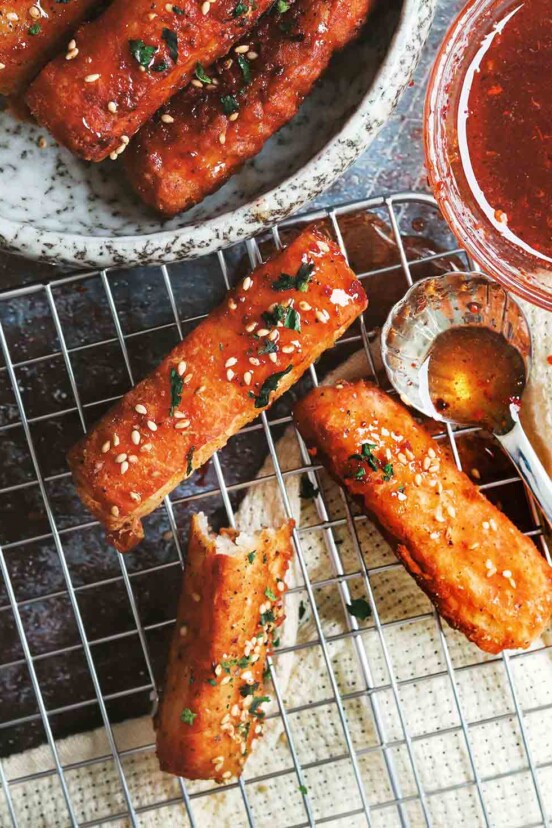
Sesame Halloumi Fries
25 mins
Write a Review
If you make this recipe, or any dish on LC, consider leaving a review, a star rating, and your best photo in the comments below. I love hearing from you.–David
Featured Review
When you have a special occasion with your family, such as Christmas or Thanksgiving, you usually have to rush to finish all the side dishes and desserts. To be able to have some appetizers that can be made in advance and are ready to serve whenever you want is the thing that’s most wanted by every hostess. This blue cheese balls recipe is perfect for those occasions. They’re not only tasty and original, but you can make them the day before and leave them in the fridge while you prepare everything else. I thought the cheese balls had a touch too much blue cheese, but I have to say, what completely compensated for that was the sweetness of the dates. Pecans contributed crunch and a sense of rustic-ness.
Cinto Farnos
Blue Cheese Balls
Ingredients
- 8 ounces cream cheese, at room temperature
- 3 ounces soft blue cheese
- 4 to 6 dates, pitted and chopped (about 1/2 cup)
- Pinch cayenne pepper, (optional)
- 2 cups chopped pecans, toasted, for coating
- About 30 skinny pretzel sticks
Instructions
- Using a stand mixer or a bowl, a spatula, and your biceps, mix together the cream cheese, blue cheese, dates, and cayenne, if using. Roll the mixture into balls a little smaller than an inch in diameter, place on a platter, cover with plastic wrap, and refrigerate for at least 2 hours and up to overnight.
- Just before serving, roll the balls in the chopped pecans, making certain they’re evenly coated. Insert a pretzel stick in each cheese ball and plop them on a platter.
Notes
- Blue cheese–Use a blue cheese that you enjoy, but not one that is too strong. Danish blue, Maytag, and Roquefort are all good choices.
- Toasting pecans–Toast the pecans in a skillet on a stovetop until slightly darkened and fragrant. This should only take a few minutes.
- Make in advance–The cheese mixture can be prepared and rolled into balls up to 1 day before serving. Store, loosely covered, in the fridge until just before serving.
Explore More with AI
Nutrition
Nutrition information is automatically calculated, so should only be used as an approximation.
Recipe Testers’ Reviews
These are the coolest appetizers ever! They’re simple and quick to put together, visually pleasing, and taste fantastic.
The mixing of all the ingredients took about 3 minutes in my stand mixture. The mixture looked a bit too sticky to roll immediately after I blended all the ingredients, so I wrapped the cheese mixture in plastic wrap and let it sit in the refrigerator overnight. When I pulled it out the next morning, it was easy to roll into balls.
Once the cheese balls are shaped, it only takes a few minutes to roll them in the pecans. We tried some of the cheese balls with pretzels and some without. The cheese balls with the pretzel made a great impression and also tasted much better. (It may have been the salt on the pretzels or just the fun of picking them up using the edible “sticks.”)
In addition, the pretzels made the cheese balls easy to pick up. I highly recommend these.
What nice, neat little snacks these blue cheese balls are! Perfect for a cocktail party. With the pretzel sticks, there isn’t any searching for a place to put the toothpick, and you can still keep a drink in one hand and avoid the “balance” game.
The soft cheeses and chewy dates go nicely with the outer crunch of the pecans. I did add a pinch of cayenne and would possibly add more next time. I’ll also try using different nuts next time. I think pistachios or almonds would be very good, too.
These little morsels were intended for adults, but much to my surprise, they were enjoyed by some fairly young children, too. These take me back to some of the little snacks that my parents would serve with cocktails before dinner when they had company.
This blue cheese balls recipe was surprisingly good! When I first read the recipe, I hesitated as it seemed like an unusual combination of flavors. But to my surprise, these were absolutely delicious! T
hey reminded me of a traditional cheese ball that my Mom used to make, but they deliver a modern twist. They’re a great alternative to the ubiquitous cheese and cracker plates that you find at most parties. They’re easy to assemble and the best part is there’s no cooking involved.
I also love that they’re single serving size. Large cheese balls of the past were always so cumbersome to cut into and share with the rest of the party guests.
Keep in mind, these are not for the timid. The blue cheese packs quite a punch, but the toasted pecans provide a perfect balance to the strong cheese. All in all, these little gems have such a great harmony of flavor about them—the tang from the blue and cream cheeses, the sweetness from the dates, the nuttiness of the pecans, and the saltiness of the pretzel sticks. They’ve won me over!
These blue cheese balls made for nice little nibbles. The taste was fairly mild, mostly of cream cheese, with a slight sweetness from the dates and a slight sharpness from the blue cheese. It’s really a miniature version of your classic cheese ball.
One thing you should keep in mind is that the pretzels will start to soften over time in the cheese balls, so you really want to put the pretzels in just before serving. These would also be just as good without the pretzels. I think in the future, I might just shape the cheese into a log, instead of balls, and serve with a knife and crackers.
How fun are these blue cheese balls?! They’re very simple to make and taste just as good as they look. They’re salty and sweet and melt-in-your-mouth creamy and crunchy—a no-brainer combination that’s already known to mankind!
When you roll them in the chopped pecans, press them gently so the nuts stay on the surface. I think walnuts or almonds would be wonderful, too.
This blue cheese balls recipe make perfect party food—easier to eat and serve than a single large cheese ball but the same general idea. Even for a non-blue cheese lover like myself, these were great.
The cream cheese really cuts the strong blue cheese flavor while the dates add a hint of sweetness and the toasted nuts add just the right taste and texture. Truly a perfect blend of ingredients.
I can see, as with many cheese balls, how you could change the dried fruit and nuts to fit your personal favorites. I was thinking dried cherries and almonds would be great, too.
I let the cheese balls stay in the refrigerator overnight and when I inserted the pretzel sticks, I was happy to see the cheese balls didn’t break or crumble. They didn’t get soggy, either, even hours later. This easy-to-assemble, make-ahead, finger-food recipe is a keeper.
How simple and delicious! I made these blue cheese balls, covered them with plastic wrap, and refrigerated them for 2 days. The toasted pecans with the dates and cheeses was a fabulous combination of flavors.
Kids and adults alike loved these so much, I should’ve doubled the recipe. I will next time! Don’t stick the pretzel stick in until right before serving if you’re holding them for awhile.
These are tasty little nibbles that I served without the pretzel sticks—or the silver platter! They were easy to mix together and easy to prepare.
The most complicated part of the recipe is starting in time to allow for proper chilling. I was just shy of the 2-hour mark, but the cheese balls worked out nonetheless.
It seemed a little too cute to me to insert pretzel sticks into the balls to make pops, so I served some pretzels alongside the balls to make sure I had all the ingredients in place. All the cheese balls disappeared. One person suggested adding more dates, and because I’m a big date fan, I’ll try that with the next batch.
These were delicious. I made them as a Thanksgiving appetizer and everyone enjoyed them.
Some thought the blue cheese was too overpowering, but I love blue cheese so I had gone with a stronger version from the specialty cheese case instead of just the crumbles, which would have toned the recipe down. I will probably make this again for Christmas.
We made this blue cheese balls recipe on Thanksgiving as an appetizer and we had a few to tide us over instead of eating lunch while preparing Thanksgiving supper.
My 14-year-old great niece helped me make these, and even though she’s a very picky eater, she really enjoyed these cheese balls. She had fun rolling them in the pecans and inserting the pretzel sticks.
Love the use of an edible handle instead of a toothpick. We did use the pinch cayenne and enjoyed its spicy kick. We opted for the bowl and spatula as well as the 2-hour stint in the fridge. My daughter suggested wetting our hands before rolling the mixture into balls and this made rolling much easier.
These blue cheese balls were pretty awesome and definitely on the easy side. I chopped up the pitted dates, measured the blue cheese, and added them both to the cream cheese. The mixture came together easily with a mixer.
The cayenne is a must! Children from 9 to 18 years old liked the savory with a hint of sweet goodness.


Oh how quickly they disappear every time! As soon as you dish out these li’l lovelies someone says “Oooh, what are THESE?!” and pops one in their mouth, prompting word-of-mouth marketing among the rest of the guests. So little work, so much reward, everyone is happy. It’s a win-win-win!
Thank you, Chiyo! We’re thrilled that these were a plate full of happiness, that delighted both you and your guests.
When you have a special occasion with your family, such as Christmas or Thanksgiving, you usually have to rush to finish all the side dishes and desserts. To be able to have some appetizers that can be made in advance and are ready to serve whenever you want is the thing that’s most wanted by every hostess. This blue cheese balls recipe is perfect for those occasions. They’re not only tasty and original, but you can make them the day before and leave them in the fridge while you prepare everything else. I thought the cheese balls had a touch too much blue cheese, but I have to say, what completely compensated for that was the sweetness of the dates. Pecans contributed crunch and a sense of rustic-ness.
Nice, Cinto! Glad these blue cheese balls were exactly what you needed!