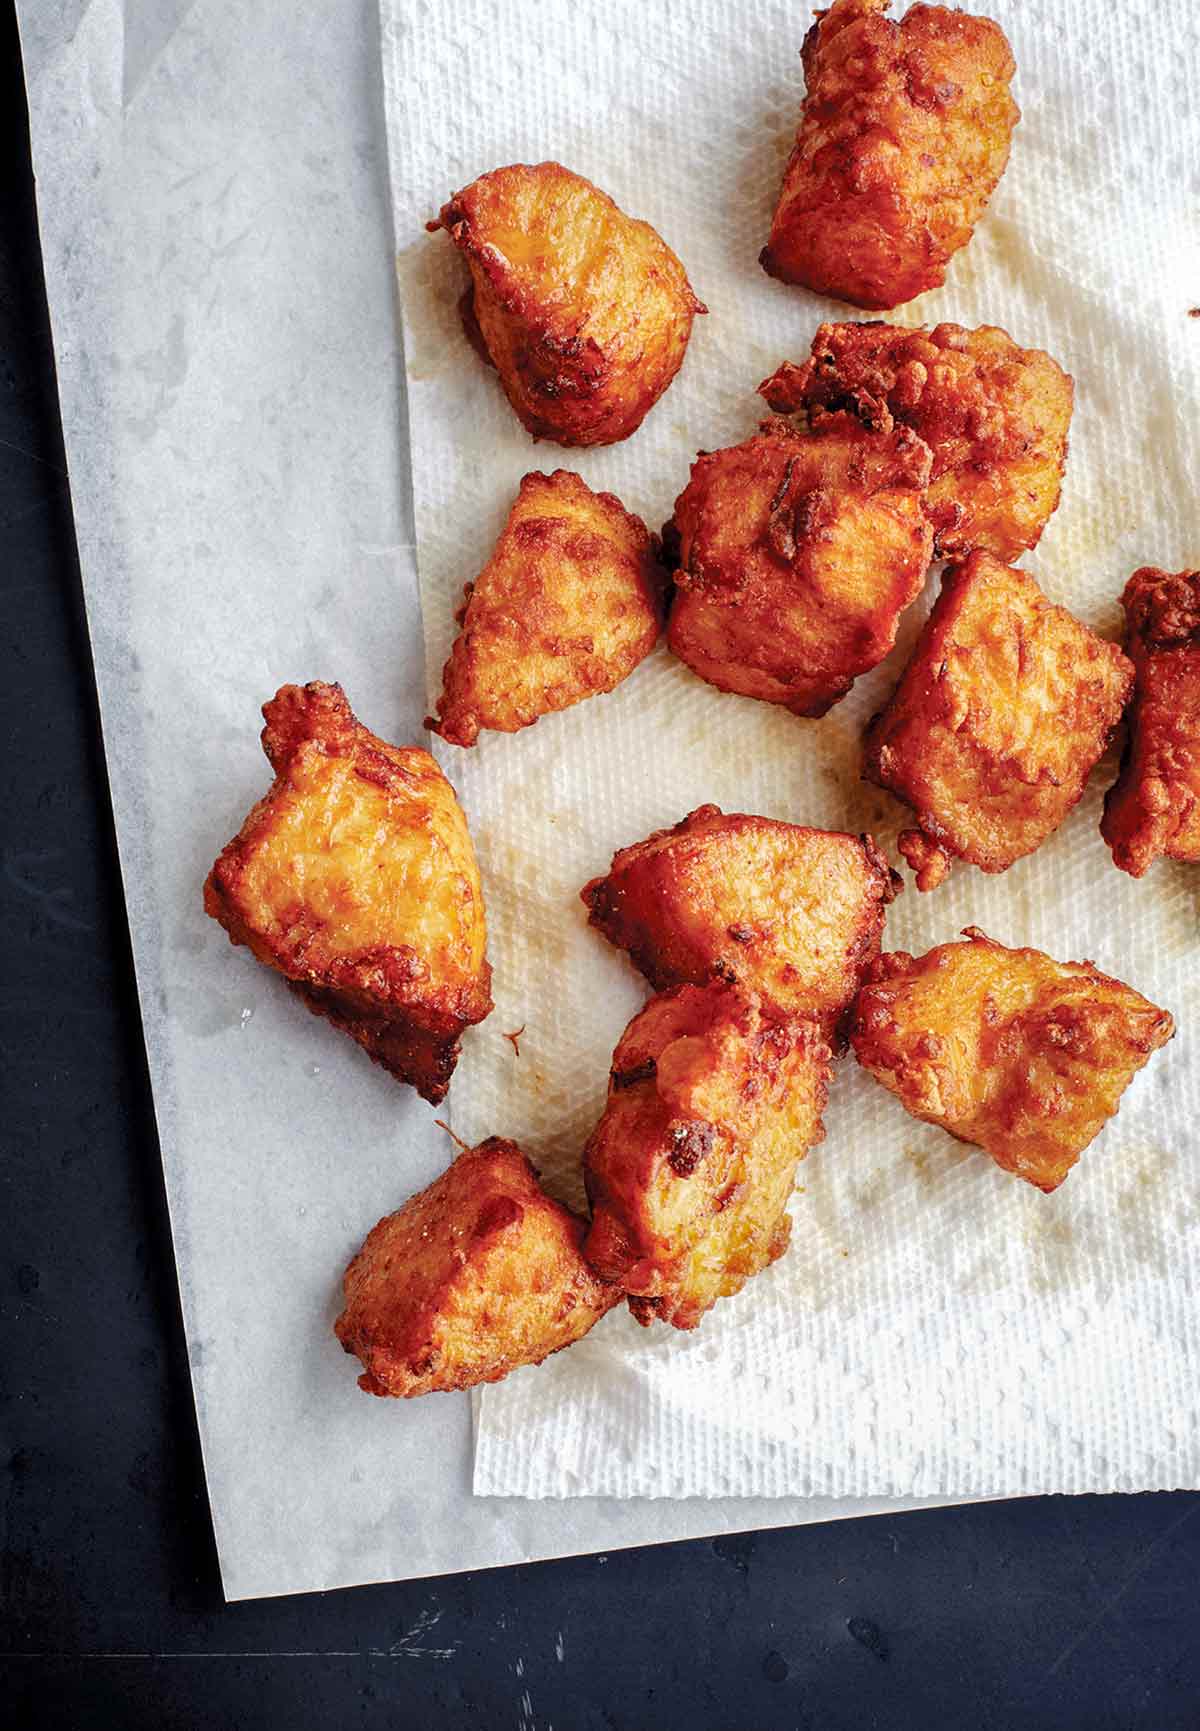
Employees at Union Square Tokyo have developed their own family meal repertoire. Their version of fried chicken has the requisite crunch thanks to potato starch, which is found in the baking or kosher food section of most supermarkets. Boneless chunks of marinated chicken are lightly coated in egg white and potato starch, then twice-fried briefly until crisp. The first frying cooks the chicken through, and the second frying, at a higher temperature, turns it to golden brown perfection.–Michael Romano and Karen Stabiner

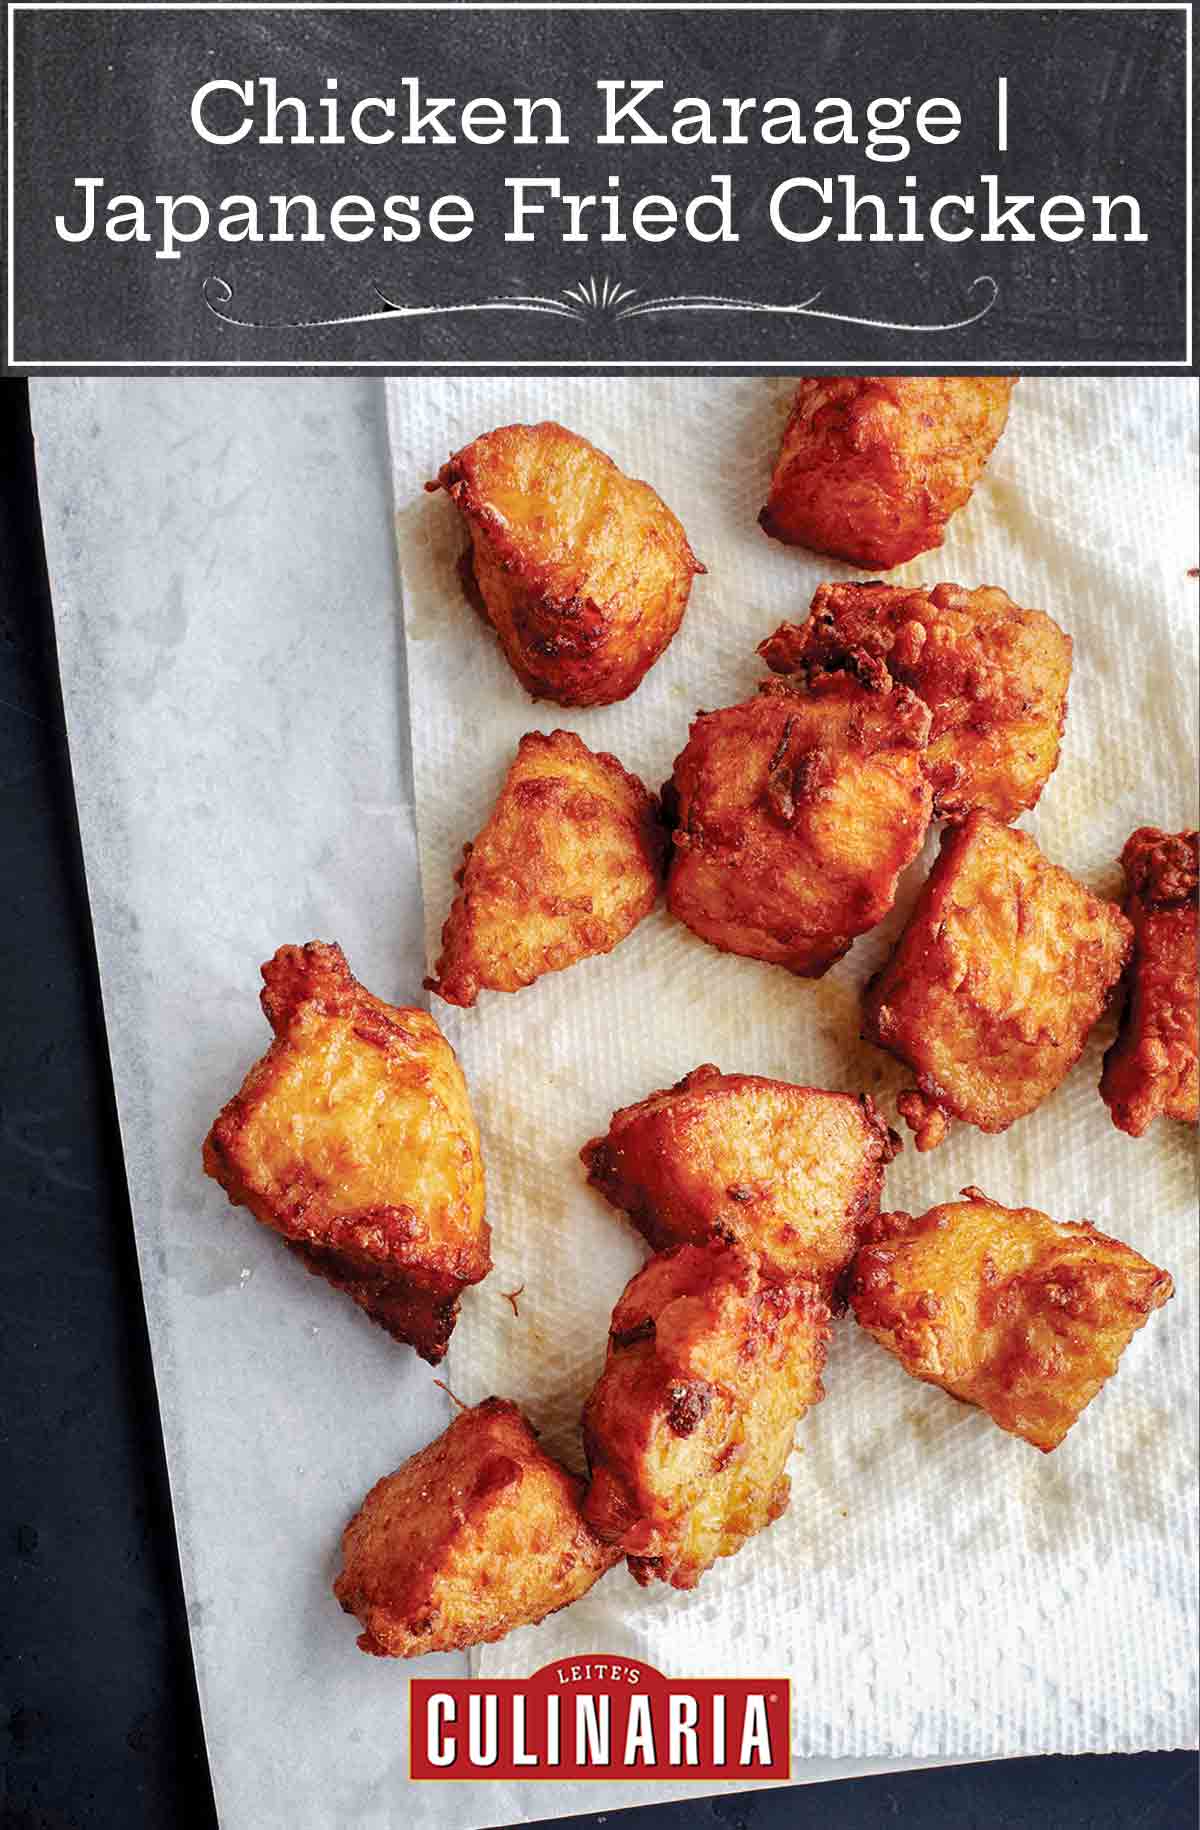
Chicken Karaage | Japanese Fried Chicken
Equipment
- Deep-fry or candy or instant-read thermometer
Ingredients
- 3 tablespoons grated garlic cloves (from about 8 cloves)
- 4 teaspoons grated ginger root
- 1/2 cup soy sauce (or substitute gluten-free tamari), preferably low-sodium
- 1/4 cup sake
- 2 tablespoons granulated sugar
- 2 teaspoons salt
- 1 teaspoon freshly ground black pepper
- 3 pounds boneless, skinless chicken, preferably dark meat, cut into 1 1/2-inch (4-cm) pieces
- 3 large egg whites, lightly beaten
- 3/4 cup potato starch*
- Vegetable oil for deep-frying
Instructions
- In a bowl large enough to hold the chicken, combine the garlic, ginger, soy sauce, sake, sugar, salt, and pepper, and stir until the sugar dissolves. Add the chicken and toss to coat. Cover and refrigerate for at least 30 minutes or up to 2 hours.
- About 30 minutes before you intend to cook the chicken, remove it from the refrigerator and let it sit at room temperature.
- Drain the chicken, discarding the marinade. Return the chicken to the bowl. Add the egg whites and stir and turn to coat all the pieces. Add the potato starch and mix well.
- Heat 2 inches of oil over medium heat in a wok or heavy, deep-sided pot until it reaches 325°F (163°C) on a deep-fry or candy or instant-read thermometer. Fry the chicken in batches, being careful not to crowd the pan, just until the chicken is cooked through on the inside and golden brown on the outside, about 4 minutes. Remove the chicken with a slotted spoon and let it drain on paper towels or a brown paper bag. The chicken will look done, although it won't yet be incredibly crisp. That's okay. That's what the second frying is for. Wait until the temperature of the oil returns to 325°F (163°C) before frying the remaining chicken in batches.
- Crank the heat underneath the oil to 375°F (190°C). Using the slotted spoon, return the chicken to the oil in batches and fry until crisp, 1 to 2 minutes. Drain on clean paper towels and serve while still hot.
Notes
*Is potato starch better than flour for fried chicken?
You can definitely deep fry food without a coating—think unbattered chicken wings. But that little bit (or a lot) of extra starchy batter is what makes fried food so appealing. A starchy coating provides a few benefits. Less moisture loss because the batter fries first and seals in most of the liquid, more gentle cooking of the interior food because of this sturdy coating, and just good, old-fashioned mouth appeal. Now, as far as wheat vs potato starch, you’ll find that they both crisp up to the same extent because of their molecular makeup. However, potato starch is quite a bit finer, closer to cornstarch, and lets you create a thinner coating. And thinner means crispier and more delicate.
Explore More with AI
Nutrition
Nutrition information is automatically calculated, so should only be used as an approximation.
Recipe Testers’ Reviews
Did you know only 68% of the recipes we test make it onto the site? This recipe survived our rigorous blind testing process by multiple home cooks. It earned the Leite’s Culinaria stamp of approval—and the testers’ reviews below prove it.
When I was a kid, I disliked sushi, yet my favorite restaurant was a sushi place because they had the most amazing karaage chicken. This recipe is a close replica of that dish. The bite-sized pieces are packed with flavor and have an awesome crunchy outside. I rarely deep-fry but once I realized that this was a recipe for one of my favorite chicken dishes, 2 inches of hot oil seemed less intimidating to me. It really is worth the effort to marinate the chicken and to take the extra time to fry it twice.
A few notes to share: Use chicken thighs over breast meat. The chicken won’t overcook and stays juicy. Definitely use low-sodium soy sauce and if you don’t, reduce the amount of salt. I used low-sodium soy sauce and kosher salt and the results were just right. The timing of the first fry was accurate for pieces that were 1 1/2 inches. (I had some smaller pieces and they cooked in about 3 minutes.)
Since the chicken marinates in the soy sauce mixture, it already goes into the oil a bit dark, and the first fry darkens the chicken even more. It doesn’t look pale or light but keep an eye on the coating getting too dark because the second fry could result in a burnt coating. The chicken does tend to easily clump together so not overcrowding is really important. However, if the chicken pieces do clump together, they are easy to pull apart after the first fry.
This two-step method for frying boneless chicken pieces worked beautifully for me. The marinade made the chicken well-seasoned with a slight Asian flavor that wasn’t as obvious in the finished dish as you might expect.
I found the frying times and temperatures to be appropriate. After the first frying, the chicken pieces were already golden and a novice fry-cook might think they were done. While the meat is cooked through at that point, the texture of the coating will not be what it should be—it will be too soft, thus the second fry at a higher temperature to really crisp it. The end product is crunchy on the outside and tender on the inside.
It’s important not to crowd the pan, and to give the oil time to come back up to temperature between batches. For me, that meant letting the oil heat back up for about 1 to 2 minutes between each batch. It is really important to keep monitoring the temperature, otherwise, the oil will have a tendency to be cooler with each successive batch, and your results will be sub-par.
I think these chicken nuggets need a dipping sauce to go with them. I used a Burmese chile-garlic sauce, which was a great combination, but you have a lot of flexibility here. Despite the Asian flavors in the marinade, even a Western-style sauce could be good with this chicken.
I am a bit of a Korean fried chicken aficionado. From the chain joints to New York K-town’s mom and pop operations, I have eaten my fair share. I’ve tried a few recipes from various blogs and sites but have been disappointed with the results. This recipe here is pretty great and comes dangerously close to what I have come to understand is Korean fried chicken.
If you’re wondering what makes it different from the standard in the American South, it’s the anatomy of the coating (potato starch) and the additional step of par frying. Par frying is key. The crust of American style is thick enough to encase the juices of the meat as it rests, not so with the thin coating of Korean fried chicken. You’ll notice when you put the batches up for the second fry the oil is super active because of the moisture in the crust.
What to expect? You’d think that the first fry is to just cook the meat superficially and the second fry is to brown the crust—not so. The first fry is to cook the meat until just done and get the crust a deep golden brown, the second fry is to flash evaporate the moisture from the surface of the crust and turn the coating to a beautiful, ultra-deep garnet brown that encases the meat.
Genius, huh? That’s was happening in this recipe. That being said, be super-mindful of the size of your meat. Too thick and you run the risk of burning the coating in order to cook the meat. If you follow the times and temps in the recipe cut the meat a bit smaller, say 1 inch thick. That worked well for me.
One last note: I love my Korean chicken tossed in a super spicy and garlicky sauce—sometimes so spicy that I have to wear lip balm to protect my lips. Serve with sweet and sour pickled daikon to cool the embers. K-heaven.
OMG! And let me be clear, this OMG is coming from a guy who doesn’t OMG at the drop of a hat (nor do I LOL, IDC, or IDK with abandon). Yes, this OMG is a serious thing.
I was drawn to this recipe as a means to enjoy some crispy fried chicken without the lengthy dip-dredge-dip-dredge process traditionally used when cooking this national treasure of a dish. The Asian marinade sounded perfect, as did the use of boneless-skinless dark meat—always my favorite, and the most requested cut around here.
The only question I had about the recipe going in was the unorthodox (at least for me) method of coating the chicken prior to frying. The idea of dumping the egg whites and potato starch into a mixing bowl with the chicken gave me pause. In the end, this recipe offered not just a lip-smacking, crispy chicken feast, but taught me a brilliant new approach to deep frying. Huzzah!
I don’t own a deep fryer with an electronic thermostat, but rather do my frying in a large Le Creuset dutch oven which is so heavy that it allows me to modulate the temperature with ease. I followed the recipe to the letter and found that after the initial fry, the chicken looks done, a beautiful mahogany brown, and perfectly cooked through and tender.
I was tempted not to proceed with the second fry, but the “skin” after the first fry, though beautiful, was not crisp. The second fry at the higher temperature took care of that but lasted 30 to 45 seconds at most. Any more would have darkened the coating to the point of being overdone. So take care when you launch into the second fry and be prepared to pull the pieces from the oil pretty quickly.
Everyone at my table raved about the crunch of the crust and the well seasoned, wonderfully tender chicken inside. This dish will become a staple in our house and a template for future experimentation with different meats and marinades for sure.


Can you use an air fryer for this recipe and get the same affect?
Charmaine, we haven’t tried this with an air fryer, so we can’t say how it will turn out, but I think it’s worth a try. You may need to do it in batches, depending on the size of your air fryer. If you try it, do let us know how it turns out!
I dunno why I’m feeling so NOT patriotic this year (cough, cough, Trump, cough, cough) but we passed on the Red, White and Blue and the Americana this year and a Japanese Fourth seemed like a very good idea when I ran across this recipe.
I did it with ramen cabbage salad, grilled corn (yakitomorokoshi) and cucumber salad (sunomono). It was all a new culinary adventure for me and it paid off wonderfully. I wish mine were as pretty an yours but the flavor was off the charts!
I used my slow cooker for the frying. It’s deep. It holds a constant temp. Why not? And it worked out great.
Thanks for a great recipe and a great idea!
You are so very welcome, Rainey! Love everything about your comment. Everything. Thank you very much for taking the time…
Can’t understand why this recipe hasn’t generated more attention in 5 years.
It’s different — I hope not too different for folks to consider. It was not at all difficult to prepare. The flavor was just outstanding. The 2-step deep frying process made it convenient to prepare a decent amount of time in advance and then finish very quickly for service.
I am inspired to go looking for some additional Japanese recipes to try for some future event.
Love this, Rainey! Thank you so much. As for additional Japanese recipes, this time of year, we quite like this easy yet elegant cucumber salad recipe that draws on Japanese ingredients, https://leitesculinaria.com/45869/recipes-japanese-cucumber-salad.html, which goes quite nicely with this chicken recipe. And you’ll find a handful of other Japanese recipes at https://leitesculinaria.com/category/recipes/cuisine/japanese…