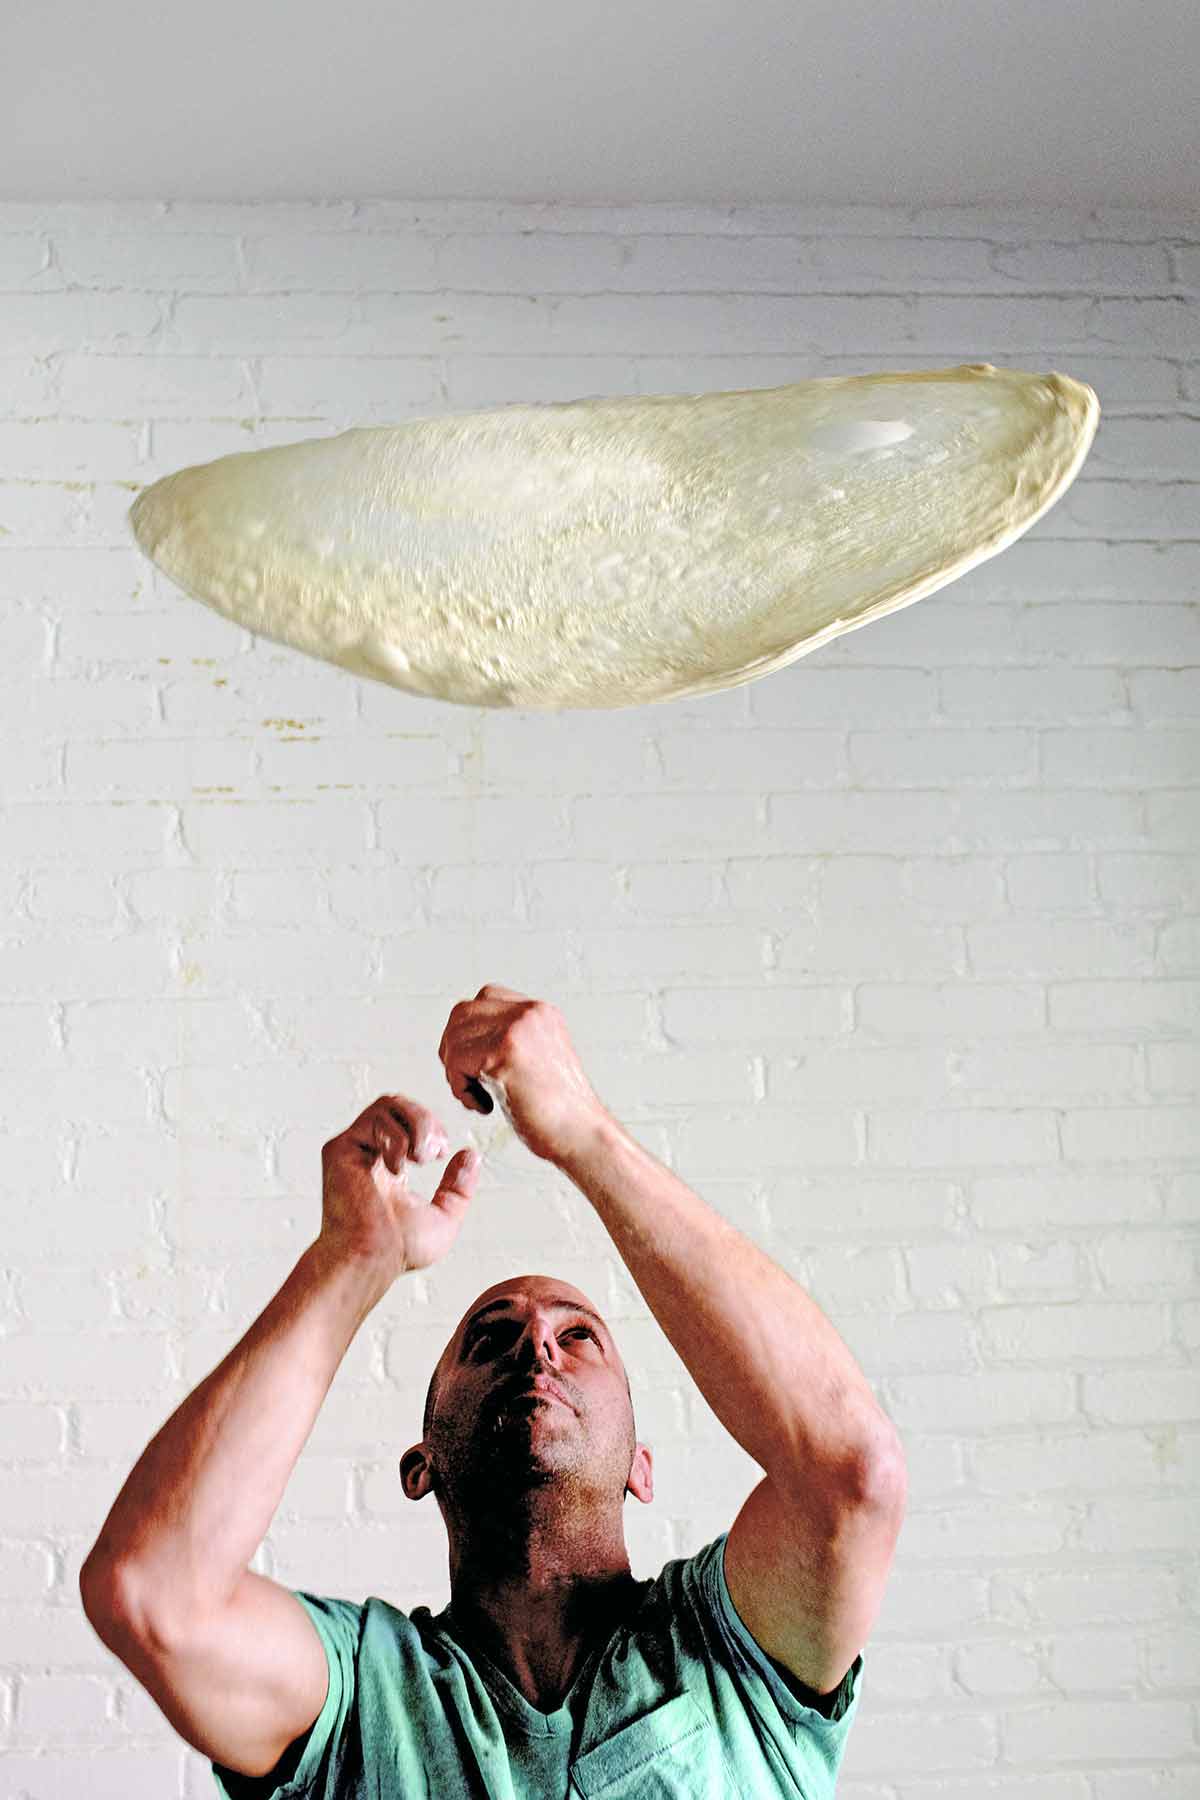
We know you’ve always wanted to fling pizza dough like a boss. And Jim Lahey is going to help you get there. We just want to caution that it may not come naturally to you at first fling. It may instead feel that you’re something of a dough-flinging fool at first. Not to worry. It’ll happen. You just need to practice. If you’re the wallflower sort of home cook, Lahey also offers a nonflinging option that allows the dough to remain safely grounded on the counter as you stretch it. But the flinging instructions are still there, as are the inspired and really quite informational photos below, just in case. Speaking of inspired, whatever plans you’ve got for this dough, we strongly encourage you to diss them for Lahey’s white pizza.–Renee Schettler Rossi
[soliloquy id=”90252″]

Jim Lahey’s Pizza Dough
Equipment
- Pizza stone and peel
Ingredients
- 17 1/2 ounces (about 3 3/4 cups) all-purpose flour, (do not use bleached flour), plus more for the work surface
- 1/4 teaspoon active dry yeast
- 2 teaspoons fine sea salt
- 1 1/2 cups tepid water
Instructions
- In a medium bowl, thoroughly blend the flour, yeast, and salt. Add the water and, with a wooden spoon or your hands, thoroughly mix the ingredients.
- Cover the bowl with plastic wrap and let the dough rise at room temperature for 18 hours, or until it’s more than doubled.
☞ TESTER TIP: Figure room temperature is about 72°F (22°C). It will take longer in a chilly room and less time in a very warm one.
- Flour a work surface and scrape out the dough. Divide it into 4 equal portions. Working with 1 portion of dough at a time, start with the right side of the dough and pull it toward the center; then do the same with the left, then the top, then the bottom. (The order doesn’t actually matter; what you want is 4 folds.) Shape each portion into a round and turn it seam side down. The dough may be sticky and wet as you work with it, but that’s okay. Mold the dough into a neat circular mound. The mounds should not be sticky; if they are, dust with more flour. Place the dough on the lightly floured work surface and repeat with the remaining portions of dough. (If you don’t intend to use the dough right away, wrap the balls individually in plastic wrap and refrigerate for up to 3 days. Return to room temperature by leaving them out on the counter, covered in a damp cloth, for 2 to 3 hours before needed.)
- To delicately shape the dough on the work surface: Take 1 ball of dough and generously flour it, your hands, and the work surface. Then press it down and gently stretch it out to 6 to 8 inches. Very carefully continue the process, massaging it into a roundish disk of 10 to 12 inches, stroking and shaping with the palms of your hands and with your fingers. Don’t handle it more than necessary, though; you want some of the gas bubbles to remain in the dough. It should look slightly blistered. Flour a peel and lift the disk onto the center.
To boldly fling the dough in the air like a boss: Take 1 ball of dough and generously flour it, your hands, and the work surface. Then press it down and gently stretch it out to 6 to 8 inches. Supporting the disk with your knuckles toward the outer edge and lifting it above the work surface, keep stretching the dough by rotating it with your knuckles, gently tugging it wider and wider until the disk reaches 10 to 12 inches in diameter. Set the disk on a well-floured peel.☞ TESTER TIP: Treat the dough gently so it holds its character. When you get around to shaping, go easy as you stretch it to allow it to retain a bit of bumpiness so not all of the gas is smashed out of the fermented dough.
- The dough is now ready to be slathered with sauce and toppings and baked. If it's going to be more than a few minutes before you top and bake it, you can store the unshaped balls in the refrigerator, wrapped in plastic wrap, for up to 3 days. Don’t freeze the dough.
Notes
Whole-Wheat Pizza Dough Variation
I’ve found over the years that I personally prefer less whole wheat in the mixture than others might. Too much of it, to my taste, makes the crust gritty. To make whole-wheat pizza dough, use 2/3 white flour to 1/3 whole wheat, and double the yeast used.
Explore More with AI
Nutrition
Nutrition information is automatically calculated, so should only be used as an approximation.
Recipe Testers’ Reviews
I finally found the pizza dough recipe I’ve been seeking. This is so user-friendly. Mix 4 ingredients to form the dough, let it sit in a bowl overnight, and then later the next day, you have pizza for dinner. No need to take the temperature of the water and let something proof. No kneading. Nothing other than a few measurements and a stir.
The dough can be rolled very thinly. It also stretches very easily by hand. The finished product is delicious. Oh, and so very much better than the prepared dough you can buy in stores. Done deal.
What a simple, great-tasting bread dough. I used a bleached, all-purpose flour that I purchased in error. DO NOT USE A BLEACHED FLOUR. It’s far too weak to hold together while stretching the dough. I recommend bread flour or unbleached, all-purpose flour. Make certain that you make the dough the day before. Rushing the process, while tempting, will only serve to cheat yourself of the wonderful, complex flavor that can only be achieved with a small amount of patience. Every few hours, take a smell, and you will notice the difference each time.
This can be made on a floured pan in the absence of a stone, but I highly recommend a stone. They are well worth the modest investment. The author’s baking method (preheat and then broil) works VERY well. I chose to preheat the oven and stone to 500°F (260°C). I neither left the oven to preheat for a half hour nor left the broiler burning for 10 minutes. After all, 500°F is still 500°F, no matter how much energy you use.
As soon as my oven reached the prescribed temperature, I turned it to broil (high) and, after a couple of minutes, slid the bread onto the hot stone. When the bread came out of the oven, I put it on a cooling rack over waxed paper. I then used a high-quality olive oil that I had heated in the microwave with some of the rosemary and I tossed in some sun-dried tomato as well. I brushed the bloomed spices and olive oil generously on the crust so the flavors would be in every bite. As the author points out, this is a wonderful base for almost anything you can find—olives, feta, and sun-dried tomato or pepperoni and cheese or just oil and spices or herbs—to make the perfect pizza.
This is a versatile dough on many counts. It’s easy to make, no special equipment needed. I also loved the fact that this recipe has very little yeast, and that you can mix it and forget about it for 18 hours, which is very convenient. At the end of 18 hours, the dough had risen well and was quite bubbly. I made 2 fairly large pizzas with the dough. I will be using this recipe fairly often.
The only downside is that you need a bit of planning to make the pizza dough. It will not satisfy instant cravings for pizza.
I have never made pizza dough from scratch. I make breads and every other bakery item at home, but always seem to just buy the dough from a local restaurant—probably just lack of planning ahead on my part. But this worked out perfectly.
We eat pizza every Sunday night, so Saturday I made the dough. Sunday night I divided the dough into 4 portions and let each family member decide how they wanted to shape their disc, whether by the massage-on-the-counter method, or the on-the-knuckles-in-the-air process. Needless to say, the knuckles-in-the-air-process won out with my husband and both boys. My husband made his thinner than the rest of us and ended up with fewer air bubbles in his dough. It didn’t taste any different and I kind of liked the way the bubbles gave the pizza a rustic look. Each of us topped our own pizza as we liked, with everything from pineapple, sausage, and bacon, to barbeque sauce, shredded chicken, and very little cheese to mushrooms, green olives, fresh tomatoes, and extra cheese to my simple tomato sauce with veggies version.
We all agreed that the dough worked great, and less toppings worked better than going heavy with them. We all had leftovers that reheated great for lunch today, too. I think we have a new part to our Sunday tradition.
My family loved how nice and crisp the crust became, that it was easy to grab a slice with your hands without it falling apart, and that the taste was relatively bland, which was perfect to really taste the actual toppings.
The dough was beautifully elastic, so it rolled nicely. They asked me to make sure to use this recipe when not making gluten-free pizza dough.


David,
QQ. I made a batch of Lahey bread dough yesterday, and my kids tell me they would prefer pizza this evening. Can I convert this batch midstream — or midrise? (And if so, how?) The dough is wrapping up its first rise as I write.
Rich, you probably can. The doughs are almost the same. Simply follow the directions in this recipe, and you should be good.
Great and simple pizza dough recipe! After reading all the comments, I opted to make it with half OO flour and the balance unbleached all-purpose flour. It was such an easy process to start the dough the day before and let it rise overnight. The dough was easy to shape and the crust texture was crisp yet had a great chew.
Thanks, Lily! We’re so pleased that this turned out so well.
Hello! Would ‘00’ flour be interchangeable with all purpose for this? Thanks!
Jessica, although we only tested this with all-purpose, 00 should work fine. Do let us know how it turns out!
It turned out great! Best pizza dough recipe I have tried!
I’m so happy to hear this, Jessica!