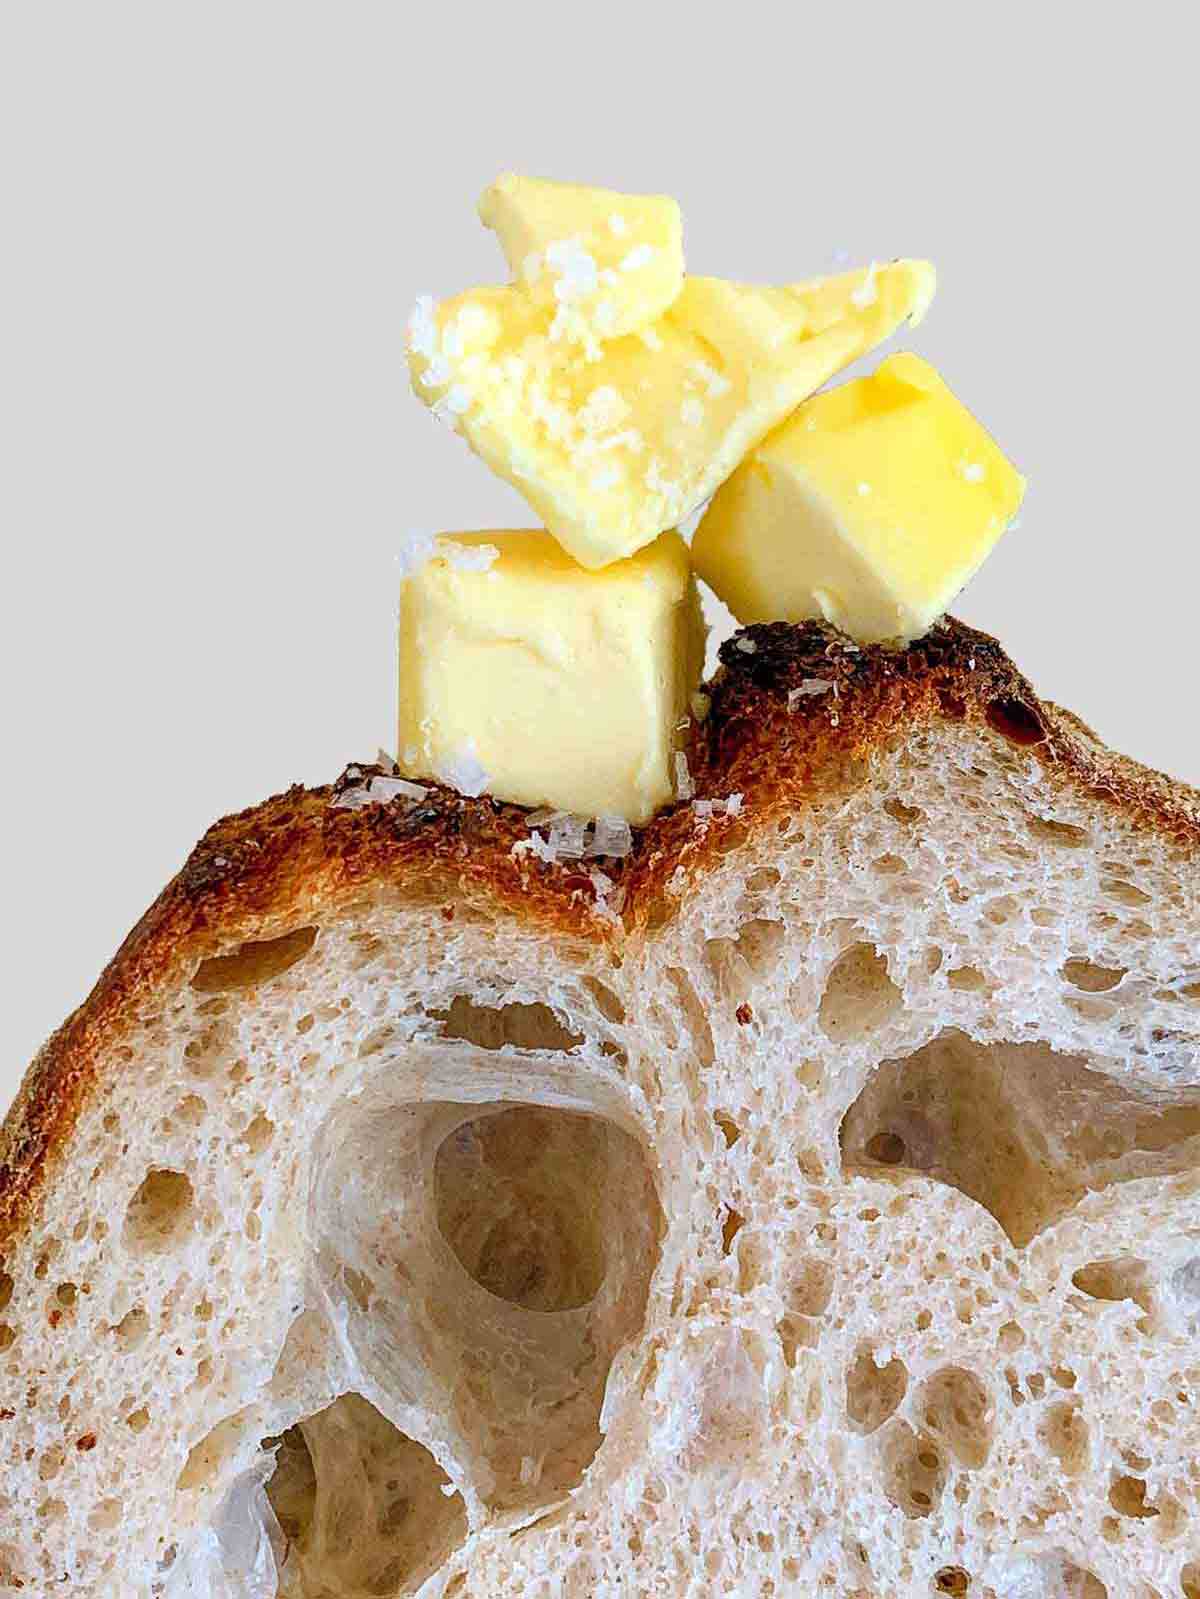
This is it, folks. Jim Lahey’s no-knead bread recipe, first featured in the New York Times, and the technique that revolutionized breadmaking.
This homemade bread recipe is ridiculously easy, even for first-time bread bakers, and will make you wonder why you ever spent all that time and effort kneading dough in the past.
The loaf is an adaptation of Lahey’s phenomenally and outrageously popular pugliese sold at Sullivan Street Bakery in Manhattan. And once you try it, you’re going to wonder where it’s been your entire life.
How to Ensure Magnificence From Your Loaf
I’ve made this loaf hundreds of times, no lie. For a while there, I was making it three times a week. Here are a few tips I can pass on:
- Don’t rush through this recipe and skim the details. Each word, each visual cue, each explanation has meaning.
- Rely on the description of how the dough should appear or feel more than the timing.
- Conditions in your kitchen change from day to day, and they affect your bread. Things such as the flour you’re using, temperature, and humidity (and have a sneaking suspicion whether Mercury’s in retrograde) all matter. So, some days, you feel like a bread ninja; on others, you’re positive you lost your baking mojo for good. It happens to me all the time. Accept it and eat the results. Lahey says it best: “Even the loaves that aren’t what you’d regard as perfect are way better than fine.”
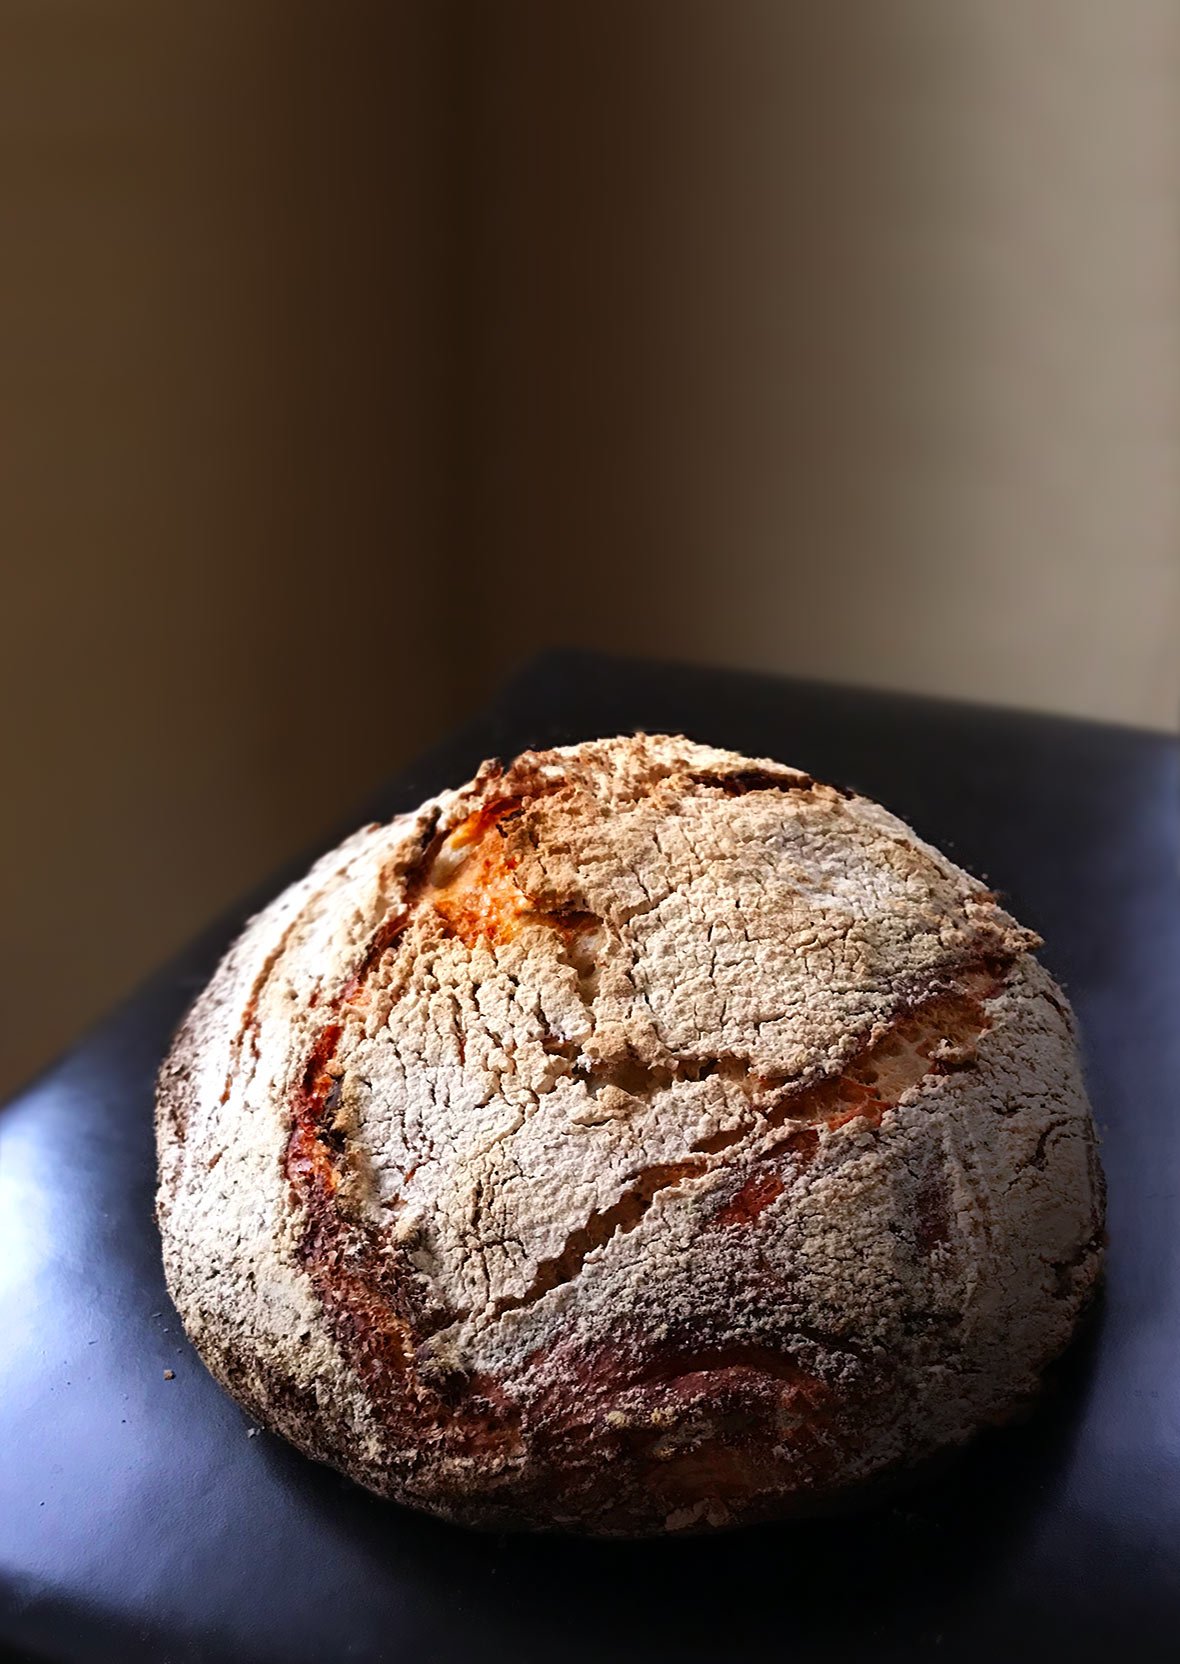
Create a Bread-Making Schedule
As easy as this recipe is, Lahey cautions that it’s not exactly an impromptu sort of thing.
“This bread is incredibly simple and involves little labor, but you need to plan ahead.
Although mixing takes almost no time, the first rise requires from 12 to 18 hours. Then, you’ll need to shape the dough and let it rise for another 1 to 2 hours. The longer rise tends to result in a better loaf, but you need the patience and the schedule to do it.
After preheating the oven and the pot for half an hour, you’ve got 30 minutes of covered baking, another 15 to 30 of uncovered baking, and about an hour of cooling.
And please, don’t gulp down that first slice. Think of the first bite as you would the first taste of a glass of wine: smell it (there should be that touch of maltiness), chew it slowly to appreciate its almost meaty texture, and sense where it came from in its hint of wheat. Enjoy it. You baked it, and you did a good job.”— Jim Lahey

Why Our Testers Loved This
The testers have been making this bread on repeat for years for several reasons. The texture and flavor of the finished bread are the best they’ve tried, and they loved the easy, hands-off method used here. Larry Noak calls it “the PERFECT bread recipe.”
Cath Ramsden joined in with her comment, “Gnarled, crunchy, bronzed crust, light and soft pillowy bread beneath—this is THE BEST BREAD I have ever made.”
Notes on Ingredients
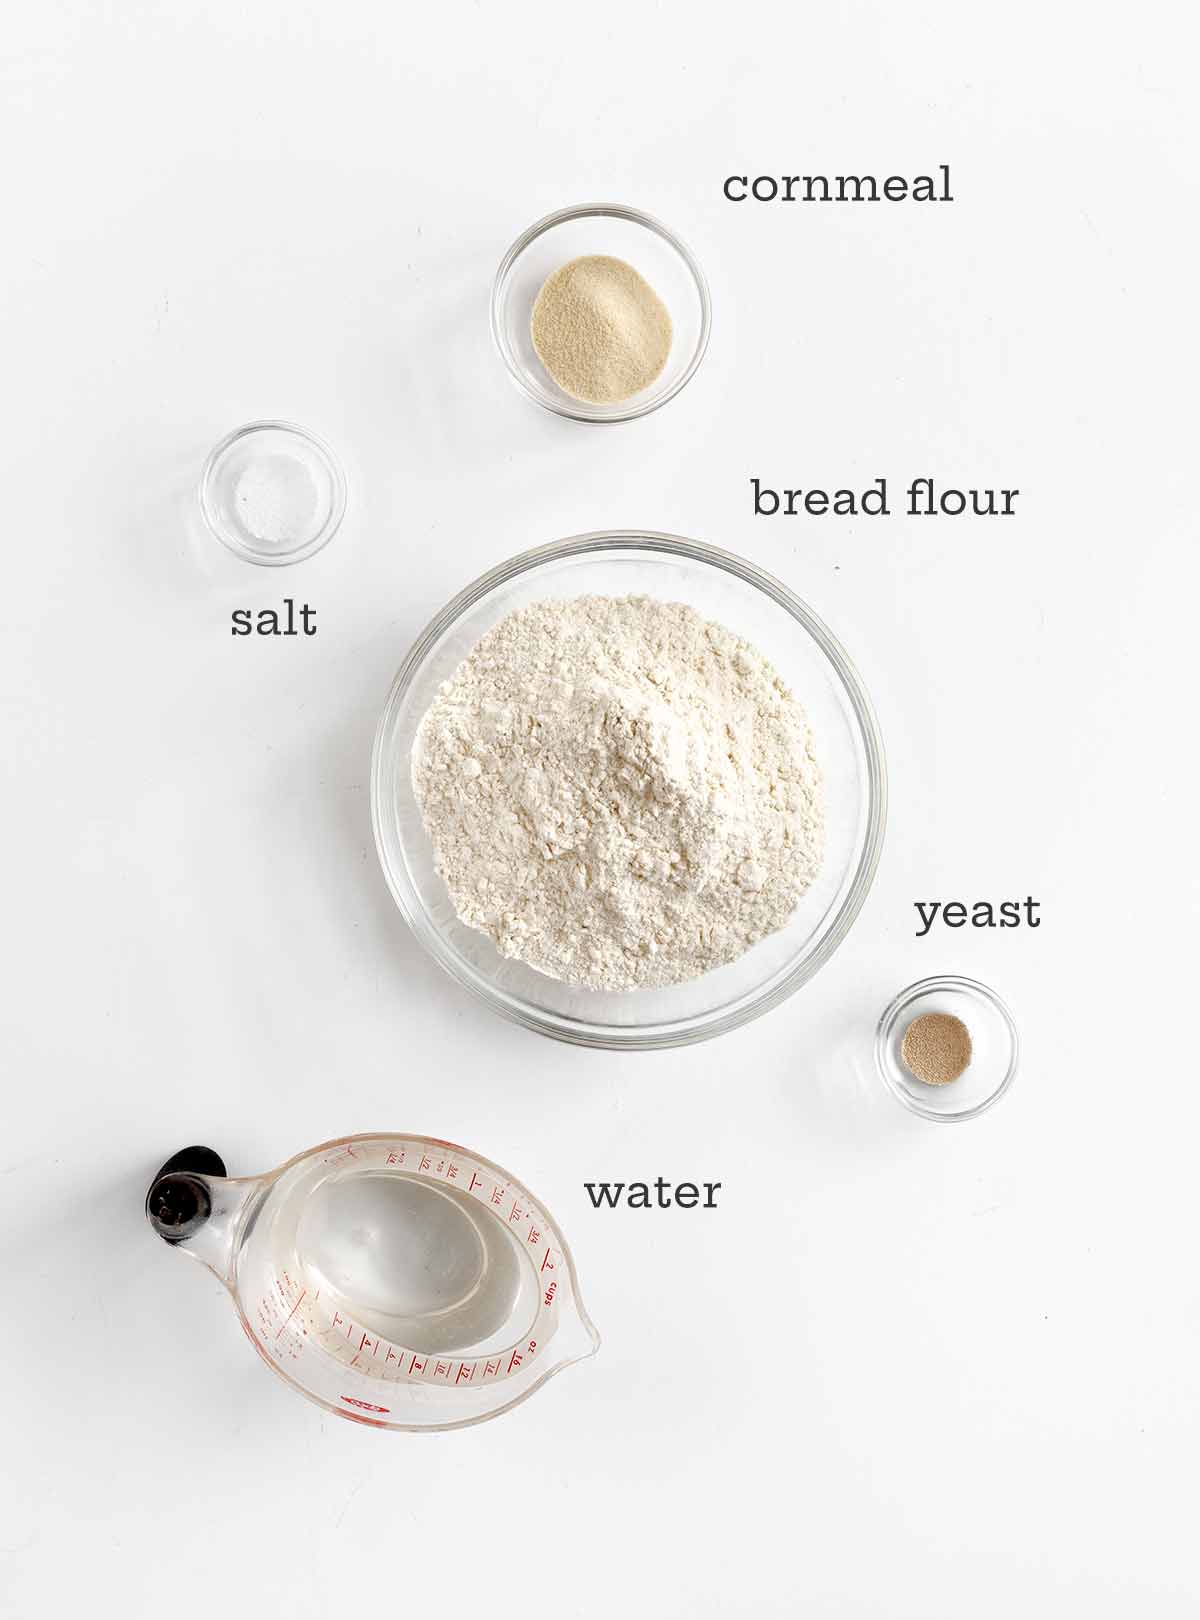
- Flour–You can use all-purpose flour or bread flour, or a combination of both.
- Instant yeast–You only need 1/4 teaspoon of instant yeast for this recipe. It seems like a very small amount, but the long fermentation time means that very little yeast is needed. To check the freshness of your yeast, mix a teaspoon of yeast with 1/3 cup of warm water and a big pinch of sugar. Alive yeast will develop bubbles or foam on top of the mixture. If there are no bubbles, your yeast needs to be replaced.
- Cornmeal–The addition of a little cornmeal helps to prevent the dough from sticking and adds a little texture to the finished loaf. You can substitute wheat bran or more flour for the cornmeal.
How to Make This Recipe
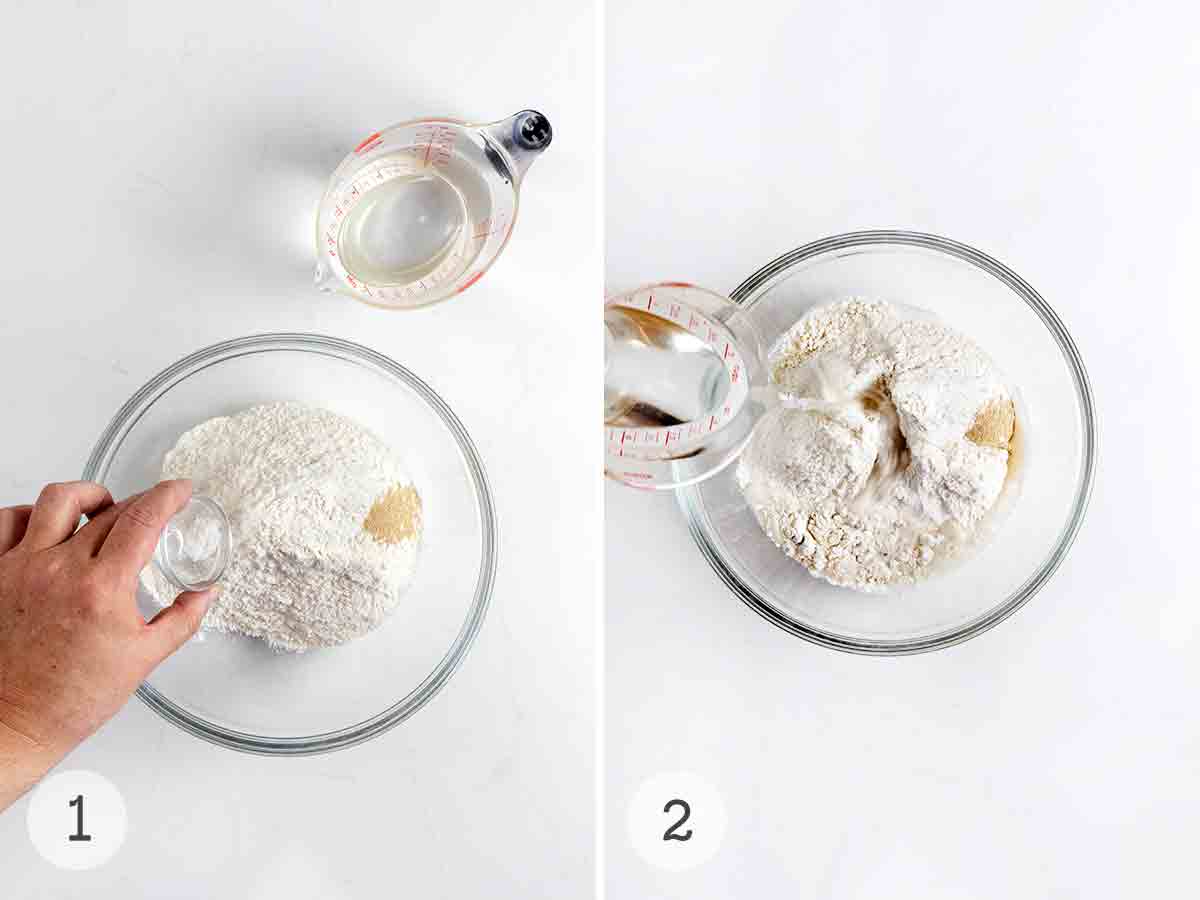
- Combine the flour, yeast, and salt in a large bowl.
- Pour in the lukewarm water.
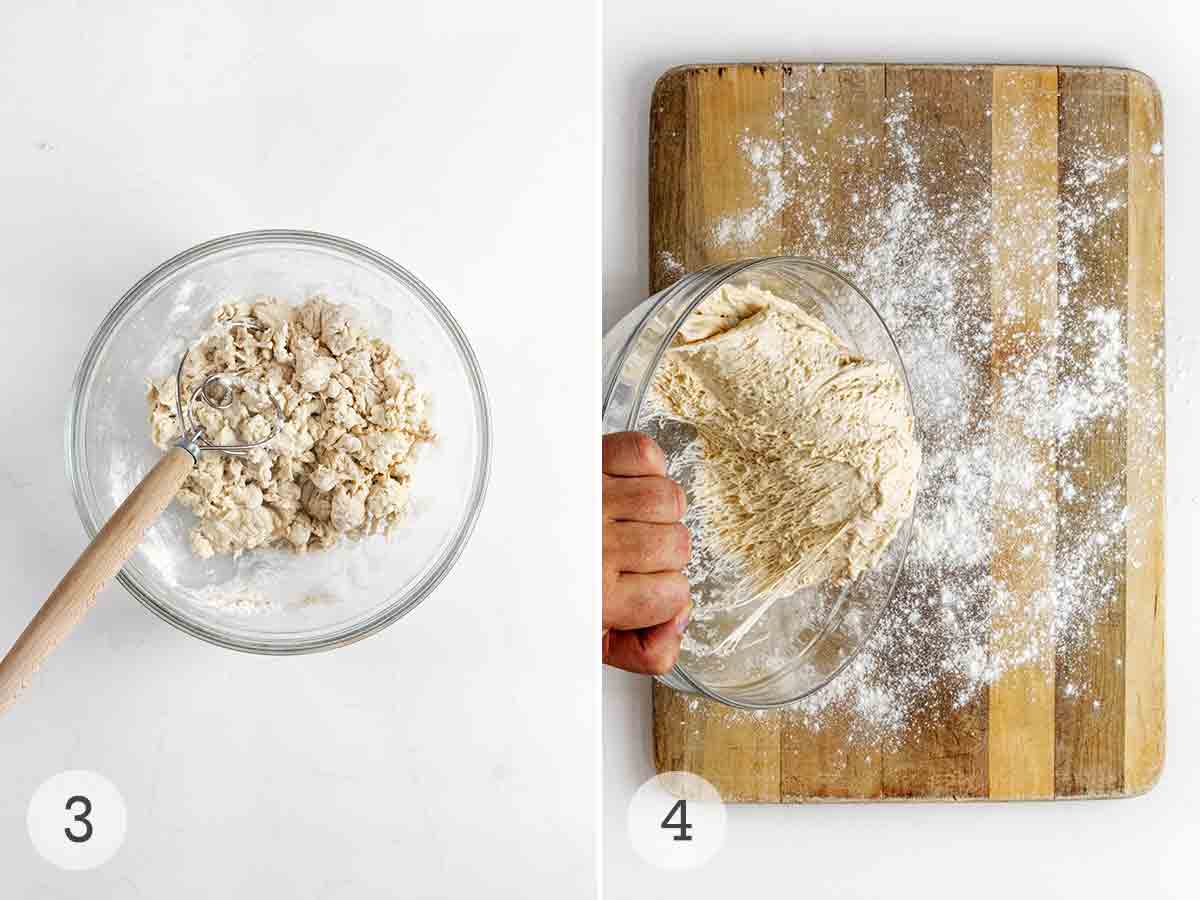
- Mix until you have a rough, shaggy dough. Cover the dough and let it rest until the surface is dotted with bubbles, 12 to 18 hours.
- Dump the dough onto a floured work surface.
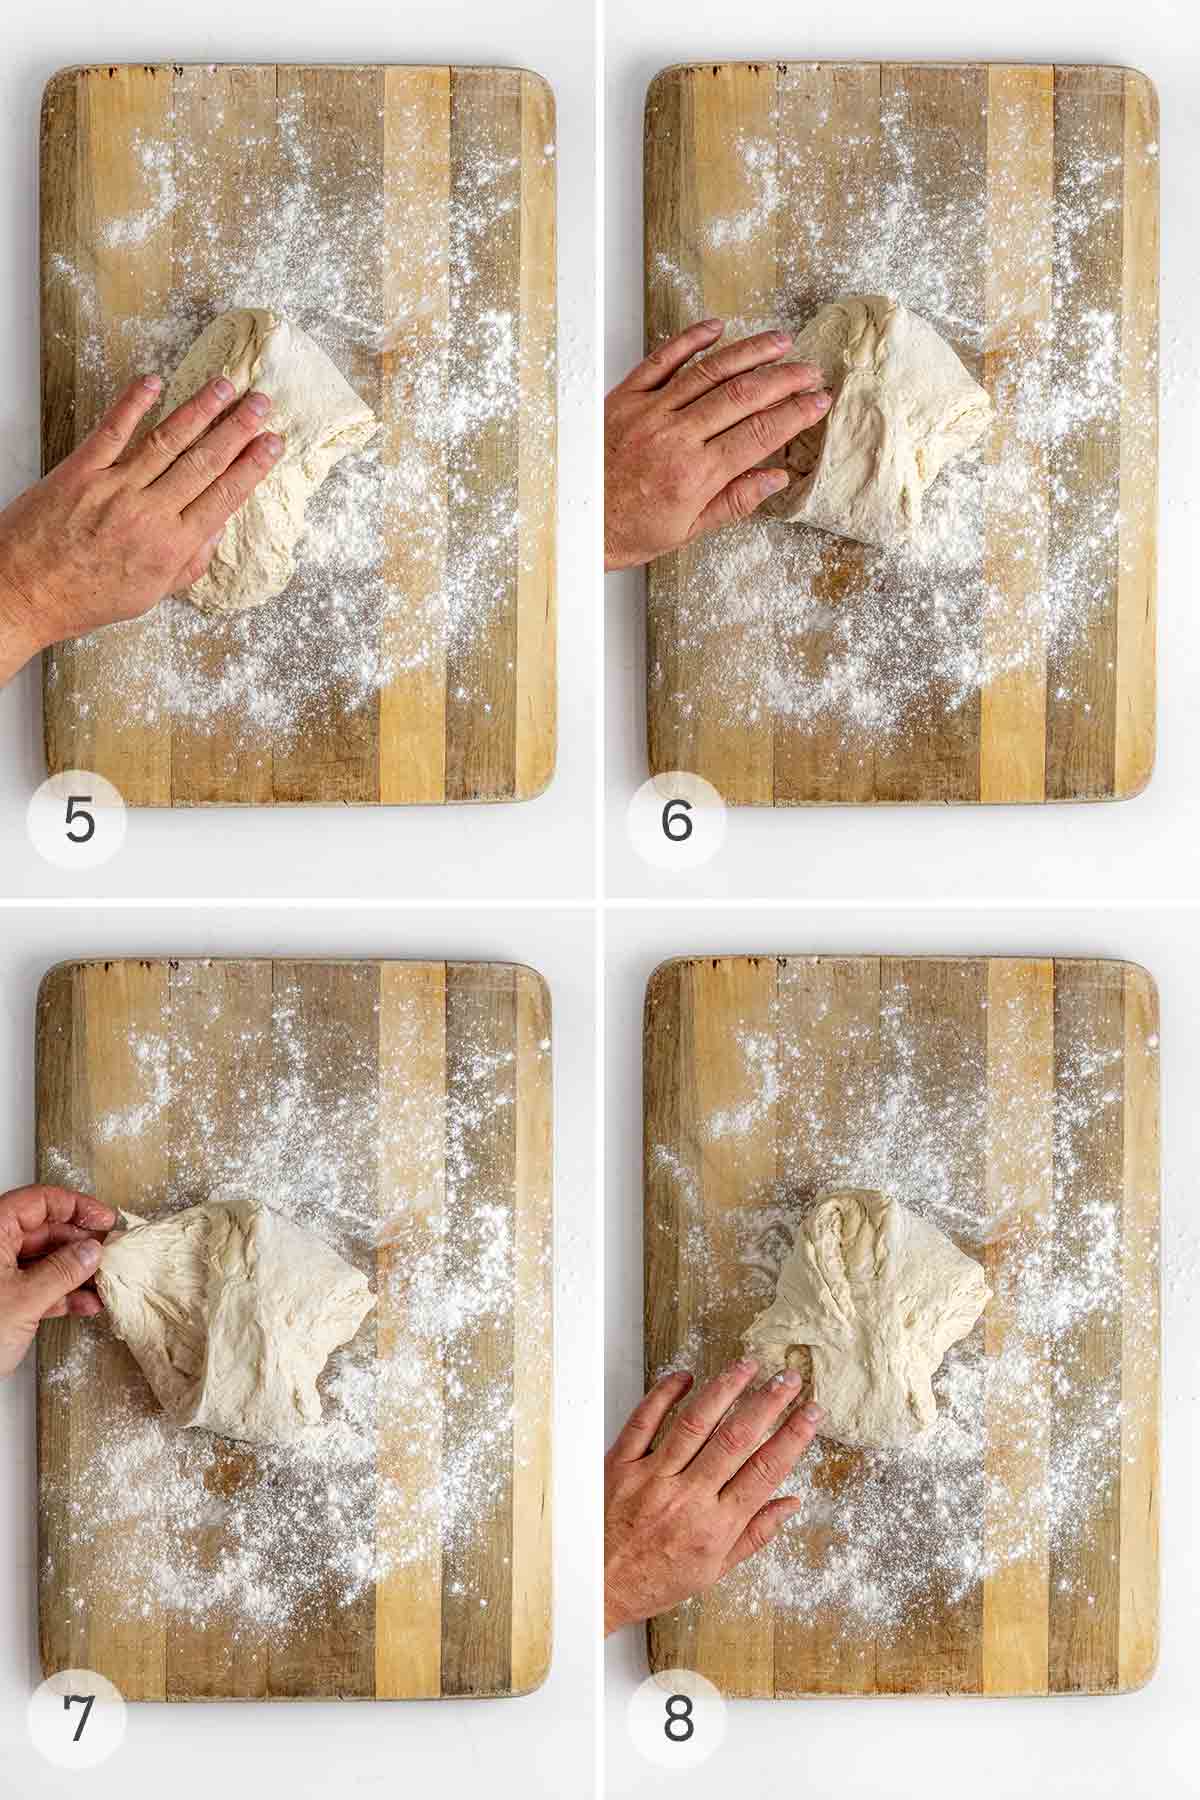
- Gently lift the top of the dough and fold it over itself.
- Pull the bottom of the dough up and over the folded section.
- Grab the left side of the dough and fold it up and over.
- Fold the right side of the dough up and over.
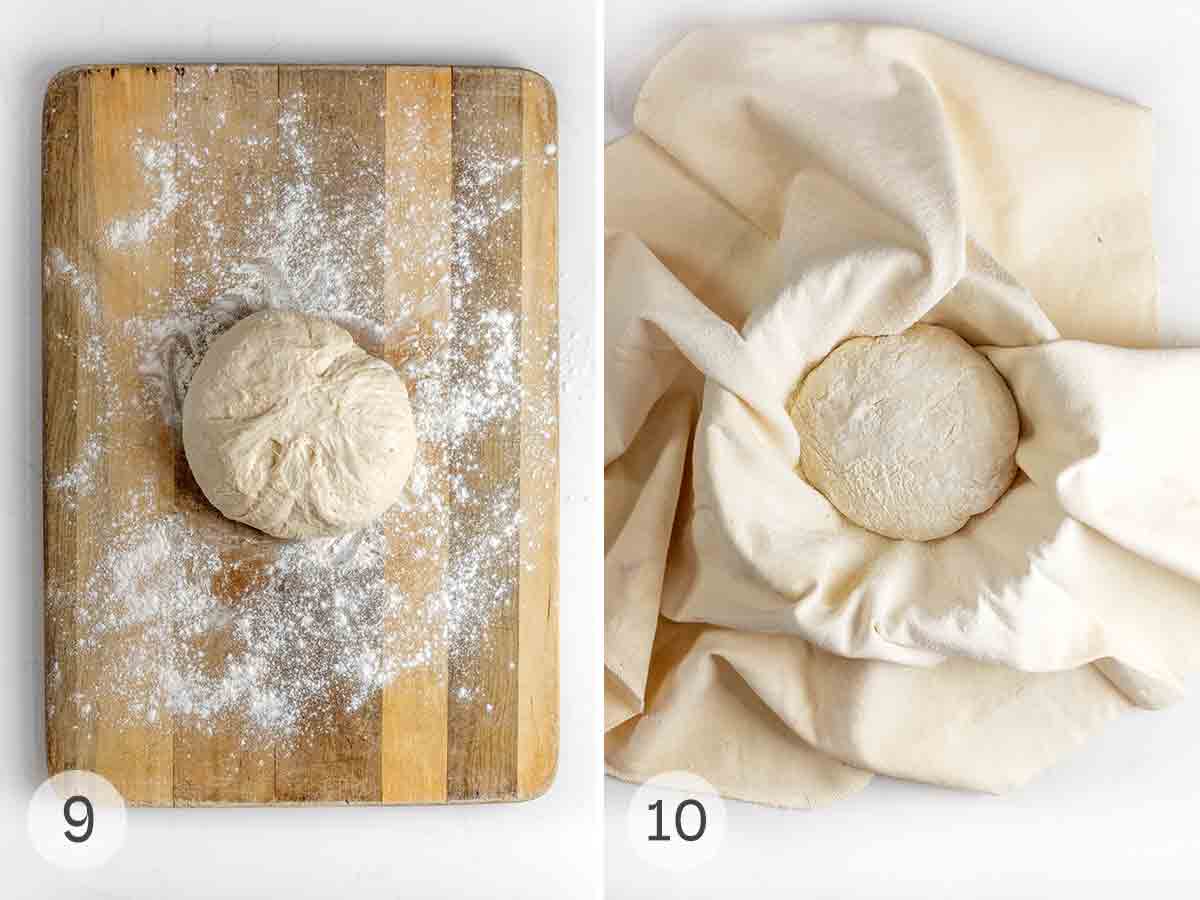
- Gently nudge the dough into a round shape. Don’t knead.
- Coat a cotton towel with cornmeal and place the dough, seam-side down, onto the towel in a bowl or proofing basket. Cover with a second towel and let it rise until doubled in size.
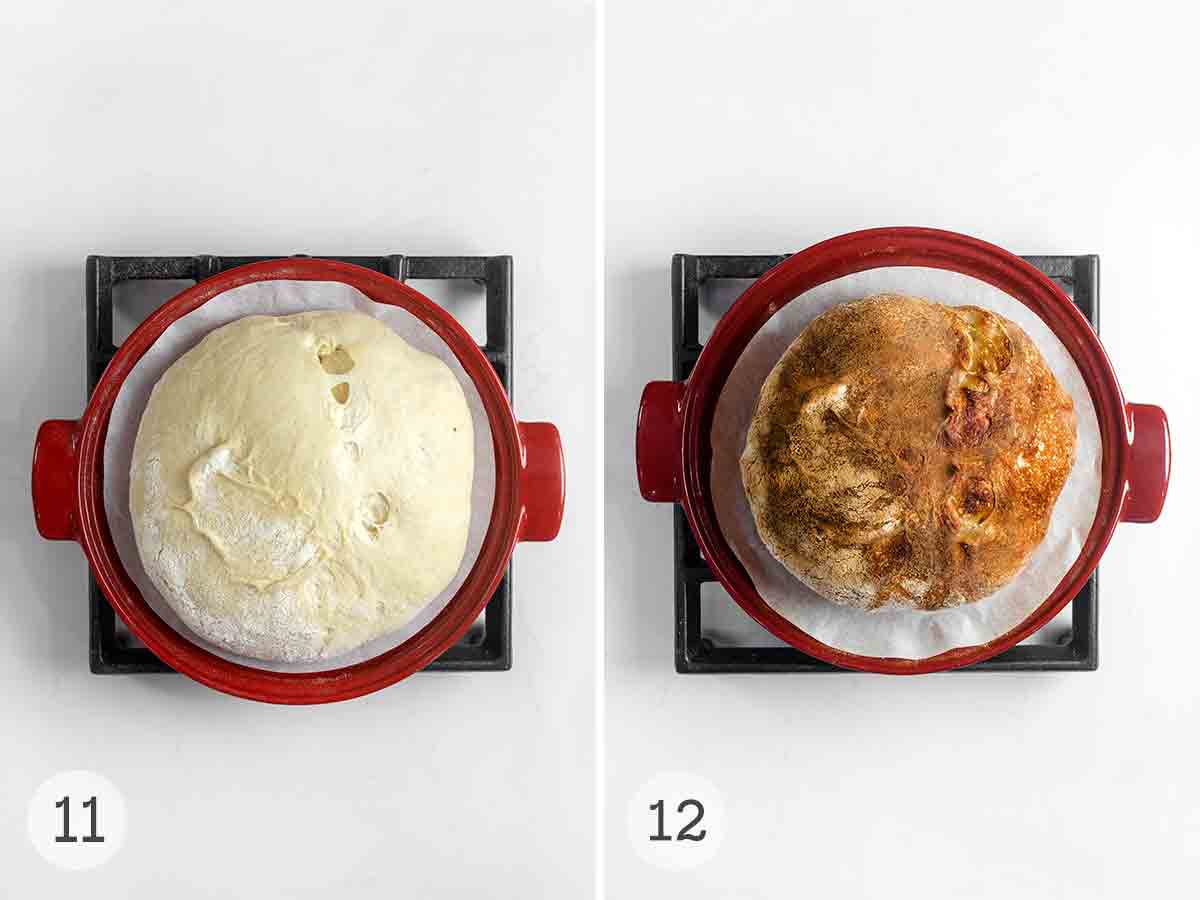
- Heat the oven to 450°F and place a heavy pot and lid in the oven to preheat. Transfer the dough to the pot, seam side up. Cover and bake for 30 minutes.
- Uncover the pot and continue to bake until the loaf is dark brown in color. Cool completely before slicing.
Common Questions
Because the recipe calls for so little yeast, it’s important to make sure the yeast is fresh. Also, if the room is too cool (the ideal temperature is 72°F/22°C), the dough will need longer to rise.
You certainly can. What’s most important is to have a tight-fitting cover. Some bakers have had success with:
— a combo oven (seen above in steps 11 and 12)
— a stainless steel pot with a lid
— an oven-safe glass (Pyrex) dish with a cover
— a clay pot with a lid
— a pizza stone with an inverted stainless steel bowl as a cover
First, check your yeast. It could be old and expired. Keeping yeast in the freezer helps extend its life considerably. Another culprit is not letting the dough rest enough after shaping and before baking. Creating a tight skin on the surface of the dough allows it to rise to lofty heights in the oven–something called oven spring.
Pro Tips
- The bread is best enjoyed the day that it’s made. Extra bread can be stored in a plastic bag at room temperature for up to 3 days.
Write a Review
If you make this recipe, or any dish on LC, consider leaving a review, a star rating, and your best photo in the comments below. I love hearing from you.–David
This is, hands down, the best no-knead bread recipe out there. I consistently get beautiful loaves, and I’ve been using this recipe for a while. Thank you for sharing this wonderful bread recipe!
denise
Jim Lahey’s No-Knead Bread
Equipment
- 6- to 8-quart heavy pot with lid
Ingredients
- 3 cups bread flour or all-purpose flour, plus more for the work surface
- 1/4 teaspoon instant yeast, (it's a small amount but trust me, it's correct)
- 1 1/4 teaspoons salt
- 1 1/3 cups lukewarm water
- cornmeal or wheat bran, as needed
Instructions
- In a large bowl, stir together the 3 cups bread flour or all-purpose flour, 1/4 teaspoon instant yeast, and 1 1/4 teaspoons salt.
- Add the 1 1/3 cups lukewarm water and mix with a spoon or your hand until you have a shaggy, sticky dough. This should take roughly 30 seconds. You want it to be a little sticky. (Many people who bake this bread find the dough to be sticker than other bread doughs they've worked with. Even though it's not what you're accustomed to handling, it's perfectly fine.)
- Cover the bowl with a plate, towel, or plastic wrap and set it aside to rest at warm room temperature (but not in direct sunlight) for at least 12 hours and preferably about 18 hours. (Ideally, you want the room to be about 72°F. In the dead of winter, when the dough will tend to rise more slowly, as long as 24 hours may be necessary.)
☞ TESTER TIP: You'll know the dough is properly fermented and ready because its surface will be dotted with bubbles. This long, slow fermentation is what yields the bread's rich flavor.
- Generously flour your work surface. Use a bowl scraper or rubber spatula to turn the dough onto the surface in one blob. The dough will cling to the bowl in long, thread-like strands and it will be quite loose and sticky. This is exactly what you want. Do not add more flour. Instead use lightly floured hands to gently and quickly lift the edges of the dough in toward the center, effectively folding the dough over onto itself. Nudge and tuck in the edges of the dough to make it round. That's it. Don't knead the dough.
- Generously coat a cotton towel (not terry cloth) with flour, cornmeal or wheat bran. Place the dough, seam side down, on the towel and dust the surface with a little more flour, bran, or cornmeal. Cover the dough with another cotton towel and let it rise for about 2 hours.
- When it's ready, the dough will be double in size and will hold the impression of your fingertip when you poke it lightly, making an indentation. If the dough readily springs back when you poke it, let it rise for another 15 minutes.
- A half hour before the dough is done with its second rise, preheat the oven to 450°F (232°C). Adjust the oven rack to the lower third position and place a 6- to 8-quart heavy pot and its lid (whether cast iron or enamel, Pyrex or ceramic) in the oven as it heats.
- When the dough is done with its second rise, carefully remove the pot from the oven and uncover it. Also, uncover the dough. Lift up the dough and quickly but gently turn it over into the pot, seam side up, being very careful not to touch the pot. The blob of dough may look like a mess, but trust us, everything is O.K. Cover pot with its lid and bake for 30 minutes.
- Remove the lid and bake until the loaf is beautifully browned to a deep chestnut color, 15 to 30 minutes more. Use a heatproof spatula or pot holders to carefully lift the bread out of the pot and place it on a wire rack. Don’t slice or tear into it until it has cooled, which usually takes at least an hour.
Notes
- Room temperature–If your room is cooler than 72°F (22°C), the bread will need longer to rise.
- Storage–The bread is best enjoyed the day that it’s made. Extra bread can be stored in a plastic bag at room temperature for up to 3 days.
Nutrition
Nutrition information is automatically calculated, so should only be used as an approximation.
Recipe Testers’ Reviews
For me, this is the PERFECT bread recipe. Making bread is my obsession. I have made nearly every bread recipe you can name. As much as I love the ritual of old-fashioned bread-making—kneading, resting, proofing, etc.—this no-knead bread recipe is my go-to loaf.
I base this on two things: texture and flavor. This is hands-down the best-tasting “white bread” that I have ever eaten, let alone made. I use a digital scale and weigh my ingredients.
Good bread takes several hours to produce. GREAT bread takes nearly 24 hours. If you rush this recipe, you will be doing yourself a great disservice.
When Jim Lahey says this dough should be wet, trust him, it will be as wet as a ciabatta dough. VERY WET.
When folding the dough, it doesn’t have to be precise. I simply pull 4 edges up and toward the center. Then simply turn the dough, seam side down, on a floured cloth or linen. Do not scrimp on the flour for the tea towel. You will NEED a thick coating on the cloth or it will stick when you flip it into the 450°F Dutch oven. Trust me.
Don’t fret over how the dough looks when you put the lid on and just slide it back in the oven, set your timer for 30 minutes, and, like some crazy magic, when the lid comes off, it will always be perfect. The last 15 minutes is the hardest for me. I always want to take it out of the oven before it turns a lovely dark brown. DON’T DO IT! Let it bake without the lid for at least 12 minutes.
Remove your masterpiece from the oven, carefully place it on a cooling rack (I use 2 silicone spatulas) and, while you’re admiring your mastery, listen. The bread will crack and hiss and sing. Truly one of the most beautiful sounds that you’ll ever hear.
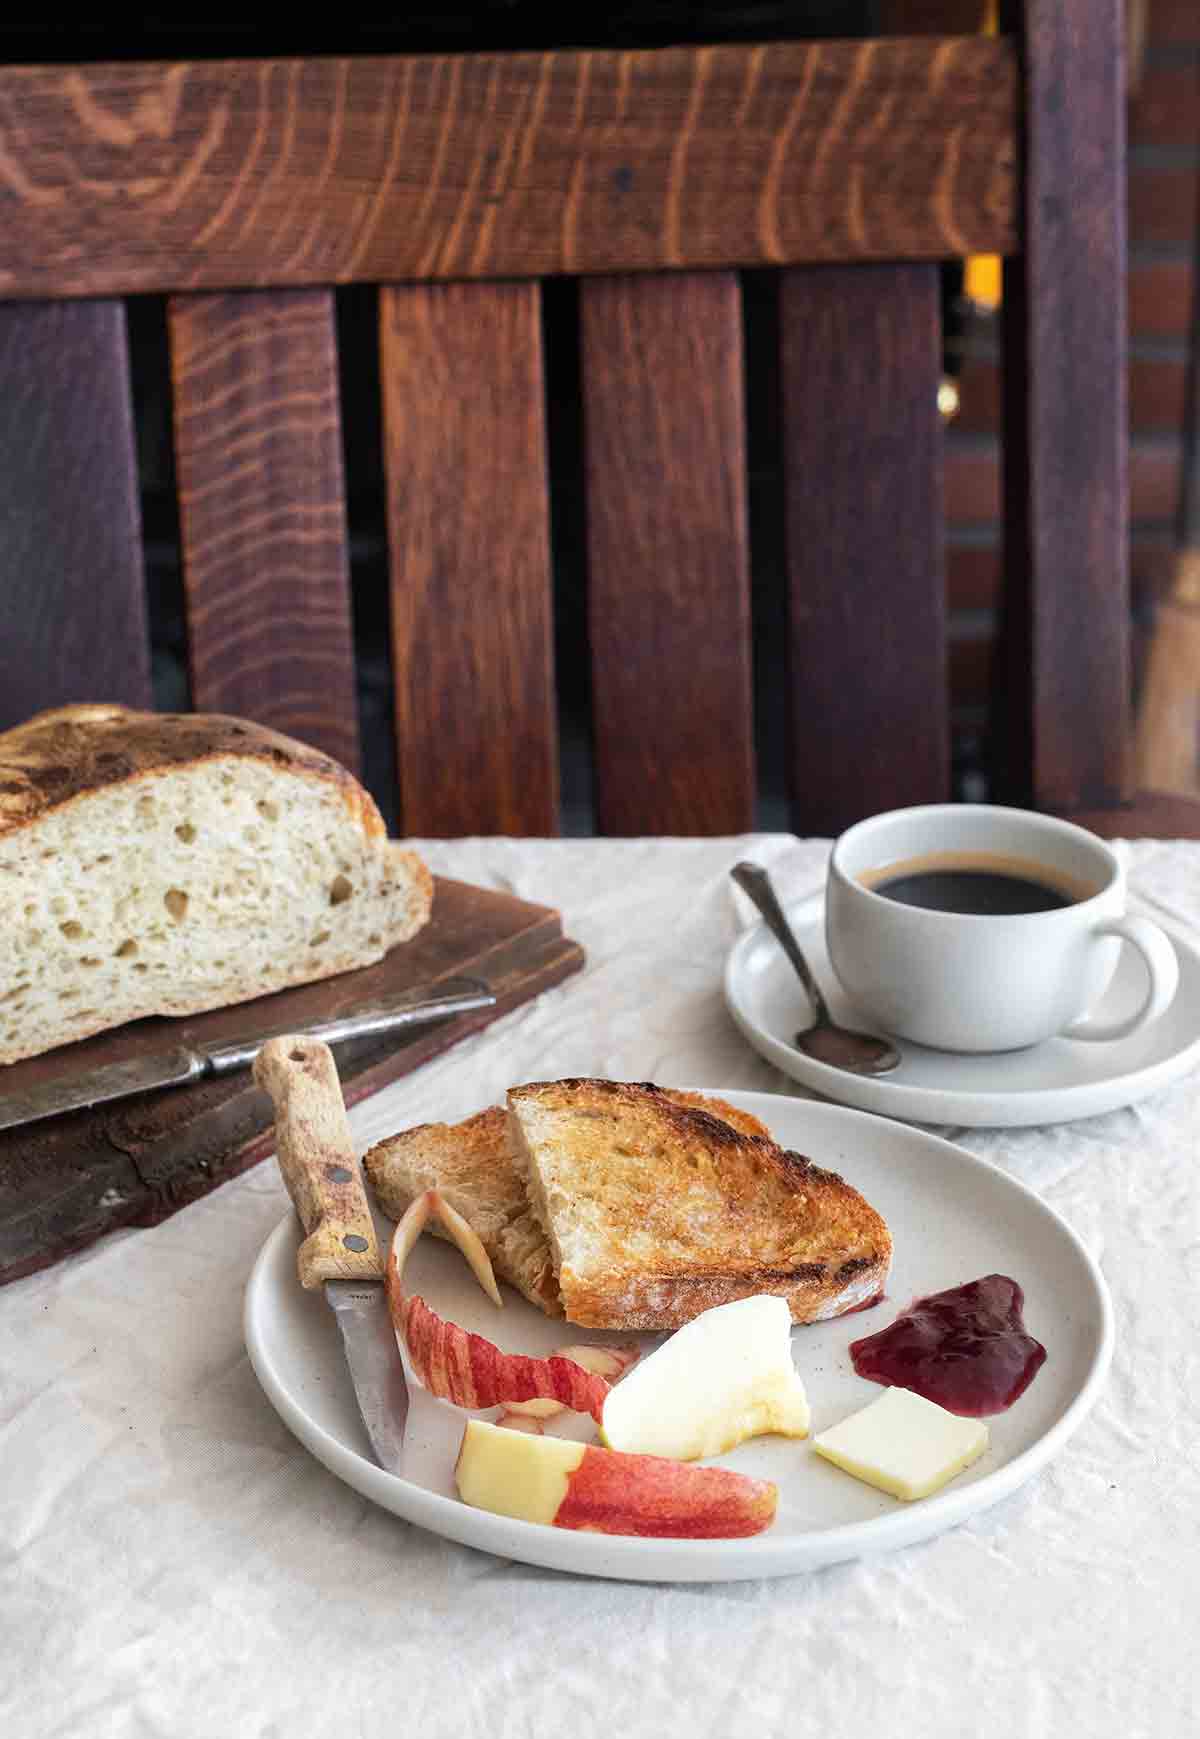
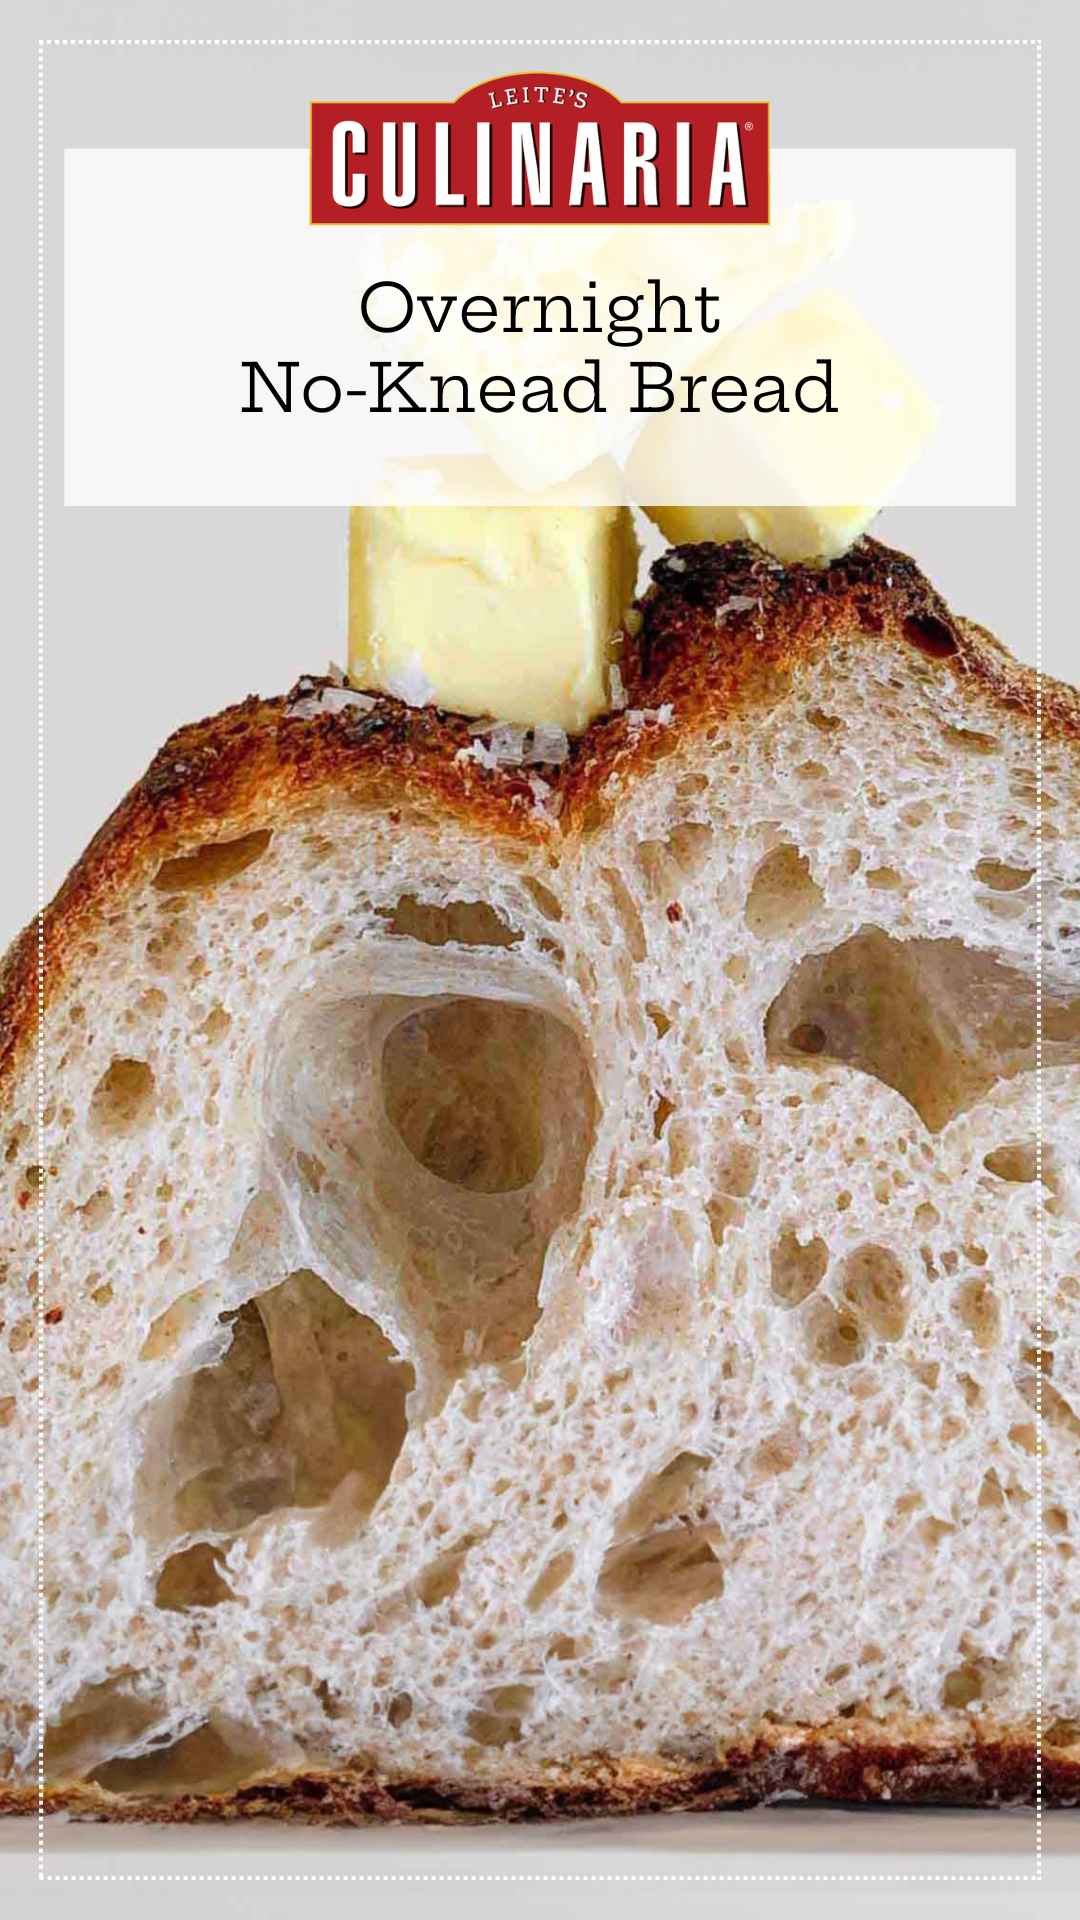
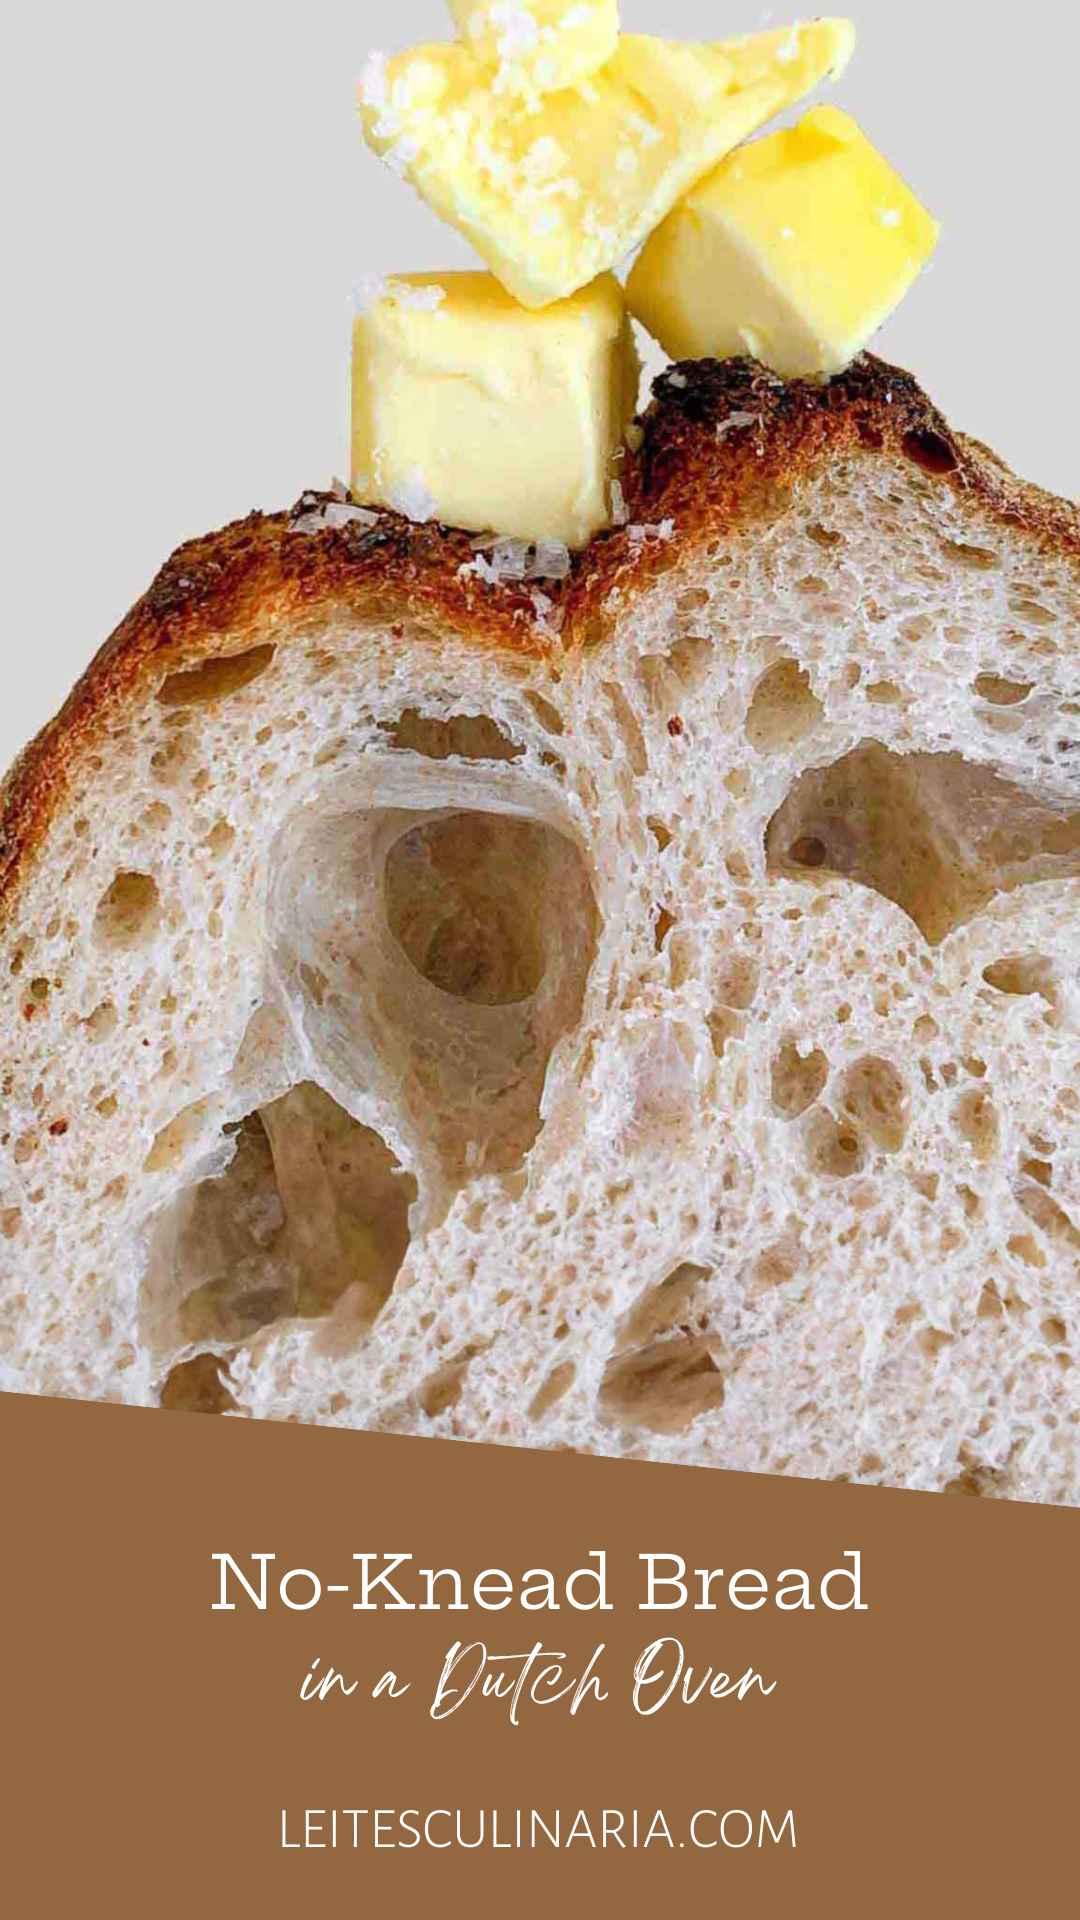
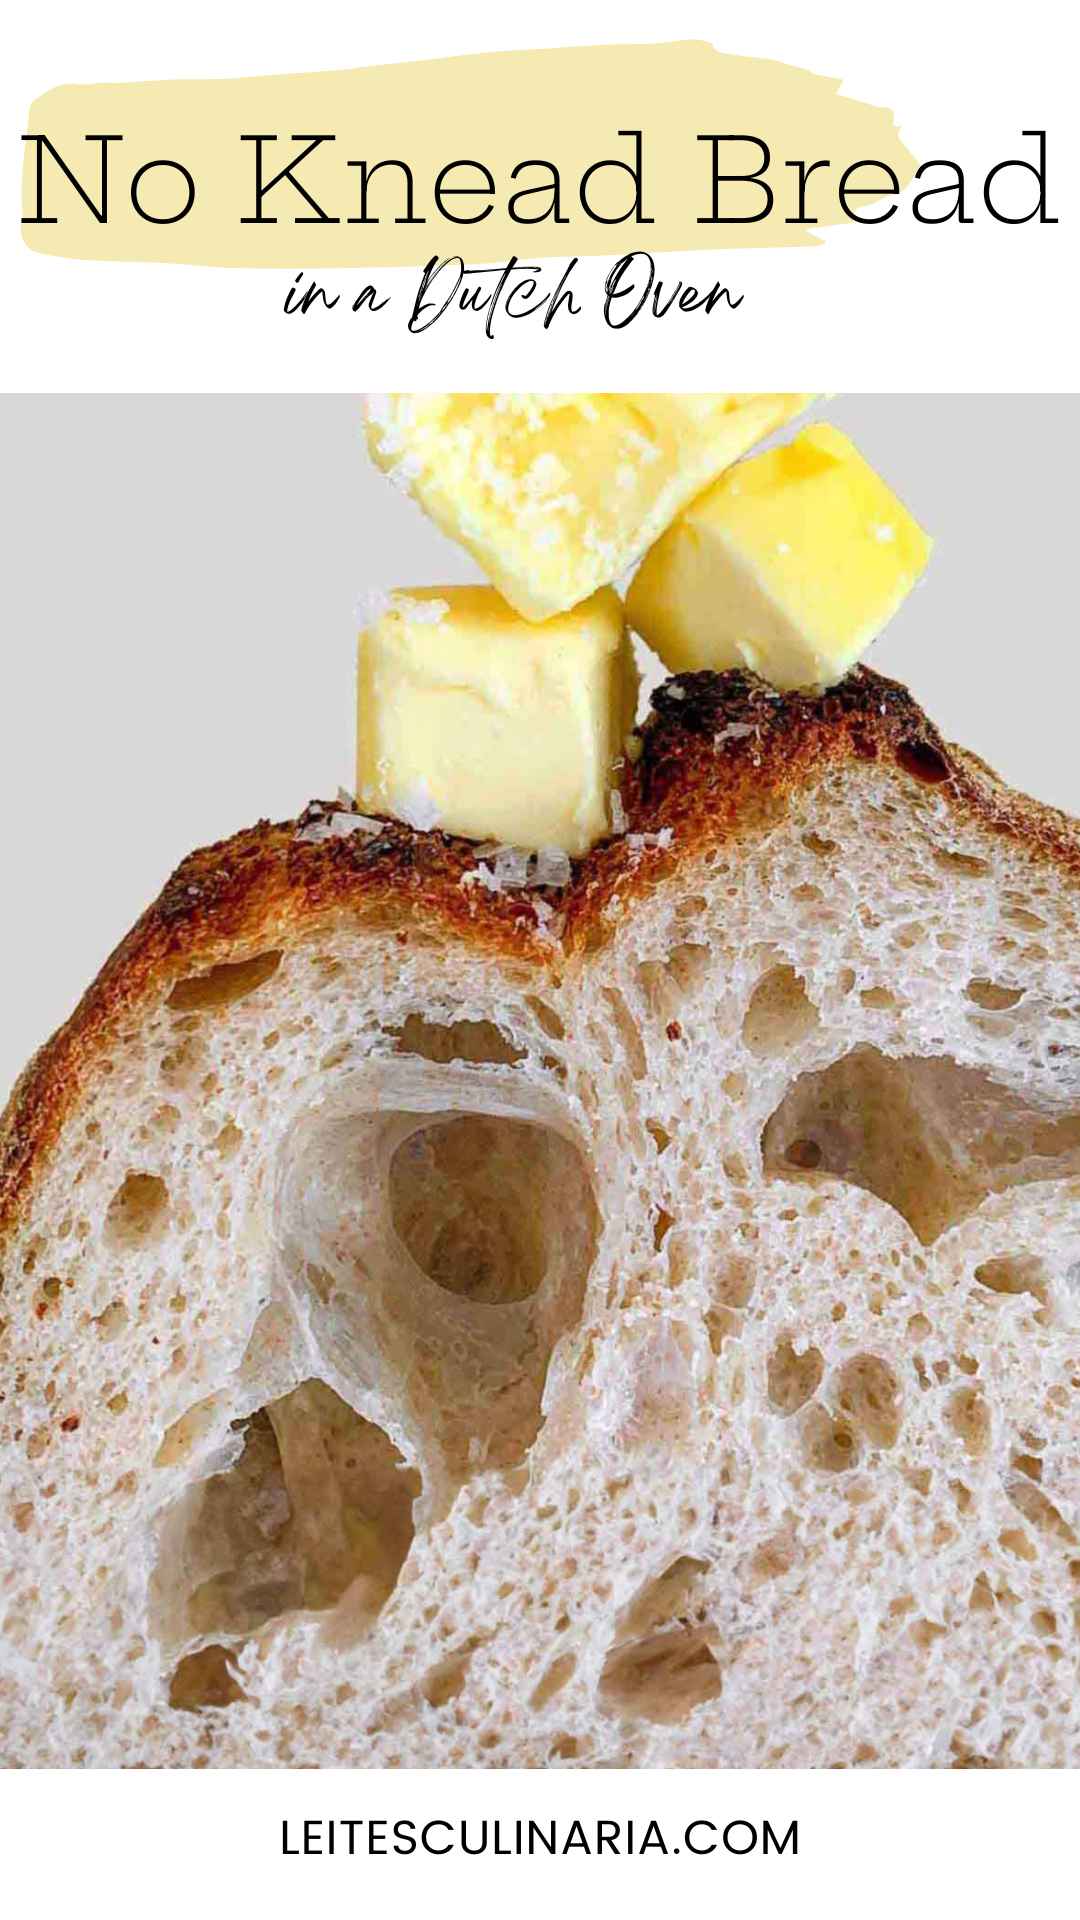
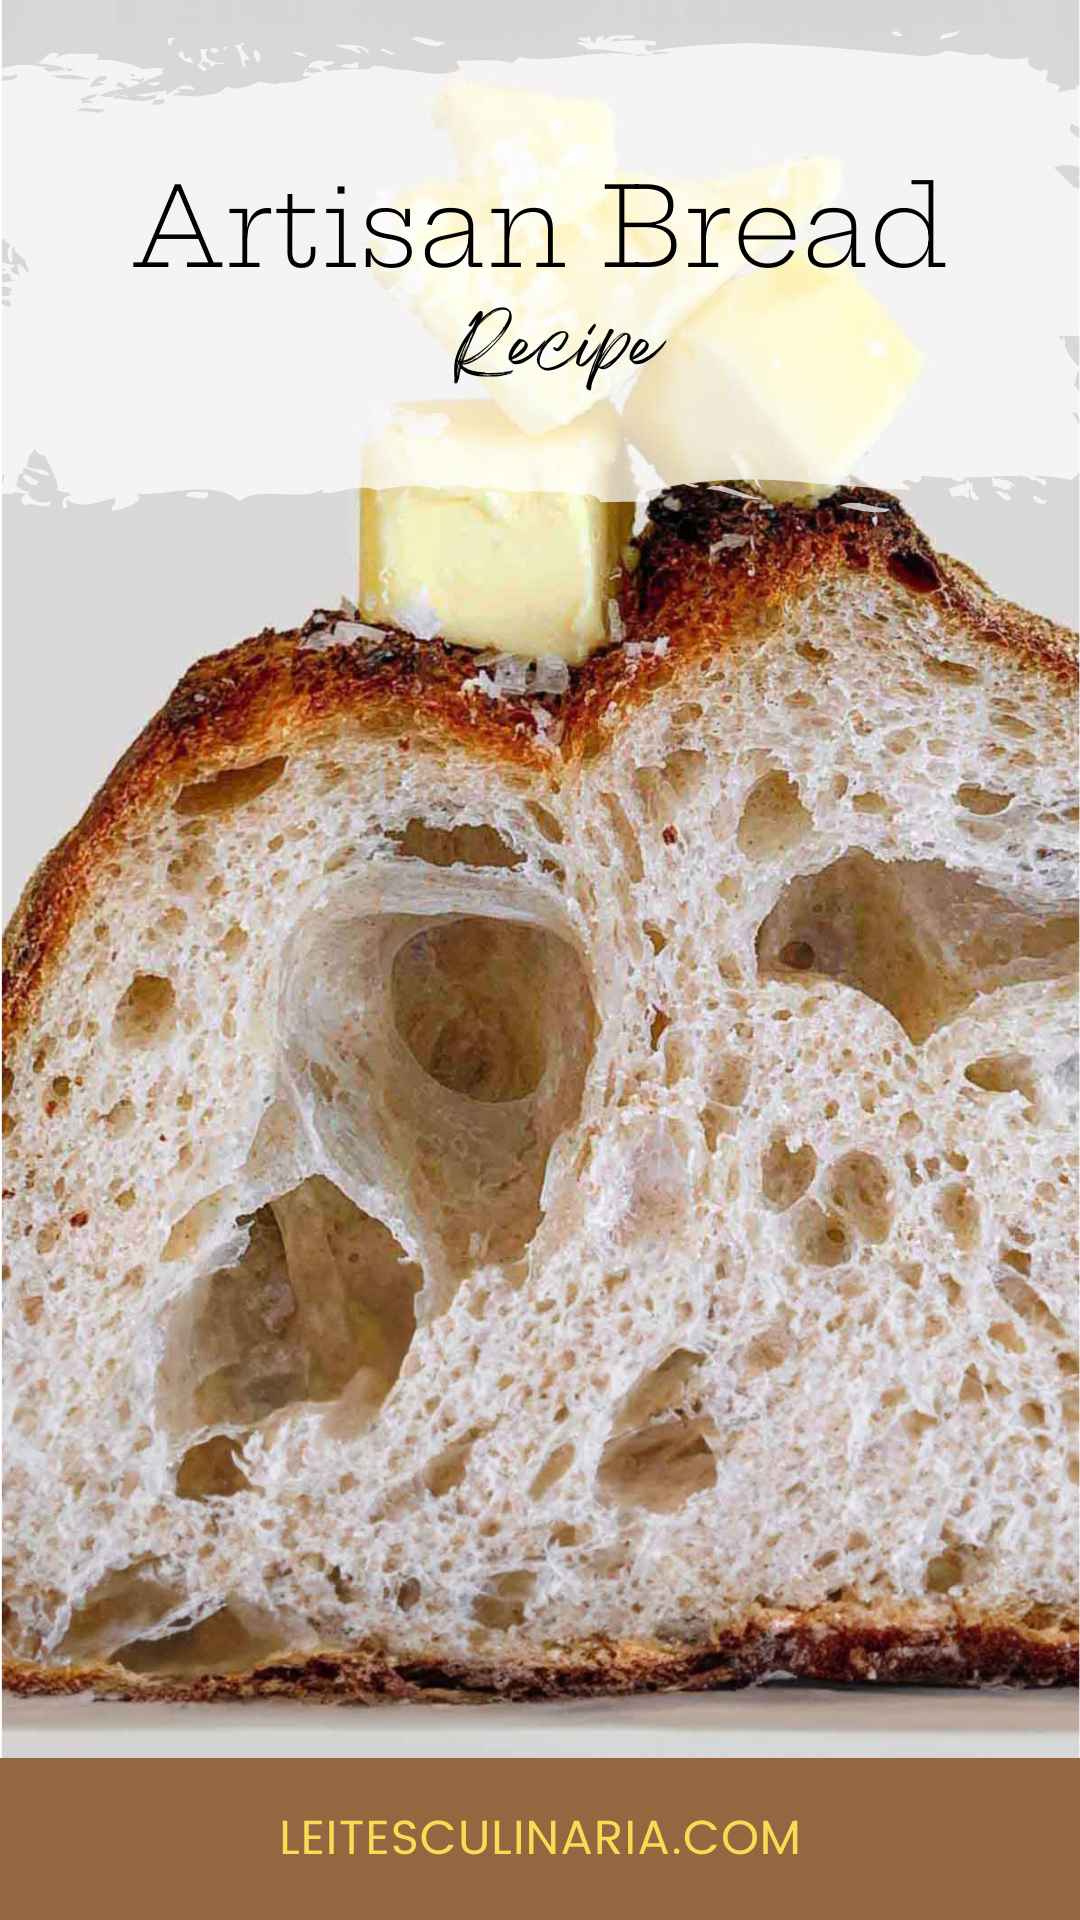
Yum! This no-knead bread recipe is perfect! I used bread flour and let it rise for 22 hours. I used a glass bowl so I could see many bubbles visible on top and throughout the dough along the sides. After the first rise, the dough is exactly as described—quite loose and sticky. I let it rise for 2 hours after shaping the loaf and baked for the recommended time. The bread matched the picture’s color.
I hopped into the shower and left the bread cooling and unguarded from bread lovers. When I came out, my husband had cut the bread only about 20 minutes into the recommended cooling time. There was no detriment to the bread. It retained a moist chew inside and a lovely, crunchy crust outside. I’ll definitely make this again.
This no-knead bread has been around for a few years, and I’ve made it a few other times. When the recipe was initially published in the New York Times, it pretty much shocked the bread-baking world. But the long fermentation definitely eliminated any need to knead the dough.
As long as you plan out the timing for the fermentation and baking, it’s very easy and only takes about 10 minutes of actual hands-on time. The crust is a nice crunchy brown, and the crumb is moist and airy.
You do have to follow the directions precisely and be sure to look for the clues given in the recipe to determine when the dough is properly fermented. The bread is best used the day it’s baked.
If you’ve been wanting to try making bread, this is a great way to get started. There aren’t a lot of ingredients or equipment to acquire, and the entire hands-on time commitment is under 10 minutes. For this, you’re rewarded with a beautiful, crusty loaf of bread with an open and airy crumb.
I’ve made bread in a machine and bread by hand/mixer before, but this is the first time I’ve tried no-knead bread and I am hooked.
The picture closely resembles what I produced, except my air holes were larger, and my crumb was more light and feathery.
I let my dough rest for 19 hours on my gas stove top (a little warmer than the rest of the kitchen during the winter). The recipe is correct in assuring that even though the dough looks like a mess, everything is OK. My bread still came out great, if a little oblong instead of round. I would try using cornmeal or wheat bran in place of flour on the towel in the future to see if that works better.
I allowed my dough to rise for 2 hours and 10 minutes. It held an impression at this point, but it did not appear to have doubled in size. It seemed more important to continue with the recipe once your fingertip left an impression, so I didn’t wait for the dough to double. I baked it for 45 minutes total—30 minutes with the lid and 15 minutes more without the lid. At this point, it was a lovely dark brown color.
No need to worry when making this no-knead bread! I was pleasantly surprised at this rustic, crusty bread I made with little effort. Total time (because of almost a full day of rising) is about 26 hours. But that sounds crazy since you literally have about 10 minutes total of hands-on time. The rest of the time was rising (18 hours for my first rise; 2 hours and 15 minutes for the second), then baking and cooling.
I chose to use half bread flour and half regular flour. For the coating on the cotton towel, I used cornmeal, and so glad I did. The directions are very clear, but I was skeptical about “dropping” the risen dough into the hot pot without touching the sides and with no oil! But to my surprise, every step was so simple, and the bread turned out amazing. It didn’t stick at all!
I let it cool for the complete hour as recommended. The bread didn’t last long after that. We smothered it with delicious Kerry Gold butter and couldn’t be happier with the results. The cornmeal added more texture to the crust and looked beautiful.
This recipe is a no-brainer. Delicious and quite impressive!
One of my favorite things about Leite’s Culinaria is the surprise of learning a recipe’s source after a test (yes, recipes are given to us blind—we get the recipe title, headnote, picture, and recipe).
This recipe was different—I instantly recognized the name Lahey as the developer of the no-knead bread that broke the internet, the bakery on Sullivan Street, and it was the only no-knead bread recipe I hadn’t tried. Seriously, I swear I’ve tried them all, for better or worse.
This loaf stood up to the hype.
A perfectly written recipe, flawless timing, forgiving ingredients, detailed directions, exact cook time and oven temp. Check-check-check.
Flour: all-purpose.
Salt: Morton’s kosher.
Water temp: purposely ignored.
A floured towel (this will never work!): No big deal!
Pitfalls: none. MAKE THIS LOAF. Then tweak it, play with it, and MAKE IT AGAIN. I’ll be right there with you.
Flipping the dough into the pan sounded disastrous. But even the loose flour that went along with the dough and anything sticking to the towel, which was inevitable but way less terrifying than I’d always imagined, was no biggie.
I gave it the full bake time to get a beautiful dark golden brown, a few minutes south of a scorch on the bottom…just how I love it.
I was happily restricting carbs in my diet until I made this bread…that’s all over now. This is by far the easiest bread I’ve ever made, and the results are incredible. For about 25 cents worth of ingredients and several minutes of hands-on time, you’re rewarded with a house that smells like a bread bakery and homemade bread worthy of praise.
The most difficult part of this recipe is figuring out what time to get it going based on when you’d like to serve this freshly baked masterpiece.
I allowed my bread to rest for 18 hours for the first rise, and my dough definitely took on all of the characteristics described in the recipe. (I love when I feel like the recipe writer is standing in my kitchen telling me what to look for!)
My second rise didn’t give me dough that had doubled in size, so I let it go another 15 minutes. I probably could have let it go further. Oddly, my dough felt cool to the touch at that point, and I wondered if my kitchen just was not warm enough for a proper rise.
I used my 7-quart enameled cast iron Le Creuset pot for baking, and my only concern was that I had once made this bread before, and it had darkened the interior of my pot. The bread doesn’t stick, but the enamel has continued to appear a bit darker after this high-heat baking.
I baked the dough as directed for the first 30 minutes but left it in only 15 minutes for the uncovered portion of the baking. I started to smell burning flour and got concerned. In retrospect, I think the bread would have benefitted from a bit more time in the oven to keep that crust crunchy. It was a beautiful color when I took it out, but I think it could have withstood a few more minutes to get it even darker.
I waited an hour for the bread to cool, always following directions…but then I sliced it…and it was delicious. Then I got out some butter, and it was even better. Then I thought of all the wonderful things I could eat on it or next to it! I opted to eat a bit more for dinner and then slice and freeze what was left, and it defrosted and toasted just beautifully over the weekend.
My loaf was 9 inches wide and about 4 inches high in the middle. I can’t wait to make it again. Admittedly, I am no longer carb-free. I had a job to do!


Hello, I was looking for a recipe like this for a long time. I would like to bake this bread with two flours: white bread flour and whole-grain flour. Do I have to take half and half of flour? All other ingredients should be as your recipe? I would really appreciate if you answer my questions.
Sincerely, Ethel
Hello, Ethel. If you would like to bake with a combination of flours, that’s perfectly fine. I would suggest 50/50 of each. Doing some research, I found that you would need to increase the water a little bit, as whole-grain flour absorbs more water. I’d say increase it to 1 1/2 cups. Also you’ll need to rest the dough longer, about an hour longer. As far as baking, whole grain flour can bake quicker, so start checking 10 minutes earlier. Please note: The dough is notoriously wet and hard to handle. I don’t know how it would be with a 50/50 of both flours.
I was wondering what temperature the water should be.
Thank you
Julie, because this sits so long, the temp doesn’t need to be exact. I use lukewarm water. I run my hand under it and if it’s comfortable, that’s fine!
I have been making no knead bread for several years. Most times it is great but some times I have trouble with it sticking to the bottom of my Emile Henri ceramic. Should I line the pans with parchment paper or put more flour on the bottom of the bread?
Ken, I wouldn’t add more flour, because that can only make the bottom thicker. I’d suggest making a parchment sling. That’s basically an oblong piece of parchment that you put the shaped loaf on. Grabbing both ends, lift the bread up and then lower it into the pan. Easy-peasy.