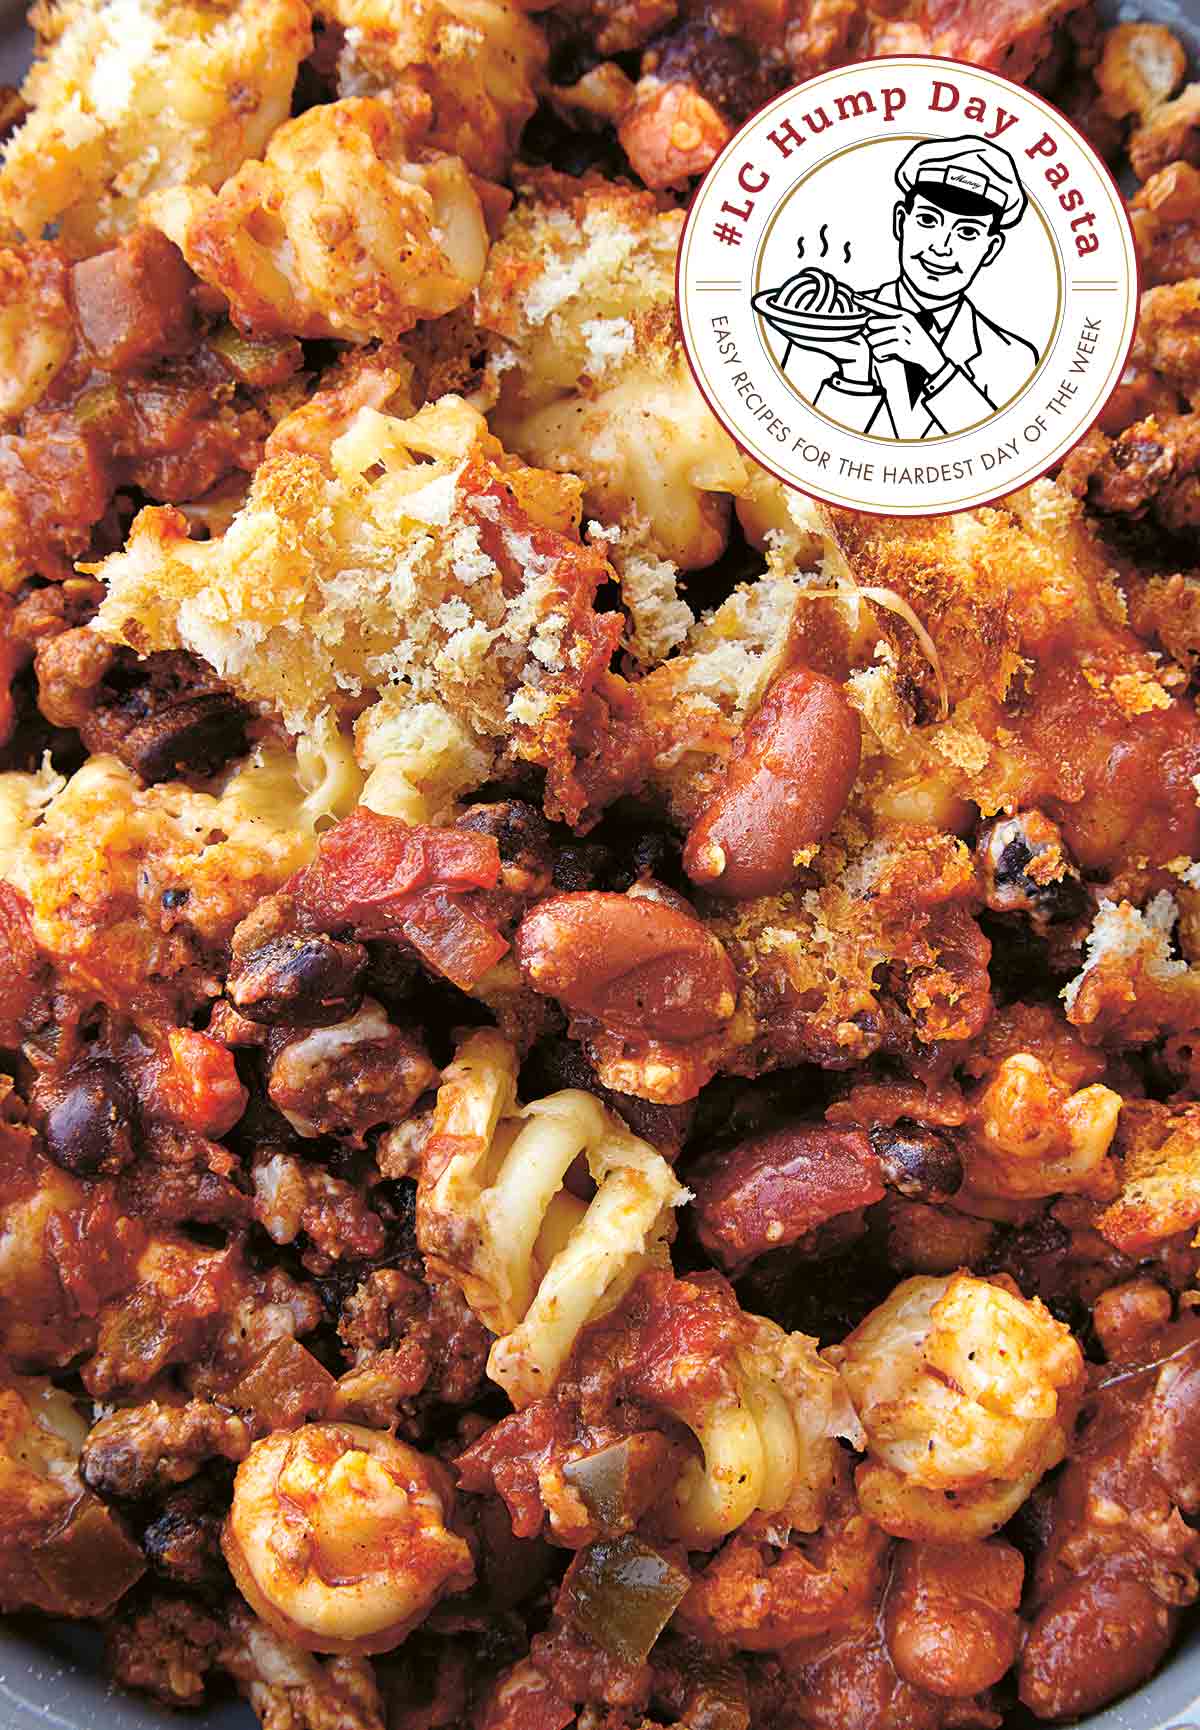
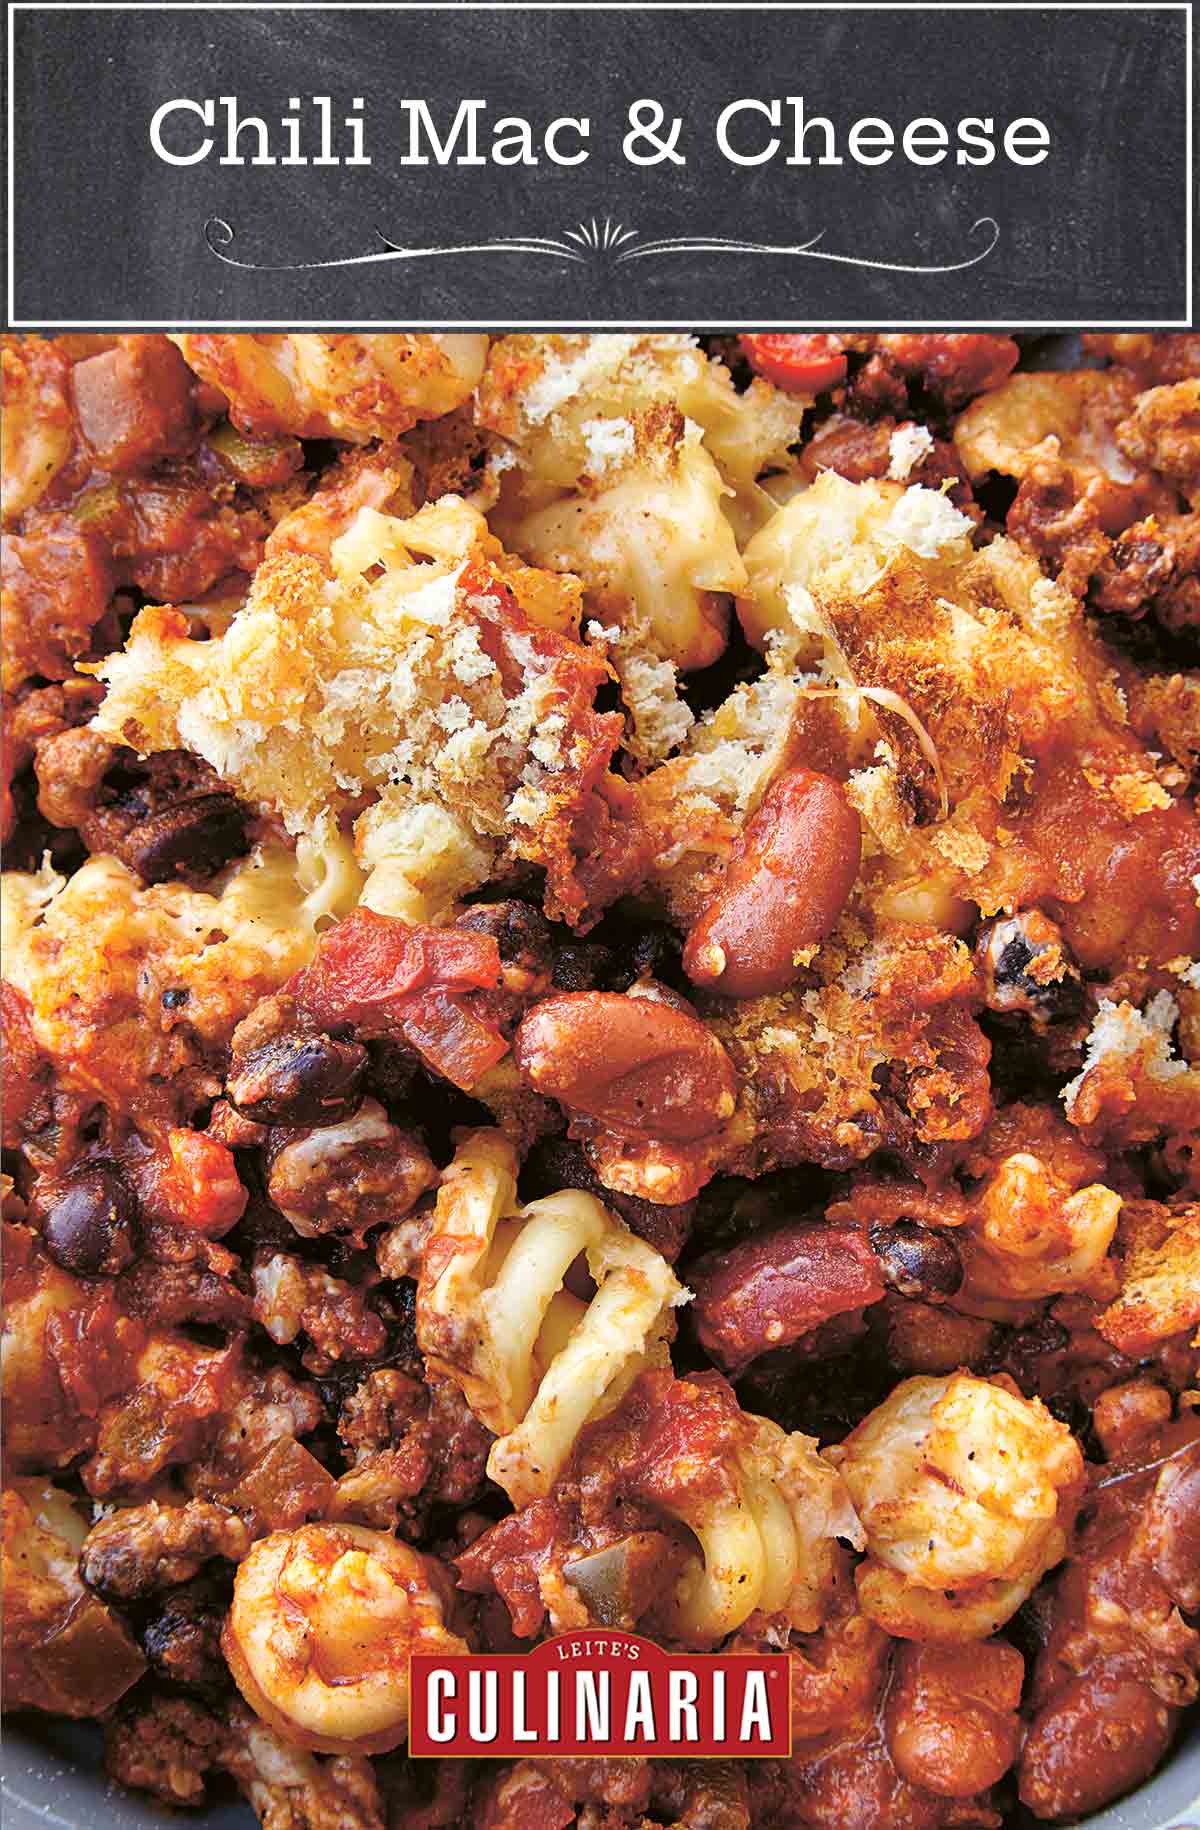
This chili mac recipe is exactly what the name would lead you to believe it is. That’s right. We smothered good old classic American chili with creamy macaroni and cheese and baked the whole shebang until bubbly and golden and comforting as heck. It’s an easy casserole for everyone who hesitates when choosing a favorite between chili and mac ‘n’ cheese. Chili mac not only makes a terrific way to use up leftover chili but can be assembled ahead of time, say on a Sunday afternoon, and tossed in the fridge as a family-friendly make-ahead weeknight casserole for later in the week. And we haven’t even mentioned yet how you’re going to feel like a hero when you hear all the rave reviews at your dinner table.–Angie Zoobkoff
What Is LC Hump Day Pasta?
We’re glad you asked. LC Hump Day Pasta (#LCHumpDayPasta) is a little something we cooked up to help you on the night of the week that you feel least like cooking. Wednesday was traditionally Prince Spaghetti Day (for those of you old enough to remember). We’ve revamped and updated that to Hump Day and included every type of pasta there is.
Chili Mac and Cheese FAQs
The chili recipe below makes an outrageously delicious, albeit sorta spicy, chili that’s among a handful of the best chili recipes we’ve ever made. It’s just a straight-up awesome classic American chili. That said, feel free to substitute 3 cups of your favorite recipe. You can use whatever chili you happen to have languishing in the freezer or leftover from game day. All you need is 3 cups. So go on, give it a whirl!
When you’re boiling those noodles, make sure to stop just before you hit al dente. You still want it to be a bit on the toothsome side. Once added to the chili, your pasta will absorb some of the sauce and soften up just enough.
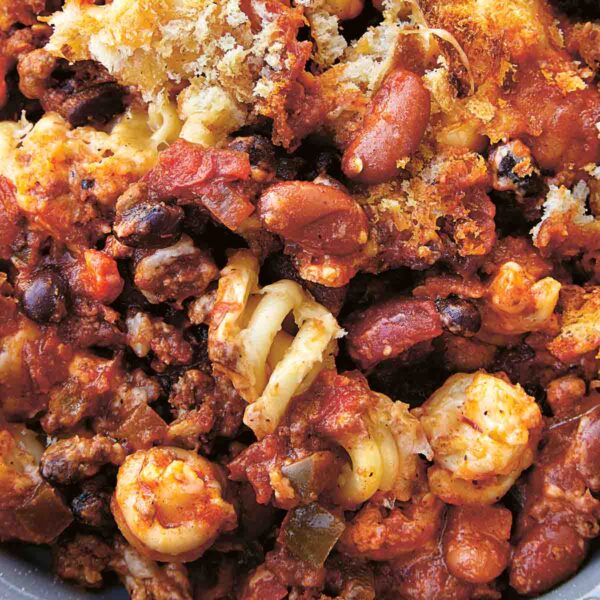
Chili Mac and Cheese
Ingredients
For the chili (or substitute your fave chili recipe or even leftover chili that you stashed in the freezer)
- 1 teaspoon plus 1 tablespoon olive oil
- 1 pound ground beef (preferably 85/15)
- One (7-ounce) can chipotles en adobo (smoked jalapeños in adobo sauce)
- 2 garlic cloves, coarsely chopped
- 3 tablespoons chili powder
- 1 tablespoon ancho chili powder
- 1 tablespoon ground cumin
- 1 teaspoon smoked paprika
- 1 to 2 fresh jalapeno chiles, seeded and coarsely chopped
- 1 to 2 teaspoons hot pepper sauce
- 2 cups vegetable stock
- 1 (7 oz) red bell pepper, seeded and cut into 1/4-inch (6-mm) dice
- 1 (7 oz) green bell pepper, seeded and cut into 1/4-inch (6-mm) dice
- 1/2 to 1 Anaheim chile, seeded and cut into 1/4-inch (6-mm) dice
- 1 medium yellow onion, cut into 1/4-inch (6-mm) dice
- 1 medium carrot, peeled and cut into 1/4-inch (6-mm) dice
- One (14.5-ounce) can kidney beans, drained and rinsed
- One (14.5-ounce) can black beans, drained and rinsed
- One (14.5-ounce) can pinto beans, drained and rinsed
- One (14-ounce) can chopped fire-roasted tomatoes with its juice
- One (14.5-ounce) can tomato sauce
- 2 teaspoons kosher salt
- 1 teaspoon freshly ground black pepper
For the chili mac
- 4 ounces elbow, spiral, or other short pasta of your choice
- 2 1/2 tablespoons all-purpose flour
- 1/2 teaspoon dry mustard powder
- 1/4 teaspoon garlic powder
- 1/4 teaspoon freshly ground black pepper
- 1/8 teaspoon cayenne pepper, or more if you like an extra kick
- 3 tablespoons salted butter, at room temperature
- 3/4 cup whole milk
- 1/2 cup heavy cream (or substitute 1 1/4 cups or 300 ml half-and-half for the milk and cream)
- 6 ounces mild, medium, or sharp Cheddar cheese, shredded
- 4 ounces Monterey Jack cheese, shredded
- 1 thick slice bread, torn into pieces, or 1/2 cup (35 grams) panko
- 3 cups chili
Instructions
Make the chili (or substitute your fave chili recipe or even leftover chili that you stashed in the freezer)
- Heat 1 teaspoon of olive oil in a large skillet over medium heat. Add the ground beef and cook, stirring with a wooden spoon and breaking up any large chunks of beef, just until nicely browned and no pink spots remain, about 5 minutes. Drain any fat and juices from the skillet and discard.
- In a blender, toss the garlic, chili powder, ancho chile powder, cumin, smoked paprika, jalapeños, hot sauce, 1/2 cup (120 ml) vegetable stock, and as much of the chipotles en adobo as your heat tolerance dictates (we recommend starting with 1/2 the can, unless you like things fiery hot). Blend on low speed until a smooth purée forms.
- Heat 1 tablespoon olive oil in a large saucepan over medium heat until hot but not smoking. Add both bell peppers, the Anaheim chile, onion, and carrot and cook, stirring often, until the vegetables have softened and the onion is translucent, about 8 minutes.
- Add the garlic and chile purée to the pan and stir to combine well. Toss in the beans, cooked ground beef, chopped tomatoes with their juices, tomato sauce, and 1 1/2 cups (360 ml) vegetable stock, salt, and black pepper and stir well to combine. Adjust the heat to bring the sauce to a simmer. Taste and, if you prefer a chili with more heat, add more hot sauce and/or the rest of the can of chipotles en adobo after you mash the chipotles chiles with the back of a fork or pulse them in a mini food processor until finely chopped. Cover partially and simmer very gently, stirring occasionally, until the vegetables are very soft, 20 to 30 minutes.
- Reserve 3 cups chili for the chili mac. The remaining chili can be devoured immediately with your favorite toppings and the rest can be frozen in 3-cup portions for future chili mac cravings.
Make the chili mac
- Preheat the oven to 400°F (200°C), with the convection option on, if you have it. Butter an 8-inch (20-cm) glass or metal baking dish.
- Bring a medium saucepan of generously salted water to a boil. Add the pasta and stir immediately. Boil the pasta, stirring occasionally, just until al dente. The timing will vary according to the shape of pasta so you may want to check the package directions for some guidance on time. Drain the pasta in a colander.
- While the pasta is cooking, whisk together the flour, mustard powder, garlic powder, black pepper, and cayenne pepper in a small bowl and set aside.
- Place the empty pasta pan (no need to wash it!) over medium-low heat and add the butter. When the butter is melted, whisk in the flour mixture. Cook, whisking almost constantly, until the mixture begins to brown and has a pleasant, nutty aroma, about 30 seconds. Watch carefully so it doesn’t scorch or burn.
- Slowly whisk the milk and cream into the butter-flour mixture, combining well. Cook, still whisking constantly, until the sauce is heated through and just begins to thicken, about 2 minutes. Remove from the heat.
- Add 4 ounces (115 grams) Cheddar and all the Monterey Jack to the sauce gradually, while stirring constantly in one direction with a wooden spoon or rubber spatula. Stir until the cheese is melted into the sauce, then stir in the cooked pasta.
- Put the torn bread in a food processor and pulse until fine bread crumbs form, or chop finely by hand. In a small bowl, toss the bread crumbs or panko with the remaining 2 ounces (55 grams) Cheddar.
- If you’re baking the chili mac right away, gently rewarm the chili in a small saucepan over medium-low heat until hot. Pour the chili into the prepared dish and spread it evenly. If your chili is on the liquidy end of the spectrum you may want to pour some of it off. Carefully spoon the mac ‘n’ cheese over the chili and sprinkle it evenly with the bread crumb mixture. If you’re making the chili mac ahead of time, pour the cooled chili into the prepared dish and spread evenly. Carefully spoon the mac ‘n’ cheese over the chili and sprinkle it evenly with the bread crumb mixture. Cover the dish tightly with aluminum foil and refrigerate for up to 2 days.
- Bake the chili mac, uncovered, until the topping is toasted and crunchy and the sauce is bubbling around the edges, about 20 minutes. (If you're baking the chili mac after it's been refrigerated, you may need to add 10 minutes or so to the baking time.) Let the chili mac cool for about 10 minutes.
- Scoop the chili mac into bowls and serve.
Nutrition
Nutrition information is automatically calculated, so should only be used as an approximation.
Recipe Testers’ Reviews
We really enjoyed this chili mac recipe, especially since it makes two meals in one. First, we made the chili and had a regular chili dinner, garnishing it with sour cream, sliced avocado, and grated Cheddar and Monterey Jack cheeses. Flavorwise, this was one of the best chili recipes we’ve had.
The only caveat I have is that this recipe will make a very, very spicy chili. (I don’t deal well with a lot of heat in food, and so I halved all of the ingredients that produce heat—the jalapeño and Anaheim peppers, the hot pepper sauce, and the chipotles en adobo. This provided just the right amount of heat for my taste.)
At first glance, I felt the proportion of the beef to the beans and vegetables was a bit off, but the fact that the beef was less dominant worked well and made for a slightly “heart-healthier” chili. The chili mac was a great variation on mac and cheese. It’s also a good way to use leftover chili as an alternative to several meals of just chili.
This chili mac was delicious. I used a vegetarian chili and made the macaroni and cheese part as per the recipe. The only downside was that it was hard to serve as it’s very fluid. I would definitely make this again but maybe use less of the liquid from the chili.
This deceptively simple idea is to take the well-known combination of spaghetti and chili beyond a Cincinnati three- or four- or five-way and make it worthy of a mention in a Calvin Trillin essay. This chili mac recipe makes the nicest cheese sauce, tops it with your favorite homemade chili, adds a crisp topping, and gives you a winner that’s greater than all the parts.
I used our current favorite chili, which is a Vegetarian Chili made with white beans from Rancho Gordo. It had a pretty good level of spice from the chipotle. In the flour and spice mixture for the cheese sauce, I used half-and-half in place of cream and milk and a pipe rigate shape of pasta from Whole Foods organic line. Having a previous batch of chili frozen, I just had to remember to pull it out to defrost overnight in the refrigerator, so the assembly for this dinner went quickly without being an all-afternoon project.
Knowing this recipe requires 3 cups of chili, I will make sure that amount is conveniently frozen in the future as well. The sauce comes together very easily, and while the addition of mustard and spices to your flour mixture gives your roux an immediate tint, watch carefully and you will see it begin to brown, and that’s when you’re ready to add the cream and milk. The white sauce has a bit of a punch (I wasn’t shy with the black and red pepper), but the cheese and baking mellow it. I was a little concerned that my chili was on the “wet” side, and gently spooned in the mac and cheese mixture, similar to dumpling dough. The baking time was spot on and when I served it out 10 minutes later, it was thick enough to look very appetizing in wide shallow bowls.
We certainly expected it would be good, but really were overwhelmed at how much better than “good” it was. Both of us simultaneously and enthusiastically rated this an 11 on a scale of 1 to 10. Extreme comfort food but nice enough that we would share with company if we weren’t so greedy. The relatively small amount of pasta is deceptively satisfying. Can’t wait to have this again. Leftovers reheat perfectly in the microwave. Our version was vegetarian, and one didn’t miss the meat at all, though of course, that would work as well. I used panko in place of bread and the crispness was perfect.
The creamy macaroni & cheese and the spicy chili marry very well underneath the toasty cheesy crust—just the thing to make when you want to see all smiles around the dinner table! If you’re unsure about your guests’ tolerance for spicy food, I would omit the jalapeno chiles and hot pepper sauce (I did).
I would also suggest making the garlic-chile purée with half a can of chipotles en abodo first (don’t unplug the blender yet). Add the mixture along with the beans, beef, etc. to the pot and taste the chili. Then whiz the rest of the can of chipotles in the blender to fine-tune the heat to your liking. My dining companion told me, “I can’t find anything wrong with it,” while enjoying this flavorful comfort food, and I concur! I served mine with homemade dinner rolls but your favorite biscuit recipes or cornbread would also be fantastic with this chili mac.
This chili mac recipe was a lot of fun to make and eat. If you do it the way that I did, it can be made in stages, making it much easier on yourself. I made the chili on a Friday and put it in the refrigerator in the pot I made it in until Sunday morning when I made the mac and cheese. I made the mac and cheese in the morning, put the casserole together, and then put it in the refrigerator, freeing me up for a day of football, knowing that we would have a nice dinner to look forward to.
I made the chili that was included with this recipe. I must say, when I saw that for 1 pound of ground beef, an entire 7-ounce can of chipotles en adobo was used, I was concerned that it would be extremely spicy. I actually kept reading the recipe, thinking that I had read it incorrectly. I hadn’t and made the chili as written. Oh, my goodness, it is indeed spicy. I did count on the mac and cheese tempering the heat of the chili, and it did to a great extent. (A cold beer also helped.)
The mac and cheese recipe is excellent. I particularly like that the roux, instead of just having flour and milk, or in my case, half-and-half, there was also mustard powder, garlic powder, black pepper, and cayenne pepper, which made for a wonderfully flavored cheese sauce. The recipe made extra cheese sauce, which my pasta really swam in. I was very pleased with that, however, after the whole dish was put together, the pasta absorbed all of the excess. I might actually use this recipe for mac and cheese on its own. I used cavatappi for the pasta. It’s a really fun curly q-shaped pasta that nicely traps the cheese sauce.
Both of these things together—the chili and the mac and cheese— made a comforting dish that I would recommend to folks who want something comforting and full of flavor. For folks who don’t like spicy food, perhaps you should make your favorite chili recipe, or cut back on the chipotles in adobo in the chili included here. The chili yielded 11 cups. I used 3 cups for this recipe and I have 4 containers of chili in the freezer so that I can make this chili mac again with even less work.




We have had something similar to this recipe and love it! There are only two of us now so we make this a cheaper way. We take a can or two of Horner chili and a package of creamettes and mix them together after the chili has been warmed up and the noodles cooked. We have some buttered bread or buns, etc., and eat. YUM!! Some add hot sauce to their bowls. Yum again!
Great, Sue E!